
Tomato hack time money – who doesn’t want more of all three? Imagine sinking your teeth into a juicy, sun-ripened tomato, bursting with flavor, all thanks to a simple trick that saved you time, money, and maybe even a trip to the grocery store. For centuries, cultivating tomatoes has been a cherished tradition, from the ancient Aztecs who first domesticated them to the Italian immigrants who popularized them in America. But let’s be honest, growing these delicious fruits can sometimes feel like a battle against pests, diseases, and unpredictable weather.
That’s where these DIY tomato hacks come in! I’m here to share some clever and easy-to-implement strategies that will help you maximize your tomato yield without breaking the bank. Whether you’re a seasoned gardener or just starting out, these tips will empower you to grow healthier, more abundant tomatoes. We all know that store-bought tomatoes often lack the vibrant taste of homegrown ones, and with rising grocery prices, cultivating your own is becoming increasingly appealing. So, let’s dive into these tomato hack time money savers and transform your garden into a tomato paradise!
Grow Your Own Delicious Tomatoes: A DIY Upside-Down Tomato Planter!
Hey there, fellow gardening enthusiasts! Are you dreaming of juicy, sun-ripened tomatoes but short on space? Or maybe you just want to try something a little different? Well, I’ve got the perfect DIY project for you: an upside-down tomato planter! This method is not only space-saving but also helps prevent soil-borne diseases and keeps those pesky slugs away from your precious fruit. Plus, it’s super satisfying to watch your tomatoes grow downwards! Let’s get started!
What You’ll Need:
Before we dive in, let’s gather our supplies. Don’t worry, you probably have most of these lying around already!
* A sturdy 5-gallon bucket (or a similar-sized container) – I prefer plastic for its durability and ease of cleaning.
* A healthy tomato seedling – Choose a variety that’s known for its compact growth, like a determinate or bush tomato. Cherry tomatoes also work great!
* Potting mix – Use a high-quality potting mix that drains well. Avoid garden soil, as it can become compacted in a container.
* A utility knife or drill – For creating drainage and planting holes.
* Landscape fabric or burlap – To line the bucket and prevent soil from falling out.
* Water-soluble fertilizer – To give your tomato plant a boost.
* A sturdy hook or chain – For hanging your planter.
* Gloves – To protect your hands.
* Safety glasses – Especially when using power tools.
Preparing the Bucket: The Foundation of Your Tomato Paradise
Okay, let’s get our hands dirty! This first step is all about prepping the bucket to be the perfect home for your tomato plant.
1. Drill Drainage Holes: Flip your bucket upside down. Using your drill or utility knife, carefully create several drainage holes in the bottom of the bucket. I usually go for about 5-6 holes, each about ½ inch in diameter. This is crucial for preventing waterlogging and root rot. Remember to wear your safety glasses!
2. Cut the Planting Hole: Now, we need to create a hole in the bottom of the bucket large enough for your tomato seedling to fit through. I usually trace a circle around the base of the seedling’s root ball, adding about an inch of extra space. Use your utility knife to carefully cut out the circle. Be patient and take your time to avoid cracking the plastic.
3. Line the Bucket: To prevent soil from escaping through the drainage holes and the planting hole, we’ll line the bucket with landscape fabric or burlap. Cut a piece of fabric large enough to cover the inside of the bucket, leaving a few inches of overhang. Secure the fabric to the inside of the bucket using staples or hot glue. Make sure the fabric is snug against the sides and bottom of the bucket.
Planting Your Tomato Seedling: The Heart of the Project
This is where the magic happens! We’re going to carefully plant our tomato seedling upside down. Don’t worry, it’s easier than it sounds!
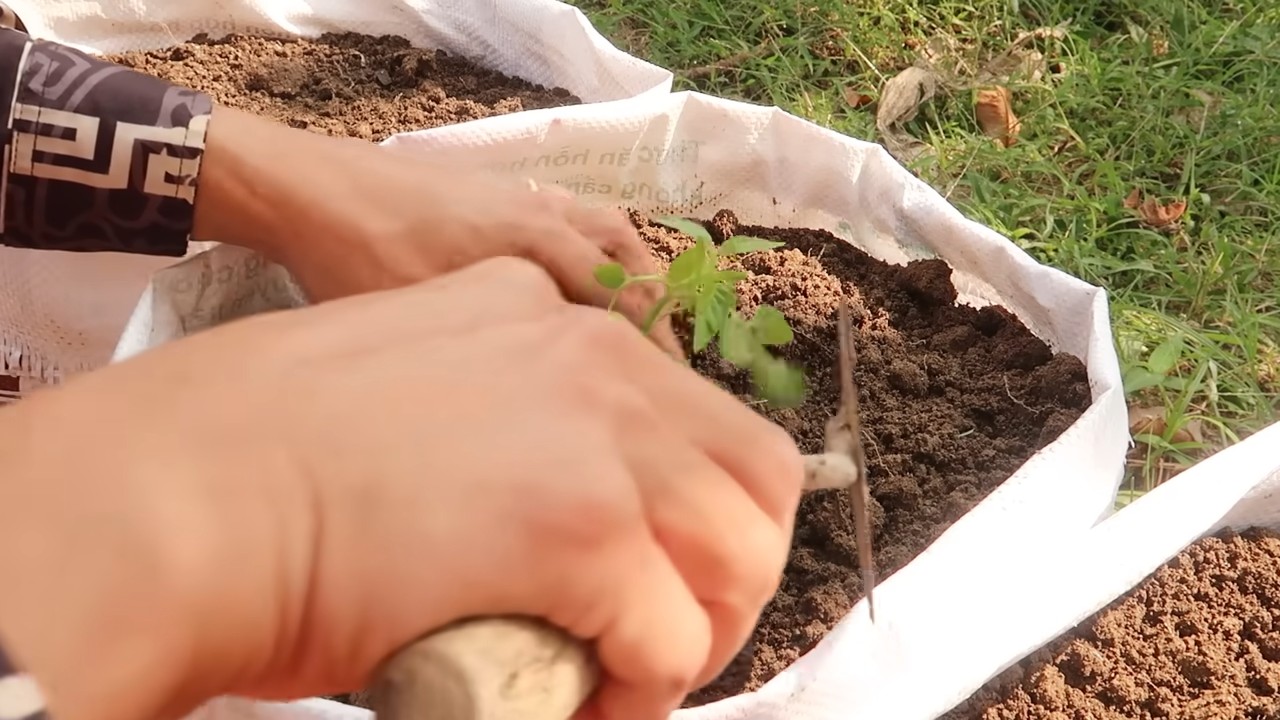
1. Gently Remove the Seedling: Carefully remove your tomato seedling from its container. Gently loosen the roots with your fingers to encourage them to spread out.
2. Insert the Seedling: Now, carefully feed the root ball of the seedling through the hole in the bottom of the bucket. Gently guide the leaves and stem through the hole until the root ball is securely positioned inside the bucket. Be extra careful not to damage the stem or roots.
3. Secure the Seedling (Optional): If you’re worried about the seedling falling out, you can use a small piece of foam or cloth to gently pad around the stem where it exits the hole. This will provide extra support and prevent the soil from shifting.
4. Add Potting Mix: Now, slowly add potting mix to the bucket, filling it up to about an inch below the top. Gently pat down the soil to remove any air pockets.
5. Water Thoroughly: Once the bucket is filled with potting mix, water it thoroughly until water drains out of the drainage holes. This will help settle the soil and ensure that the roots are properly hydrated.
Hanging Your Tomato Planter: The Grand Finale
Almost there! Now it’s time to hang your upside-down tomato planter and watch it thrive.
1. Attach the Hook or Chain: Securely attach your hook or chain to the handle of the bucket. Make sure the hook or chain is strong enough to support the weight of the bucket filled with soil and a mature tomato plant.
2. Choose a Sunny Location: Select a location that receives at least 6-8 hours of direct sunlight per day. Tomatoes need plenty of sunlight to produce delicious fruit.
3. Hang Your Planter: Carefully hang your upside-down tomato planter in your chosen location. Make sure it’s hanging securely and that it’s not in a location where it will be easily bumped or disturbed.
Caring for Your Upside-Down Tomato Plant: Nurturing Your Green Friend
Now that your tomato plant is hanging, it’s time to give it some TLC! Here’s how to keep it happy and healthy:
* Watering: Water your tomato plant regularly, especially during hot, dry weather. Check the soil moisture by sticking your finger into the soil. If the top inch of soil feels dry, it’s time to water. Water deeply until water drains out of the drainage holes.
* Fertilizing: Feed your tomato plant with a water-soluble fertilizer every 2-3 weeks. Follow the instructions on the fertilizer package. I like to use a fertilizer that’s specifically formulated for tomatoes.
* Pruning: Prune your tomato plant regularly to remove any suckers (small shoots that grow between the main stem and the branches). This will help encourage the plant to focus its energy on producing fruit.
* Pest Control: Keep an eye out for pests, such as aphids, whiteflies, and tomato hornworms. If you spot any pests, treat them with an appropriate insecticide or organic pest control method.
* Support: As your tomato plant grows, it may need some extra support. You can use twine or plant clips to gently tie the branches to the bucket or the hanging chain.
Troubleshooting: Common Issues and Solutions
Even with the best care, you might encounter a few challenges along the way. Here are some common issues and how to fix them:
* Yellowing Leaves: Yellowing leaves can be a sign of overwatering, underwatering, or nutrient deficiency. Check the soil moisture and adjust your watering schedule accordingly. If the soil is consistently moist, you may be overwatering. If the soil is dry, you may be underwatering. If the leaves are yellowing all over the plant, it could be a sign of nutrient deficiency. Try fertilizing with a balanced fertilizer.
* Blossom End Rot: Blossom end rot is a condition that causes the bottom of the tomatoes to turn black and leathery. This is usually caused by a calcium deficiency. To prevent blossom end rot, make sure your soil is rich in calcium and water your plants consistently. You can also add a calcium supplement to the soil.
* Pests: As mentioned earlier, keep an eye out for pests. If you spot any pests, treat them with an appropriate insecticide or organic pest control method.
* Slow Growth: If your tomato plant is growing slowly, it could be due to a lack of sunlight, poor soil, or overwatering. Make sure your plant is getting enough sunlight and that the soil is well-draining. Avoid overwatering.
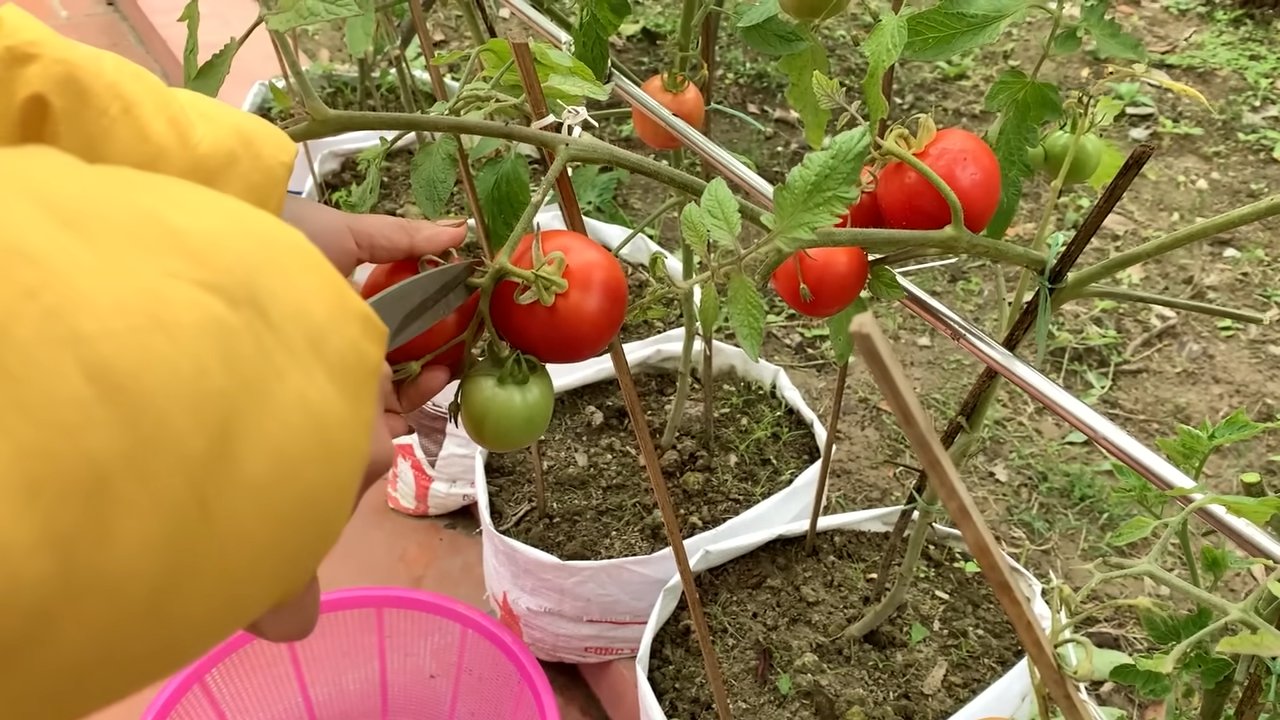
Harvesting Your Tomatoes: The Sweet Reward
The best part of growing your own tomatoes is, of course, harvesting them! Your tomatoes will be ready to harvest when they are fully colored and slightly soft to the touch. Gently twist the tomato off the vine. Enjoy your delicious, homegrown tomatoes in salads, sandwiches, sauces, or just eat them straight off the vine!
I hope you enjoyed this DIY project! Growing your own upside-down tomatoes is a fun and rewarding experience. With a little bit of effort, you can enjoy fresh, delicious tomatoes all season long. Happy gardening!
Conclusion
So, there you have it! This simple tomato hack is more than just a kitchen trick; it’s a game-changer for anyone who loves fresh, flavorful tomatoes but hates the hassle of peeling them. We’ve shown you how to effortlessly remove the skin from tomatoes in seconds, saving you precious time and money. Think about it: no more struggling with paring knives, no more wasted tomato flesh clinging to stubborn peels, and no more buying pre-peeled tomatoes at a premium price. This method unlocks the full potential of your tomatoes, allowing you to create smoother sauces, more elegant salads, and generally elevate your culinary creations.
This DIY tomato peeling method is a must-try for several reasons. First and foremost, it’s incredibly efficient. The blanching and ice bath technique loosens the skin perfectly, making it peel away with minimal effort. Second, it preserves the flavor and texture of the tomato. Unlike some other methods that can cook the tomato slightly, this technique keeps it fresh and vibrant. Third, it’s versatile. Whether you’re making a large batch of tomato sauce for canning or just need a few peeled tomatoes for a quick salsa, this method works every time.
But don’t just take our word for it! We encourage you to try this tomato hack yourself. Experiment with different types of tomatoes – Roma, beefsteak, cherry – and see how easily the skins slip off. Once you’ve mastered the basic technique, feel free to get creative with variations. For example, if you’re using very ripe tomatoes, you might only need to blanch them for a few seconds. Or, if you prefer a slightly smoky flavor, you can roast the tomatoes in the oven before peeling them. Another variation is to use a slotted spoon to transfer the tomatoes from the boiling water to the ice bath, making the process even smoother. You can also add a pinch of salt to the boiling water to help loosen the skins further.
The possibilities are endless! The key is to find what works best for you and your tomatoes. We’re confident that once you try this method, you’ll never go back to peeling tomatoes the old-fashioned way. It’s a simple, effective, and ultimately satisfying way to prepare one of nature’s most delicious ingredients.
We’re eager to hear about your experiences with this tomato hack. Did it work as well for you as it did for us? Did you discover any new variations or tips? Share your thoughts and photos in the comments below! Let’s create a community of tomato-peeling experts and help each other unlock the full potential of this amazing fruit. So go ahead, grab some tomatoes, and get peeling! You’ll be amazed at how easy and rewarding it is. This simple technique will save you time, money, and frustration, allowing you to focus on what really matters: creating delicious meals with fresh, perfectly peeled tomatoes.
Frequently Asked Questions (FAQ)
Why should I bother peeling tomatoes at all?
Peeling tomatoes improves the texture of many dishes. Tomato skins can be tough and chewy, and they don’t break down easily during cooking. Removing the skins results in a smoother, more refined sauce, soup, or salsa. It also eliminates any bitterness that the skins might impart. For salads, peeled tomatoes offer a more delicate and pleasant eating experience.
What types of tomatoes work best with this hack?
This tomato hack works well with most types of tomatoes, including Roma, beefsteak, heirloom, and even cherry tomatoes (though peeling cherry tomatoes can be a bit more tedious due to their size). The key is to ensure the tomatoes are ripe but not overly soft. Overripe tomatoes might become mushy during the blanching process. Firmer tomatoes will hold their shape better and be easier to peel.
How long should I blanch the tomatoes?
The blanching time depends on the ripeness and size of the tomatoes. Generally, 30-60 seconds is sufficient. For smaller tomatoes like Roma or plum tomatoes, 30 seconds might be enough. For larger tomatoes like beefsteak, you might need to blanch them for a full minute. The goal is to loosen the skin without cooking the tomato. You’ll know the tomatoes are ready when the skin starts to crack around the X you scored on the bottom.
What if the skins don’t peel off easily?
If the skins are still stubborn, it could be due to several factors. First, make sure the tomatoes were fully submerged in the boiling water. Second, ensure the water was at a rolling boil. Third, check that the ice bath is cold enough. If the water in the ice bath has warmed up, add more ice. If all else fails, you can try blanching the tomatoes for a few seconds longer. However, be careful not to overcook them.
Can I use this method for canning tomatoes?
Yes, this method is perfect for preparing tomatoes for canning. Peeling tomatoes is an essential step in many canning recipes, as it helps to prevent the formation of tough skins in the finished product. This hack makes the peeling process much faster and easier, allowing you to can large batches of tomatoes efficiently.
Is there a way to peel tomatoes without blanching them?
While blanching is the most effective method for easily peeling tomatoes, there are alternative approaches. You can try using a vegetable peeler, but this can be time-consuming and wasteful, as you’ll likely remove some of the tomato flesh along with the skin. Another option is to roast the tomatoes in the oven until the skins blister and then peel them off. However, roasting will change the flavor and texture of the tomatoes, so it’s not ideal for all recipes.
What can I do with the tomato skins after peeling?
Don’t throw away those tomato skins! They can be used to add flavor and nutrients to other dishes. You can dry them in the oven or dehydrator and then grind them into a powder to use as a seasoning. You can also add them to vegetable broth or compost them to enrich your garden soil.
How does this tomato hack save me money?
Buying pre-peeled tomatoes, whether canned or fresh, is significantly more expensive than buying whole tomatoes and peeling them yourself. This tomato hack allows you to purchase whole tomatoes at a lower price and easily prepare them for your recipes, saving you money in the long run. Plus, you have more control over the quality and freshness of the tomatoes you use.
Can I freeze peeled tomatoes?
Yes, you can freeze peeled tomatoes for later use. After peeling the tomatoes using this hack, you can chop them, dice them, or leave them whole. Place them in freezer-safe bags or containers, removing as much air as possible to prevent freezer burn. Frozen tomatoes are best used in cooked dishes like sauces, soups, and stews, as they may become slightly mushy after thawing.
What if I don’t have an ice bath?
While an ice bath is ideal for quickly cooling the tomatoes and stopping the cooking process, you can still peel tomatoes without one. After blanching, simply transfer the tomatoes to a bowl of cold water. The cold water will help to cool the tomatoes and loosen the skins, although it may not be as effective as an ice bath. You may need to handle the tomatoes carefully to avoid burning your fingers.


Leave a Comment