
Deep clean your refrigerator – just the thought can send shivers down your spine, right? But what if I told you it doesn’t have to be a dreaded chore? In fact, with a few simple DIY tricks and hacks, you can transform your fridge from a sticky, smelly abyss into a sparkling, organized haven.
Refrigeration, as we know it, is a relatively modern invention, but the desire to keep food fresh is as old as civilization itself. From ancient ice houses to the ingenious “zeer pot” coolers used in hot climates, people have always sought ways to preserve their food. Now, we have the luxury of electric refrigerators, but even these marvels of engineering need a little TLC to function optimally and keep our food safe.
Let’s face it, life gets busy, and the refrigerator often becomes a catch-all for leftovers, forgotten produce, and that questionable jar of pickles lurking in the back. A dirty fridge isn’t just unsightly; it can harbor bacteria, lead to food spoilage, and even affect the taste of your other groceries. Plus, a well-organized and clean refrigerator saves you money by preventing food waste and making it easier to find what you need. So, are you ready to learn some easy and effective DIY tricks to deep clean your refrigerator and keep it fresh and functional? Let’s dive in!
DIY Deep Clean: Revive Your Refrigerator!
Okay, let’s be honest, when was the last time you *really* cleaned your refrigerator? I’m talking beyond a quick wipe-down of spilled milk. If you’re anything like me, it’s probably been a while. But fear not! I’m going to walk you through a deep clean that will leave your fridge sparkling, smelling fresh, and functioning at its best. Trust me, it’s worth the effort.
What You’ll Need
Before we dive in, let’s gather our supplies. Having everything ready will make the process much smoother.
* Cleaning Supplies:
* Warm water
* Baking soda
* White vinegar
* Dish soap (mild)
* Spray bottle
* Microfiber cloths (lots of them!)
* Old toothbrush or small scrub brush
* Sponges
* Tools:
* Large bowl or bucket
* Trash bags
* Cooler or insulated bags (to keep food cold)
* Screwdriver (possibly, depending on your fridge model)
* Vacuum cleaner with hose attachment (optional, but helpful)
* Optional Extras:
* Essential oils (lemon, tea tree, or lavender for a fresh scent)
* Refrigerator deodorizer (baking soda box, charcoal filter, etc.)
Preparation is Key
This isn’t a task you want to rush into. A little prep work will save you time and frustration later.
1. Unplug the Refrigerator: This is crucial for safety! Unplug your refrigerator from the power outlet. This prevents any electrical accidents while you’re working.
2. Empty the Refrigerator: Remove all food items from the refrigerator and freezer. This includes condiments, leftovers, produce, and everything else.
3. Check Expiration Dates: As you’re removing items, check expiration dates and discard anything that’s past its prime. Be ruthless! This is a great opportunity to get rid of those mystery sauces and forgotten leftovers.
4. Sort and Organize: Group similar items together (e.g., dairy, condiments, produce). This will make it easier to put everything back in an organized manner later.
5. Keep Food Cold: Place perishable items in a cooler or insulated bags with ice packs to keep them cold while you’re cleaning. The goal is to prevent food spoilage.
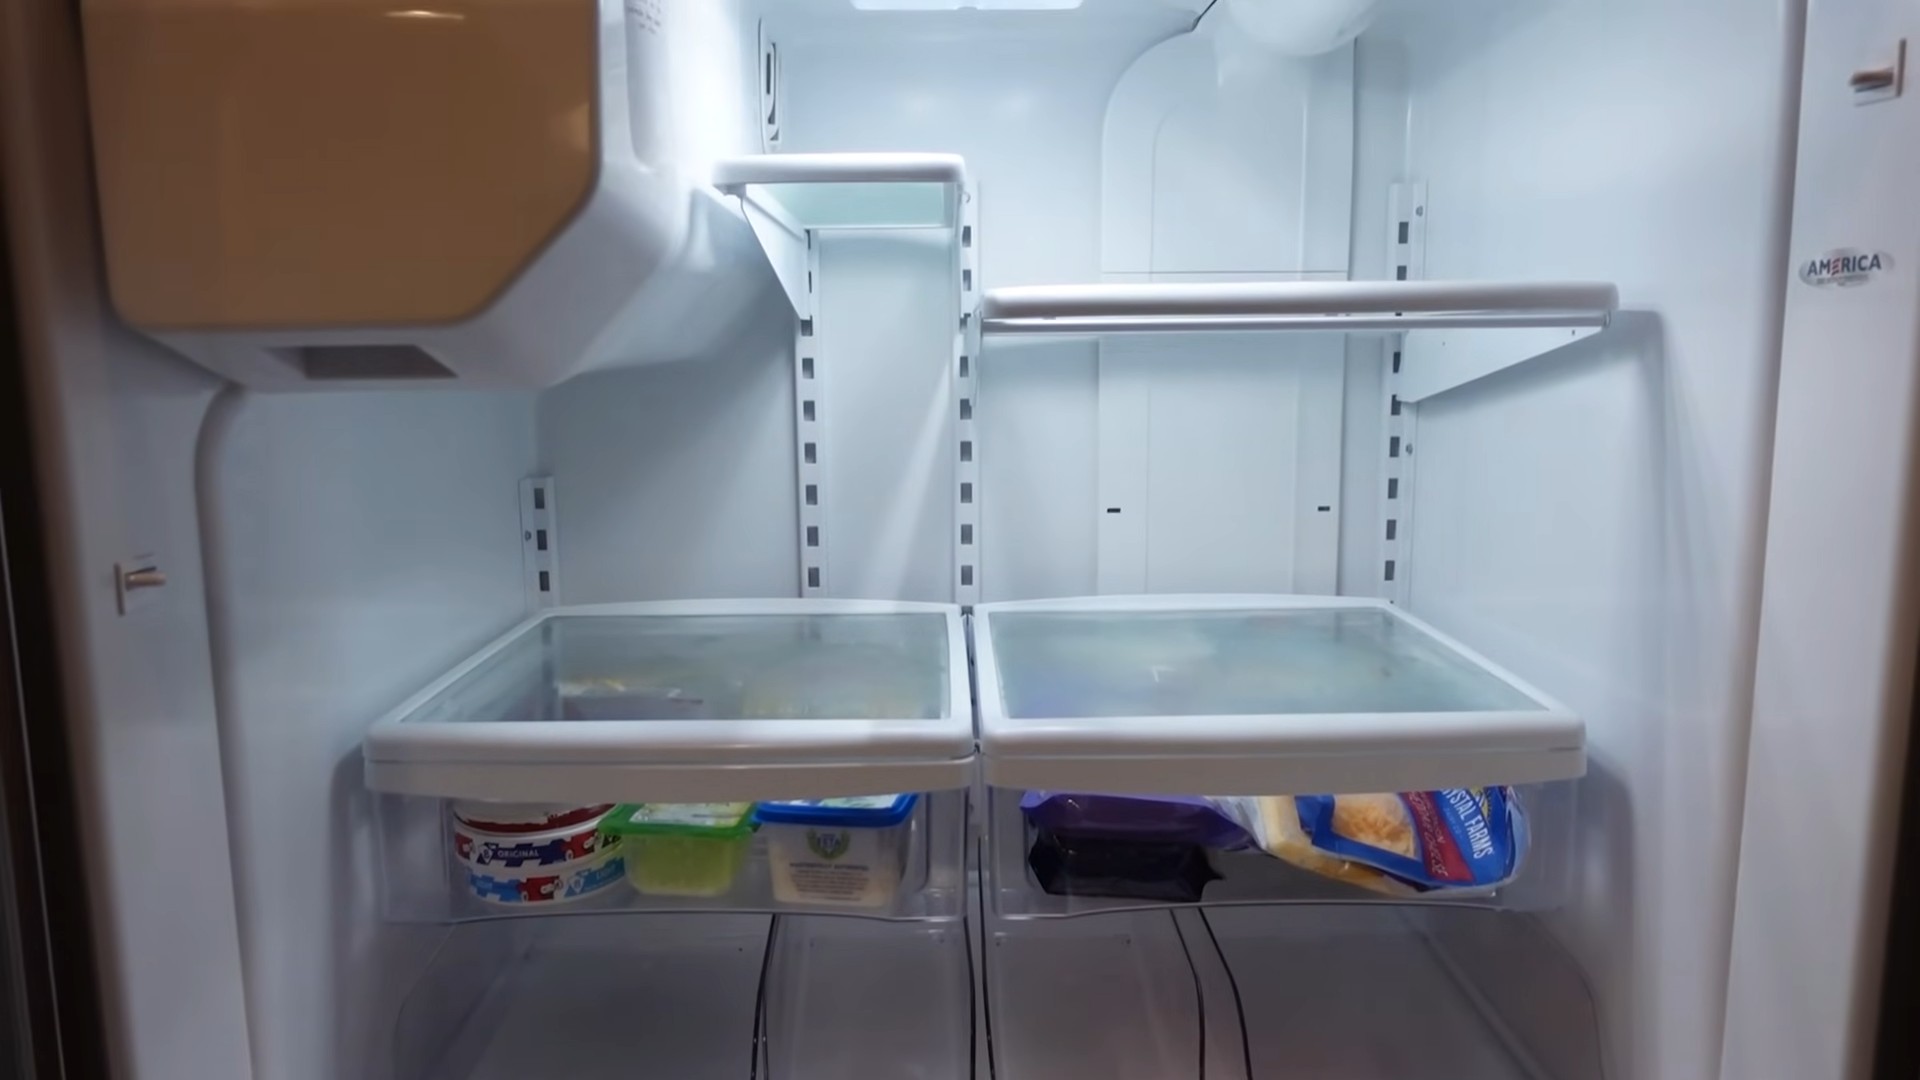
6. Remove Shelves and Drawers: Take out all removable shelves, drawers, and bins. Some shelves might require a little maneuvering to get them out. Consult your refrigerator’s manual if you’re unsure how to remove them.
7. Prepare Cleaning Solutions:
* Baking Soda Paste: Mix baking soda with a small amount of water to create a paste. This is great for scrubbing stubborn stains.
* Vinegar Solution: Mix equal parts white vinegar and warm water in a spray bottle. This is a natural disinfectant and deodorizer.
* Dish Soap Solution: Mix a few drops of mild dish soap with warm water in a bowl or bucket. This is for general cleaning.
Cleaning the Interior
Now for the main event! We’re going to tackle the inside of the refrigerator, making sure to get into every nook and cranny.
1. Wipe Down the Interior Walls: Using a microfiber cloth dampened with the dish soap solution, wipe down all interior walls of the refrigerator. Pay special attention to areas with spills or stains.
2. Scrub Stubborn Stains: For stubborn stains, apply the baking soda paste and let it sit for a few minutes. Then, scrub gently with a sponge or old toothbrush. Rinse with a damp cloth.
3. Clean the Door Seals: The door seals (also called gaskets) are often overlooked, but they can accumulate dirt and grime. Wipe them down with the dish soap solution and a damp cloth. Use an old toothbrush to clean any crevices.
4. Clean the Light Fixture: Wipe down the light fixture with a damp cloth. If the light bulb is removable, take it out and clean it separately. Make sure the light fixture is completely dry before replacing the bulb.
5. Rinse and Dry: After cleaning all surfaces, rinse them with a clean, damp cloth to remove any soap residue. Then, dry everything thoroughly with a clean microfiber cloth.
6. Vinegar Spray (Optional): For extra disinfection and odor removal, spray the interior with the vinegar solution. Let it sit for a few minutes, then wipe it down with a clean cloth. The vinegar smell will dissipate quickly.
Cleaning the Shelves and Drawers
These removable parts often bear the brunt of spills and messes. Let’s give them some extra attention.
1. Wash with Dish Soap: Wash the shelves, drawers, and bins with warm, soapy water. Use a sponge or scrub brush to remove any stuck-on food particles.
2. Rinse Thoroughly: Rinse all items thoroughly with clean water to remove any soap residue.
3. Disinfect (Optional): If you want to disinfect the shelves and drawers, you can soak them in a solution of water and white vinegar (1 part vinegar to 3 parts water) for about 15 minutes.
4. Dry Completely: Dry all items completely with a clean towel before placing them back in the refrigerator. This will prevent mold and mildew growth.
Cleaning the Exterior
Don’t forget the outside of your refrigerator! A clean exterior will make your whole kitchen look brighter.
1. Wipe Down the Exterior: Use a damp microfiber cloth to wipe down the exterior of the refrigerator, including the doors, sides, and top.
2. Clean the Handles: Pay special attention to the handles, as they tend to accumulate fingerprints and grime. Use a slightly stronger cleaning solution if necessary.
3. Clean the Top (If Accessible): If you can safely reach the top of your refrigerator, wipe it down to remove dust and debris.
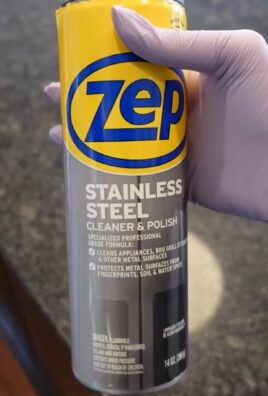
4. Stainless Steel Polish (If Applicable): If your refrigerator has a stainless steel finish, use a stainless steel polish to remove fingerprints and smudges. Follow the instructions on the polish.
Cleaning the Freezer (If Applicable)
If you’re tackling the refrigerator, you might as well give the freezer some love too!
1. Defrost (If Necessary): If your freezer has a lot of ice buildup, you’ll need to defrost it before cleaning. You can either unplug the freezer and let the ice melt naturally (this can take several hours), or you can use a hairdryer to speed up the process. Be careful not to damage the freezer walls with the hairdryer.
2. Remove Food: Remove all food items from the freezer and place them in a cooler with ice packs.
3. Clean the Interior: Wipe down the interior walls of the freezer with a solution of warm water and baking soda. This will help to remove odors and stains.
4. Clean the Shelves and Drawers: Wash the shelves and drawers with warm, soapy water. Rinse thoroughly and dry completely.
5. Dry Completely: Make sure the freezer is completely dry before plugging it back in.
Reassembling and Organizing
We’re almost there! Now it’s time to put everything back together and organize your refrigerator for optimal use.
1. Replace Shelves and Drawers: Place the clean and dry shelves, drawers, and bins back into the refrigerator.
2. Organize Food Items: As you’re putting food back in, think about how you can organize it for easy access and to prevent food waste.
* Top Shelf: Store read
Okay, let’s be honest, when was the last time you *really* cleaned your refrigerator? I’m talking beyond a quick wipe-down of spilled milk. If you’re anything like me, it’s probably been a while. But fear not! I’m going to walk you through a deep clean that will leave your fridge sparkling, smelling fresh, and functioning at its best. Trust me, it’s worth the effort.
What You’ll Need
Before we dive in, let’s gather our supplies. Having everything ready will make the process much smoother.
* Cleaning Supplies:
* Warm water
* Baking soda
* White vinegar
* Dish soap (mild)
* Spray bottle
* Microfiber cloths (lots of them!)
* Old toothbrush or small scrub brush
* Sponges
* Tools:
* Large bowl or bucket
* Trash bags
* Cooler or insulated bags (to keep food cold)
* Screwdriver (possibly, depending on your fridge model)
* Vacuum cleaner with hose attachment (optional, but helpful)
* Optional Extras:
* Essential oils (lemon, tea tree, or lavender for a fresh scent)
* Refrigerator deodorizer (baking soda box, charcoal filter, etc.)
Preparation is Key
This isn’t a task you want to rush into. A little prep work will save you time and frustration later.
1. Unplug the Refrigerator: This is crucial for safety! Unplug your refrigerator from the power outlet. This prevents any electrical accidents while you’re working.
2. Empty the Refrigerator: Remove all food items from the refrigerator and freezer. This includes condiments, leftovers, produce, and everything else.
3. Check Expiration Dates: As you’re removing items, check expiration dates and discard anything that’s past its prime. Be ruthless! This is a great opportunity to get rid of those mystery sauces and forgotten leftovers.
4. Sort and Organize: Group similar items together (e.g., dairy, condiments, produce). This will make it easier to put everything back in an organized manner later.
5. Keep Food Cold: Place perishable items in a cooler or insulated bags with ice packs to keep them cold while you’re cleaning. The goal is to prevent food spoilage.
6. Remove Shelves and Drawers: Take out all removable shelves, drawers, and bins. Some shelves might require a little maneuvering to get them out. Consult your refrigerator’s manual if you’re unsure how to remove them.
7. Prepare Cleaning Solutions:
* Baking Soda Paste: Mix baking soda with a small amount of water to create a paste. This is great for scrubbing stubborn stains.
* Vinegar Solution: Mix equal parts white vinegar and warm water in a spray bottle. This is a natural disinfectant and deodorizer.
* Dish Soap Solution: Mix a few drops of mild dish soap with warm water in a bowl or bucket. This is for general cleaning.
Cleaning the Interior
Now for the main event! We’re going to tackle the inside of the refrigerator, making sure to get into every nook and cranny.
1. Wipe Down the Interior Walls: Using a microfiber cloth dampened with the dish soap solution, wipe down all interior walls of the refrigerator. Pay special attention to areas with spills or stains.
2. Scrub Stubborn Stains: For stubborn stains, apply the baking soda paste and let it sit for a few minutes. Then, scrub gently with a sponge or old toothbrush. Rinse with a damp cloth.
3. Clean the Door Seals: The door seals (also called gaskets) are often overlooked, but they can accumulate dirt and grime. Wipe them down with the dish soap solution and a damp cloth. Use an old toothbrush to clean any crevices.
4. Clean the Light Fixture: Wipe down the light fixture with a damp cloth. If the light bulb is removable, take it out and clean it separately. Make sure the light fixture is completely dry before replacing the bulb.
5. Rinse and Dry: After cleaning all surfaces, rinse them with a clean, damp cloth to remove any soap residue. Then, dry everything thoroughly with a clean microfiber cloth.
6. Vinegar Spray (Optional): For extra disinfection and odor removal, spray the interior with the vinegar solution. Let it sit for a few minutes, then wipe it down with a clean cloth. The vinegar smell will dissipate quickly.
Cleaning the Shelves and Drawers
These removable parts often bear the brunt of spills and messes. Let’s give them some extra attention.
1. Wash with Dish Soap: Wash the shelves, drawers, and bins with warm, soapy water. Use a sponge or scrub brush to remove any stuck-on food particles.
2. Rinse Thoroughly: Rinse all items thoroughly with clean water to remove any soap residue.
3. Disinfect (Optional): If you want to disinfect the shelves and drawers, you can soak them in a solution of water and white vinegar (1 part vinegar to 3 parts water) for about 15 minutes.
4. Dry Completely: Dry all items completely with a clean towel before placing them back in the refrigerator. This will prevent mold and mildew growth.
Cleaning the Exterior
Don’t forget the outside of your refrigerator! A clean exterior will make your whole kitchen look brighter.
1. Wipe Down the Exterior: Use a damp microfiber cloth to wipe down the exterior of the refrigerator, including the doors, sides, and top.
2. Clean the Handles: Pay special attention to the handles, as they tend to accumulate fingerprints and grime. Use a slightly stronger cleaning solution if necessary.
3. Clean the Top (If Accessible): If you can safely reach the top of your refrigerator, wipe it down to remove dust and debris.
4. Stainless Steel Polish (If Applicable): If your refrigerator has a stainless steel finish, use a stainless steel polish to remove fingerprints and smudges. Follow the instructions on the polish.
Cleaning the Freezer (If Applicable)
If you’re tackling the refrigerator, you might as well give the freezer some love too!
1. Defrost (If Necessary): If your freezer has a lot of ice buildup, you’ll need to defrost it before cleaning. You can either unplug the freezer and let the ice melt naturally (this can take several hours), or you can use a hairdryer to speed up the process. Be careful not to damage the freezer walls with the hairdryer.
2. Remove Food: Remove all food items from the freezer and place them in a cooler with ice packs.
3. Clean the Interior: Wipe down the interior walls of the freezer with a solution of warm water and baking soda. This will help to remove odors and stains.
4. Clean the Shelves and Drawers: Wash the shelves and drawers with warm, soapy water. Rinse thoroughly and dry completely.
5. Dry Completely: Make sure the freezer is completely dry before plugging it back in.
Reassembling and Organizing
We’re almost there! Now it’s time to put everything back together and organize your refrigerator for optimal use.
1. Replace Shelves and Drawers: Place the clean and dry shelves, drawers, and bins back into the refrigerator.
2. Organize Food Items: As you’re putting food back in, think about how you can organize it for easy access and to prevent food waste.
* Top Shelf: Store ready-to-eat foods, such as leftovers, yogurt, and cheese.
* Middle Shelves: Store dairy products, eggs, and other frequently used items.
* Bottom Shelf: Store raw meat, poultry, and seafood in sealed containers to prevent cross-contamination.
* Drawers: Use the crisper drawers for fruits and vegetables. Adjust the humidity settings to keep them fresh longer.
* Door: Store condiments, sauces, and drinks. Avoid storing milk or eggs in the door, as the temperature fluctuates more in this area.
3. Check Temperature Settings: Make sure your refrigerator is set to the correct temperature. The ideal temperature is between 37°F (3°C) and 40°F (4°C).
4. Plug in the Refrigerator: Plug the refrigerator back into the power outlet.
5. Wait Before Adding Food: Allow the refrigerator to cool down to the correct temperature before adding food back in. This can take a few hours.
Maintaining a Clean Refrigerator
Now that you’ve put in all this effort, let’s talk about how to keep your refrigerator clean and fresh for longer.
* Wipe Up Spills Immediately: Don’t let spills sit and harden. Wipe
Conclusion
So, there you have it! Deep cleaning your refrigerator might seem like a daunting task, but with these simple, effective DIY tricks, it becomes a manageable and even satisfying project. We’ve walked you through the process, highlighting the importance of using natural cleaning solutions and providing you with a step-by-step guide to tackle even the stickiest spills and stubborn odors.
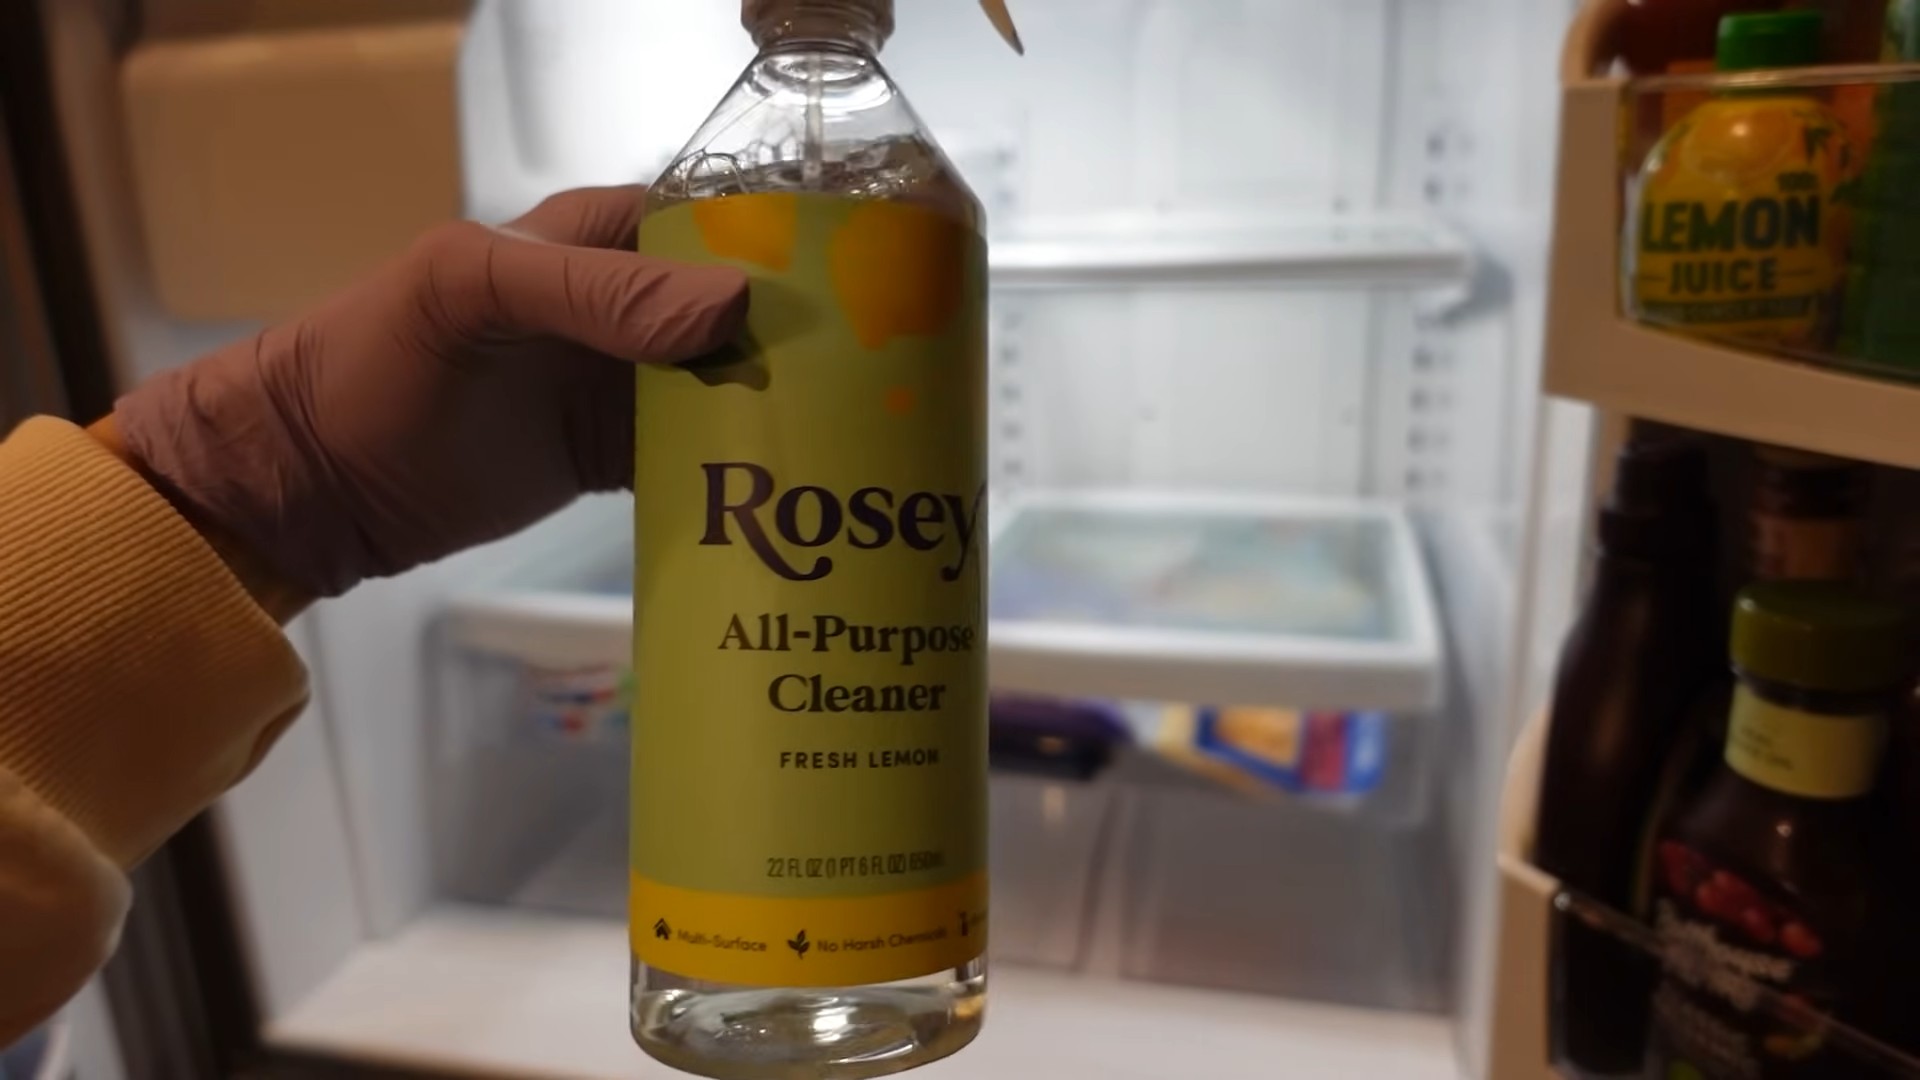
But why is this DIY approach a must-try? Beyond the obvious benefits of a sparkling clean fridge, you’re actively contributing to a healthier home environment. Harsh chemicals found in many commercial cleaners can leave behind residues that contaminate your food and impact your family’s well-being. By opting for DIY solutions like baking soda, vinegar, and lemon juice, you’re ensuring a safe and natural cleaning process. Plus, you’re saving money and reducing your environmental footprint – a win-win for everyone!
This isn’t just about aesthetics; it’s about food safety and peace of mind. A clean refrigerator operates more efficiently, saving you energy and extending the lifespan of your appliance. It also helps prevent cross-contamination and the growth of harmful bacteria, keeping your food fresher for longer and reducing the risk of foodborne illnesses.
Looking for variations? Consider adding a few drops of your favorite essential oil (lemon, tea tree, or eucalyptus are great choices) to your cleaning solution for an extra boost of freshness and antibacterial power. For particularly stubborn stains, create a paste of baking soda and water and let it sit on the affected area for a few minutes before scrubbing. You can also use old toothbrushes to get into those hard-to-reach corners and crevices.
Don’t be afraid to experiment and find what works best for you and your refrigerator. The key is to be consistent and make deep cleaning a regular part of your home maintenance routine. Aim for a thorough cleaning at least every three to six months, or more frequently if you notice spills or odors.
We’re confident that once you experience the satisfaction of a sparkling clean, fresh-smelling refrigerator, you’ll be hooked on this DIY trick. It’s a simple yet powerful way to improve your home environment, protect your family’s health, and save money in the process.
So, what are you waiting for? Gather your supplies, roll up your sleeves, and get ready to transform your refrigerator. We encourage you to try this DIY trick and share your experience with us in the comments below. Let us know your favorite cleaning solutions, any challenges you encountered, and the results you achieved. We’re eager to hear your stories and learn from your experiences. Happy cleaning!
Frequently Asked Questions (FAQ)
Why is it so important to deep clean my refrigerator regularly?
Deep cleaning your refrigerator regularly is crucial for several reasons. Firstly, it prevents the buildup of bacteria and mold, which can contaminate your food and lead to foodborne illnesses. Secondly, it eliminates unpleasant odors that can affect the taste and quality of your food. Thirdly, a clean refrigerator operates more efficiently, saving you energy and extending the lifespan of your appliance. Finally, it helps you maintain a more organized and hygienic kitchen environment. Regular deep cleaning is an essential part of maintaining a healthy and efficient home.
How often should I deep clean my refrigerator?
The frequency of deep cleaning depends on your usage and lifestyle. However, a good rule of thumb is to deep clean your refrigerator at least every three to six months. If you frequently have spills or notice unpleasant odors, you may need to clean it more often. Regular spot cleaning of spills and wiping down shelves can help extend the time between deep cleanings. Consider setting a reminder in your calendar to ensure you don’t forget to schedule this important task.
What are the best natural cleaning solutions for deep cleaning a refrigerator?
Several natural cleaning solutions are effective and safe for deep cleaning your refrigerator. Baking soda is excellent for absorbing odors and gently scrubbing surfaces. Vinegar is a natural disinfectant and can help remove stubborn stains. Lemon juice has antibacterial properties and leaves a fresh, clean scent. A mixture of warm water and dish soap can also be used for general cleaning. Avoid using harsh chemicals or abrasive cleaners, as they can damage the surfaces of your refrigerator and leave behind harmful residues.
Can I use bleach to clean my refrigerator?
While bleach is a powerful disinfectant, it’s generally not recommended for cleaning your refrigerator. Bleach can be harsh and leave behind a strong odor that can be absorbed by your food. It can also damage certain surfaces inside your refrigerator. If you choose to use bleach, dilute it heavily with water and rinse thoroughly afterwards. However, natural alternatives like vinegar and baking soda are generally safer and more effective for deep cleaning your refrigerator.
How do I remove stubborn stains and spills from my refrigerator?
For stubborn stains and spills, try creating a paste of baking soda and water. Apply the paste to the affected area and let it sit for a few minutes before scrubbing gently with a soft cloth or sponge. You can also use a mixture of vinegar and water to loosen stubborn stains. For sticky spills, try soaking a cloth in warm water and placing it over the spill for a few minutes to soften it before wiping it away. Avoid using abrasive cleaners or scouring pads, as they can scratch the surfaces of your refrigerator.
How do I get rid of bad odors in my refrigerator?
Baking soda is a natural odor absorber and can be used to eliminate bad smells in your refrigerator. Place an open box of baking soda in the refrigerator to absorb odors over time. You can also try placing a cotton ball soaked in vanilla extract in the refrigerator to freshen the air. Regularly check for expired or spoiled food and remove it promptly. Cleaning up spills and wiping down shelves can also help prevent the buildup of odors.
What’s the best way to organize my refrigerator after deep cleaning?
After deep cleaning your refrigerator, take the opportunity to organize it for optimal efficiency and food safety. Store perishable items like meat, poultry, and fish on the bottom shelf, where it’s coldest. Keep dairy products and eggs in the middle shelves. Store fruits and vegetables in the crisper drawers. Use clear containers to store leftovers and prepped ingredients. Label and date all containers to ensure you use them before they expire. By organizing your refrigerator effectively, you can reduce food waste and make it easier to find what you need.
Are there any parts of the refrigerator I should pay special attention to when deep cleaning?
Yes, there are certain parts of the refrigerator that require special attention during deep cleaning. The door shelves tend to accumulate spills and crumbs, so be sure to wipe them down thoroughly. The crisper drawers can harbor moisture and bacteria, so remove them and wash them with warm soapy water. The ice maker and water dispenser should also be cleaned regularly to prevent the buildup of mold and bacteria. Don’t forget to clean the exterior of the refrigerator, including the door handles and top surface.
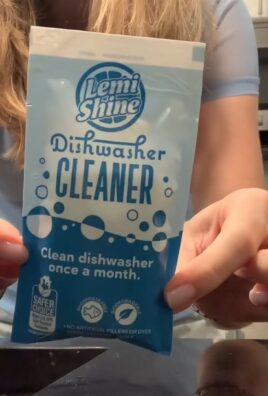
Can I use a dishwasher to clean the refrigerator shelves and drawers?
Many refrigerator shelves and drawers are dishwasher-safe, but it’s always best to check the manufacturer’s instructions before placing them in the dishwasher. If they are dishwasher-safe, use a mild detergent and a gentle cycle. Avoid using high heat, as it can warp or damage the plastic. If you’re unsure whether a part is dishwasher-safe, it’s best to wash it by hand with warm soapy water.
How can I prevent my refrigerator from getting dirty so quickly?
Preventing your refrigerator from getting dirty quickly requires a few simple habits. Clean up spills immediately to prevent them from hardening and becoming difficult to remove. Store food in airtight containers to prevent leaks and spills. Regularly check for expired or spoiled food and remove it promptly. Wipe down shelves and drawers regularly to remove crumbs and debris. By following these simple tips, you can keep your refrigerator cleaner for longer and reduce the frequency of deep cleanings.

Leave a Comment