
Hydrogen Peroxide Grout Cleaning: Is your grout looking less than sparkling? Are you tired of those dingy, discolored lines between your tiles making your kitchen or bathroom look older than it is? I totally get it! We’ve all been there, scrubbing away with little to no success. But what if I told you there’s a simple, effective, and surprisingly affordable solution hiding in your medicine cabinet?
For generations, homeowners have battled grimy grout, often resorting to harsh chemicals with unpleasant odors and questionable safety. But the secret to truly clean grout might surprise you. While the exact origins of using hydrogen peroxide for cleaning are a bit murky, its bleaching and disinfecting properties have been recognized for decades. Think of it as a gentler, more eco-conscious approach to achieving that fresh, clean look we all crave.
Let’s face it, nobody enjoys spending hours on their hands and knees scrubbing grout. It’s back-breaking work, and often, the results are disappointing. That’s why I’m so excited to share this DIY trick with you. Hydrogen peroxide grout cleaning is not only incredibly effective at lifting stains and killing mold and mildew, but it’s also a safer alternative to many commercial cleaners. Plus, it’s a budget-friendly way to revitalize your tiled surfaces and bring back that “like new” sparkle. So, ditch the harsh chemicals and get ready to discover the power of hydrogen peroxide for a grout cleaning transformation!
DIY Grout Cleaning with Hydrogen Peroxide: A Sparkling Solution!
Hey there, fellow DIY enthusiasts! Are you tired of staring at dingy, discolored grout lines? I know I was! No matter how much I scrubbed, those stubborn stains just wouldn’t budge. That’s when I discovered the magic of hydrogen peroxide. It’s a safe, effective, and surprisingly affordable way to bring your grout back to life. And trust me, the results are seriously satisfying!
This guide will walk you through everything you need to know to clean your grout with hydrogen peroxide, from gathering your supplies to tackling those extra-tough stains. Let’s get started!
What You’ll Need: The Supply List
Before we dive in, let’s make sure you have everything you need. Here’s a handy checklist:
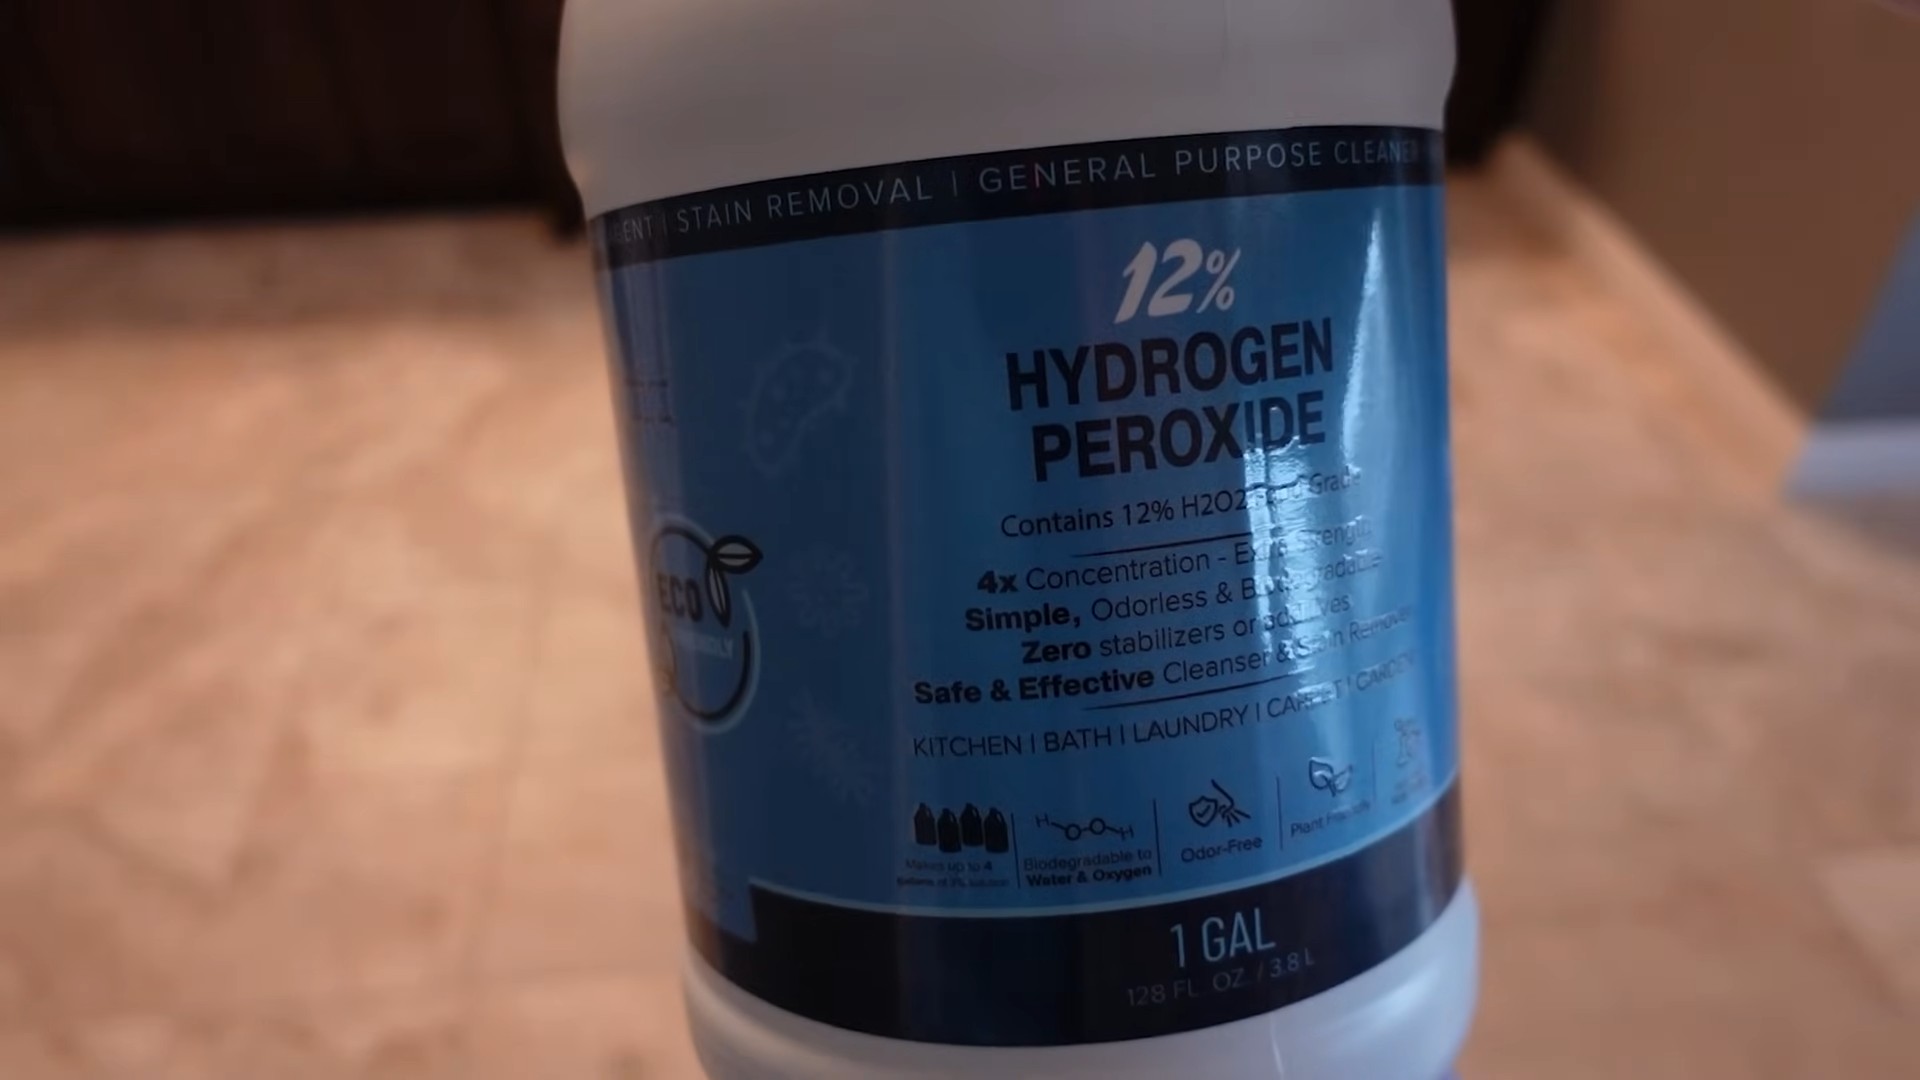
* Hydrogen Peroxide (3%): This is the standard concentration you’ll find at any drugstore. Don’t go for anything stronger unless you’re dealing with extremely stubborn stains and know what you’re doing.
* Spray Bottle: A clean, empty spray bottle is essential for easy application.
* Old Toothbrush or Grout Brush: An old toothbrush works great for smaller areas, but a grout brush with a longer handle will save your back when cleaning larger surfaces.
* Baking Soda (Optional): For extra cleaning power, baking soda is your best friend.
* Dish Soap (Optional): A few drops of dish soap can help cut through grease and grime.
* Microfiber Cloths or Paper Towels: For wiping away the solution and drying the grout.
* Gloves: Protect your hands from the hydrogen peroxide, especially if you have sensitive skin.
* Eye Protection (Optional): While hydrogen peroxide is generally safe, it’s always a good idea to protect your eyes from splashes.
* Small Bowl (Optional): If you’re making a paste, you’ll need a small bowl to mix the ingredients.
* Old Rag or Towel: For protecting surrounding surfaces.
Step-by-Step Guide: Cleaning Your Grout
Okay, now for the fun part! Follow these steps to get your grout sparkling clean:
1. Prepare the Area: Before you start, sweep or vacuum the area to remove any loose dirt or debris. This will prevent you from just pushing the dirt around when you start cleaning. I usually give the area a quick wipe down with a damp cloth too.
2. Choose Your Cleaning Method: You have a few options here, depending on the severity of the stains and your personal preference:
* Hydrogen Peroxide Spray: This is the simplest method and works well for lightly stained grout.
* Hydrogen Peroxide and Baking Soda Paste: This is a more powerful option for tougher stains.
* Hydrogen Peroxide and Dish Soap Solution: This is great for cutting through grease and grime in kitchens or bathrooms.
3. Prepare Your Cleaning Solution:
* For Hydrogen Peroxide Spray: Simply pour the hydrogen peroxide into your spray bottle. That’s it!
* For Hydrogen Peroxide and Baking Soda Paste: In a small bowl, mix baking soda and hydrogen peroxide until you form a thick paste. The ratio is usually about 2 parts baking soda to 1 part hydrogen peroxide, but you can adjust it to get the consistency you like.
* For Hydrogen Peroxide and Dish Soap Solution: Fill your spray bottle with hydrogen peroxide and add a few drops of dish soap. Gently swirl to mix. Be careful not to shake it too vigorously, or you’ll end up with a bottle full of bubbles!
4. Apply the Cleaning Solution:
* For Spray: Spray the hydrogen peroxide directly onto the grout lines. Make sure to saturate the grout thoroughly.
* For Paste: Apply the paste to the grout lines using your fingers or a small spatula. Make sure to cover the entire stained area.
* For Dish Soap Solution: Spray the solution onto the grout lines, ensuring they are well coated.
5. Let it Sit: This is where the magic happens! Allow the hydrogen peroxide to sit on the grout for at least 10-15 minutes. For tougher stains, you can let it sit for up to 30 minutes. The longer it sits, the more time it has to break down the stains.
6. Scrub the Grout: Using your old toothbrush or grout brush, scrub the grout lines thoroughly. Apply firm pressure and work in small sections. You’ll start to see the stains lifting away. I find that a circular motion works best.
7. Rinse and Wipe: Once you’ve scrubbed the grout, rinse the area with clean water. You can use a damp sponge or cloth to wipe away the residue. Make sure to remove all traces of the cleaning solution.
8. Dry the Grout: Use a clean microfiber cloth or paper towels to dry the grout. This will help prevent water spots and mildew growth.
9. Repeat if Necessary: For particularly stubborn stains, you may need to repeat the process. Don’t be discouraged if it takes a few tries to get your grout looking its best.
Tackling Tough Stains: Advanced Techniques
Sometimes, those stains just won’t budge with the basic method. Don’t worry, I’ve got a few tricks up my sleeve!
* Baking Soda Poultice: For really tough stains, create a thick paste of baking soda and hydrogen peroxide. Apply the paste to the stained area and cover it with plastic wrap. Let it sit overnight. The next day, remove the plastic wrap and scrub the grout with a brush. Rinse and dry as usual. This method allows the baking soda and hydrogen peroxide to work their magic for an extended period.
* Heat it Up (Carefully!): Applying a little heat can sometimes help loosen stubborn stains. After applying the hydrogen peroxide, you can try using a hairdryer on a low setting to gently warm the grout. Be careful not to overheat the area, as this could damage the tile or grout.
* Steam Cleaning: If you have a steam cleaner, you can use it to blast away stubborn stains. After applying the hydrogen peroxide, use the steam cleaner to steam the grout lines. The heat and pressure from the steam will help to lift away the dirt and grime.
Important Considerations: Safety First!
While hydrogen peroxide is generally safe, it’s important to take a few precautions:
* Ventilation: Make sure to work in a well-ventilated area. Open windows or turn on a fan to circulate the air.
* Skin Protection: Wear gloves to protect your hands from the hydrogen peroxide. Prolonged exposure can cause skin irritation.
* Eye Protection: While not always necessary, it’s a good idea to wear eye protection to prevent splashes.
* Test in an Inconspicuous Area: Before cleaning your entire grout surface, test the hydrogen peroxide in a small, inconspicuous area to make sure it doesn’t damage the tile or grout.
* Avoid Mixing with Other Cleaners: Never mix hydrogen peroxide with other cleaning products, especially bleach. This can create dangerous fumes.
Maintaining Your Sparkling Grout: Prevention is Key!
Once you’ve got your grout looking its best, you’ll want to keep it that way! Here are a few tips for maintaining your sparkling grout:
* Wipe Up Spills Immediately: The sooner you wipe up spills, the less likely they are to stain the grout.
* Regular Cleaning: Clean your grout regularly with a mild detergent and water. This will help prevent dirt and grime from building up.
* Seal Your Grout: Sealing your grout will help protect it from stains and moisture. You can purchase grout sealant at most hardware stores. Apply the sealant according to the manufacturer’s instructions.
* Use a Squeegee: After showering, use a squeegee to remove excess water from the tile and grout. This will help prevent mildew growth.
* Ventilate Your Bathroom: Make sure your bathroom is well-ventilated to prevent moisture buildup. Run the exhaust fan during and after showering.
Troubleshooting: Common Problems and Solutions
Even with the best instructions, you might encounter a few snags along the way. Here are some common problems and how to fix them:
* Grout is Still Stained: If your grout is still stained after cleaning, try repeating the process with a stronger cleaning solution, such as the baking soda poultice. You may also need to scrub the grout more vigorously.
Hey there, fellow DIY enthusiasts! Are you tired of staring at dingy, discolored grout lines? I know I was! No matter how much I scrubbed, those stubborn stains just wouldn’t budge. That’s when I discovered the magic of hydrogen peroxide. It’s a safe, effective, and surprisingly affordable way to bring your grout back to life. And trust me, the results are seriously satisfying!
This guide will walk you through everything you need to know to clean your grout with hydrogen peroxide, from gathering your supplies to tackling those extra-tough stains. Let’s get started!
What You’ll Need: The Supply List
Before we dive in, let’s make sure you have everything you need. Here’s a handy checklist:
* Hydrogen Peroxide (3%): This is the standard concentration you’ll find at any drugstore. Don’t go for anything stronger unless you’re dealing with extremely stubborn stains and know what you’re doing.
* Spray Bottle: A clean, empty spray bottle is essential for easy application.
* Old Toothbrush or Grout Brush: An old toothbrush works great for smaller areas, but a grout brush with a longer handle will save your back when cleaning larger surfaces.
* Baking Soda (Optional): For extra cleaning power, baking soda is your best friend.
* Dish Soap (Optional): A few drops of dish soap can help cut through grease and grime.
* Microfiber Cloths or Paper Towels: For wiping away the solution and drying the grout.
* Gloves: Protect your hands from the hydrogen peroxide, especially if you have sensitive skin.
* Eye Protection (Optional): While hydrogen peroxide is generally safe, it’s always a good idea to protect your eyes from splashes.
* Small Bowl (Optional): If you’re making a paste, you’ll need a small bowl to mix the ingredients.
* Old Rag or Towel: For protecting surrounding surfaces.
Step-by-Step Guide: Cleaning Your Grout
Okay, now for the fun part! Follow these steps to get your grout sparkling clean:
1. Prepare the Area: Before you start, sweep or vacuum the area to remove any loose dirt or debris. This will prevent you from just pushing the dirt around when you start cleaning. I usually give the area a quick wipe down with a damp cloth too.
2. Choose Your Cleaning Method: You have a few options here, depending on the severity of the stains and your personal preference:
* Hydrogen Peroxide Spray: This is the simplest method and works well for lightly stained grout.
* Hydrogen Peroxide and Baking Soda Paste: This is a more powerful option for tougher stains.
* Hydrogen Peroxide and Dish Soap Solution: This is great for cutting through grease and grime in kitchens or bathrooms.
3. Prepare Your Cleaning Solution:
* For Hydrogen Peroxide Spray: Simply pour the hydrogen peroxide into your spray bottle. That’s it!
* For Hydrogen Peroxide and Baking Soda Paste: In a small bowl, mix baking soda and hydrogen peroxide until you form a thick paste. The ratio is usually about 2 parts baking soda to 1 part hydrogen peroxide, but you can adjust it to get the consistency you like.
* For Hydrogen Peroxide and Dish Soap Solution: Fill your spray bottle with hydrogen peroxide and add a few drops of dish soap. Gently swirl to mix. Be careful not to shake it too vigorously, or you’ll end up with a bottle full of bubbles!
4. Apply the Cleaning Solution:
* For Spray: Spray the hydrogen peroxide directly onto the grout lines. Make sure to saturate the grout thoroughly.
* For Paste: Apply the paste to the grout lines using your fingers or a small spatula. Make sure to cover the entire stained area.
* For Dish Soap Solution: Spray the solution onto the grout lines, ensuring they are well coated.
5. Let it Sit: This is where the magic happens! Allow the hydrogen peroxide to sit on the grout for at least 10-15 minutes. For tougher stains, you can let it sit for up to 30 minutes. The longer it sits, the more time it has to break down the stains.
6. Scrub the Grout: Using your old toothbrush or grout brush, scrub the grout lines thoroughly. Apply firm pressure and work in small sections. You’ll start to see the stains lifting away. I find that a circular motion works best.
7. Rinse and Wipe: Once you’ve scrubbed the grout, rinse the area with clean water. You can use a damp sponge or cloth to wipe away the residue. Make sure to remove all traces of the cleaning solution.
8. Dry the Grout: Use a clean microfiber cloth or paper towels to dry the grout. This will help prevent water spots and mildew growth.
9. Repeat if Necessary: For particularly stubborn stains, you may need to repeat the process. Don’t be discouraged if it takes a few tries to get your grout looking its best.
Tackling Tough Stains: Advanced Techniques
Sometimes, those stains just won’t budge with the basic method. Don’t worry, I’ve got a few tricks up my sleeve!
* Baking Soda Poultice: For really tough stains, create a thick paste of baking soda and hydrogen peroxide. Apply the paste to the stained area and cover it with plastic wrap. Let it sit overnight. The next day, remove the plastic wrap and scrub the grout with a brush. Rinse and dry as usual. This method allows the baking soda and hydrogen peroxide to work their magic for an extended period.
* Heat it Up (Carefully!): Applying a little heat can sometimes help loosen stubborn stains. After applying the hydrogen peroxide, you can try using a hairdryer on a low setting to gently warm the grout. Be careful not to overheat the area, as this could damage the tile or grout.
* Steam Cleaning: If you have a steam cleaner, you can use it to blast away stubborn stains. After applying the hydrogen peroxide, use the steam cleaner to steam the grout lines. The heat and pressure from the steam will help to lift away the dirt and grime.
Important Considerations: Safety First!
While hydrogen peroxide is generally safe, it’s important to take a few precautions:
* Ventilation: Make sure to work in a well-ventilated area. Open windows or turn on a fan to circulate the air.
* Skin Protection: Wear gloves to protect your hands from the hydrogen peroxide. Prolonged exposure can cause skin irritation.
* Eye Protection: While not always necessary, it’s a good idea to wear eye protection to prevent splashes.
* Test in an Inconspicuous Area: Before cleaning your entire grout surface, test the hydrogen peroxide in a small, inconspicuous area to make sure it doesn’t damage the tile or grout.
* Avoid Mixing with Other Cleaners: Never mix hydrogen peroxide with other cleaning products, especially bleach. This can create dangerous fumes.
Maintaining Your Sparkling Grout: Prevention is Key!
Once you’ve got your grout looking its best, you’ll want to keep it that way! Here are a few tips for maintaining your sparkling grout:
* Wipe Up Spills Immediately: The sooner you wipe up spills, the less likely they are to stain the grout.
* Regular Cleaning: Clean your grout regularly with a mild detergent and water. This will help prevent dirt and grime from building up.
* Seal Your Grout: Sealing your grout will help protect it from stains and moisture. You can purchase grout sealant at most hardware stores. Apply the sealant according to the manufacturer’s instructions.
* Use a Squeegee: After showering, use a squeegee to remove excess water from the tile and grout. This will help prevent mildew growth.
* Ventilate Your Bathroom: Make sure your bathroom is well-ventilated to prevent moisture buildup. Run the exhaust fan during and after showering.
Troubleshooting: Common Problems and Solutions
Even with the best instructions, you might encounter a few snags along the way. Here are some common problems and how to fix them:
* Grout is Still Stained: If your grout is still stained after cleaning, try repeating the process with a stronger cleaning solution, such as the baking soda poultice. You may also need to scrub the grout more vigorously.
* Grout is Discolored: If your grout is discolored after cleaning, it could be due to mineral deposits or hard water stains. Try using a grout cleaner specifically designed to remove mineral deposits.
* Tile is Damaged: If you accidentally damage your tile while cleaning, you may need to replace the damaged tile.
* Hydrogen Peroxide is Not Working: Make sure you are using fresh hydrogen peroxide. Hydrogen peroxide

Conclusion
So, there you have it! Unleashing the power of hydrogen peroxide for grout cleaning is not just a cleaning hack; it’s a game-changer for anyone seeking a brighter, fresher home. We’ve explored how this readily available, budget-friendly solution can effectively tackle stubborn stains and discoloration, restoring your grout to its former glory.
Why is this DIY trick a must-try? Because it’s simple, effective, and significantly reduces your reliance on harsh chemical cleaners. Many commercial grout cleaners contain ingredients that can be harmful to your health and the environment. Hydrogen peroxide, on the other hand, breaks down into water and oxygen, making it a much safer and more eco-conscious choice. Plus, the satisfaction of seeing those dingy grout lines transform before your eyes is incredibly rewarding.
But the benefits don’t stop there. This method is incredibly versatile. While we’ve focused on using a paste of baking soda and hydrogen peroxide, feel free to experiment with variations. For instance, for particularly stubborn stains, you can try adding a few drops of dish soap to the mixture. The dish soap will help to break down grease and grime, further enhancing the cleaning power of the hydrogen peroxide. Another option is to use a stronger concentration of hydrogen peroxide, but always test it in an inconspicuous area first to ensure it doesn’t damage your grout or tiles. You can also try using a steam cleaner after applying the hydrogen peroxide paste for an extra boost of cleaning power. The steam will help to loosen any remaining dirt and grime, leaving your grout sparkling clean.
Consider using different tools for application. While an old toothbrush is a reliable choice, a grout brush with stiffer bristles can be even more effective at scrubbing away stubborn stains. For larger areas, a sponge mop can be used to apply the hydrogen peroxide solution, followed by scrubbing with a brush. Remember to always wear gloves to protect your hands from the hydrogen peroxide.
We understand that every home and every grout situation is unique. That’s why we encourage you to experiment and find what works best for you. The key is to be patient and persistent. Some stains may require multiple applications or longer soaking times. Don’t be discouraged if you don’t see results immediately. Keep at it, and you’ll eventually achieve the clean, bright grout you’ve been dreaming of.
Now, it’s your turn! We urge you to give this **hydrogen peroxide grout cleaning** method a try. We’re confident that you’ll be amazed by the results. And more importantly, we want to hear about your experience. Share your before-and-after photos, your tips and tricks, and any variations you’ve discovered in the comments below. Let’s create a community of clean grout enthusiasts and help each other achieve sparkling homes! Your insights could be invaluable to others who are struggling with dirty grout. So, grab your hydrogen peroxide, your baking soda, and your toothbrush, and get ready to transform your grout! We can’t wait to see your results!
Frequently Asked Questions (FAQ)
1. What concentration of hydrogen peroxide should I use for grout cleaning?
The most commonly recommended concentration is 3% hydrogen peroxide, which is the standard strength you find in most drugstores. This concentration is generally safe for most types of grout and tile. However, for particularly stubborn stains, you can try using a higher concentration, such as 6% or even 10%. But it’s crucial to exercise caution when using higher concentrations. Always test the hydrogen peroxide in an inconspicuous area first to ensure it doesn’t damage or discolor your grout or tiles. Also, be sure to wear gloves and eye protection when working with higher concentrations of hydrogen peroxide. If you’re unsure about the concentration to use, it’s always best to start with the lower 3% concentration and gradually increase it if needed.
2. Can I use hydrogen peroxide on all types of grout?
While hydrogen peroxide is generally safe for most types of grout, it’s always a good idea to test it in an inconspicuous area first, especially if you have colored grout. Some types of colored grout may be susceptible to fading or discoloration when exposed to hydrogen peroxide. If you notice any adverse effects after testing, discontinue use immediately. For epoxy grout, hydrogen peroxide is generally safe to use, but it’s still recommended to test it first. If you have any doubts about whether hydrogen peroxide is safe for your specific type of grout, consult with a professional tile and grout cleaner.
3. How long should I leave the hydrogen peroxide paste on the grout?
The amount of time you leave the hydrogen peroxide paste on the grout will depend on the severity of the stains. For light stains, 10-15 minutes may be sufficient. For more stubborn stains, you may need to leave the paste on for 30 minutes or even longer. You can even leave the paste on overnight for particularly challenging stains. However, it’s important to check the grout periodically to ensure that the hydrogen peroxide is not causing any damage or discoloration. If you notice any adverse effects, rinse the paste off immediately.
4. What if the hydrogen peroxide doesn’t remove all the stains?
If the hydrogen peroxide doesn’t remove all the stains on the first try, don’t give up! You may need to repeat the process several times to achieve the desired results. You can also try using a stronger concentration of hydrogen peroxide or adding a few drops of dish soap to the mixture. Another option is to use a steam cleaner after applying the hydrogen peroxide paste. The steam will help to loosen any remaining dirt and grime. For extremely stubborn stains, you may need to resort to using a commercial grout cleaner. However, always follow the manufacturer’s instructions carefully and wear appropriate safety gear.
5. Is hydrogen peroxide safe to use around pets and children?
While hydrogen peroxide is generally considered to be a safer alternative to harsh chemical cleaners, it’s still important to exercise caution when using it around pets and children. Keep hydrogen peroxide out of reach of children and pets. Avoid getting hydrogen peroxide in your eyes or on your skin. If contact occurs, rinse immediately with water. Ensure adequate ventilation when using hydrogen peroxide. While the hydrogen peroxide is actively working on the grout, keep pets and children away from the area. Once the area has been thoroughly rinsed and dried, it is safe for pets and children to return.
6. Can I use hydrogen peroxide to clean grout on floors?
Yes, you can definitely use hydrogen peroxide to clean grout on floors. The process is the same as cleaning grout on walls or countertops. Apply the hydrogen peroxide paste to the grout lines, let it sit for the appropriate amount of time, scrub with a brush, and rinse thoroughly. For larger floor areas, you can use a sponge mop to apply the hydrogen peroxide solution, followed by scrubbing with a brush. Be sure to test the hydrogen peroxide in an inconspicuous area first to ensure it doesn’t damage your grout or tiles. Also, be careful not to slip on wet floors.
7. How often should I clean my grout with hydrogen peroxide?
The frequency with which you should clean your grout with hydrogen peroxide will depend on how quickly it gets dirty. In high-traffic areas, you may need to clean your grout every few weeks. In less frequently used areas, you may only need to clean your grout every few months. Regular cleaning will help to prevent stains from becoming deeply embedded in the grout. You can also take preventative measures to keep your grout clean, such as wiping up spills immediately and using a grout sealer.
8. What are some other uses for hydrogen peroxide in cleaning?
Besides grout cleaning, hydrogen peroxide has many other uses in cleaning. It can be used to disinfect surfaces, remove stains from clothing, whiten laundry, clean toilets, and even kill mold and mildew. Hydrogen peroxide is a versatile and effective cleaning agent that can be used throughout your home. Just remember to always exercise caution and test it in an inconspicuous area first before using it on a larger surface.
9. Can I mix hydrogen peroxide with other cleaning products?
It is generally not recommended to mix hydrogen peroxide with other cleaning products, especially bleach. Mixing hydrogen peroxide with bleach can create toxic fumes that can be harmful to your health. Always use hydrogen peroxide on its own or with baking soda. If you’re unsure about whether it’s safe to mix hydrogen peroxide with another cleaning product, it’s always best to err on the side of caution and avoid mixing them.
10. Where can I buy hydrogen peroxide?
Hydrogen peroxide is readily available at most drugstores, supermarkets, and online retailers. You can typically find it in the first aid section or the cleaning supplies aisle. The standard concentration of 3% hydrogen peroxide is usually the easiest to find. Higher concentrations may be available at specialty stores or online.


Leave a Comment