
Pet hair removal glove: Are you tired of battling pet hair that seems to cling to every surface in your home? I know I am! It’s a never-ending struggle for pet owners, and sometimes it feels like you’re losing the war against those pesky fur tumbleweeds. But what if I told you there’s a simple, cost-effective, and even enjoyable way to tackle this hairy situation?
For centuries, people have sought creative solutions to manage the challenges of living with animals. From ancient civilizations using natural fibers to brush their livestock to modern innovations in grooming tools, the quest for a hair-free home is a timeless pursuit. Today, we’re taking a page from that history and putting a DIY spin on it!
This DIY pet hair removal glove is a game-changer because it’s gentle on your furniture, effective at picking up hair, and can even be used to give your furry friend a relaxing massage while collecting loose fur. Plus, it’s a fantastic way to repurpose materials you might already have at home, making it an eco-friendly and budget-conscious solution. Say goodbye to sticky rollers and hello to a cleaner, happier home (and pet!). Let’s dive in and create this simple yet brilliant tool!
DIY Pet Hair Removal Glove: Say Goodbye to Fur Forever!
Okay, fellow pet parents, let’s be honest: pet hair is the glitter of the animal kingdom. It gets *everywhere*, and while it might look pretty for a fleeting moment, cleaning it up is a never-ending battle. I’ve tried countless lint rollers, vacuums, and brushes, but nothing seemed to truly conquer the furpocalypse. That is, until I discovered this ridiculously simple and effective DIY pet hair removal glove!
This project is super budget-friendly, uses materials you probably already have lying around, and takes less than 30 minutes to make. Trust me, your furniture, clothes, and sanity will thank you.
What You’ll Need:
* A rubber dishwashing glove (the thicker, the better!)
* Scissors
* Hot glue gun and glue sticks (or strong waterproof adhesive)
* Optional: Fabric scraps for decoration (felt works great!)
Step-by-Step Instructions:
1. **Prepare Your Glove:** Start by thoroughly cleaning your rubber dishwashing glove. Make sure it’s completely dry before moving on. This will ensure the glue adheres properly. I usually give mine a good scrub with dish soap and let it air dry overnight.
2. **Cutting the Glove (The Key to Success!):** This is where the magic happens! We’re going to create the textured surface that will grab all that pesky pet hair.
* **Finger Cuts:** Using your scissors, carefully make small, evenly spaced cuts along the fingers of the glove. The cuts should be about 1/2 inch to 3/4 inch long and about 1/4 inch apart. Don’t cut too deep, you just want to create flaps that will act like little grabbers. I like to angle my cuts slightly, alternating the direction on each finger for maximum hair-catching potential.
* Important Tip: Be extra careful not to cut yourself! Work slowly and deliberately. If you’re using a particularly sharp pair of scissors, you might want to wear a thimble or finger guard for extra protection.
* **Palm Cuts:** Now, move on to the palm of the glove. Here, you can make slightly larger cuts, about 1 inch long and 1/2 inch apart. Again, angle the cuts and alternate directions. The palm area will cover a larger surface, so you want to make sure you have plenty of these little “hair traps.”
* **Back of Hand Cuts (Optional):** If you want to use the back of your hand for removing hair from delicate surfaces like curtains or lampshades, you can add some cuts there as well. I usually make smaller, more delicate cuts on the back of the hand to avoid damaging anything.
3. **Reinforcing the Cuts (Optional, but Recommended):** To prevent the cuts from tearing or ripping over time, you can reinforce them with a small dab of hot glue. This step is a bit tedious, but it will significantly extend the life of your glove.
* **Applying the Glue:** Heat up your hot glue gun. Carefully apply a tiny dab of hot glue to the base of each cut, both on the inside and outside of the glove. Be careful not to use too much glue, as you don’t want to fill in the cuts and negate their hair-grabbing ability.
* Safety First: Hot glue can be, well, hot! Use caution and avoid touching the hot glue directly. I like to use a small tool, like a toothpick or skewer, to help position the glue precisely.
* **Alternative Adhesive:** If you don’t have a hot glue gun, you can use a strong waterproof adhesive like E6000. Just be sure to follow the manufacturer’s instructions and allow the adhesive to dry completely before using the glove.
4. **Decorating Your Glove (Optional, but Fun!):** This is where you can get creative and personalize your pet hair removal glove! I like to use felt scraps to add some fun designs.
* **Cutting the Fabric:** Cut out shapes from your fabric scraps. You can use stencils or freehand your designs. I’ve made paw prints, bones, and even little portraits of my pets!
* **Attaching the Fabric:** Use your hot glue gun or fabric glue to attach the fabric shapes to the back of the glove. Be sure to avoid gluing anything to the palm or fingers, as this will interfere with the glove’s hair-removing abilities.
* Other Decoration Ideas: You could also use paint markers to draw designs directly onto the glove. Just make sure to use a paint that is designed for use on rubber.
Using Your Pet Hair Removal Glove:
Now for the fun part – putting your new glove to the test!
1. **Slip on the Glove:** Put on your newly crafted pet hair removal glove. Make sure it fits snugly but comfortably.
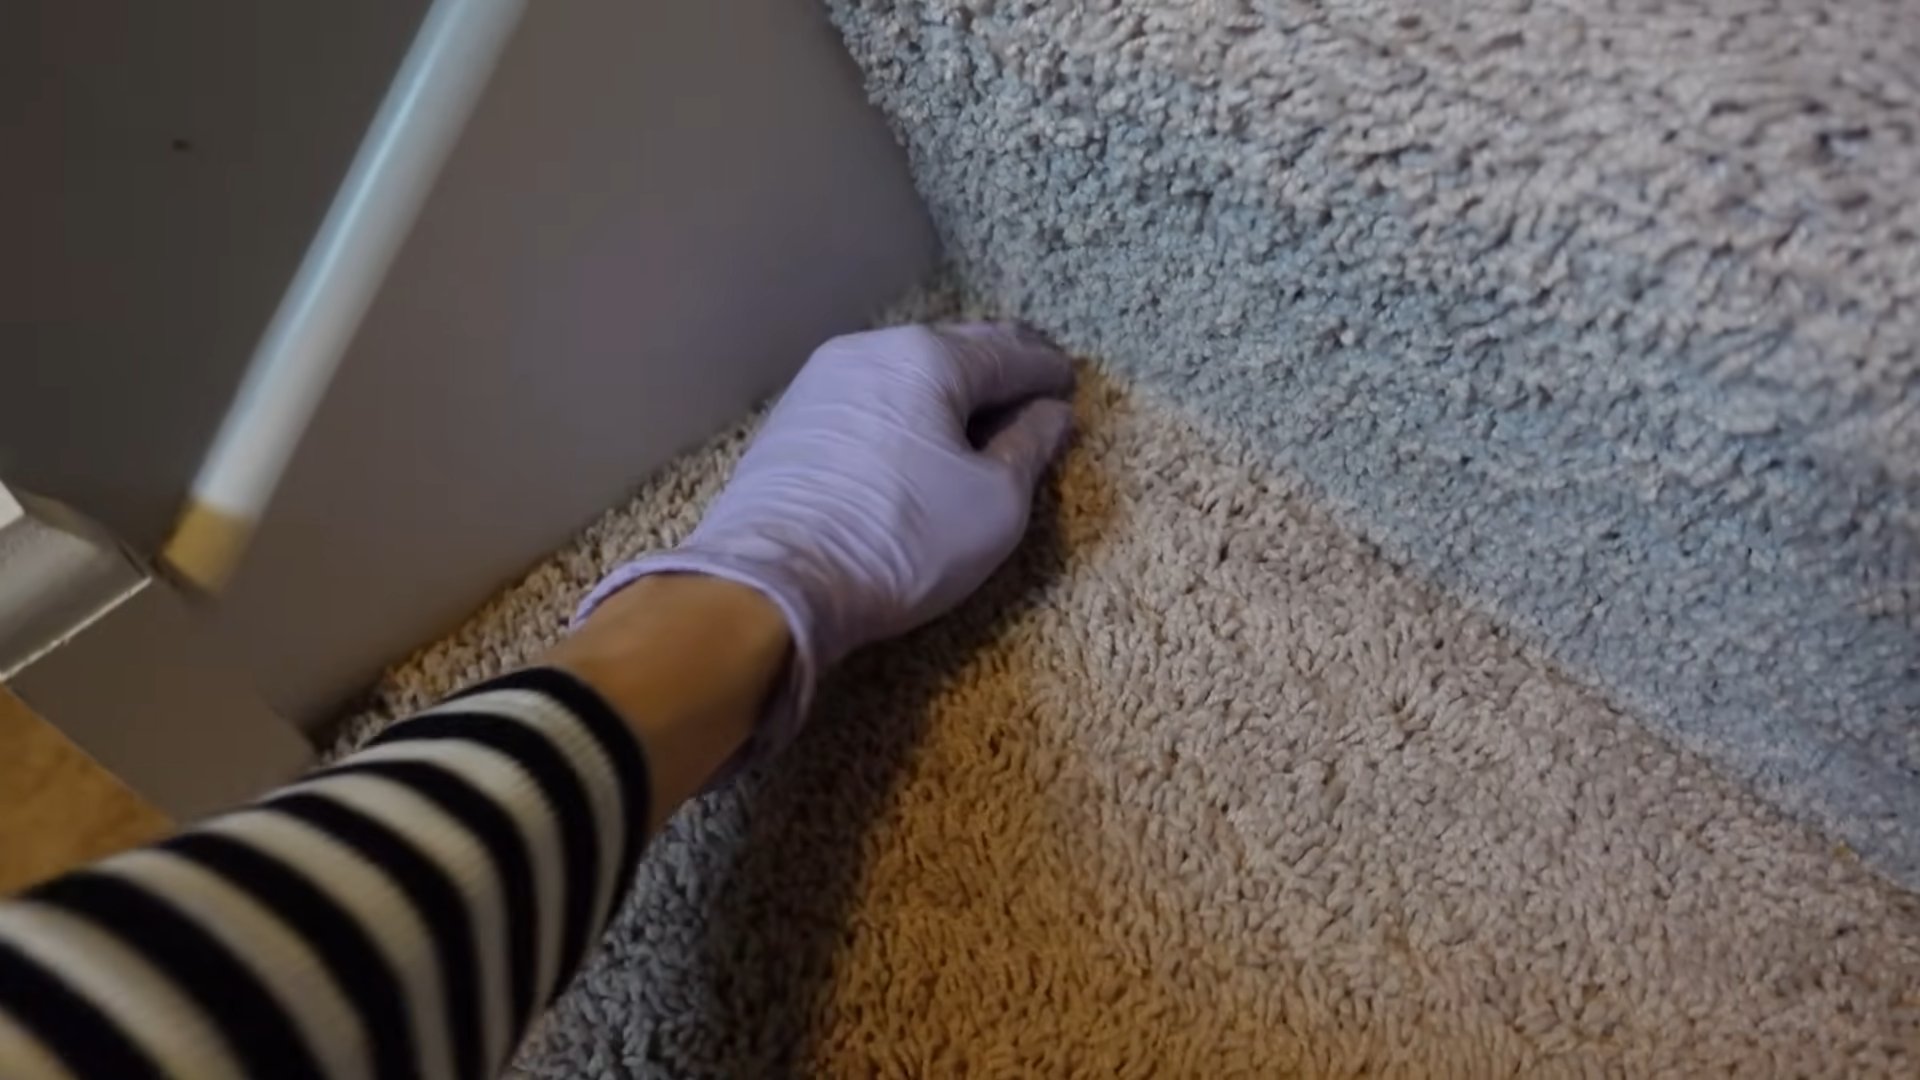
2. **Stroke and Swipe:** Gently stroke your hand over the surface you want to clean, using a sweeping motion. The cuts in the glove will grab onto the pet hair and pull it away from the fabric. I find that a combination of short, quick strokes and longer, sweeping motions works best.
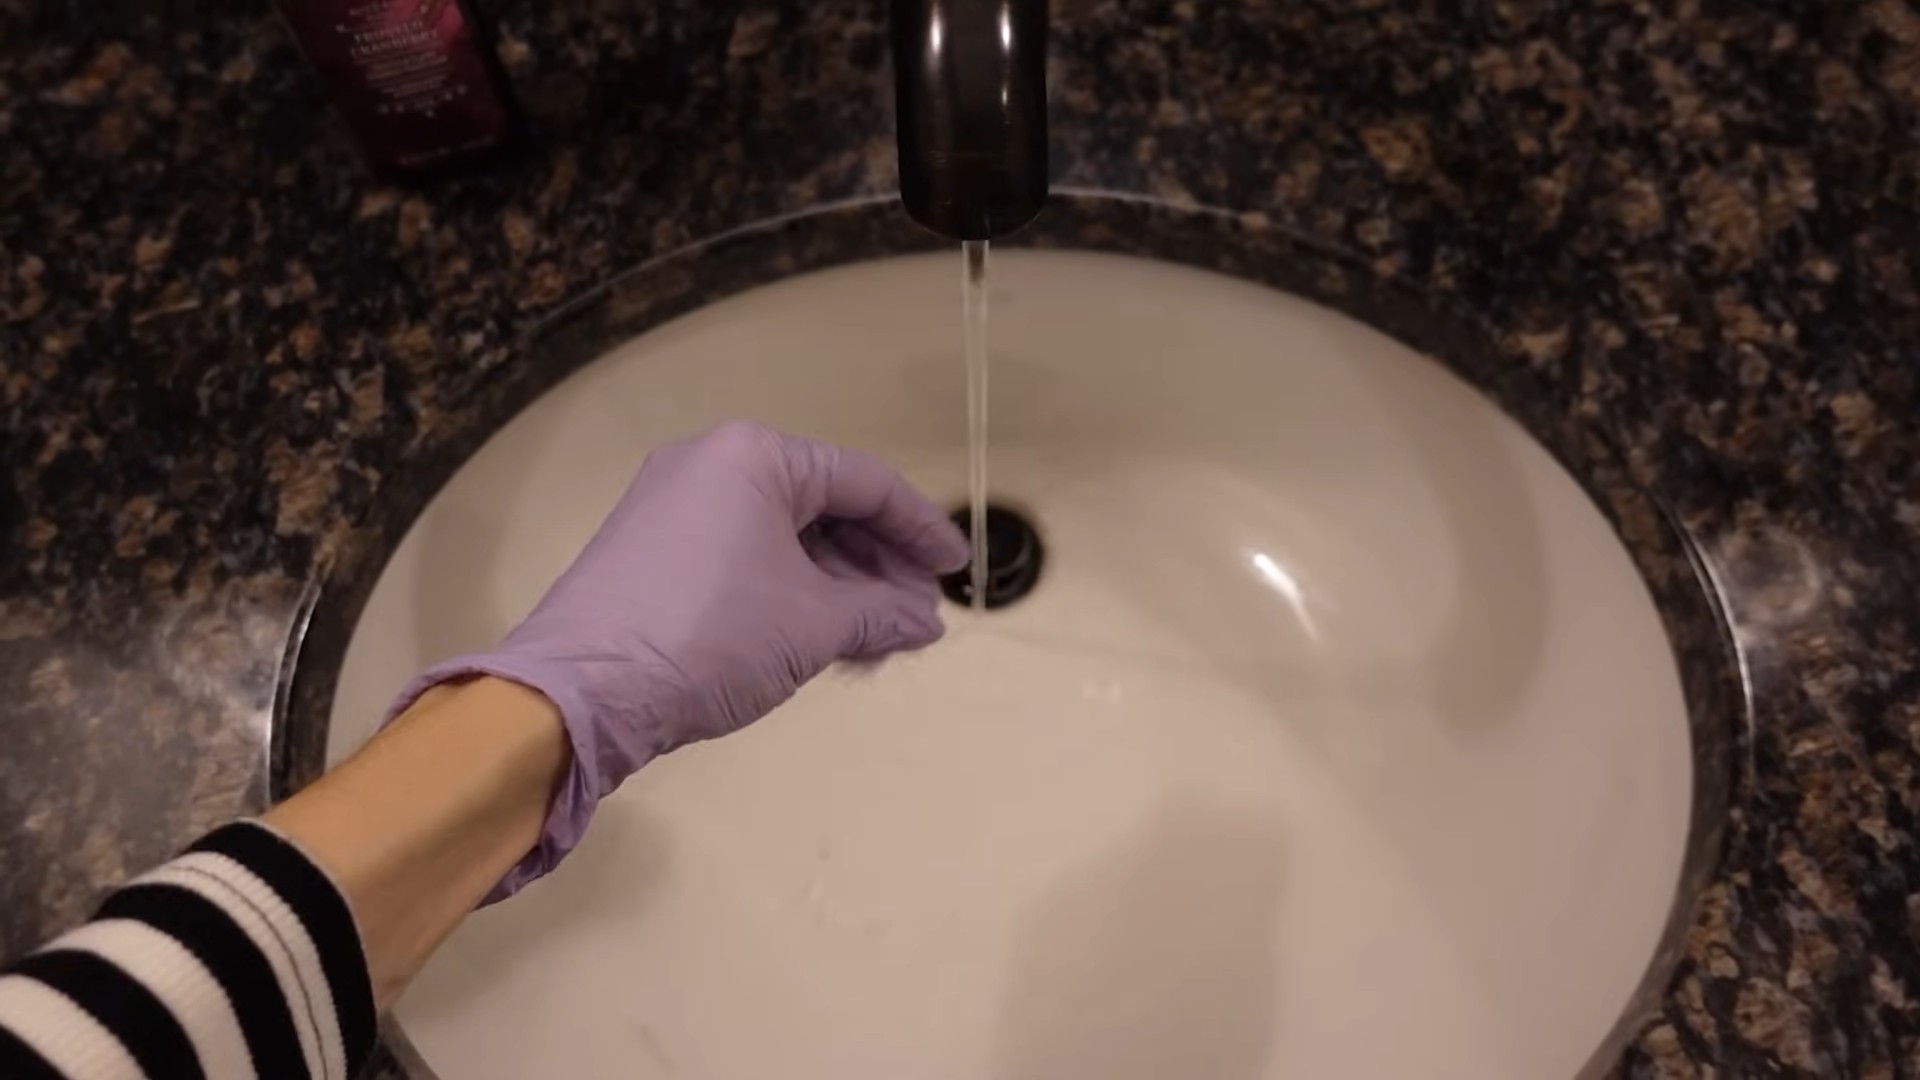
3. **Gather the Hair:** As you swipe, the pet hair will accumulate on the glove. Periodically, gather the hair into a ball and remove it from the glove. You can simply peel it off with your fingers or use a lint roller to remove it more easily.
4. **Repeat as Needed:** Continue stroking and swiping until you’ve removed all the pet hair from the surface. You may need to repeat the process several times, especially on heavily furred areas.
Where to Use Your Pet Hair Removal Glove:
The beauty of this DIY glove is its versatility. You can use it on a wide variety of surfaces, including:
* **Furniture:** Couches, chairs, ottomans, and even pet beds!
* **Clothing:** Sweaters, pants, jackets, and even delicate fabrics like silk and cashmere.
* **Car Interiors:** Seats, carpets, and dashboards.
* **Bedding:** Sheets, blankets, and comforters.
* **Curtains and Drapes:** Gently remove hair without damaging the fabric.
* **Lampshades:** A surprisingly effective way to remove dust and pet hair.
Tips and Tricks for Maximum Hair Removal:
* **Slightly Dampen the Glove:** For extra stubborn pet hair, try slightly dampening the glove with water. The moisture will help the hair cling to the glove more effectively. Just be sure to wring out the glove thoroughly so it’s not dripping wet.
* **Use a Circular Motion:** When cleaning furniture or carpets, try using a circular motion with the glove. This will help to loosen the pet hair and lift it away from the fibers.
* **Vacuum First:** For heavily furred areas, it’s always a good idea to vacuum first to remove the bulk of the hair. This will make the glove more effective at removing the remaining stubborn hairs.
* **Clean Your Glove Regularly:** To keep your glove working its best, clean it regularly with soap and water. You can also use a lint roller to remove any remaining hair from the cuts.
* **Experiment with Cut Sizes:** Don’t be afraid to experiment with different cut sizes and spacing to find what works best for your pet’s hair type and the surfaces you’re cleaning.
* Different Glove Types While I recommend a thicker rubber glove, you can experiment with different types. Some people find success with textured gardening gloves as well.
* Static Cling In dry environments, static cling can make hair removal difficult. A light spritz of anti-static spray on the glove can help.
Maintaining Your Pet Hair Removal Glove:
To ensure your DIY pet hair removal glove lasts as long as possible, follow these simple maintenance tips:
* **Rinse After Each Use:** After each use, rinse the glove with warm water to remove any accumulated pet hair and debris.
* **Wash Regularly:** Wash the glove regularly with mild soap and water. You can hand wash it or put it in the washing machine on a gentle cycle.
* **Air Dry:** Allow the glove to air dry completely before storing it. Avoid putting it in the dryer, as the heat can damage the rubber.
* **Store Properly:** Store the glove in a cool, dry place away from direct sunlight.
Troubleshooting:
* **Glove Not Grabbing Hair:** If your glove isn’t grabbing hair effectively, make sure the cuts are deep enough and spaced properly. You may need to make additional cuts or deepen the existing ones. Also, ensure the glove is clean and free of any residue.
* **Cuts Tearing:** If the cuts are tearing, reinforce them with hot glue or a strong waterproof adhesive. You may also need to use a thicker rubber glove.
* **Glue Coming Undone:** If the glue is coming undone, make sure you’re using a strong adhesive and that the glove is completely dry before applying the glue. You may also need to reapply the glue periodically.
This DIY pet hair removal glove has been a game-changer for me. It’s so easy to mak
Okay, fellow pet parents, let’s be honest: pet hair is the glitter of the animal kingdom. It gets *everywhere*, and while it might look pretty for a fleeting moment, cleaning it up is a never-ending battle. I’ve tried countless lint rollers, vacuums, and brushes, but nothing seemed to truly conquer the furpocalypse. That is, until I discovered this ridiculously simple and effective DIY pet hair removal glove!
This project is super budget-friendly, uses materials you probably already have lying around, and takes less than 30 minutes to make. Trust me, your furniture, clothes, and sanity will thank you.
What You’ll Need:
* A rubber dishwashing glove (the thicker, the better!)
* Scissors
* Hot glue gun and glue sticks (or strong waterproof adhesive)
* Optional: Fabric scraps for decoration (felt works great!)
Step-by-Step Instructions:
1. **Prepare Your Glove:** Start by thoroughly cleaning your rubber dishwashing glove. Make sure it’s completely dry before moving on. This will ensure the glue adheres properly. I usually give mine a good scrub with dish soap and let it air dry overnight.
2. **Cutting the Glove (The Key to Success!):** This is where the magic happens! We’re going to create the textured surface that will grab all that pesky pet hair.
* **Finger Cuts:** Using your scissors, carefully make small, evenly spaced cuts along the fingers of the glove. The cuts should be about 1/2 inch to 3/4 inch long and about 1/4 inch apart. Don’t cut too deep, you just want to create flaps that will act like little grabbers. I like to angle my cuts slightly, alternating the direction on each finger for maximum hair-catching potential.
* Important Tip: Be extra careful not to cut yourself! Work slowly and deliberately. If you’re using a particularly sharp pair of scissors, you might want to wear a thimble or finger guard for extra protection.
* **Palm Cuts:** Now, move on to the palm of the glove. Here, you can make slightly larger cuts, about 1 inch long and 1/2 inch apart. Again, angle the cuts and alternate directions. The palm area will cover a larger surface, so you want to make sure you have plenty of these little “hair traps.”
* **Back of Hand Cuts (Optional):** If you want to use the back of your hand for removing hair from delicate surfaces like curtains or lampshades, you can add some cuts there as well. I usually make smaller, more delicate cuts on the back of the hand to avoid damaging anything.
3. **Reinforcing the Cuts (Optional, but Recommended):** To prevent the cuts from tearing or ripping over time, you can reinforce them with a small dab of hot glue. This step is a bit tedious, but it will significantly extend the life of your glove.
* **Applying the Glue:** Heat up your hot glue gun. Carefully apply a tiny dab of hot glue to the base of each cut, both on the inside and outside of the glove. Be careful not to use too much glue, as you don’t want to fill in the cuts and negate their hair-grabbing ability.
* Safety First: Hot glue can be, well, hot! Use caution and avoid touching the hot glue directly. I like to use a small tool, like a toothpick or skewer, to help position the glue precisely.
* **Alternative Adhesive:** If you don’t have a hot glue gun, you can use a strong waterproof adhesive like E6000. Just be sure to follow the manufacturer’s instructions and allow the adhesive to dry completely before using the glove.
4. **Decorating Your Glove (Optional, but Fun!):** This is where you can get creative and personalize your pet hair removal glove! I like to use felt scraps to add some fun designs.
* **Cutting the Fabric:** Cut out shapes from your fabric scraps. You can use stencils or freehand your designs. I’ve made paw prints, bones, and even little portraits of my pets!
* **Attaching the Fabric:** Use your hot glue gun or fabric glue to attach the fabric shapes to the back of the glove. Be sure to avoid gluing anything to the palm or fingers, as this will interfere with the glove’s hair-removing abilities.
* Other Decoration Ideas: You could also use paint markers to draw designs directly onto the glove. Just make sure to use a paint that is designed for use on rubber.
Using Your Pet Hair Removal Glove:
Now for the fun part – putting your new glove to the test!
1. **Slip on the Glove:** Put on your newly crafted pet hair removal glove. Make sure it fits snugly but comfortably.
2. **Stroke and Swipe:** Gently stroke your hand over the surface you want to clean, using a sweeping motion. The cuts in the glove will grab onto the pet hair and pull it away from the fabric. I find that a combination of short, quick strokes and longer, sweeping motions works best.
3. **Gather the Hair:** As you swipe, the pet hair will accumulate on the glove. Periodically, gather the hair into a ball and remove it from the glove. You can simply peel it off with your fingers or use a lint roller to remove it more easily.
4. **Repeat as Needed:** Continue stroking and swiping until you’ve removed all the pet hair from the surface. You may need to repeat the process several times, especially on heavily furred areas.
Where to Use Your Pet Hair Removal Glove:
The beauty of this DIY glove is its versatility. You can use it on a wide variety of surfaces, including:
* **Furniture:** Couches, chairs, ottomans, and even pet beds!
* **Clothing:** Sweaters, pants, jackets, and even delicate fabrics like silk and cashmere.
* **Car Interiors:** Seats, carpets, and dashboards.
* **Bedding:** Sheets, blankets, and comforters.
* **Curtains and Drapes:** Gently remove hair without damaging the fabric.
* **Lampshades:** A surprisingly effective way to remove dust and pet hair.
Tips and Tricks for Maximum Hair Removal:
* **Slightly Dampen the Glove:** For extra stubborn pet hair, try slightly dampening the glove with water. The moisture will help the hair cling to the glove more effectively. Just be sure to wring out the glove thoroughly so it’s not dripping wet.
* **Use a Circular Motion:** When cleaning furniture or carpets, try using a circular motion with the glove. This will help to loosen the pet hair and lift it away from the fibers.
* **Vacuum First:** For heavily furred areas, it’s always a good idea to vacuum first to remove the bulk of the hair. This will make the glove more effective at removing the remaining stubborn hairs.
* **Clean Your Glove Regularly:** To keep your glove working its best, clean it regularly with soap and water. You can also use a lint roller to remove any remaining hair from the cuts.
* **Experiment with Cut Sizes:** Don’t be afraid to experiment with different cut sizes and spacing to find what works best for your pet’s hair type and the surfaces you’re cleaning.
* Different Glove Types While I recommend a thicker rubber glove, you can experiment with different types. Some people find success with textured gardening gloves as well.
* Static Cling In dry environments, static cling can make hair removal difficult. A light spritz of anti-static spray on the glove can help.
Maintaining Your Pet Hair Removal Glove:
To ensure your DIY pet hair removal glove lasts as long as possible, follow these simple maintenance tips:
* **Rinse After Each Use:** After each use, rinse the glove with warm water to remove any accumulated pet hair and debris.
* **Wash Regularly:** Wash the glove regularly with mild soap and water. You can hand wash it or put it in the washing machine on a gentle cycle.
* **Air Dry:** Allow the glove to air dry completely before storing it. Avoid putting it in the dryer, as the heat can damage the rubber.
* **Store Properly:** Store the glove in a cool, dry place away from direct sunlight.
Troubleshooting:
* **Glove Not Grabbing Hair:** If your glove isn’t grabbing hair effectively, make sure the cuts are deep enough and spaced properly. You may need to make additional cuts or deepen the existing ones. Also, ensure the glove is clean and free of any residue.
* **Cuts Tearing:** If the cuts are tearing, reinforce them with hot glue or a strong waterproof adhesive. You may also need to use a thicker rubber glove.
* **Glue Coming Undone:** If the glue is coming undone, make sure you’re using a strong adhesive and that the glove is completely dry before applying the glue. You may also need to reapply the glue periodically.
This DIY pet hair removal glove has been a game-changer for me. It’s so easy to make,
Conclusion
So, there you have it! Transforming an ordinary household glove into a super-effective pet hair removal glove is not just a clever hack; it’s a game-changer for pet owners battling the never-ending fur storm. We’ve explored how simple it is to create, the science behind why it works so well, and the sheer versatility it offers in tackling pet hair on various surfaces.
But why is this DIY trick a must-try? Because it’s cost-effective, eco-friendly, and incredibly efficient. Forget expensive lint rollers that quickly lose their stickiness or bulky vacuum attachments that are a pain to maneuver. This glove is reusable, easily cleaned, and provides targeted hair removal with minimal effort. Think of the money you’ll save on disposable cleaning products! Think of the time you’ll save not having to vacuum every single day!
Beyond its practicality, this DIY project offers a sense of accomplishment. There’s something deeply satisfying about creating a solution to a common problem using readily available materials. It’s a testament to the power of resourcefulness and a fun way to engage in a little DIY magic.
Looking for variations? Absolutely! Consider these ideas to personalize your pet hair removal glove:
* Textured Glove Upgrade: Experiment with different types of gloves. A glove with a more pronounced texture, like a gardening glove with rubberized grips, might provide even better hair-grabbing power.
* Essential Oil Infusion: Add a few drops of pet-safe essential oil (like lavender or chamomile) to the glove before using it. This will not only help remove hair but also leave a pleasant, subtle scent on your furniture. Always ensure the essential oil is diluted and safe for your specific pet.
* Microfiber Magic: Glue small pieces of microfiber cloth to the fingertips of the glove for enhanced hair collection. The microfiber will act like tiny magnets, attracting even the most stubborn strands.
* Wet Glove Technique: Lightly dampen the glove with water before using it on upholstery. The moisture can help loosen embedded hairs and make them easier to collect. Be sure to test a small, inconspicuous area first to ensure the fabric is water-safe.
We are confident that this simple yet effective DIY pet hair removal glove will become your new best friend in the fight against fur. It’s a quick, easy, and affordable way to keep your home looking its best, even with the most enthusiastic shedding companions.
Now, it’s your turn! We wholeheartedly encourage you to give this DIY trick a try. Gather your supplies, follow the simple steps, and experience the joy of a fur-free home. And most importantly, share your experience with us! We’d love to hear your tips, variations, and success stories in the comments below. Let’s build a community of pet owners who are winning the war against pet hair, one glove at a time! Don’t forget to tag us in your social media posts using #DIYPetHairGlove and show off your amazing results. We can’t wait to see what you create!
Frequently Asked Questions (FAQ)
1. What type of glove works best for making a pet hair removal glove?
The best type of glove is a rubber or latex glove with a textured surface. The texture is key to grabbing and holding onto pet hair. Dishwashing gloves are a great option because they are readily available and durable. You can also experiment with gardening gloves that have rubberized grips for even better hair-grabbing power. Avoid using thin, smooth gloves as they won’t provide enough friction to effectively collect hair. The thicker the glove, the better it will hold up to repeated use and cleaning.
2. Is this DIY pet hair removal glove safe to use on all types of fabrics?
While the glove is generally safe for most fabrics, it’s always a good idea to test it on a small, inconspicuous area first. This is especially important for delicate fabrics like silk or velvet. Apply gentle pressure and observe if the glove causes any damage or discoloration. If you’re unsure, consult the fabric care instructions or consider using a gentler method, such as a soft brush. For leather furniture, use the glove very lightly and follow up with a leather conditioner to prevent drying.
3. How do I clean the pet hair removal glove after using it?
Cleaning the glove is easy! Simply rinse it under running water to remove the collected hair. For stubborn clumps, you can use your fingers or a soft brush to dislodge the hair. If the glove becomes greasy or dirty, wash it with mild soap and water. Be sure to rinse it thoroughly and allow it to air dry completely before storing it. Avoid using harsh chemicals or abrasive cleaners, as they can damage the glove. Regular cleaning will help prolong the life of your DIY pet hair removal glove.
4. Can I use this glove on my pet directly to remove loose fur?
While the glove is primarily designed for removing pet hair from surfaces, you can use it on your pet to remove loose fur, but with extreme caution. Use very gentle strokes and avoid applying too much pressure. Pay close attention to your pet’s reaction and stop immediately if they show any signs of discomfort. Some pets may enjoy the gentle massage-like sensation, while others may not. Always prioritize your pet’s comfort and well-being. A specialized grooming brush is generally a safer and more effective option for removing loose fur directly from your pet.
5. How often should I use the pet hair removal glove to keep my home fur-free?
The frequency of use depends on the amount your pet sheds and the size of your home. For heavy shedders, you may need to use the glove daily or every other day to maintain a fur-free environment. For lighter shedders, once or twice a week may be sufficient. Regularly using the glove will prevent pet hair from accumulating and becoming deeply embedded in your furniture and carpets. Incorporate it into your regular cleaning routine for best results.
6. Can I use this glove to remove pet hair from my car interior?
Yes, the pet hair removal glove is excellent for cleaning car interiors! The textured surface effectively grabs hair from upholstery, carpets, and even hard surfaces like dashboards. Use gentle strokes and pay attention to seams and crevices where hair tends to accumulate. The glove is also small and maneuverable, making it easy to reach tight spaces. For best results, vacuum the car interior first to remove loose debris, then use the glove to collect the remaining pet hair.
7. What are some alternative uses for the DIY pet hair removal glove?
Besides removing pet hair, this glove can also be used for other cleaning tasks. It’s great for removing lint from clothing, dusting furniture, and even cleaning delicate surfaces like lampshades. The textured surface is gentle yet effective at lifting dirt and debris. You can also use it to clean baseboards, window sills, and other hard-to-reach areas. Its versatility makes it a valuable addition to your cleaning arsenal.
8. My pet hair removal glove is tearing. How can I make it last longer?
To extend the life of your glove, avoid using excessive force when cleaning. Gentle strokes are more effective than aggressive scrubbing. Store the glove in a cool, dry place away from direct sunlight and heat. Avoid exposing it to harsh chemicals or abrasive cleaners. If you notice any small tears or holes, repair them with a small amount of rubber cement or waterproof glue. Consider investing in a higher-quality, more durable glove for longer-lasting performance.
9. Can I use this glove on clothing?
Yes, you can use the glove on clothing! It works similarly to a lint roller but is reusable and more environmentally friendly. Gently swipe the glove over the fabric to collect loose hair and lint. Be careful not to pull or stretch delicate fabrics. For best results, use the glove on dry clothing. It’s a great way to quickly remove pet hair before heading out the door.
10. Is this DIY pet hair removal glove better than using a vacuum cleaner?
The glove and a vacuum cleaner serve different purposes. A vacuum cleaner is ideal for removing large amounts of pet hair from carpets and floors. The glove is better suited for targeted cleaning of furniture, upholstery, and other surfaces where a vacuum cleaner may be difficult to maneuver. The glove is also more effective at removing hair that is deeply embedded in fabric. For best results, use both methods in combination. Vacuum regularly to remove loose hair, then use the glove to tackle stubborn areas.
Leave a Comment