
Stainless Steel Cleaner DIY: Are you tired of battling fingerprints, smudges, and water spots on your beautiful stainless steel appliances? I know I am! It feels like no matter how much I wipe, those pesky marks just keep coming back. But what if I told you that you could achieve a sparkling, streak-free shine with ingredients you probably already have in your kitchen?
For generations, resourceful homemakers have relied on simple, homemade solutions to keep their homes looking their best. Before the age of specialized cleaning products, things like vinegar and baking soda were the go-to for tackling tough cleaning jobs. This tradition of DIY cleaning is not only cost-effective but also allows us to control the ingredients we bring into our homes, avoiding harsh chemicals and potential allergens.
Let’s face it, commercially available stainless steel cleaners can be expensive and often contain ingredients we’d rather avoid. That’s why I’m so excited to share these easy and effective stainless steel cleaner DIY recipes with you. Not only will you save money, but you’ll also gain the satisfaction of knowing exactly what you’re using to keep your stainless steel surfaces looking their absolute best. Get ready to say goodbye to smudges and hello to a gleaming, fingerprint-free kitchen!
DIY Stainless Steel Cleaner: Make Your Kitchen Shine!
Hey everyone! Are you tired of those expensive stainless steel cleaners that promise the world but leave streaks and smudges behind? I know I was! That’s why I decided to experiment and create my own DIY stainless steel cleaner. And guess what? It works like a charm, is super affordable, and uses ingredients you probably already have in your pantry!
This guide will walk you through two different methods: one using vinegar and olive oil, and another using baking soda. Both are fantastic, and I use them depending on the level of grime I’m dealing with. Let’s get started!
Method 1: Vinegar and Olive Oil – The Everyday Shine Booster
This method is perfect for daily cleaning and maintaining that beautiful stainless steel sheen. It’s gentle, effective, and leaves a protective layer that helps prevent future smudges.
What You’ll Need:
* White Vinegar (distilled)
* Olive Oil
* Two Microfiber Cloths (crucial for streak-free results!)
* Spray Bottle (optional, but makes application easier)
Step-by-Step Instructions:
1. Prepare Your Vinegar Solution: If you’re using a spray bottle, pour some white vinegar into it. I usually fill it about halfway. If you don’t have a spray bottle, don’t worry! You can simply dampen one of your microfiber cloths with vinegar directly.
2. Wipe Down the Stainless Steel: Using your vinegar-dampened cloth (or spraying directly onto the surface), wipe down the stainless steel appliance or surface. Make sure to follow the grain of the stainless steel. This is super important to avoid streaks! You’ll notice the grain running either horizontally or vertically.
3. Buff with a Clean, Dry Microfiber Cloth: Now, grab your second, clean microfiber cloth and buff the surface dry. Again, follow the grain! This step removes any excess vinegar and starts to bring out the shine.
4. Apply Olive Oil: This is where the magic happens! Pour a *tiny* amount of olive oil onto your clean microfiber cloth. I’m talking a few drops – less is definitely more here. You don’t want to leave an oily residue.
5. Polish with Olive Oil: Gently rub the olive oil onto the stainless steel, again following the grain. The olive oil acts as a polish and creates a protective barrier.
6. Final Buff: Use a clean section of your microfiber cloth to buff away any excess olive oil. You should be left with a gleaming, streak-free surface!
Why this works: Vinegar is a mild acid that helps to cut through grease and grime. Olive oil provides a protective layer and adds shine. Microfiber cloths are essential because they are non-abrasive and won’t scratch the stainless steel.
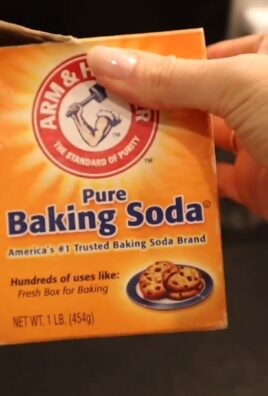
Method 2: Baking Soda – The Heavy-Duty Grime Fighter
This method is your go-to when you’re dealing with stubborn stains, baked-on food, or just generally grimy stainless steel. Baking soda is a mild abrasive that can gently scrub away messes without damaging the surface.
What You’ll Need:
* Baking Soda
* Water
* Soft Cloth or Sponge (avoid abrasive scrubbers!)
* Microfiber Cloth
* Optional: White Vinegar (for extra cleaning power)
Step-by-Step Instructions:
1. Create a Baking Soda Paste: In a small bowl, mix baking soda with a little bit of water to form a paste. The consistency should be similar to toothpaste. You want it thick enough to stick to the surface but not so thick that it’s difficult to spread.
2. Apply the Paste: Using your soft cloth or sponge, apply the baking soda paste to the stained or grimy areas of your stainless steel.
3. Gentle Scrubbing: Gently scrub the affected areas, following the grain of the stainless steel. Don’t apply too much pressure, let the baking soda do the work. Avoid using abrasive scrubbers, as they can scratch the surface.
4. Optional Vinegar Boost: For extra cleaning power, you can lightly spray the baking soda paste with white vinegar. This will create a fizzing reaction that helps to loosen stubborn grime. Be careful not to overdo it, as too much vinegar can be harsh.
5. Rinse Thoroughly: Once you’ve scrubbed the area, rinse it thoroughly with clean water. Make sure to remove all traces of the baking soda paste.
6. Dry and Buff: Use your microfiber cloth to dry the stainless steel and buff it to a shine. Again, follow the grain!
7. Inspect and Repeat if Necessary: If the stain or grime is particularly stubborn, you may need to repeat the process.
Why this works: Baking soda is a mild abrasive that helps to lift dirt and grime. The optional vinegar adds extra cleaning power by reacting with the baking soda to create carbon dioxide, which helps to loosen stubborn messes.
General Tips for Cleaning Stainless Steel
* Always follow the grain: I can’t stress this enough! Wiping against the grain will leave streaks.
* Use microfiber cloths: These are the best for streak-free cleaning.
* Less is more: When it comes to olive oil, a little goes a long way.
* Test in an inconspicuous area: Before cleaning your entire appliance, test your cleaner in a small, hidden area to make sure it doesn’t damage the finish.
* Clean regularly: Regular cleaning prevents grime from building up and makes it easier to maintain a sparkling shine.
* Avoid harsh chemicals: Harsh chemicals can damage the finish of your stainless steel. Stick to gentle, natural cleaners like vinegar and baking soda.
* Don’t use steel wool or abrasive scrubbers: These will scratch the surface of your stainless steel.
* Rinse thoroughly: Make sure to rinse away all traces of cleaner to prevent residue buildup.
* Dry immediately: Water spots can be a pain! Dry your stainless steel immediately after cleaning to prevent them.
* For fingerprints: A simple wipe with a damp microfiber cloth often does the trick for fingerprints.
* Prevention is key: Wipe up spills and splatters immediately to prevent them from drying and becoming difficult to remove.
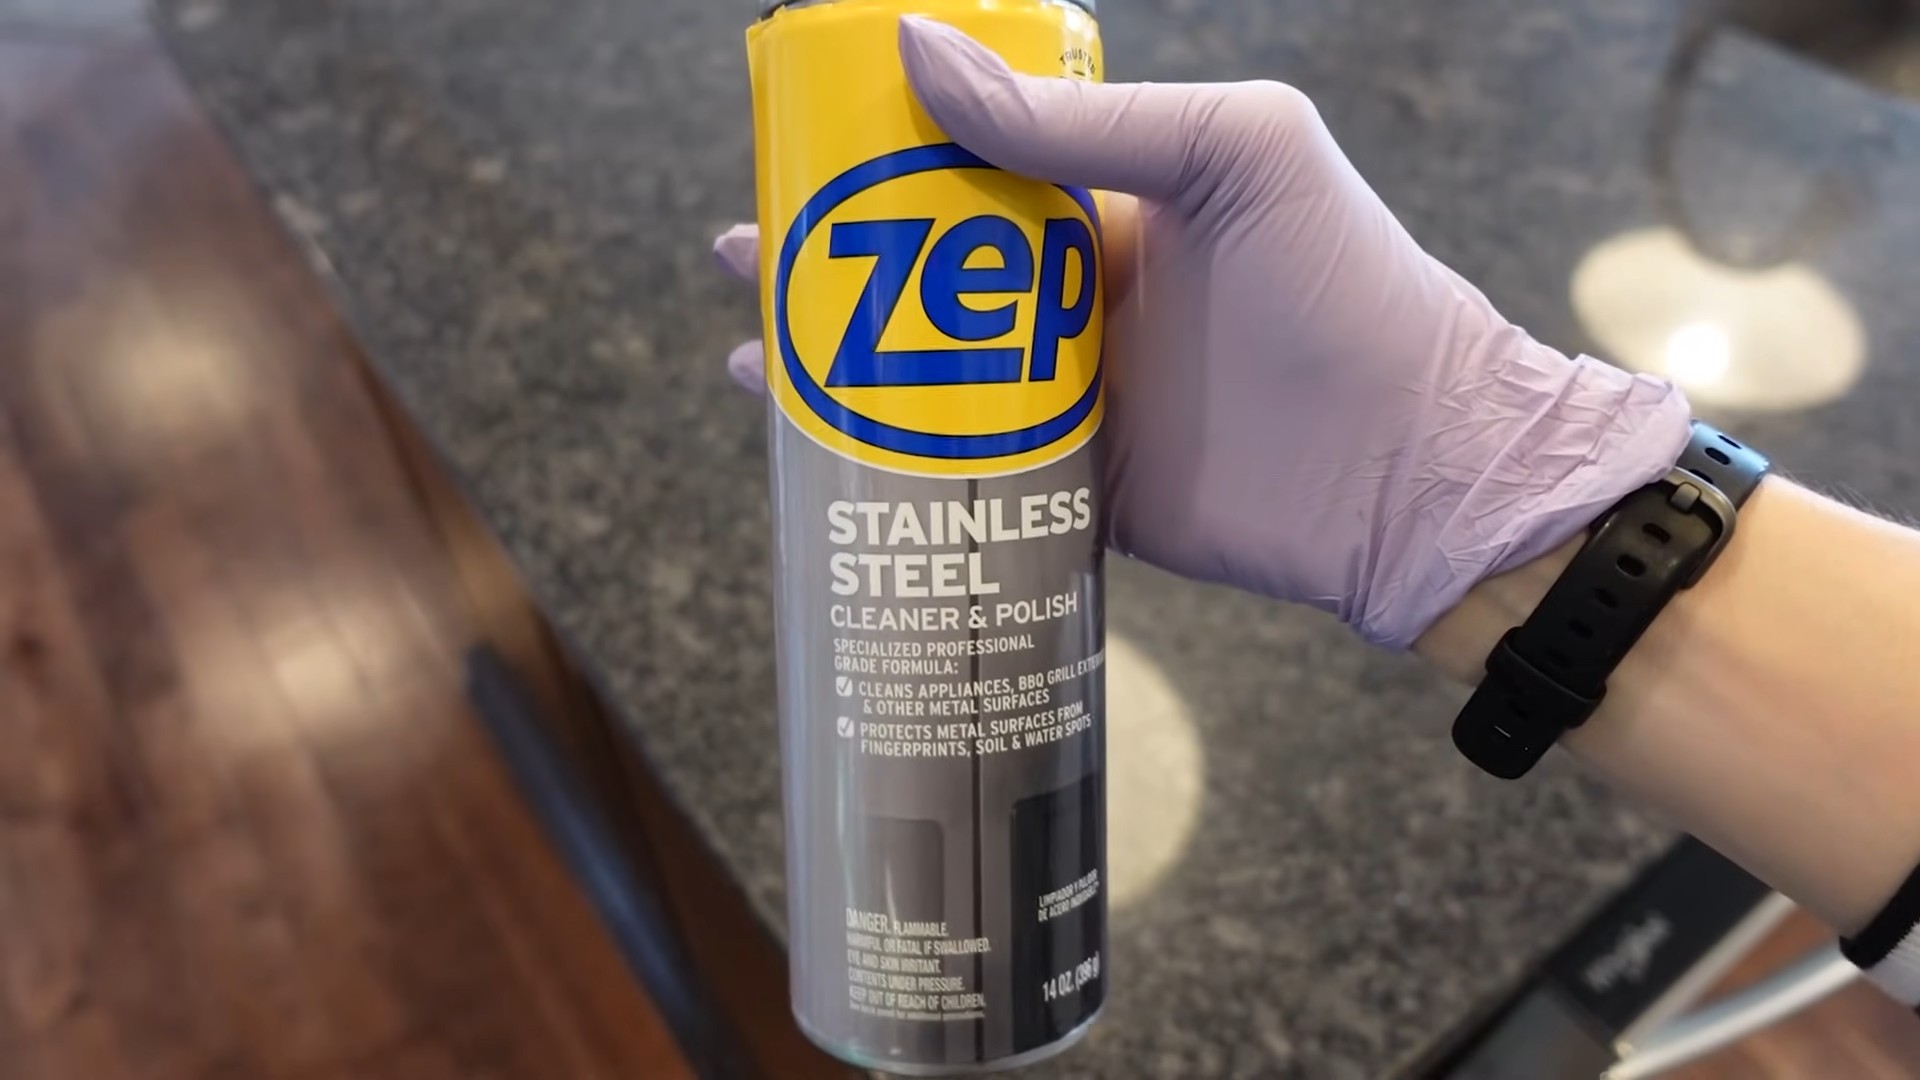
* Consider a stainless steel polish: While I love my DIY methods, sometimes a dedicated stainless steel polish can provide an extra layer of protection and shine. Just be sure to choose a polish that is specifically designed for stainless steel.
* Hard Water Stains: If you have hard water, you might notice water spots more easily. Try using distilled water for rinsing to minimize these spots. You can also use a water softener in your home to reduce hard water issues.
* Oven Cleaner Caution: Be extremely careful when using oven cleaner near stainless steel appliances. Oven cleaner is very harsh and can damage the finish. Always protect your stainless steel surfaces when cleaning your oven.
* Rust Prevention: While stainless steel is resistant to rust, it’s not completely rust-proof. Avoid leaving wet items on stainless steel surfaces for extended periods, as this can contribute to rust formation.
* Clean Spills Immediately: Acidic spills like lemon juice or tomato sauce can etch stainless steel if left on the surface for too long. Clean these spills immediately to prevent damage.
* Don’t Over-Oil: Remember, the olive oil is for polishing, not for creating a greasy film. Use a very small amount and buff thoroughly.
* Experiment and Adjust: Every stainless steel appliance is different, and what works for one might not work perfectly for another. Don’t be afraid to experiment with the ratios of vinegar and water or the amount of baking soda you use to find what works best for your specific appliances.
I hope these tips and tricks help you keep your stainless steel sparkling! Let me know in the comments if you have any questions or other DIY cleaning solutions you love! Happy cleaning!

Conclusion
So, there you have it! Ditching those expensive, chemical-laden stainless steel cleaners and embracing this simple, effective, and budget-friendly stainless steel cleaner DIY solution is a game-changer for your kitchen and beyond. We’ve walked you through the easy steps, highlighted the benefits, and addressed potential concerns. But why is this a must-try?
Firstly, it’s incredibly effective. The combination of readily available ingredients like vinegar, baking soda, and dish soap creates a powerful cleaning action that cuts through grease, grime, and those frustrating fingerprints that seem to multiply overnight. You’ll be amazed at how easily your stainless steel appliances regain their shine, looking as good as new.
Secondly, it’s a healthier choice. Commercial cleaners often contain harsh chemicals that can irritate your skin, eyes, and respiratory system. By making your own stainless steel cleaner, you’re eliminating these risks and creating a safer environment for yourself and your family. This is especially important if you have young children or pets who might come into contact with cleaned surfaces.
Thirdly, it’s economical. Let’s face it, household expenses can quickly add up. This DIY stainless steel cleaner uses ingredients you likely already have in your pantry, saving you money on expensive store-bought alternatives. Think of all the things you can do with the money you save!
But the benefits don’t stop there. This DIY approach is also environmentally friendly. By reducing your reliance on commercially produced cleaners, you’re minimizing your contribution to plastic waste and the release of harmful chemicals into the environment. It’s a small change that can make a big difference.
Looking for variations? Consider adding a few drops of essential oil, such as lemon or tea tree oil, for a pleasant scent and added antibacterial properties. If you have particularly stubborn stains, you can create a paste of baking soda and water and let it sit on the stain for a few minutes before wiping it away. For a streak-free finish, always wipe in the direction of the stainless steel grain.
We’re confident that once you try this stainless steel cleaner DIY method, you’ll never go back to store-bought cleaners again. It’s easy, effective, affordable, and environmentally friendly – what’s not to love?
So, grab your ingredients, roll up your sleeves, and get ready to transform your stainless steel surfaces. We encourage you to try this DIY trick and share your experience with us in the comments below. Let us know what works best for you, any variations you’ve tried, and how much you love the results. We can’t wait to hear from you! Your tips and insights will help other readers discover the magic of this simple yet powerful cleaning solution. Let’s create a community of sparkling stainless steel enthusiasts!
Frequently Asked Questions (FAQ)
1. Is this DIY stainless steel cleaner safe for all types of stainless steel?
Generally, yes, this DIY cleaner is safe for most types of stainless steel. However, it’s always a good idea to test it on a small, inconspicuous area first, especially if you have antique or delicate stainless steel items. This will help you ensure that the cleaner doesn’t cause any discoloration or damage. Avoid using abrasive scrubbers, as they can scratch the surface. Instead, opt for a soft cloth or sponge. If you’re unsure about the type of stainless steel you have, consult the manufacturer’s instructions or a professional cleaner.
2. Can I use this cleaner on other surfaces besides stainless steel?
While this cleaner is specifically formulated for stainless steel, some of its ingredients, like vinegar and dish soap, can be used on other surfaces. However, it’s crucial to exercise caution and test the cleaner on a small, hidden area before applying it to a larger surface. Avoid using it on porous materials like marble or granite, as the vinegar can etch the surface. It’s also not recommended for use on painted or varnished surfaces, as it can strip the finish. For other surfaces, consider using a cleaner specifically designed for that material.
3. How often should I clean my stainless steel appliances with this DIY cleaner?
The frequency of cleaning depends on how often you use your appliances and how dirty they get. For high-traffic areas like the refrigerator door or stovetop, you may want to clean them daily or every other day to prevent the buildup of grease and fingerprints. For less frequently used appliances, like the dishwasher or microwave, a weekly cleaning may suffice. Regular cleaning will not only keep your appliances looking their best but also prevent the buildup of stubborn stains that are harder to remove.
4. What if I don’t have vinegar? Can I use something else?
Vinegar is a key ingredient in this DIY cleaner due to its acidity, which helps to cut through grease and grime. However, if you don’t have vinegar on hand, you can try using lemon juice as a substitute. Lemon juice also contains citric acid, which has similar cleaning properties. However, lemon juice may not be as effective as vinegar for removing tough stains. Another alternative is to use a mild dish soap diluted in water. While this won’t have the same degreasing power as vinegar, it can still be effective for removing light dirt and fingerprints.
5. How do I prevent streaks when cleaning stainless steel?
Streaks are a common problem when cleaning stainless steel. To minimize streaks, always wipe in the direction of the grain of the stainless steel. You can usually see the grain by looking closely at the surface. Use a clean, dry microfiber cloth to buff the surface after cleaning. Avoid using paper towels, as they can leave behind lint. You can also try using distilled water instead of tap water, as tap water can contain minerals that can contribute to streaks. Finally, make sure you’re not using too much cleaner, as this can also lead to streaks.
6. Can I store the leftover DIY stainless steel cleaner?
Yes, you can store the leftover DIY stainless steel cleaner in a sealed container for future use. However, it’s best to use it within a few weeks, as the ingredients may start to separate over time. Store the cleaner in a cool, dark place to prevent it from degrading. Before using the stored cleaner, give it a good shake to ensure that the ingredients are properly mixed. It’s also a good idea to label the container with the date you made the cleaner so you know how old it is.
7. My stainless steel has rust spots. Will this cleaner remove them?
While this DIY cleaner is effective for removing grease, grime, and fingerprints, it may not be strong enough to remove rust spots. Rust is a more stubborn stain that requires a stronger cleaning solution. For rust removal, you can try using a commercial rust remover specifically designed for stainless steel. Alternatively, you can try making a paste of baking soda and water and applying it to the rust spots. Let the paste sit for a few minutes before scrubbing it gently with a soft brush. Rinse thoroughly with water and dry with a clean cloth. If the rust spots are severe, you may need to consult a professional cleaner.
8. Is baking soda safe to use on stainless steel? I’ve heard it can scratch.
Baking soda is generally safe to use on stainless steel, but it’s important to use it correctly. When using baking soda, always mix it with water to create a paste. This will help to prevent scratching. Avoid using dry baking soda, as it can be abrasive. When scrubbing with the baking soda paste, use gentle pressure and a soft cloth or sponge. Avoid using abrasive scrubbers, as they can scratch the surface. After scrubbing, rinse thoroughly with water to remove any remaining baking soda residue.
9. Can I use this cleaner on brushed stainless steel?
Yes, this cleaner is safe to use on brushed stainless steel. Brushed stainless steel has a textured surface, so it’s even more important to wipe in the direction of the grain to avoid streaks. Use a soft cloth or sponge to apply the cleaner and avoid using abrasive scrubbers. Rinse thoroughly with water and dry with a clean microfiber cloth. You may need to use a little more elbow grease to clean brushed stainless steel, as the texture can trap dirt and grime.
10. What essential oils are best to add to this cleaner?
Adding essential oils to your DIY stainless steel cleaner can provide a pleasant scent and added antibacterial properties. Some of the best essential oils to use include lemon, tea tree, lavender, and eucalyptus. Lemon oil has a fresh, citrusy scent and is known for its degreasing properties. Tea tree oil has antibacterial and antifungal properties. Lavender oil has a calming scent and is known for its antiseptic properties. Eucalyptus oil has a refreshing scent and is known for its antiviral properties. When adding essential oils, use only a few drops, as they can be quite potent.

Leave a Comment