
Growing Sweet Potatoes Soil Free might sound like something out of a science fiction movie, but trust me, it’s a real and surprisingly simple way to cultivate these delicious and nutritious root vegetables! Forget back-breaking digging and endless weeding; we’re diving into the world of hydroponics and container gardening to bring you a revolutionary approach to sweet potato cultivation.
For centuries, sweet potatoes have been a staple in diets around the globe, particularly in South America and Asia, where they were first cultivated. Their vibrant color and naturally sweet flavor have made them a beloved ingredient in countless dishes. But traditionally, growing them meant dedicating a significant portion of your garden to sprawling vines and hoping for a bountiful harvest beneath the soil.
But what if I told you there’s a better way? A way to bypass the limitations of traditional gardening and enjoy a plentiful sweet potato harvest even if you have limited space or less-than-ideal soil conditions? That’s where this DIY guide comes in. We’ll explore the magic of growing sweet potatoes without soil, offering a practical and accessible solution for anyone eager to enjoy fresh, homegrown sweet potatoes. This method is perfect for urban dwellers, apartment gardeners, or anyone simply looking for a fun and innovative gardening project. So, let’s get started and unlock the secrets to a soil-free sweet potato bounty!
Growing Sweet Potatoes Without Soil: A Fun DIY Hydroponic Adventure!
Hey there, fellow gardening enthusiasts! Ever thought about growing sweet potatoes without getting your hands dirty? Well, buckle up because I’m about to share my experience with a super cool DIY project: growing sweet potatoes hydroponically! It’s easier than you might think, and the results are incredibly rewarding. Plus, it’s a fantastic way to impress your friends with your green (or should I say, orange?) thumb.
What You’ll Need
Before we dive in, let’s gather our supplies. This is a relatively low-cost project, and you probably have some of these items lying around already.
* Sweet Potato Slips: You can either buy these online or start your own from a sweet potato (more on that later!).
* A Large Container: Think a plastic storage bin, a large bucket, or even a repurposed container. The bigger, the better, as sweet potato roots need room to grow. Aim for at least 10-15 gallons.
* Net Pots: These are small, mesh pots that will hold your sweet potato slips. I recommend 3-4 inch net pots.
* Hydroponic Growing Medium: I’ve had great success with clay pebbles (also known as LECA – Lightweight Expanded Clay Aggregate). Rockwool or coco coir can also work, but I find clay pebbles the easiest to manage and reuse.
* Air Pump and Air Stone: This is crucial for oxygenating the water, which is essential for healthy root growth.
* Hydroponic Nutrients: Specifically, a nutrient solution formulated for leafy greens or general hydroponics. Sweet potatoes need a balanced nutrient supply.
* pH Meter and pH Up/Down Solutions: Maintaining the correct pH is vital for nutrient absorption.
* Water: Tap water is usually fine, but if your tap water is heavily chlorinated, let it sit out for 24 hours to dechlorinate it.
* Drill and Hole Saw Attachment (optional): If you’re using a solid container, you’ll need to drill holes for the net pots.
* Timer (optional): For automating the air pump.
Getting Started: Sprouting Your Sweet Potato Slips
If you didn’t buy slips, don’t worry! Sprouting your own is a fun and easy process.
1. Choose a Healthy Sweet Potato: Select a firm, unblemished sweet potato from your local grocery store or farmer’s market. Organic is always a good choice.
2. Prepare the Sweet Potato: Wash the sweet potato thoroughly to remove any dirt or debris.
3. Partial Submersion Method: There are two main methods for sprouting slips. The first is the partial submersion method. Insert toothpicks around the middle of the sweet potato, evenly spaced. These will act as supports to suspend the potato in a jar or glass of water. The bottom half of the potato should be submerged.
4. Full Submersion Method: Alternatively, you can fully submerge the sweet potato in a container of water. This method often yields faster results, but it’s important to change the water every 1-2 days to prevent rot.
5. Find a Warm, Sunny Spot: Place the jar or container in a warm, sunny location. A windowsill is ideal.
6. Wait Patiently: It can take several weeks for slips to emerge. Be patient and keep the water level consistent. Change the water every few days to prevent algae growth.
7. Harvesting the Slips: Once the slips are 4-6 inches long, gently twist them off the sweet potato. Place the slips in a glass of water to encourage root development.
Building Your Hydroponic System
Now that we have our slips, let’s build our hydroponic system!
1. Prepare the Container: Clean your container thoroughly with soap and water. Rinse it well to remove any soap residue.
2. Drill Holes for Net Pots (if necessary): If your container doesn’t have pre-made holes, use a hole saw attachment on your drill to create holes that are slightly smaller than the diameter of your net pots. Space the holes evenly across the lid or top of the container.
3. Fill the Container with Water: Fill the container with water, leaving a few inches of space at the top.
4. Add Hydroponic Nutrients: Follow the instructions on your hydroponic nutrient solution to add the correct amount of nutrients to the water. Start with a half-strength solution to avoid nutrient burn.
5. Adjust the pH: Use your pH meter to test the pH of the water. Sweet potatoes thrive in a pH range of 5.5 to 6.5. Use pH up or pH down solutions to adjust the pH as needed.
6. Place the Air Stone: Place the air stone at the bottom of the container. Connect it to the air pump with tubing.
7. Plug in the Air Pump: Plug in the air pump and make sure the air stone is producing bubbles. This will oxygenate the water and prevent root rot. I like to use a timer to run the air pump for 15 minutes every hour, but continuous operation is also fine.
Planting Your Sweet Potato Slips
Time to get those slips into their new home!
1. Prepare the Net Pots: Rinse your clay pebbles (or other growing medium) thoroughly to remove any dust or debris.
2. Fill the Net Pots: Fill the net pots with the growing medium.
3. Plant the Slips: Gently place a sweet potato slip into each net pot, making sure the roots are surrounded by the growing medium.
4. Place the Net Pots in the Container: Place the net pots into the holes in the container lid. The bottom of the net pots should be submerged in the nutrient solution.
Caring for Your Hydroponic Sweet Potatoes
Now comes the fun part: watching your sweet potatoes grow!
1. Monitor the Water Level: Check the water level regularly and add more water and nutrients as needed. The water level should always be high enough to reach the bottom of the net pots.
2. Check the pH: Check the pH of the water regularly and adjust as needed.
3. Change the Nutrient Solution: Change the nutrient solution every 2-3 weeks to prevent nutrient buildup and maintain optimal nutrient levels.
4. Provide Adequate Light: Sweet potatoes need plenty of light to grow. If you’re growing indoors, provide supplemental lighting with grow lights. Aim for 12-14 hours of light per day.
5. Monitor for Pests and Diseases: Keep an eye out for pests and diseases. Treat any problems promptly with appropriate organic solutions.
6. Support the Vines: As the sweet potato vines grow, they will need support. You can use trellises, stakes, or even string to support the vines.
Harvesting Your Sweet Potatoes
Harvest time! This is the most rewarding part of the whole process.
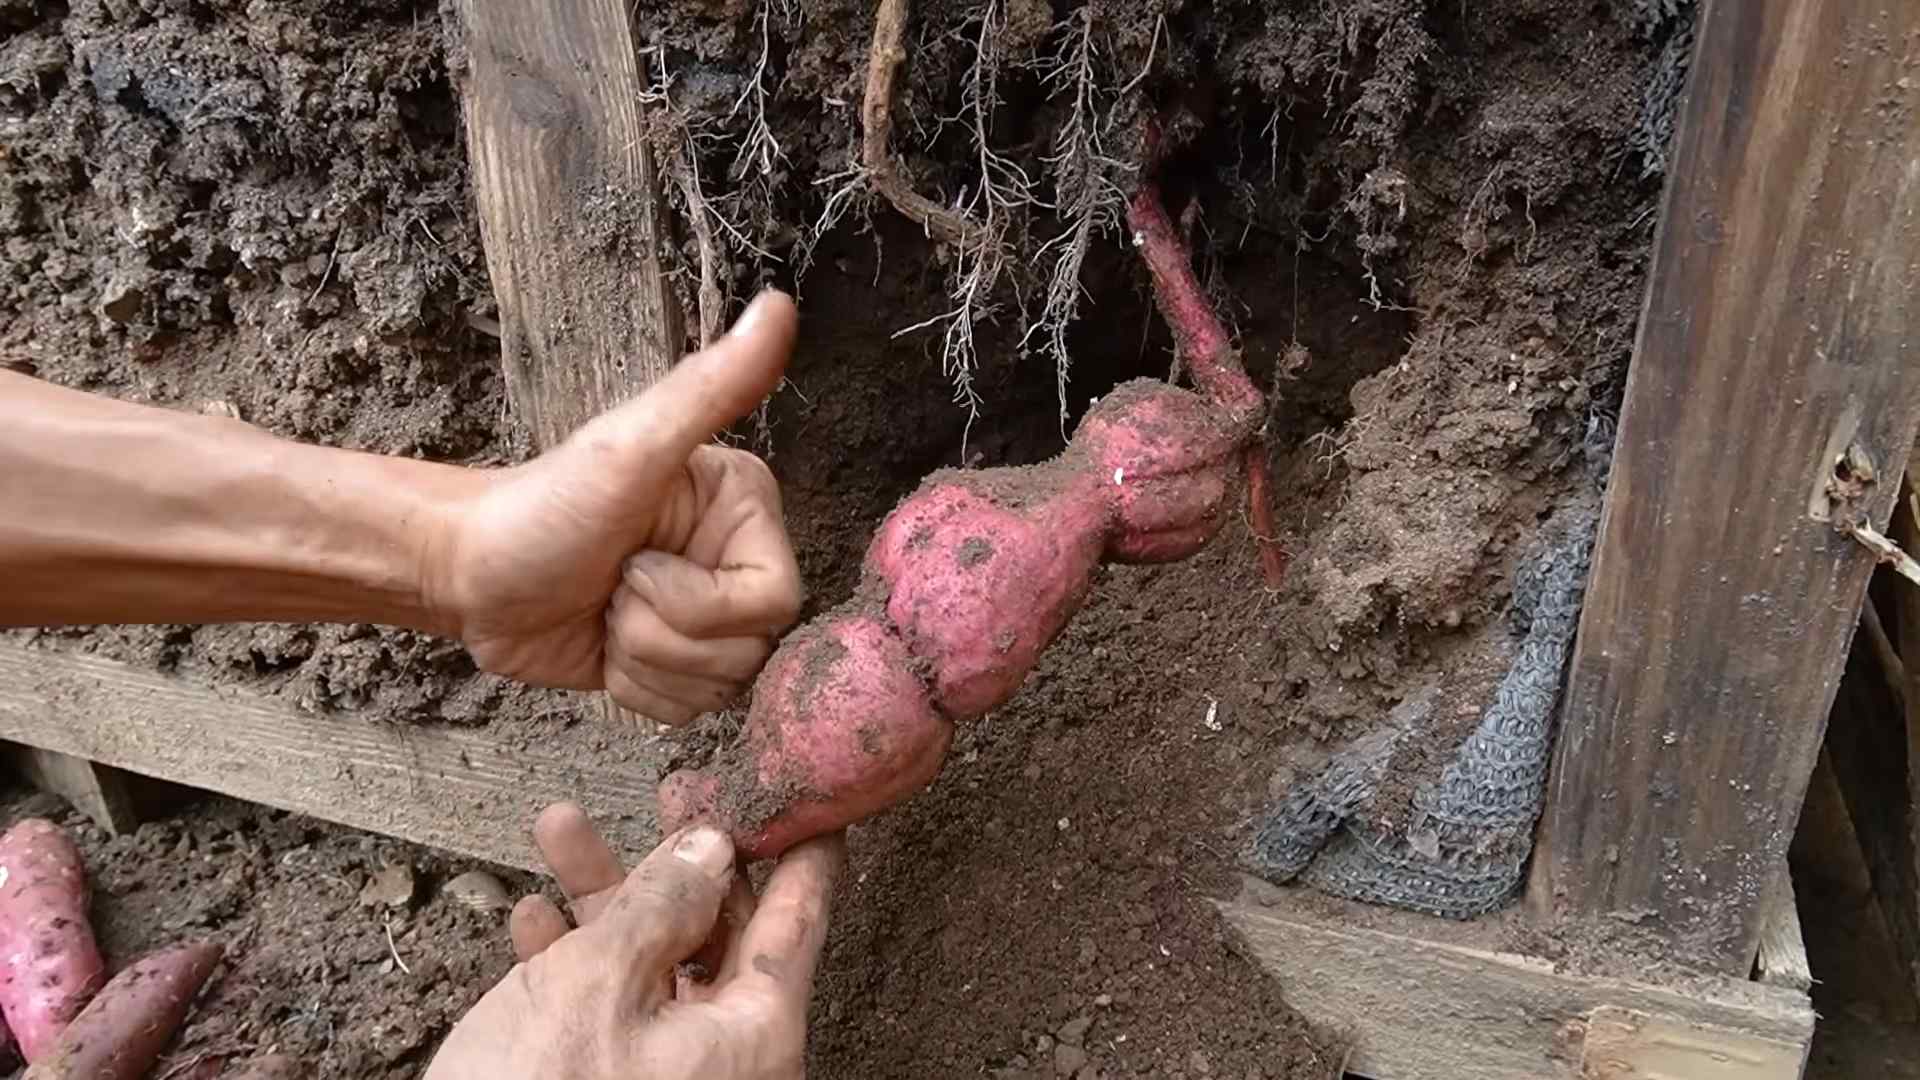
1. Harvest Time: Sweet potatoes typically take 3-4 months to mature. You’ll know they’re ready to harvest when the vines start to yellow and die back.
2. Carefully Remove the Plants: Gently remove the sweet potato plants from the hydroponic system.
3. Harvest the Sweet Potatoes: Carefully dig around the roots to harvest the sweet potatoes. Be careful not to damage the potatoes.
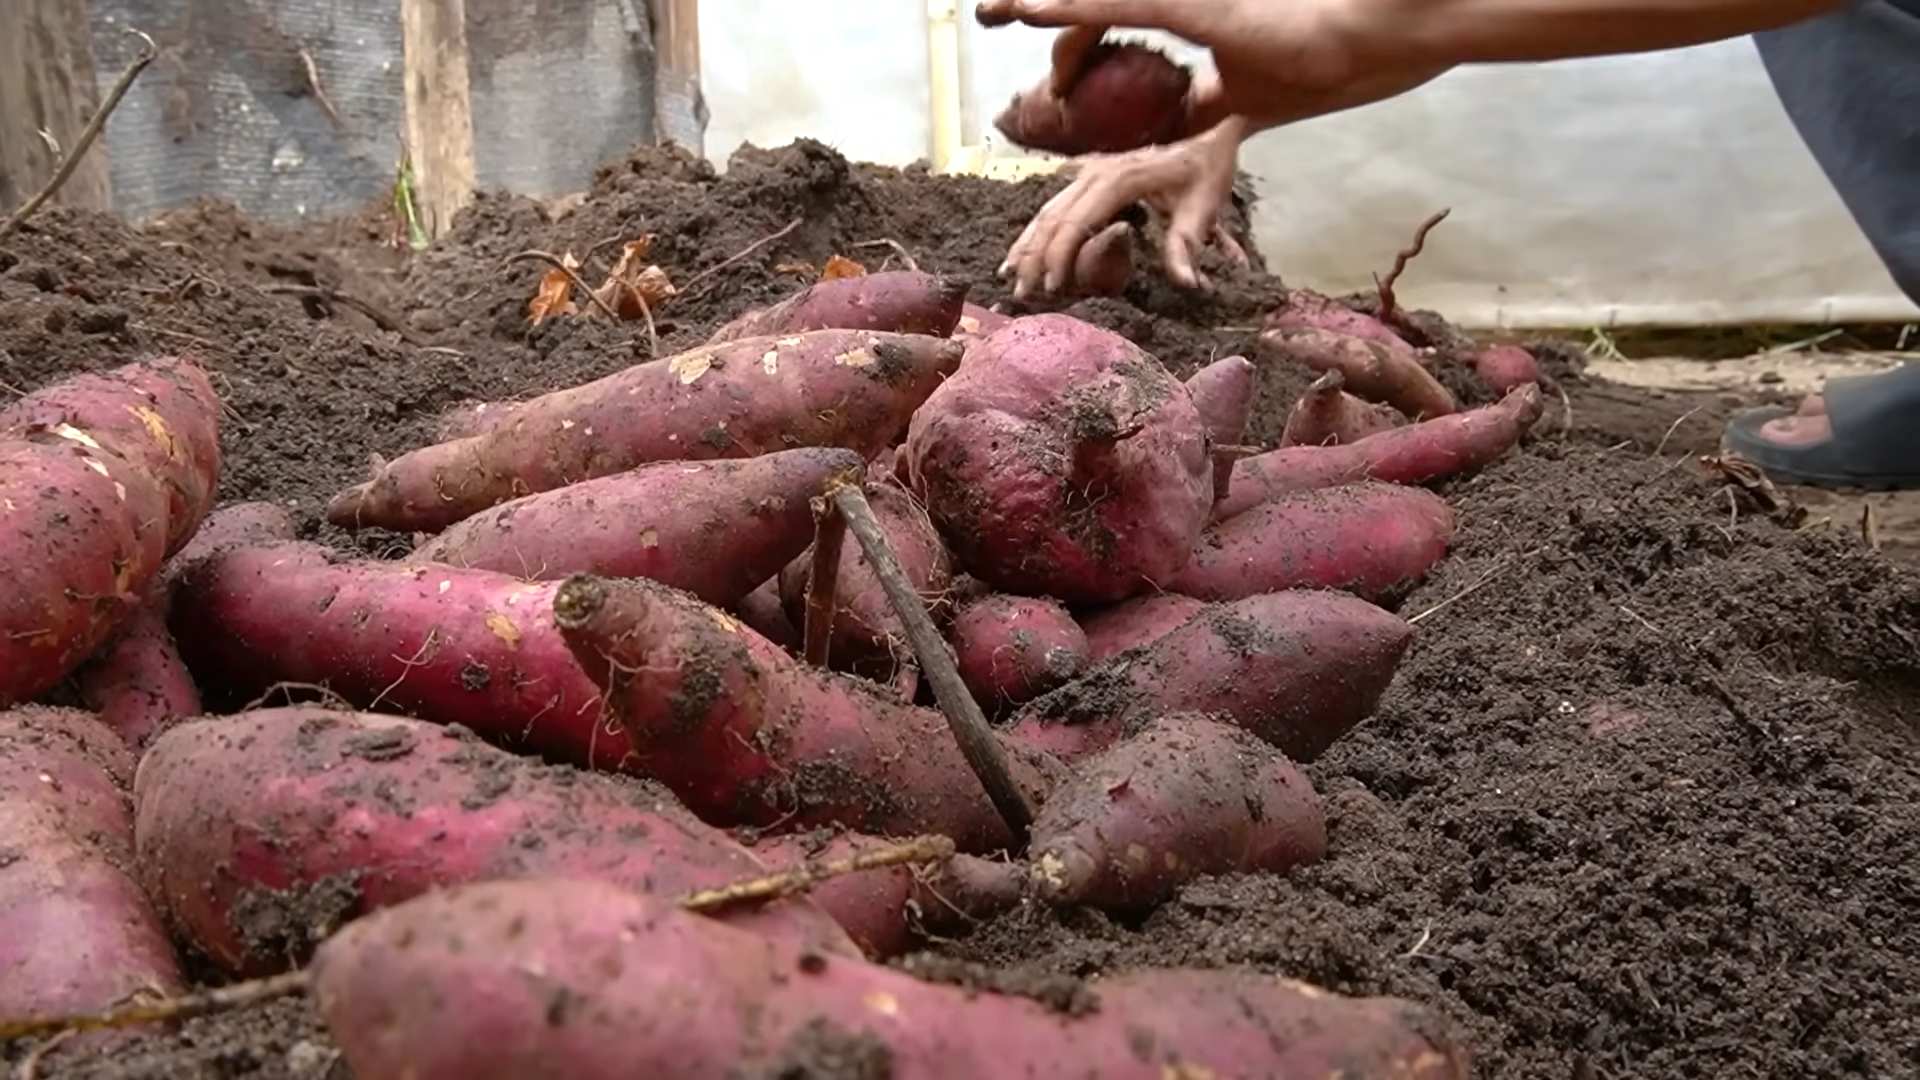
4. Curing the Sweet Potatoes: Cure the sweet potatoes for 1-2 weeks in a warm, humid place. This will improve their flavor and storage life.
5. Enjoy Your Harvest: Enjoy your homegrown, hydroponically grown sweet potatoes!
Troubleshooting Tips
Even with the best planning, things can sometimes go wrong. Here are a few troubleshooting tips to help you out:
* Yellowing Leaves: This could be a sign of nutrient deficiency. Check the nutrient levels and adjust as needed. It could also be a pH imbalance.
* Root Rot: This is caused by a lack of oxygen. Make sure your air pump is working properly and that the water is well-oxygenated.
* Pests: Treat any pest infestations promptly with appropriate organic solutions.
* Slow Growth: This could be due to a lack of light, nutrients, or a pH imbalance. Make sure your sweet potatoes are getting enough light and nutrients, and that the pH is within the optimal range.
Final Thoughts
Growing sweet potatoes hydroponically is a fun and rewarding project that anyone can do. With a little bit of planning and effort, you can enjoy fresh, homegrown sweet potatoes all year round. So, what are you waiting for? Get started today and experience the joy of soil-free gardening! I hope this guide has been helpful, and I wish you the best of luck with your hydroponic sweet potato adventure! Happy growing!
Conclusion
So, there you have it! Growing sweet potatoes soil-free, also known as hydroponically, isn’t just a quirky experiment; it’s a genuinely rewarding and surprisingly simple way to cultivate these nutritious and delicious tubers. We’ve walked you through the process, from sprouting slips to nurturing them in a water-based environment, and hopefully, dispelled any myths about needing acres of farmland for a successful sweet potato harvest.
Why is this DIY trick a must-try? Firstly, it opens up sweet potato cultivation to those with limited space. Apartment dwellers, balcony gardeners, and anyone lacking a traditional garden plot can now enjoy the satisfaction of growing their own food. Secondly, it offers a fascinating glimpse into the power of hydroponics, a sustainable and efficient method of agriculture that’s gaining traction worldwide. You’ll learn firsthand how plants can thrive with just water, nutrients, and light. Thirdly, and perhaps most importantly, it’s fun! There’s something incredibly satisfying about watching those slips transform into sprawling vines and eventually, plump, orange sweet potatoes.
But the beauty of this method lies in its adaptability. Feel free to experiment with different nutrient solutions to see what works best for your specific environment and sweet potato variety. Consider adding an air stone to your water reservoir for increased oxygenation, which can further boost growth. You could also explore different lighting options, from natural sunlight to grow lights, to optimize photosynthesis. For a fun variation, try growing different varieties of sweet potatoes – Beauregard, Japanese, or even purple sweet potatoes – to compare their growth habits and flavors. You can even try training the vines to grow up a trellis for a visually stunning and space-saving vertical garden.
Don’t be afraid to get creative and personalize your soil-free sweet potato growing experience! The key is to observe your plants, adjust your methods as needed, and most importantly, enjoy the process.
We wholeheartedly encourage you to give this DIY trick a try. It’s a fantastic way to connect with nature, learn about plant science, and enjoy the fruits (or rather, tubers) of your labor. Once you’ve harvested your first batch of soil-free sweet potatoes, we’d love to hear about your experience! Share your photos, tips, and any challenges you encountered in the comments below. Let’s build a community of hydroponic sweet potato enthusiasts and learn from each other’s successes and failures. Happy growing!
Frequently Asked Questions (FAQ)
What exactly are sweet potato “slips,” and where do I get them?
Sweet potato slips are sprouts that grow from a mature sweet potato. They are essentially baby sweet potato plants. You can easily grow your own slips by suspending a sweet potato (organic is best) in a jar of water, with the bottom half submerged. Place the jar in a warm, sunny location, and within a few weeks, you should see sprouts emerging from the potato. Alternatively, you can purchase slips from nurseries or online retailers, especially during the spring planting season. When buying, look for healthy slips with well-developed roots and no signs of disease.
What kind of container is best for growing sweet potatoes soil-free?
The ideal container should be opaque (to prevent algae growth) and large enough to accommodate the growing root system. A 5-gallon bucket or a large plastic storage bin works well for a single plant. Make sure the container is food-grade if you plan to consume the sweet potatoes. You’ll also need a way to suspend the slips so that only the roots are submerged in the nutrient solution. This can be achieved with a net pot, a piece of Styrofoam with holes drilled in it, or even a DIY support system made from plastic mesh. The key is to ensure the base of the stem remains dry to prevent rotting.
What type of nutrient solution should I use for hydroponic sweet potatoes?
A balanced hydroponic nutrient solution specifically formulated for vegetables is recommended. Look for a solution that contains macronutrients like nitrogen (N), phosphorus (P), and potassium (K), as well as micronutrients like iron (Fe), manganese (Mn), and zinc (Zn). Follow the manufacturer’s instructions for dilution and application. Start with a lower concentration and gradually increase it as the plants grow. You can find hydroponic nutrient solutions at most garden centers or online retailers. Remember to change the nutrient solution every 1-2 weeks to prevent nutrient depletion and the buildup of harmful bacteria.
How much light do sweet potatoes need when grown hydroponically?
Sweet potatoes need plenty of light to thrive. Ideally, they should receive at least 6-8 hours of direct sunlight per day. If you’re growing them indoors, you’ll need to supplement with grow lights. LED grow lights are a good option because they are energy-efficient and produce a full spectrum of light that plants need for photosynthesis. Position the grow lights close enough to the plants to provide adequate illumination, but not so close that they burn the leaves.
How often should I change the water and nutrient solution?
It’s generally recommended to change the water and nutrient solution every 1-2 weeks. This helps to prevent the buildup of algae, bacteria, and other contaminants that can harm the plants. It also ensures that the plants have access to a fresh supply of nutrients. When changing the solution, be sure to rinse the roots gently to remove any debris.
How long does it take to grow sweet potatoes soil-free?
The time it takes to grow sweet potatoes hydroponically can vary depending on several factors, including the variety of sweet potato, the growing conditions, and the nutrient solution used. Generally, it takes about 3-4 months from planting the slips to harvesting the sweet potatoes. You’ll know they’re ready to harvest when the vines start to yellow and die back.
Are there any common problems to watch out for when growing sweet potatoes hydroponically?
Yes, there are a few common problems to be aware of. Root rot is a common issue, especially if the roots are not properly aerated. To prevent root rot, make sure the water is well-oxygenated and change the nutrient solution regularly. Pests like aphids and spider mites can also be a problem. Inspect your plants regularly and treat any infestations promptly with an appropriate insecticide or horticultural oil. Nutrient deficiencies can also occur, so be sure to monitor the plants for signs of yellowing leaves or stunted growth and adjust the nutrient solution accordingly.
Can I grow other vegetables hydroponically besides sweet potatoes?
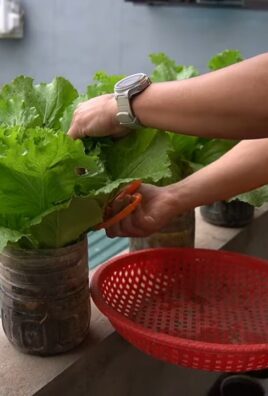
Absolutely! Hydroponics is a versatile growing method that can be used to cultivate a wide variety of vegetables, including lettuce, tomatoes, peppers, cucumbers, herbs, and strawberries. Each vegetable has its own specific nutrient requirements and growing conditions, so it’s important to do your research before starting a new hydroponic project.
What do I do with the sweet potato vines after harvesting the tubers?
The sweet potato vines are edible and can be used in a variety of dishes. They have a mild, slightly sweet flavor and can be cooked like spinach or other leafy greens. You can also add them to soups, stews, or stir-fries. Alternatively, you can compost the vines to enrich your garden soil.
Is growing sweet potatoes soil-free organic?
While hydroponics itself doesn’t inherently qualify as “organic” under current USDA standards (which heavily emphasize soil-based agriculture), you can certainly use organic nutrient solutions and pest control methods in your hydroponic system. Look for nutrient solutions that are certified organic by a reputable organization. This will ensure that you are using inputs that are free from synthetic chemicals and pesticides.
Leave a Comment