
Grow Asparagus Easily, even if you think you don’t have a green thumb! Have you ever dreamed of strolling into your backyard and harvesting fresh, tender asparagus spears for dinner? It’s more achievable than you might think, and this DIY guide will show you how to make that dream a reality. For centuries, asparagus has been prized for its delicate flavor and nutritional benefits, dating back to ancient Greece and Rome, where it was considered a delicacy.
But why should *you* bother growing your own asparagus? Well, store-bought asparagus can be expensive and often lacks the freshness and flavor of homegrown varieties. Plus, there’s something incredibly satisfying about nurturing a plant from its humble beginnings to a bountiful harvest. This DIY trick isn’t just about saving money; it’s about connecting with nature, enjoying the freshest possible produce, and adding a touch of elegance to your meals.
I’m going to share some simple yet effective techniques to help you grow asparagus easily, regardless of your gardening experience. From choosing the right variety to preparing your soil and protecting your precious spears, I’ll walk you through every step of the process. Get ready to impress your friends and family with your homegrown asparagus – let’s get started!
Growing Asparagus: A Beginner’s Guide to a Bountiful Harvest
Okay, so you want to grow asparagus? Awesome! It might seem intimidating, but trust me, with a little patience and the right approach, you can have your own delicious asparagus patch thriving for years to come. Asparagus is a perennial, meaning it comes back year after year, so it’s a long-term investment in your garden (and your taste buds!). Let’s dive into how to make it happen.
Choosing Your Asparagus Variety
First things first, let’s talk about asparagus varieties. There are a few different types, and choosing the right one for your climate and preferences is key.
* Jersey Knight: This is a popular choice for a reason. It’s a male hybrid, meaning it produces very few seeds, which translates to higher yields and less volunteer asparagus popping up where you don’t want it. It’s also disease-resistant and adaptable to a wide range of climates.
* Jersey Giant: Similar to Jersey Knight, but slightly larger spears. Also a male hybrid.
* Purple Passion: If you want something a little different, Purple Passion is a great option. It has a sweeter flavor than green varieties and turns green when cooked. It’s also visually stunning in the garden.
* Millennium: Another excellent choice, known for its high yields and disease resistance. It’s a good option for colder climates.
I personally recommend starting with Jersey Knight or Millennium, especially if you’re a beginner. They’re reliable and easy to grow.
Preparing Your Asparagus Bed
Asparagus needs a well-prepared bed to thrive. This is the most important step, so don’t skimp on it! Asparagus roots can grow deep (up to 6 feet!), so you need to create a loose, fertile environment for them.
* Location, Location, Location: Asparagus needs full sun – at least 6-8 hours per day. Choose a spot in your garden that gets plenty of sunlight. Also, consider that asparagus will be in this spot for 15-20 years, so choose wisely!
* Soil Testing: Before you start digging, test your soil. Asparagus prefers a slightly acidic to neutral pH (around 6.5-7.0). You can buy a soil testing kit at most garden centers or send a sample to your local agricultural extension office.
* Amending the Soil: Asparagus needs well-drained soil. If your soil is heavy clay, you’ll need to amend it with lots of organic matter, like compost, well-rotted manure, or peat moss. This will improve drainage and aeration. Sandy soil also benefits from organic matter, as it helps retain moisture and nutrients.
* Digging the Trench: This is where the real work begins! Dig a trench that is about 12-18 inches wide and 6-8 inches deep. If you have heavy clay soil, you might want to dig a little deeper.
* Adding Amendments to the Trench: Now, fill the bottom of the trench with a generous layer of compost and well-rotted manure. Mix it into the soil at the bottom of the trench. This will provide nutrients for your asparagus plants as they grow.
* Creating a Ridge: Create a small ridge down the center of the trench. This is where you’ll place the asparagus crowns.
Planting Your Asparagus Crowns
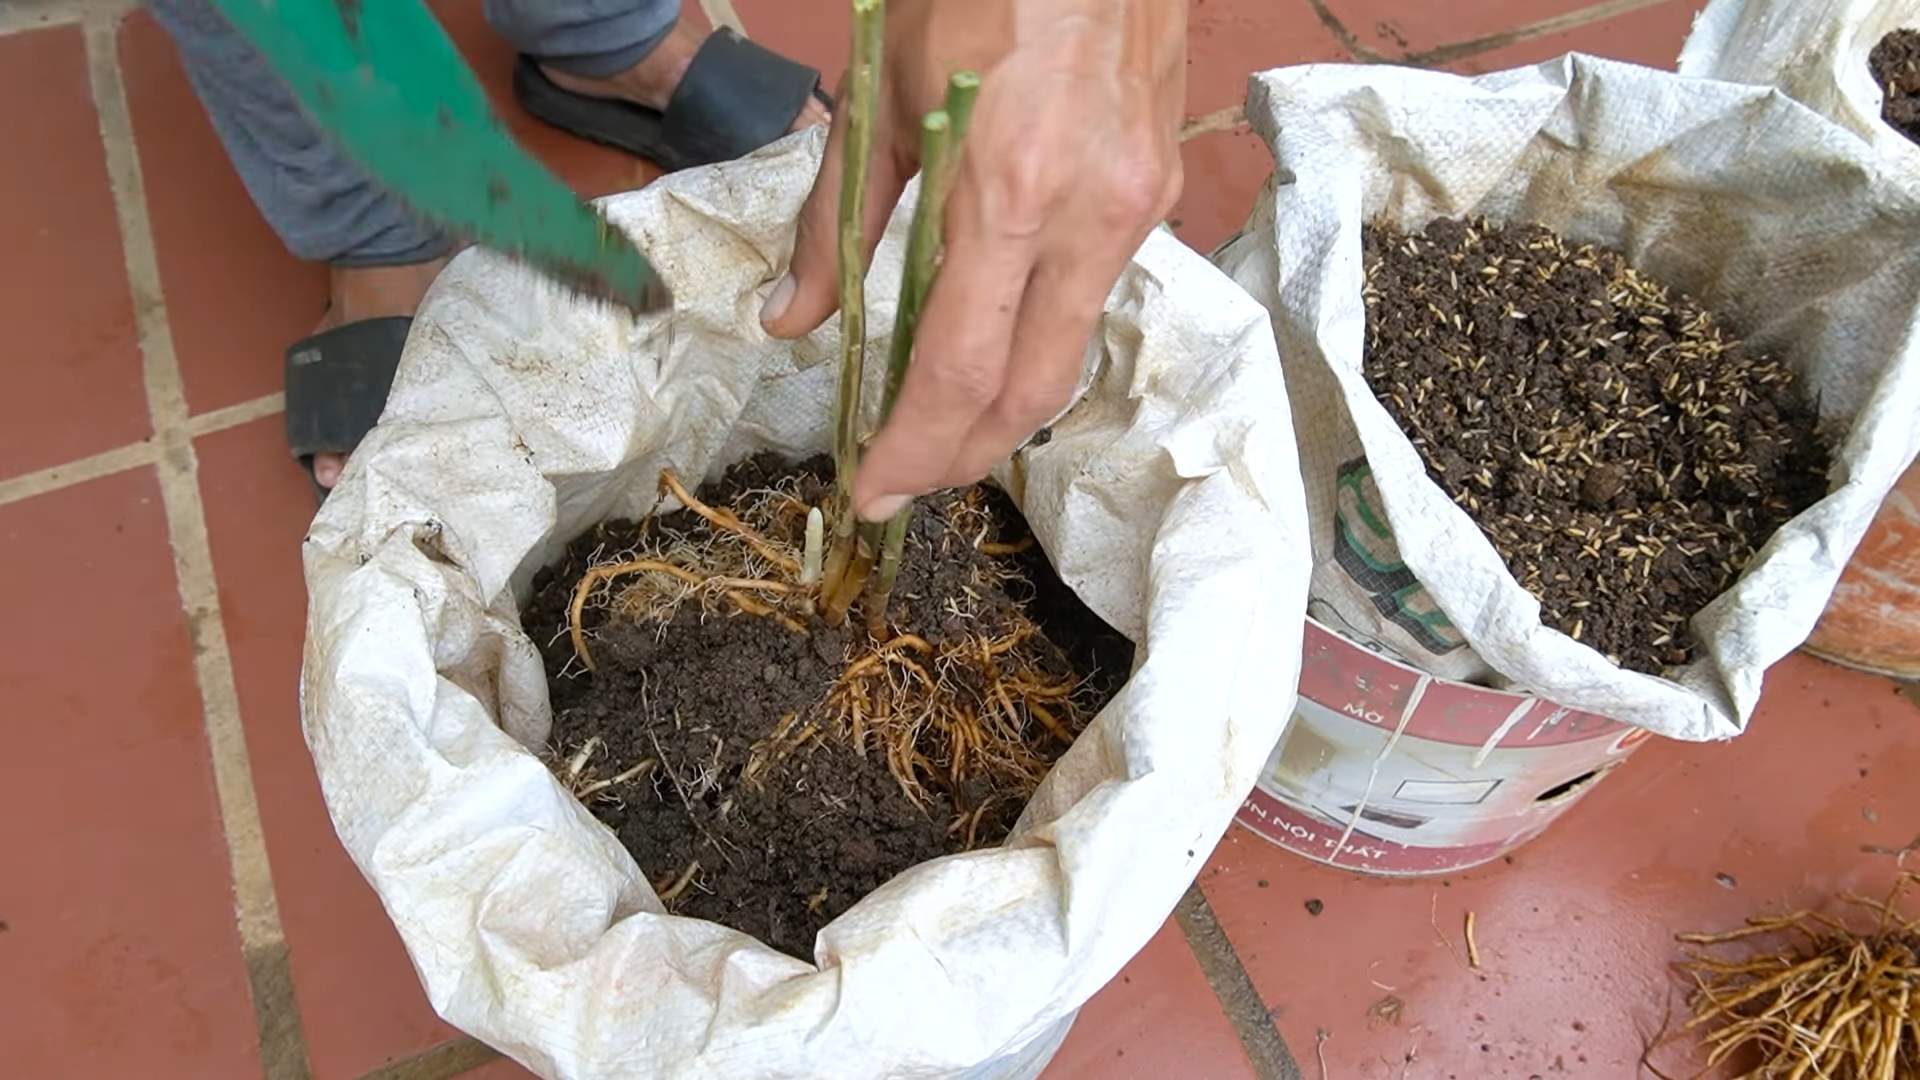
Now for the fun part – planting! You can buy asparagus crowns (one-year-old plants) from a nursery or online.
* Soaking the Crowns: Before planting, soak the asparagus crowns in water for about an hour. This will help rehydrate them.
* Spacing the Crowns: Place the asparagus crowns on the ridge in the trench, spacing them about 12-18 inches apart. The crowns should be facing upwards, with the roots spread out around them.
* Covering the Crowns: Gently cover the crowns with about 2-3 inches of soil. Water thoroughly.
* Gradually Filling the Trench: As the asparagus spears emerge, gradually fill in the trench with soil. This will encourage the plants to develop a strong root system. Over the course of the first growing season, you’ll completely fill in the trench.
Caring for Your Asparagus Patch
Once your asparagus is planted, it’s important to provide proper care to ensure a healthy and productive patch.
* Watering: Asparagus needs consistent moisture, especially during the first year. Water deeply whenever the soil feels dry to the touch.
* Weeding: Keep your asparagus patch free of weeds. Weeds compete with the asparagus for nutrients and water. Hand-pull weeds carefully to avoid damaging the asparagus roots.
* Fertilizing: Fertilize your asparagus patch in the spring with a balanced fertilizer. You can also side-dress with compost or well-rotted manure.
* Mulching: Apply a layer of mulch around your asparagus plants to help retain moisture, suppress weeds, and regulate soil temperature. Straw, wood chips, or shredded leaves are all good options.
* Pest and Disease Control: Asparagus is relatively pest-resistant, but keep an eye out for asparagus beetles. These beetles can damage the spears and foliage. Hand-picking the beetles or using an insecticidal soap can help control them. Rust is a common fungal disease that can affect asparagus. Choose rust-resistant varieties and ensure good air circulation to prevent rust.
Harvesting Your Asparagus
Patience is key when it comes to harvesting asparagus. You shouldn’t harvest any spears during the first year after planting. This allows the plants to establish a strong root system.
* Second Year: In the second year, you can harvest a few spears, but only for a short period (about 2-3 weeks).
* Third Year and Beyond: In the third year and beyond, you can harvest asparagus for a longer period (about 6-8 weeks).
* Harvesting Technique: To harvest asparagus, snap the spears off at ground level. The spears should be about 6-8 inches tall.
* Knowing When to Stop: Stop harvesting when the spears become thin and spindly. This indicates that the plants need to replenish their energy reserves.
* Letting it Fern: After the harvest period, let the asparagus plants fern out. The ferns will produce energy that will be stored in the roots for the following year’s harvest.
Overwintering Your Asparagus
Asparagus is a hardy perennial, but it still needs some protection during the winter months, especially in colder climates.
* Cutting Back the Ferns: In the fall, after the ferns have turned brown, cut them back to about 2 inches above the ground.
* Mulching: Apply a thick layer of mulch over the asparagus bed to protect the roots from freezing temperatures.
* Spring Cleanup: In the spring, remove the mulch and fertilize the asparagus patch.
Troubleshooting Common Asparagus Problems
Even with the best care, you might encounter some problems with your asparagus patch. Here are a few common issues and how to address them:
* Thin Spears: Thin spears can be a sign of nutrient deficiency, overcrowding, or over-harvesting. Fertilize your asparagus patch, thin out the plants if they are overcrowded, and avoid over-harvesting.
* Yellowing Foliage: Yellowing foliage can be a sign of nutrient deficiency, disease, or pest infestation. Check your soil pH and nutrient levels, look for signs of disease or pests, and take appropriate action.
* Asparagus Beetles: Asparagus beetles can damage the spears and foliage. Hand-pick the beetles or use an insecticidal soap to control them.
* Rust: Rust is a fungal disease that can affect asparagus. Choose rust-resistant varieties and ensure good air circulation to prevent rust.
Enjoying Your Homegrown Asparagus
The best part about growing your own asparagus is enjoying the delicious, fresh spears! Asparagus can be steamed, roasted, grilled, or sautéed. It’s a versatile vegetable that can be used in a variety of dishes.
* Storage: Store asparagus in the refrigerator, wrapped in a damp paper towel. It’s best to use it within a few days of harvesting.
* Recipes: There are countless asparagus recipes available online and in cookbooks. Experiment with different recipes and find your favorites!
Growing asparagus takes time and effort, but the rewards are well worth it. With a little patience and the right approach, you can have your own thriving asparagus patch that will provide you with delicious spears for years to come. Happy gardening!
Conclusion
So, there you have it! Growing asparagus easily, even if you think you don’t have a green thumb, is absolutely achievable with this simple DIY trick. Forget the daunting tales of years-long waits and finicky plants. This method streamlines the process, giving you a head start and a higher chance of success. Imagine the satisfaction of harvesting your own tender, flavorful asparagus spears, knowing you nurtured them from the ground up.
Why is this a must-try? Because it democratizes asparagus growing. It takes away the intimidation factor and makes it accessible to everyone, regardless of their gardening experience or the size of their garden. Plus, it’s incredibly rewarding to connect with your food source and enjoy the unparalleled taste of homegrown produce. Store-bought asparagus simply can’t compare to the freshness and flavor you’ll get from your own garden.
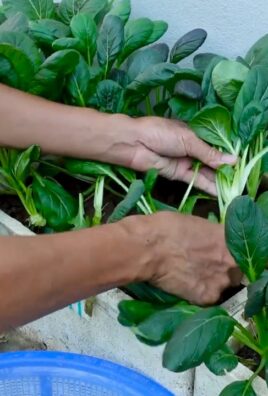
But don’t stop there! Feel free to experiment and personalize your asparagus patch. Try different varieties of asparagus crowns to discover your favorite flavor profile. Jersey Knight is a popular choice for its high yield and disease resistance, while Purple Passion offers a unique color and slightly sweeter taste. You can also amend your soil with different types of compost or organic matter to see how it affects the growth and flavor of your asparagus. Consider companion planting with herbs like basil or parsley, which can help deter pests and attract beneficial insects.
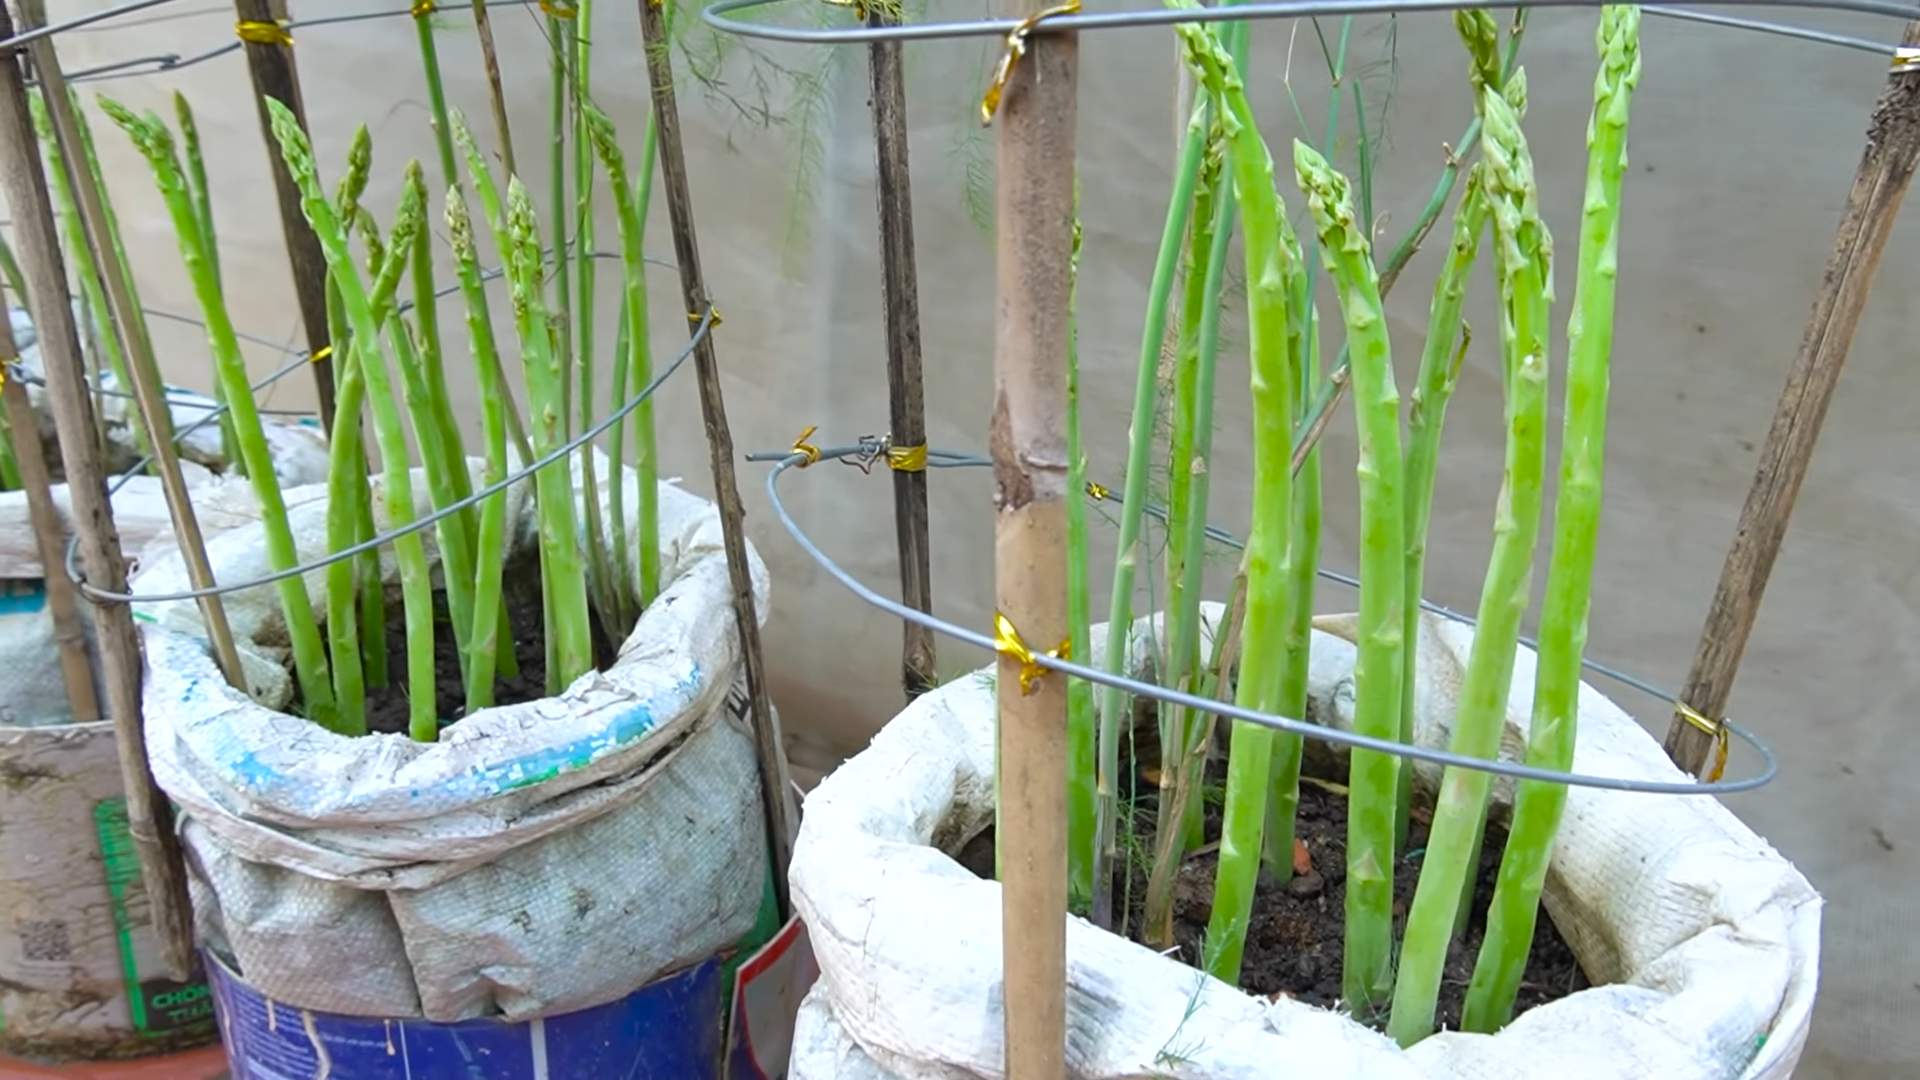
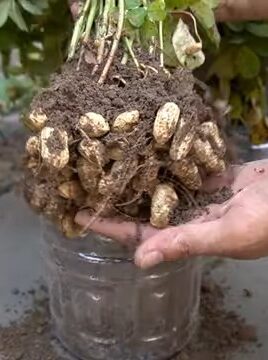
Another variation to consider is the container gardening approach. If you’re short on space or live in an apartment, you can still enjoy homegrown asparagus by planting it in large containers. Just make sure the containers are deep enough to accommodate the asparagus roots and provide adequate drainage.
We wholeheartedly encourage you to give this DIY trick a try. It’s a fun, rewarding, and ultimately delicious experience. And once you’ve harvested your first batch of homegrown asparagus, we’d love to hear about it! Share your experiences, tips, and photos in the comments below. Let’s build a community of asparagus enthusiasts and inspire others to embark on their own gardening adventures. What are you waiting for? Get planting and enjoy the fruits (or rather, vegetables) of your labor!
Frequently Asked Questions (FAQ)
What exactly makes this DIY trick so much easier than traditional methods?
The traditional method of growing asparagus from seed can be a lengthy and challenging process, often taking several years before you can harvest any spears. This DIY trick, which focuses on starting with asparagus crowns (one-year-old plants), significantly shortens the waiting time. Crowns are already established plants, giving you a head start and allowing you to harvest sooner, typically within one to two years. Furthermore, this method often involves creating a raised bed or amending the soil to provide optimal drainage and nutrient availability, which contributes to healthier and more productive plants. It’s about optimizing the environment from the beginning to minimize potential problems and maximize your chances of success.
How much space do I really need to grow asparagus? I have a small garden.
While asparagus plants can get quite large over time, you don’t necessarily need a huge garden to grow them. A single asparagus plant needs about 12-18 inches of space in a row. If you’re planting multiple plants, space the rows about 3-4 feet apart. If you have a very small garden, consider growing asparagus in containers. A large container, at least 18 inches deep and wide, can accommodate one or two asparagus plants. Just make sure the container has good drainage and that you provide regular watering and fertilization. Even a small patio or balcony can be transformed into an asparagus-growing haven!
What kind of soil is best for growing asparagus?
Asparagus thrives in well-drained, sandy loam soil that is rich in organic matter. The soil pH should be between 6.5 and 7.5. Before planting, amend your soil with plenty of compost, well-rotted manure, or other organic matter to improve drainage and fertility. Avoid heavy clay soils, as they can become waterlogged and lead to root rot. If you have clay soil, consider building a raised bed and filling it with a well-draining soil mix. Proper soil preparation is crucial for the long-term health and productivity of your asparagus plants.
How often should I water my asparagus plants?
Asparagus plants need consistent moisture, especially during the growing season. Water deeply whenever the top inch of soil feels dry to the touch. Avoid overwatering, as this can lead to root rot. During dry spells, you may need to water more frequently. Mulching around the plants can help retain moisture and suppress weeds. In the fall, after the foliage has died back, reduce watering.
When is the best time to plant asparagus crowns?
The best time to plant asparagus crowns is in the early spring, as soon as the soil can be worked. In colder climates, wait until after the last frost. In warmer climates, you can also plant asparagus crowns in the fall. Choose a sunny location with well-drained soil.
How long does it take to harvest asparagus after planting crowns?
Typically, you should wait at least one full growing season after planting asparagus crowns before harvesting any spears. This allows the plants to establish a strong root system. In the second year, you can harvest spears for a short period, about 2-3 weeks. In the third year and beyond, you can harvest spears for a longer period, about 6-8 weeks.
How do I know when to harvest asparagus spears?
Asparagus spears are ready to harvest when they are about 6-8 inches tall and about as thick as your finger. Use a sharp knife to cut the spears at ground level. Avoid damaging the crown when harvesting.
What are some common pests and diseases that affect asparagus?
Some common pests that affect asparagus include asparagus beetles, aphids, and cutworms. Common diseases include asparagus rust and fusarium crown and root rot. To prevent pests and diseases, choose disease-resistant varieties, practice good garden hygiene, and monitor your plants regularly. If you notice any signs of pests or diseases, take action promptly.
Can I grow asparagus in containers?
Yes, you can grow asparagus in containers, but you’ll need a large container, at least 18 inches deep and wide. Use a well-draining potting mix and provide regular watering and fertilization. Container-grown asparagus may not be as productive as asparagus grown in the ground, but it’s a great option for gardeners with limited space.
How do I care for my asparagus plants in the fall and winter?
In the fall, after the foliage has turned yellow and died back, cut the plants down to the ground. Remove any dead foliage to prevent the spread of diseases. Apply a layer of mulch around the plants to protect the roots from freezing temperatures. In the spring, remove the mulch and fertilize the plants with a balanced fertilizer.

Leave a Comment