
DIY Bathroom Cleaner: Are you tired of battling stubborn soap scum, mildew, and hard water stains in your bathroom? I know I am! It feels like a never-ending cycle of scrubbing with harsh chemicals that leave behind a lingering, unpleasant odor. But what if I told you there’s a better way? A way to achieve a sparkling clean bathroom using ingredients you probably already have in your pantry?
For generations, resourceful homemakers have relied on simple, natural solutions to keep their homes clean. Think back to your grandmother’s cleaning rituals – vinegar, baking soda, and lemon juice were likely staples! This tradition of DIY cleaning isn’t just about saving money; it’s about creating a healthier living environment for ourselves and our families. We’re moving away from harsh chemicals and embracing the power of natural ingredients.
That’s why I’m so excited to share these amazing DIY bathroom cleaner recipes with you. Not only are they incredibly effective at tackling grime and dirt, but they’re also gentle on your surfaces and the environment. Plus, you’ll save a ton of money compared to buying commercial cleaners. Who doesn’t love a win-win situation? So, ditch the harsh chemicals and let’s dive into the world of natural cleaning! You’ll be amazed at how easy and effective it is to create your own powerful DIY bathroom cleaner.
DIY Bathroom Cleaner: Sparkling Clean Without the Harsh Chemicals!
Hey everyone! I’m so excited to share my go-to recipe for a DIY bathroom cleaner that’s not only super effective but also avoids all those harsh chemicals you find in store-bought versions. I’ve been using this for years, and my bathroom has never looked better (or smelled fresher!). Plus, it’s incredibly budget-friendly. Let’s get started!
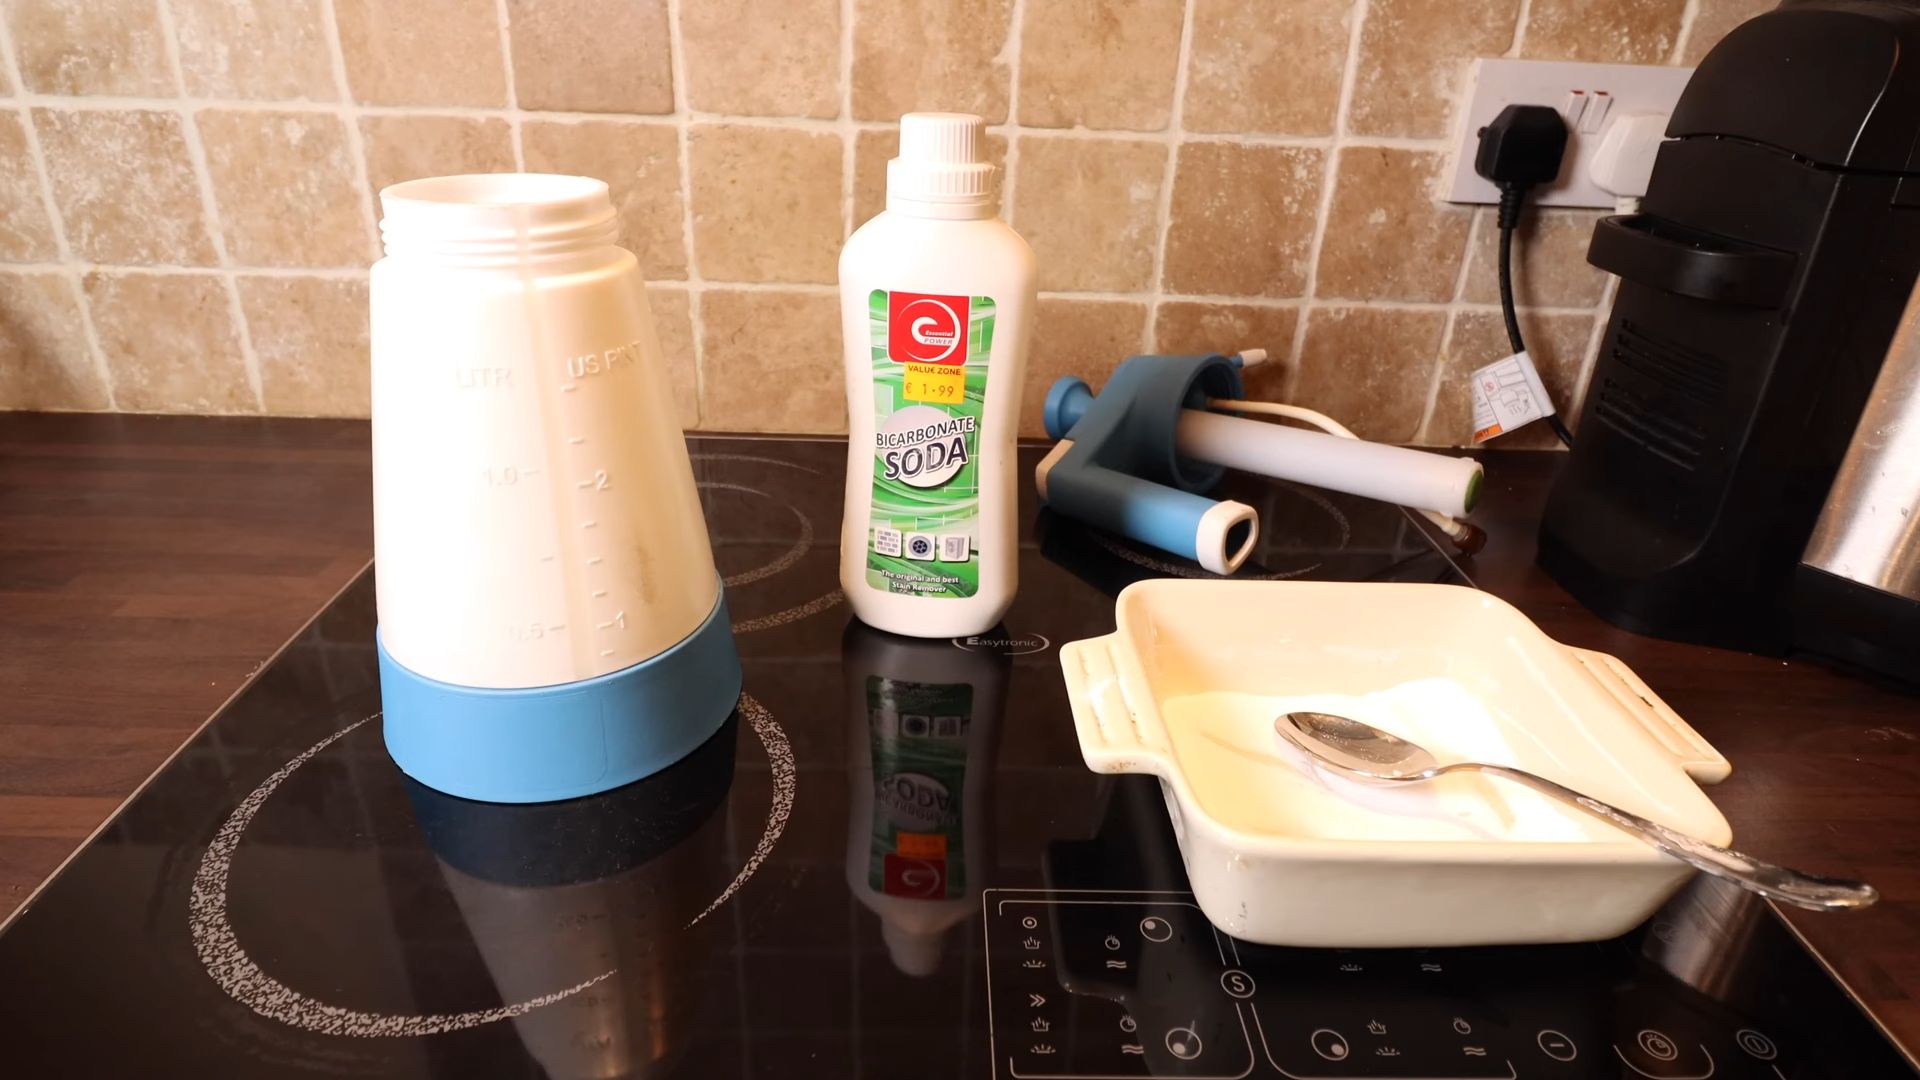
What You’ll Need: The Ingredients & Supplies
Before we dive into the mixing, let’s gather our supplies. This is a pretty simple recipe, so you probably already have most of these things lying around.
* Spray Bottle: An empty spray bottle is essential. I prefer a sturdy one that can handle a bit of wear and tear. Make sure it’s clean and dry before you start.
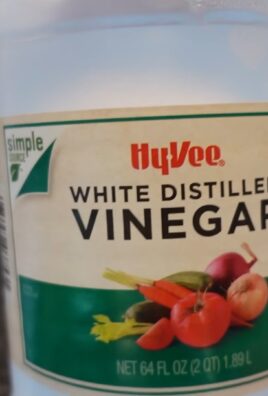
* White Vinegar: This is our main cleaning agent. Vinegar is a natural disinfectant and does a fantastic job of cutting through grime and soap scum.
* Baking Soda: Baking soda is a mild abrasive that helps scrub away stubborn stains. It also neutralizes odors.
* Dish Soap: A small amount of dish soap helps to break down grease and grime. I usually use a natural, unscented variety to avoid adding unnecessary chemicals.
* Essential Oils (Optional): This is where you can customize your cleaner! Essential oils add a pleasant scent and can also provide additional cleaning benefits. My favorites are tea tree (antiseptic), lavender (relaxing), and lemon (brightening).
* Water: Distilled water is best, but tap water works just fine.
* Measuring Cups and Spoons: For accurate measurements.
* Funnel (Optional): Makes pouring ingredients into the spray bottle much easier.
* Gloves (Optional): If you have sensitive skin, you might want to wear gloves while mixing and using the cleaner.
Mixing the Magic: Step-by-Step Instructions
Okay, now for the fun part! Let’s mix up our amazing bathroom cleaner.
1. Prepare the Spray Bottle: Make sure your spray bottle is clean and completely dry. Any leftover residue could interfere with the effectiveness of the cleaner.
2. Add Baking Soda: Pour 1/4 cup of baking soda into the spray bottle. A funnel can be really helpful here to avoid making a mess.
3. Slowly Add Vinegar: This is where things get a little fizzy! Slowly pour 1/2 cup of white vinegar into the spray bottle. The baking soda and vinegar will react, creating a bubbling mixture. Don’t worry, this is normal! Add the vinegar slowly to prevent it from overflowing.
4. Let the Fizz Subside: Allow the fizzing to subside before moving on to the next step. This usually takes a minute or two.
5. Add Dish Soap: Add 1 teaspoon of dish soap to the mixture. Again, I recommend using a natural, unscented variety.
6. Add Essential Oils (Optional): If you’re using essential oils, add 10-20 drops of your favorite scent. I usually go for a combination of tea tree and lemon for a fresh, clean smell.
7. Top with Water: Fill the rest of the spray bottle with water, leaving a little bit of space at the top.
8. Shake Well: Secure the spray nozzle and shake the bottle well to combine all the ingredients.
9. Label Your Bottle: This is important! Label your spray bottle clearly as “Bathroom Cleaner” to avoid any confusion.
Using Your Homemade Cleaner: Tips & Tricks
Now that you have your amazing DIY bathroom cleaner, let’s talk about how to use it effectively.
* Test in an Inconspicuous Area: Before using the cleaner on a large surface, test it in a small, hidden area to make sure it doesn’t damage the finish. This is especially important for delicate surfaces like marble or granite.
* Spray and Let Sit: Spray the cleaner onto the surface you want to clean and let it sit for a few minutes. This allows the cleaner to penetrate the grime and soap scum. For tough stains, you can let it sit for up to 10 minutes.
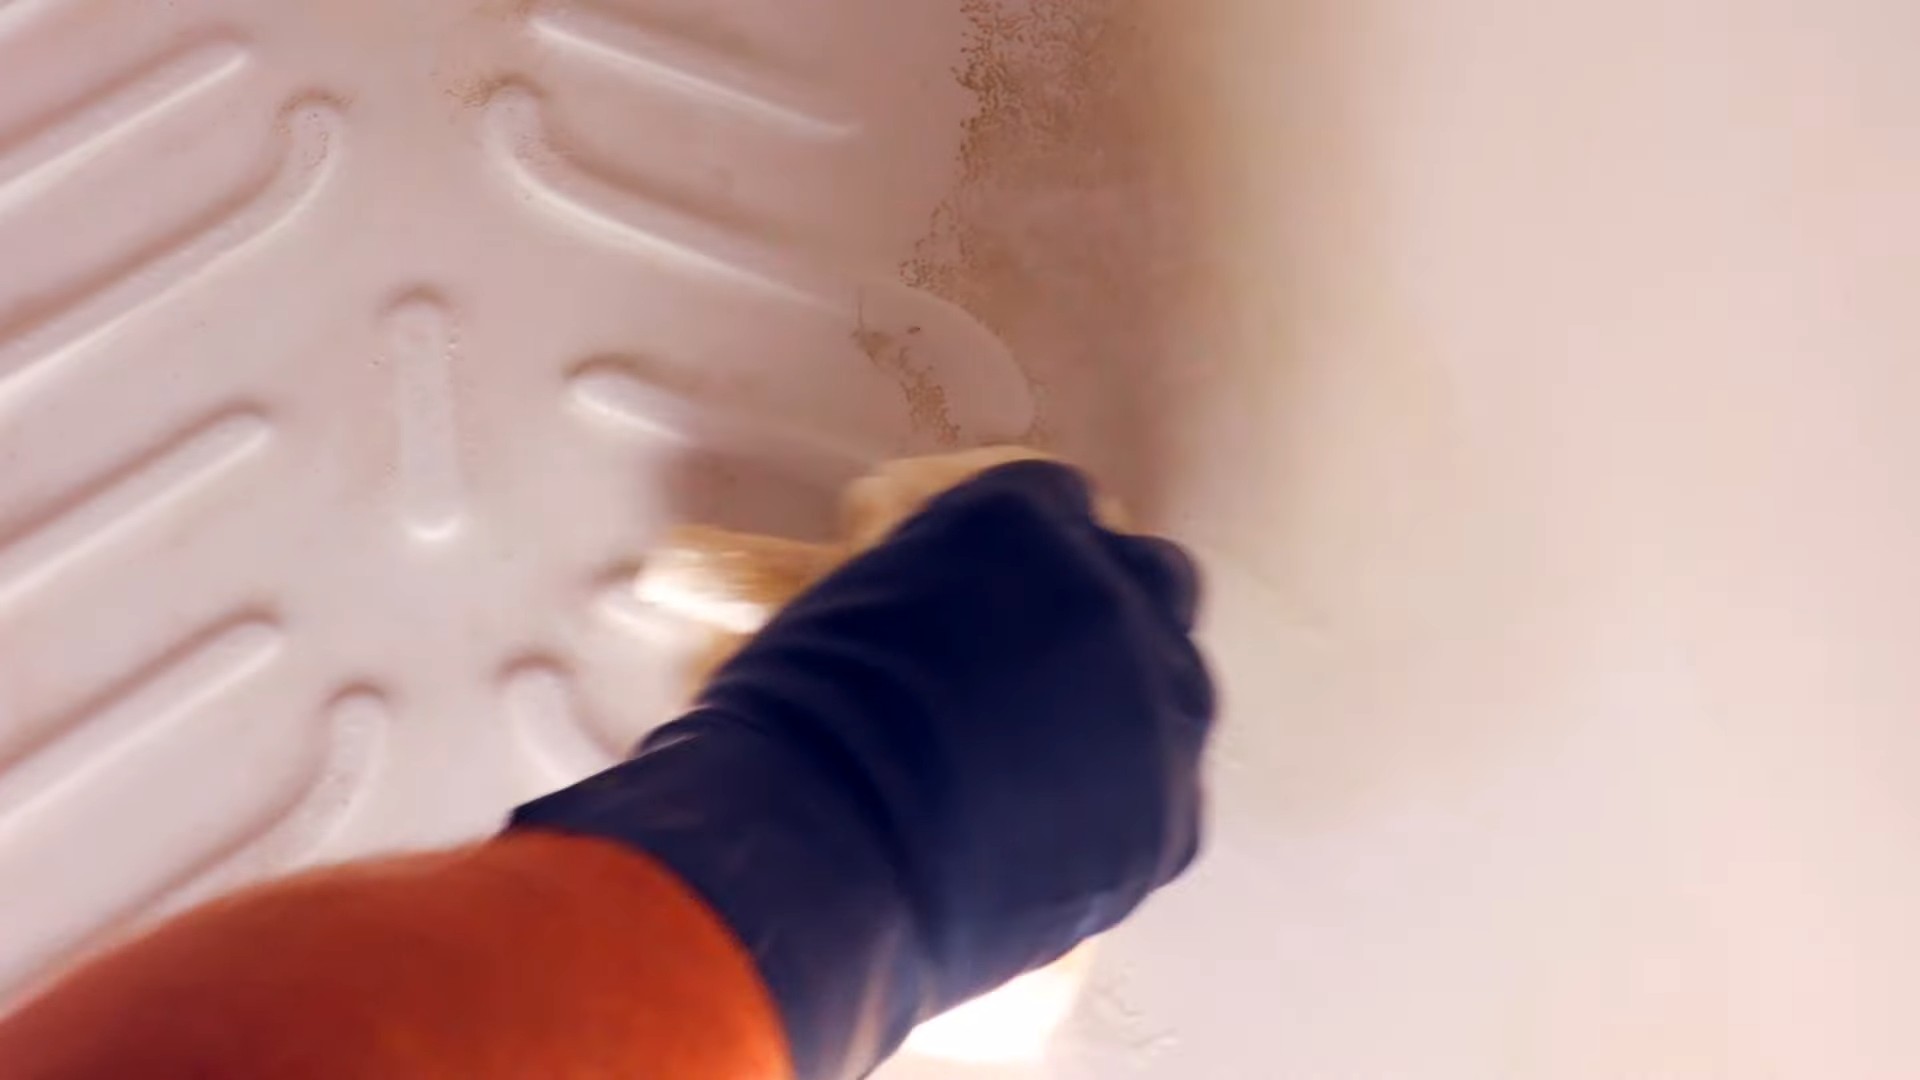
* Scrub and Wipe: Use a sponge, cloth, or scrub brush to scrub the surface. For stubborn stains, you might need to use a little elbow grease.
* Rinse Thoroughly: Rinse the surface thoroughly with water to remove any remaining cleaner.
* Dry with a Clean Cloth: Dry the surface with a clean cloth to prevent water spots.
Tackling Specific Bathroom Areas: A Targeted Approach
Let’s break down how to use this cleaner in different areas of your bathroom for optimal results.
Shower and Tub
* Soap Scum: This cleaner is fantastic for tackling soap scum. Spray it liberally onto the shower walls, floor, and tub, let it sit for 5-10 minutes, and then scrub with a sponge or brush. Rinse thoroughly.
* Mold and Mildew: While this cleaner isn’t a dedicated mold killer, the vinegar and tea tree oil can help prevent mold and mildew growth. Spray it onto areas prone to mold and mildew, let it sit, and then scrub. For existing mold, you might need a stronger solution like bleach (use with caution and proper ventilation!).
* Shower Doors: Spray the cleaner onto the shower doors, let it sit for a few minutes, and then wipe clean with a squeegee or cloth. This will help prevent water spots and soap scum buildup.
Toilet
* Toilet Bowl: Pour 1/2 cup of baking soda into the toilet bowl, followed by 1 cup of white vinegar. Let it fizz for a few minutes, then scrub with a toilet brush and flush.
* Toilet Seat and Exterior: Spray the cleaner onto the toilet seat and exterior, wipe clean with a cloth, and then dry.
Sink and Countertop
* General Cleaning: Spray the cleaner onto the sink and countertop, wipe clean with a cloth, and then dry.
* Hard Water Stains: If you have hard water stains around your faucet, spray the cleaner onto the stains, let it sit for a few minutes, and then scrub with a sponge or brush. Rinse thoroughly.
Floor
* Tile Floors: Spray the cleaner onto the tile floor, mop with a damp mop, and then let air dry.
* Grout: For dirty grout, spray the cleaner onto the grout lines, let it sit for a few minutes, and then scrub with a grout brush. Rinse thoroughly.
Troubleshooting: Common Issues and Solutions
Even with the best recipes, sometimes things don’t go exactly as planned. Here are some common issues you might encounter and how to fix them.
* Strong Vinegar Smell: The vinegar smell can be a bit strong at first, but it will dissipate quickly. If you’re sensitive to smells, add more essential oils or open a window for ventilation.
* Cleaner Not Effective: If the cleaner isn’t working as well as you’d like, try letting it sit for a longer period of time or using a more abrasive scrub brush. You can also try increasing the amount of vinegar in the recipe.
* Clogged Spray Nozzle: If your spray nozzle gets clogged, try rinsing it with warm water. If that doesn’t work, you might need to replace the nozzle.
* Residue Left Behind: If you’re noticing a residue after cleaning, you might be using too much dish soap. Try reducing the amount of dish soap in the recipe.
Storage: Keeping Your Cleaner Fresh
Store your DIY bathroom cleaner in a cool, dark place. It should last for several months. Over time, the essential oils might lose their potency, but the cleaning power of the vinegar and baking soda will remain. Always shake the bottle well before each use.
Why I Love This Cleaner: The Benefits
I’m seriously obsessed with this DIY bathroom cleaner, and here’s why:
* It’s Natural: I love knowing exactly what’s going into my cleaner and avoiding harsh chemicals that can be harmful to my health and the environment.
* It’s Effective: This cleaner really works! It cuts through grime, soap scum, and hard water stains like a champ.
* It’s Affordable: Making your own cleaner is much cheaper than buying store-bought versions.
* It’s Customizable: You can customize the scent and cleaning power of this cleaner to suit your needs.
* It’s Easy: This recipe is so simple to make, and it only takes a few minutes.
So there you have it! My ultimate DIY bathroom cleaner recipe. I hope you love it as much as I do. Happy cleaning!
Conclusion
So, there you have it! Ditching the harsh chemicals and embracing this simple, effective DIY bathroom cleaner is more than just a trend; it’s a conscious choice for a healthier home and a happier planet. We’ve walked you through the process, highlighting its ease, affordability, and the sheer satisfaction of knowing exactly what’s going into the products you use around your family.
But why is this DIY trick a must-try? Beyond the obvious benefits of cost savings and eco-friendliness, this cleaner truly performs. The combination of vinegar’s disinfecting power, baking soda’s gentle abrasiveness, and essential oils’ fragrant touch creates a cleaning solution that tackles grime, soap scum, and hard water stains with surprising efficiency. You’ll be amazed at how sparkling clean your bathroom surfaces become, all without the lingering chemical odors that often accompany commercial cleaners.
And the best part? You can customize it to your liking! Feeling adventurous? Try adding a few drops of tea tree oil for its extra antibacterial properties. Prefer a citrusy scent? Lemon or orange essential oils will do the trick. For a more powerful scrub, consider adding a tablespoon of borax to the mixture, but remember to wear gloves and ensure proper ventilation when using borax. You can even experiment with different ratios of vinegar and water to find the perfect balance for your specific bathroom needs. If you have granite or marble countertops, be cautious with vinegar as it can etch the stone. In that case, use a milder solution of dish soap and water.
This isn’t just about cleaning; it’s about creating a healthier, more sustainable lifestyle. It’s about taking control of the ingredients that surround you and making informed choices that benefit both your family and the environment. It’s about rediscovering the power of simple, natural solutions that have been used for generations.
We wholeheartedly encourage you to give this DIY bathroom cleaner a try. Gather your ingredients, follow the simple steps, and prepare to be amazed by the results. Not only will you have a sparkling clean bathroom, but you’ll also have the satisfaction of knowing you’ve made a positive impact on your health and the planet.
But don’t just take our word for it! We want to hear about your experiences. Share your tips, variations, and before-and-after photos in the comments below. Let’s build a community of DIY enthusiasts who are passionate about creating healthier homes and a more sustainable future, one sparkling bathroom at a time. What essential oil combinations did you find most effective? Did you discover any unique uses for this cleaner? We’re eager to learn from your experiences and share your insights with the rest of our readers. Your feedback is invaluable in helping us refine and improve this recipe, ensuring that it remains the go-to solution for a clean and healthy bathroom. So, go ahead, give it a try, and let us know what you think! We can’t wait to hear from you.
FAQ
Q: Is vinegar safe to use on all bathroom surfaces?
A: While vinegar is a fantastic natural cleaner, it’s not suitable for all surfaces. Avoid using it on natural stone surfaces like marble, granite, and travertine, as the acidity can etch and damage them. It’s also best to avoid using vinegar on waxed or oiled wood surfaces, as it can strip the finish. For these surfaces, a mild solution of dish soap and water is a safer alternative. Always test the cleaner in an inconspicuous area first to ensure it doesn’t cause any discoloration or damage.
Q: Can I use any type of vinegar for this DIY bathroom cleaner?
A: White distilled vinegar is the most commonly recommended type of vinegar for cleaning due to its high acidity and lack of color, which minimizes the risk of staining. However, you can also use apple cider vinegar, although it has a slightly milder acidity and a distinct scent. Avoid using balsamic or red wine vinegar, as they can stain surfaces.
Q: What essential oils are best to use in this DIY bathroom cleaner?
A: The best essential oils for this cleaner are those with antibacterial, antifungal, and antiviral properties, as well as pleasant scents. Popular choices include tea tree oil, eucalyptus oil, lavender oil, lemon oil, orange oil, and peppermint oil. Tea tree oil is known for its strong antibacterial properties, while eucalyptus oil has a refreshing scent and can help to disinfect surfaces. Lavender oil adds a calming aroma, and citrus oils like lemon and orange provide a bright, clean scent. Experiment with different combinations to find your favorite fragrance.
Q: How long will this DIY bathroom cleaner last?
A: This DIY bathroom cleaner typically lasts for several weeks when stored properly in an airtight container. However, it’s best to use it within a month or two to ensure the essential oils retain their potency. Store the cleaner in a cool, dark place to prevent the essential oils from degrading. If you notice any changes in color, scent, or consistency, it’s best to discard the cleaner and make a fresh batch.
Q: Can I use this DIY bathroom cleaner on mold and mildew?
A: Yes, this DIY bathroom cleaner can be effective in removing mold and mildew, especially in its early stages. The vinegar in the cleaner helps to kill mold spores and prevent their growth. For stubborn mold and mildew stains, you can create a paste of baking soda and water and apply it to the affected area. Let it sit for a few minutes before scrubbing with a brush and rinsing with water. For severe mold infestations, it’s best to consult with a professional mold remediation service.
Q: Is this DIY bathroom cleaner safe for septic systems?
A: Yes, this DIY bathroom cleaner is generally safe for septic systems. The ingredients, vinegar, baking soda, and essential oils, are all biodegradable and won’t harm the beneficial bacteria in your septic tank. However, it’s always a good idea to use cleaning products sparingly, even those that are septic-safe, to avoid overloading your system.
Q: Can I use this cleaner on shower doors and glass?
A: Yes, this cleaner works well on shower doors and glass to remove soap scum and water spots. Spray the cleaner onto the surface, let it sit for a few minutes, and then wipe clean with a microfiber cloth or squeegee. For stubborn spots, you can use a scrub brush or sponge. To prevent water spots from forming, dry the surface with a clean towel after each shower.
Q: What if I don’t have essential oils? Can I still make this cleaner?
A: Yes, you can still make this cleaner without essential oils. The vinegar and baking soda combination is effective on its own for cleaning and disinfecting. The essential oils are primarily added for their fragrance and additional antibacterial properties, but they are not essential for the cleaner to work. You can also add a few drops of lemon juice for a fresh scent.
Q: How do I make a larger batch of this DIY bathroom cleaner?
A: To make a larger batch, simply increase the quantities of each ingredient proportionally. For example, if you want to double the recipe, use twice the amount of vinegar, water, baking soda, and essential oils. Make sure to store the cleaner in a larger container and label it clearly.
Q: Can I use this cleaner on toilet bowls?
A: Yes, this cleaner can be used on toilet bowls. Pour the cleaner into the bowl, let it sit for a few minutes, and then scrub with a toilet brush. Flush the toilet to rinse. For stubborn stains, you can sprinkle baking soda into the bowl before adding the cleaner.
Leave a Comment