
DIY stainless steel cleaner – sounds intimidating, right? Trust me, it’s anything but! I know what you’re thinking: “Stainless steel is supposed to be *stainless*! Why does it get so grimy?” Well, the truth is, those fingerprints, water spots, and greasy smudges are the bane of every homeowner’s existence. But fear not, because I’m about to share a super simple, incredibly effective, and surprisingly affordable DIY trick that will have your stainless steel surfaces gleaming like new.
For generations, keeping metal surfaces sparkling has been a challenge. From ancient civilizations polishing bronze to modern homes showcasing stainless steel appliances, the desire for a clean, reflective surface has always been there. While commercial cleaners are readily available, they often come with harsh chemicals and hefty price tags. That’s where this DIY stainless steel cleaner comes in – a natural, budget-friendly alternative that’s just as powerful.
Why do you need this DIY trick? Because let’s face it, nobody wants to spend hours scrubbing away at stubborn stains. Plus, harsh chemicals can damage your appliances over time. This simple solution uses ingredients you probably already have in your pantry, saving you money and protecting your health and your appliances. Get ready to say goodbye to streaks and hello to a sparkling, stainless steel sanctuary!

DIY Stainless Steel Cleaner: Shine Like New!
Okay, let’s face it, stainless steel is gorgeous when it’s sparkling, but it’s a magnet for fingerprints, smudges, and water spots. Store-bought cleaners can be expensive and often filled with harsh chemicals. But don’t worry! I’m going to show you how to make your own incredibly effective stainless steel cleaner using ingredients you probably already have in your kitchen. This DIY cleaner is not only budget-friendly but also environmentally conscious. Let’s get started!
What You’ll Need
Before we dive in, let’s gather our supplies. This is a super simple recipe, so the list is short and sweet:
* White Vinegar: This is our main cleaning agent. Vinegar’s acidity helps to cut through grease and grime.
* Water: Dilutes the vinegar and makes it easier to apply.
* Spray Bottle: For easy application. Make sure it’s clean!
* Microfiber Cloths: These are essential for streak-free cleaning. Avoid using paper towels, as they can leave lint behind.
* Olive Oil (Optional): For adding a protective shine after cleaning.
* Small Bowl (Optional): If you prefer to mix the solution before adding it to the spray bottle.
The Cleaning Process: Step-by-Step
Here’s the breakdown of how to make and use your DIY stainless steel cleaner. I promise, it’s easier than making toast!
1. Mix the Cleaning Solution: In your spray bottle (or small bowl), combine equal parts white vinegar and water. I usually start with 1 cup of each, but you can adjust the amount depending on how much cleaning you need to do. If you’re using a bowl, give it a quick stir to combine.
2. Prepare the Surface: Before spraying, give your stainless steel surface a quick wipe with a dry microfiber cloth to remove any loose debris or dust. This will prevent you from just pushing the dirt around when you spray.
3. Spray the Solution: Lightly spray the vinegar and water solution onto the stainless steel surface. Don’t over-saturate it; a light mist is all you need.
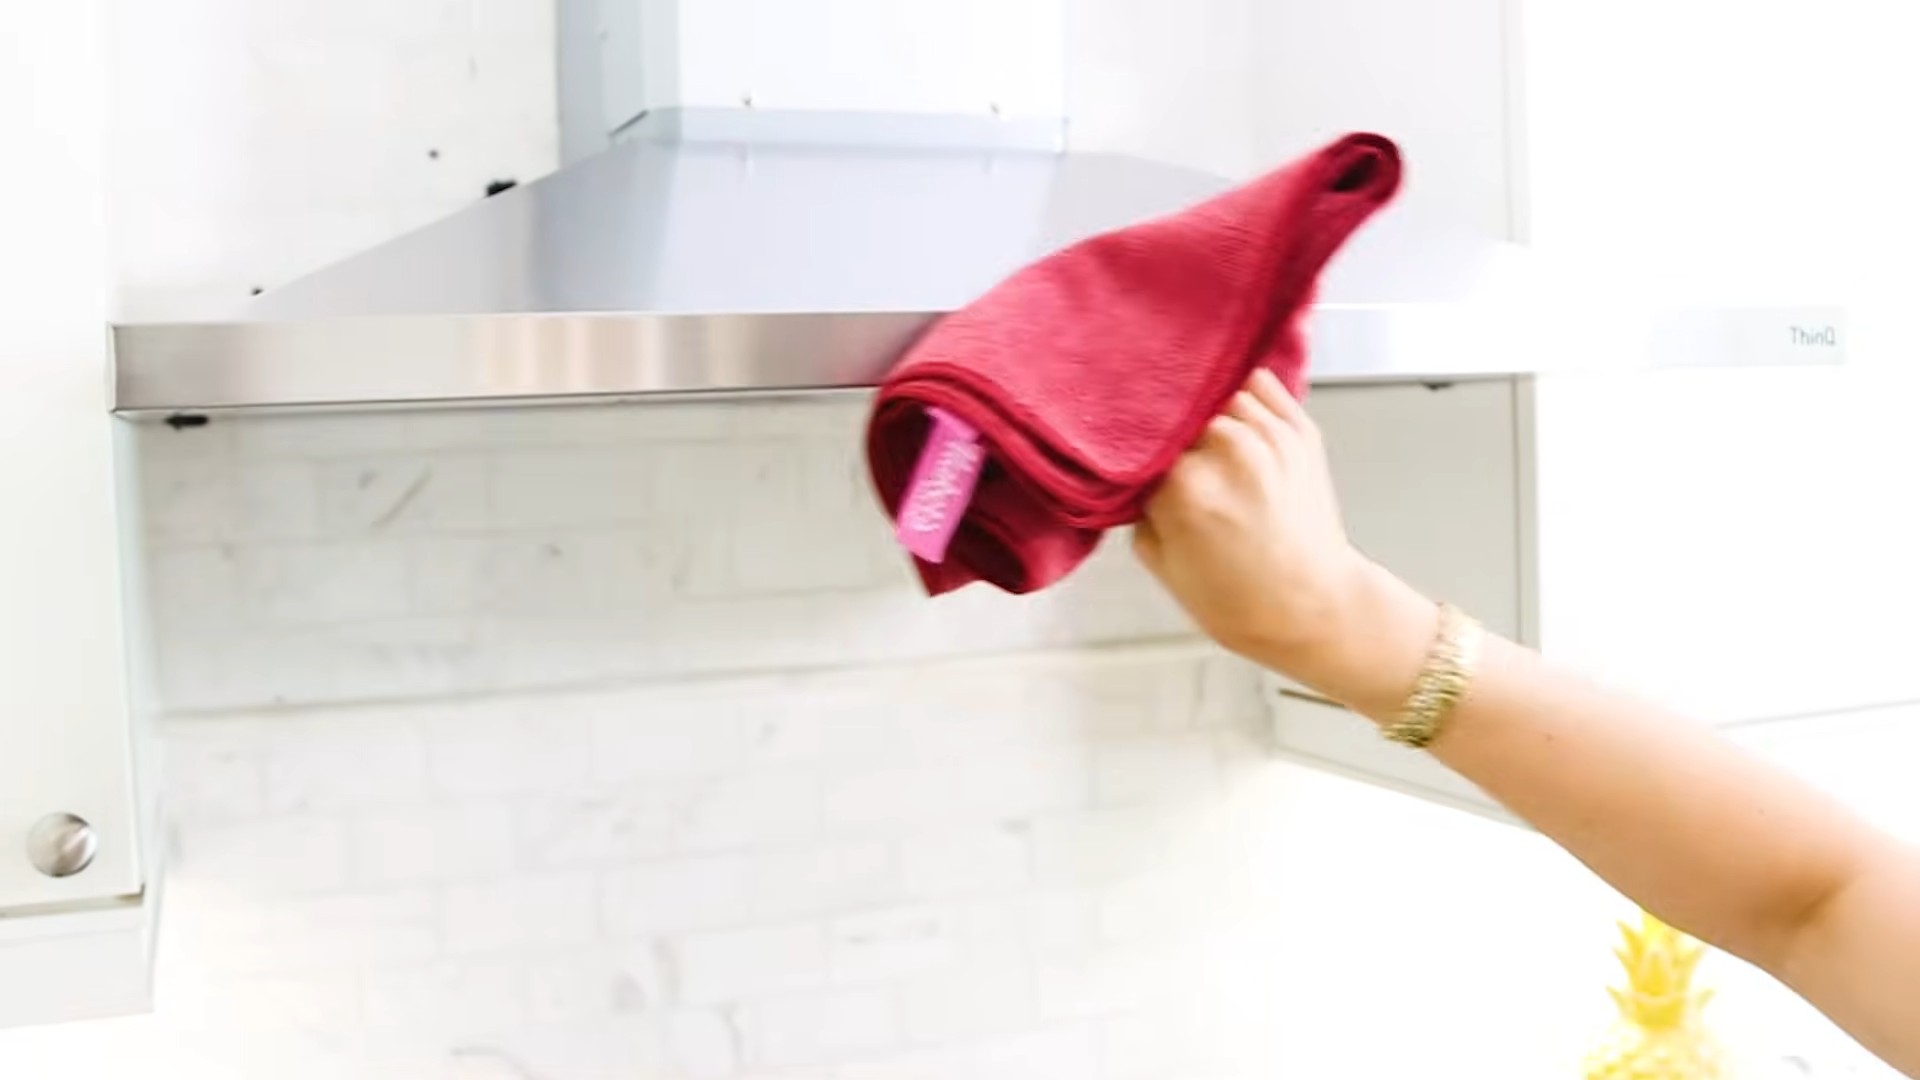
4. Wipe with the Grain: This is crucial for achieving that streak-free shine! Identify the direction of the grain on your stainless steel appliance or surface. You’ll usually see faint lines running in one direction. Wipe the surface with a clean microfiber cloth, following the grain. Apply gentle pressure to remove any stubborn spots.
5. Dry with a Clean Cloth: After wiping with the vinegar solution, use a fresh, dry microfiber cloth to buff the surface. Again, wipe in the direction of the grain. This step is essential for removing any remaining moisture and preventing water spots.
6. (Optional) Add a Protective Shine: If you want to give your stainless steel an extra boost of shine and protection, grab your olive oil. Pour a tiny amount (seriously, just a few drops!) onto a clean microfiber cloth. Buff the surface with the olive oil, again following the grain. Use a separate, clean cloth to remove any excess oil. This will leave a beautiful, protective layer that helps repel fingerprints and smudges.
Tackling Stubborn Stains and Grime
Sometimes, you’ll encounter stains that are a bit more stubborn than your average fingerprint. Don’t worry, I’ve got you covered! Here are a few tips for dealing with those tougher spots:
* Baking Soda Paste: For baked-on food or stubborn grease, make a paste of baking soda and water. Apply the paste to the stain, let it sit for a few minutes, and then gently scrub with a soft cloth or sponge. Rinse thoroughly with water and dry with a microfiber cloth.
* Lemon Juice: Lemon juice is a natural degreaser and can help remove hard water stains. Apply lemon juice directly to the stain, let it sit for a few minutes, and then wipe clean with a damp cloth. Dry with a microfiber cloth.
* Club Soda: For water spots and light stains, try spraying the surface with club soda and wiping it clean with a microfiber cloth. The carbonation can help lift away the stains.
Maintaining Your Sparkling Stainless Steel
The key to keeping your stainless steel looking its best is regular cleaning. Here are a few tips for maintaining that shine:
* Wipe Up Spills Immediately: Don’t let spills sit on your stainless steel surfaces. Wipe them up as soon as possible to prevent staining.
* Clean Regularly: Aim to clean your stainless steel appliances and surfaces at least once a week, or more often if needed.
* Avoid Abrasive Cleaners: Never use abrasive cleaners, scouring pads, or steel wool on stainless steel, as they can scratch the surface.
* Always Wipe with the Grain: Remember to always wipe in the direction of the grain to prevent streaks.
Why This DIY Cleaner Works
You might be wondering why this simple vinegar and water solution is so effective. Here’s the science behind it:
* Vinegar’s Acidity: White vinegar is a mild acid that helps to dissolve grease, grime, and mineral deposits. It’s also a natural disinfectant.
* Water’s Dilution: Diluting the vinegar with water makes it less harsh and prevents it from damaging the stainless steel surface.
* Microfiber Cloths: Microfiber cloths are designed to trap dirt and grime without scratching the surface. They also absorb moisture effectively, leaving a streak-free finish.
Safety Precautions
While this DIY cleaner is generally safe, it’s always a good idea to take a few precautions:
* Test in an Inconspicuous Area: Before cleaning an entire surface, test the solution in a small, inconspicuous area to make sure it doesn’t damage the finish.
* Avoid Contact with Eyes: Avoid getting the solution in your eyes. If contact occurs, rinse thoroughly with water.
* Ventilation: When cleaning in a confined space, make sure to have adequate ventilation.
* Don’t Mix with Bleach: Never mix vinegar with bleach, as this can create toxic fumes.
Troubleshooting
Sometimes, things don’t go exactly as planned. Here are a few common issues and how to fix them:
* Streaks: If you’re still seeing streaks after cleaning, try using a fresh, dry microfiber cloth to buff the surface. Make sure you’re wiping in the direction of the grain. You might also be using too much cleaning solution.
* Water Spots: Water spots can be caused by hard water. Try using distilled water in your cleaning solution. You can also try wiping the surface with a cloth dampened with club soda.
* Dull Finish: If your stainless steel looks dull after cleaning, try adding a few drops of olive oil to a clean microfiber cloth and buffing the surface.
Beyond Appliances: Where Else Can You Use This Cleaner?
This DIY stainless steel cleaner isn’t just for your appliances! You can use it on a variety of stainless steel surfaces throughout your home, including:
* Sinks: Stainless steel sinks are notorious for water spots and stains. This cleaner will keep them looking shiny and new.
* Faucets: Clean your stainless steel faucets regularly to prevent mineral buildup.
* Pots and Pans: Use this cleaner to remove food stains and grease from your stainless steel pots and pans.
* Backsplashes: Keep your stainless steel backsplashes clean and shiny with this easy-to-make solution.
* Elevator Doors: Yes, you can even use it on stainless steel elevator doors!
Variations and Add-Ins
While the basic vinegar and water solution is incredibly effective, you can customize it to suit your preferences. Here are a few variations you can try:
* Essential Oils: Add a few drops of your favorite essential oil to the cleaning solution for a pleasant scent. Lemon, lavender, and tea tree oil are all great options.
* Dish Soap: For extra cleaning power, add a drop or two of mild dish soap to the solution. Be sure to rinse thoroughly to remove any soap residue.
* Rubbing Alcohol: Adding a small amount of rubbing alcohol can help the solution dry faster and prevent streaks.
Final Thoughts
So there you have it! A simple, effective, and affordable DIY stainless steel cleaner that will leave your appliances and surfaces sparkling. I hope you found this guide helpful. Happy cleaning! Remember, a little elbow grease and the right ingredients can go a long way in keeping your stainless steel looking its best. And the best part? You’re saving money and reducing your reliance on harsh chemicals. It’s a win-win!
Conclusion
So, there you have it! Ditching those expensive, chemical-laden cleaners and embracing this simple, effective, and budget-friendly DIY stainless steel cleaner is a game-changer for your kitchen and beyond. We’ve walked you through the easy steps, highlighted the benefits, and hopefully, convinced you that this is a must-try for anyone looking to keep their stainless steel sparkling.
But why is this DIY trick truly a must-try? It’s more than just saving a few dollars (though that’s certainly a perk!). It’s about taking control of the ingredients you’re using in your home, reducing your exposure to harsh chemicals, and creating a cleaner that’s gentle on your surfaces yet tough on grime. Think about it: no more lingering chemical smells, no more worrying about residue, and no more contributing to plastic waste from disposable cleaning bottles.
Beyond the basic recipe, there’s room for experimentation! For a little extra degreasing power, consider adding a few drops of lemon essential oil to your mixture. Lemon not only cuts through grease but also leaves a fresh, clean scent. If you’re dealing with stubborn water spots, try using distilled white vinegar instead of regular vinegar for a streak-free shine. For a more abrasive scrub, especially on tougher stains, you can add a small amount of baking soda to the paste, but be gentle to avoid scratching. Always test in an inconspicuous area first!
Don’t limit this cleaner to just your kitchen appliances. It works wonders on stainless steel sinks, cookware, and even outdoor grills (make sure the grill is cool, of course!). You can also use it to polish stainless steel fixtures in your bathroom, like faucets and showerheads. The possibilities are endless!
We’re confident that once you try this DIY stainless steel cleaner, you’ll be amazed by the results. It’s a simple, effective, and eco-friendly way to keep your stainless steel looking its best. So, ditch the store-bought cleaners and give this a try.
We’re eager to hear about your experiences! Did you find this recipe helpful? Did you try any variations? What kind of stainless steel items did you clean? Share your tips, tricks, and before-and-after photos in the comments below. Let’s build a community of DIY cleaning enthusiasts and help each other keep our homes sparkling clean, naturally! Your feedback is invaluable and helps us improve our recipes and provide even better content in the future. Happy cleaning!
Frequently Asked Questions (FAQ)
What exactly are the ingredients needed for this DIY stainless steel cleaner?
The basic recipe calls for just two simple ingredients: white vinegar (or distilled white vinegar for fewer streaks) and olive oil. You’ll also need a clean spray bottle (if you’re making a spray) or a bowl (if you’re making a paste), and a soft microfiber cloth for wiping and polishing. Some variations might include lemon essential oil or baking soda, depending on your specific cleaning needs.
Why is vinegar used in this DIY stainless steel cleaner?
Vinegar is a natural acid that’s excellent at cutting through grease, grime, and hard water stains. Its acidity helps to dissolve mineral deposits and loosen stubborn dirt, making it easier to wipe away. It’s also a natural disinfectant, helping to kill bacteria and germs on your stainless steel surfaces. The acetic acid in vinegar is the key to its cleaning power.
Can I use any type of vinegar for this cleaner?
While regular white vinegar works well, distilled white vinegar is often recommended for stainless steel because it’s less likely to leave streaks. Distilled white vinegar is purer and contains fewer minerals that can cause spotting. However, if you only have regular white vinegar on hand, it will still work effectively.
How does olive oil contribute to cleaning stainless steel?
Olive oil acts as a polishing agent, restoring shine and protecting the stainless steel surface. It creates a thin barrier that helps to repel water and prevent future stains. The oil also helps to remove any lingering streaks left behind by the vinegar, leaving your stainless steel looking smooth and glossy. It’s the final touch that gives your stainless steel that showroom shine.
Is this DIY cleaner safe for all types of stainless steel?
Generally, yes, this DIY cleaner is safe for most types of stainless steel. However, it’s always a good idea to test it in an inconspicuous area first, especially if you’re unsure about the type of stainless steel you have. Avoid using abrasive scrub brushes or harsh scouring pads, as these can scratch the surface.
How often should I use this DIY stainless steel cleaner?
The frequency of cleaning depends on how often your stainless steel surfaces get dirty. For everyday cleaning, a quick wipe-down with the vinegar solution followed by a polish with olive oil is sufficient. For deeper cleaning, you can use the paste variation with baking soda as needed. A general rule of thumb is to clean your stainless steel appliances at least once a week to prevent buildup.
Can I store the DIY stainless steel cleaner for later use?
Yes, you can store the vinegar solution in a spray bottle for later use. However, it’s best to make a fresh batch of the baking soda paste each time you need it, as it can dry out over time. Store the spray bottle in a cool, dark place away from direct sunlight.
What if I don’t have olive oil? Can I use another type of oil?
While olive oil is the preferred choice for polishing stainless steel, you can substitute it with other oils like mineral oil or even a small amount of baby oil. These oils will provide a similar polishing effect and help to protect the surface. However, avoid using vegetable oils, as they can become sticky and attract dust.
My stainless steel has stubborn stains. How can I remove them with this DIY cleaner?
For stubborn stains, try making a paste of baking soda and vinegar. Apply the paste to the stain, let it sit for a few minutes, and then gently scrub with a soft cloth. Rinse with water and dry thoroughly. You can also try using a toothbrush to scrub hard-to-reach areas. For extremely stubborn stains, you may need to repeat the process or try a commercial stainless steel cleaner specifically designed for stain removal.
Is this DIY cleaner environmentally friendly?
Yes, this DIY cleaner is much more environmentally friendly than commercial cleaners. It uses natural ingredients that are biodegradable and non-toxic. By making your own cleaner, you’re reducing your reliance on harsh chemicals and plastic packaging, contributing to a more sustainable lifestyle. Plus, you’re saving money!

Leave a Comment