
Tiny cleaning tool – ever heard of something so small packing such a powerful punch? I’m constantly amazed at how the simplest solutions can make the biggest difference, especially when it comes to keeping our homes sparkling. For centuries, people have sought clever ways to maintain cleanliness, from using natural remedies passed down through generations to inventing ingenious gadgets. Think about it: our ancestors didn’t have the luxury of sprawling supermarkets filled with cleaning products. They relied on resourcefulness and a deep understanding of their environment.
That’s where this DIY article comes in! We’re diving into the world of miniature marvels, exploring how you can create your own tiny cleaning tool using items you probably already have lying around. Why is this so important? Because let’s face it, those hard-to-reach nooks and crannies are breeding grounds for dust, grime, and all sorts of unpleasantness. A specialized, small-scale tool can be a game-changer, saving you time, effort, and a whole lot of frustration. I’m excited to share these simple yet effective hacks that will help you conquer even the most stubborn cleaning challenges!
DIY Tiny Cleaning Tool: Conquer Those Hard-to-Reach Spots!
Okay, let’s be honest, we all have those little nooks and crannies in our homes that seem to defy cleaning. Dust bunnies lurking behind the toilet, crumbs wedged between the car seats, gunk accumulating around the keyboard keys – the struggle is real! But fear not, my friends, because I’m about to share a super simple, incredibly effective DIY cleaning tool that will banish those tiny messes forever. This little gadget is so easy to make, you’ll wonder why you didn’t think of it sooner.
What You’ll Need
Before we dive in, let’s gather our supplies. The beauty of this project is that you probably already have most of these items lying around the house.
* **Cotton Swabs (Q-tips):** These are the workhorses of our cleaning tool. I recommend having a good supply on hand.
* **Wooden Skewers or Chopsticks:** These will provide the extra reach and leverage we need. Bamboo skewers work great, but chopsticks are also a fantastic option.
* **Rubber Bands:** Small, sturdy rubber bands are essential for securing the cotton swabs to the skewers.
* **Scissors:** For trimming any excess material.
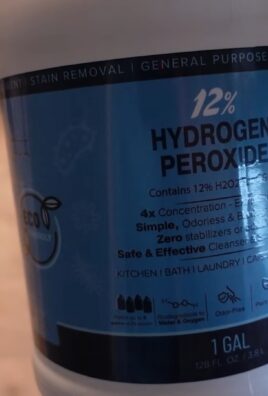
* **Your Favorite Cleaning Solution:** This could be anything from all-purpose cleaner to rubbing alcohol, depending on what you’re cleaning. I personally love using a diluted vinegar solution for general cleaning.
* **Small Container or Dish:** To hold your cleaning solution.
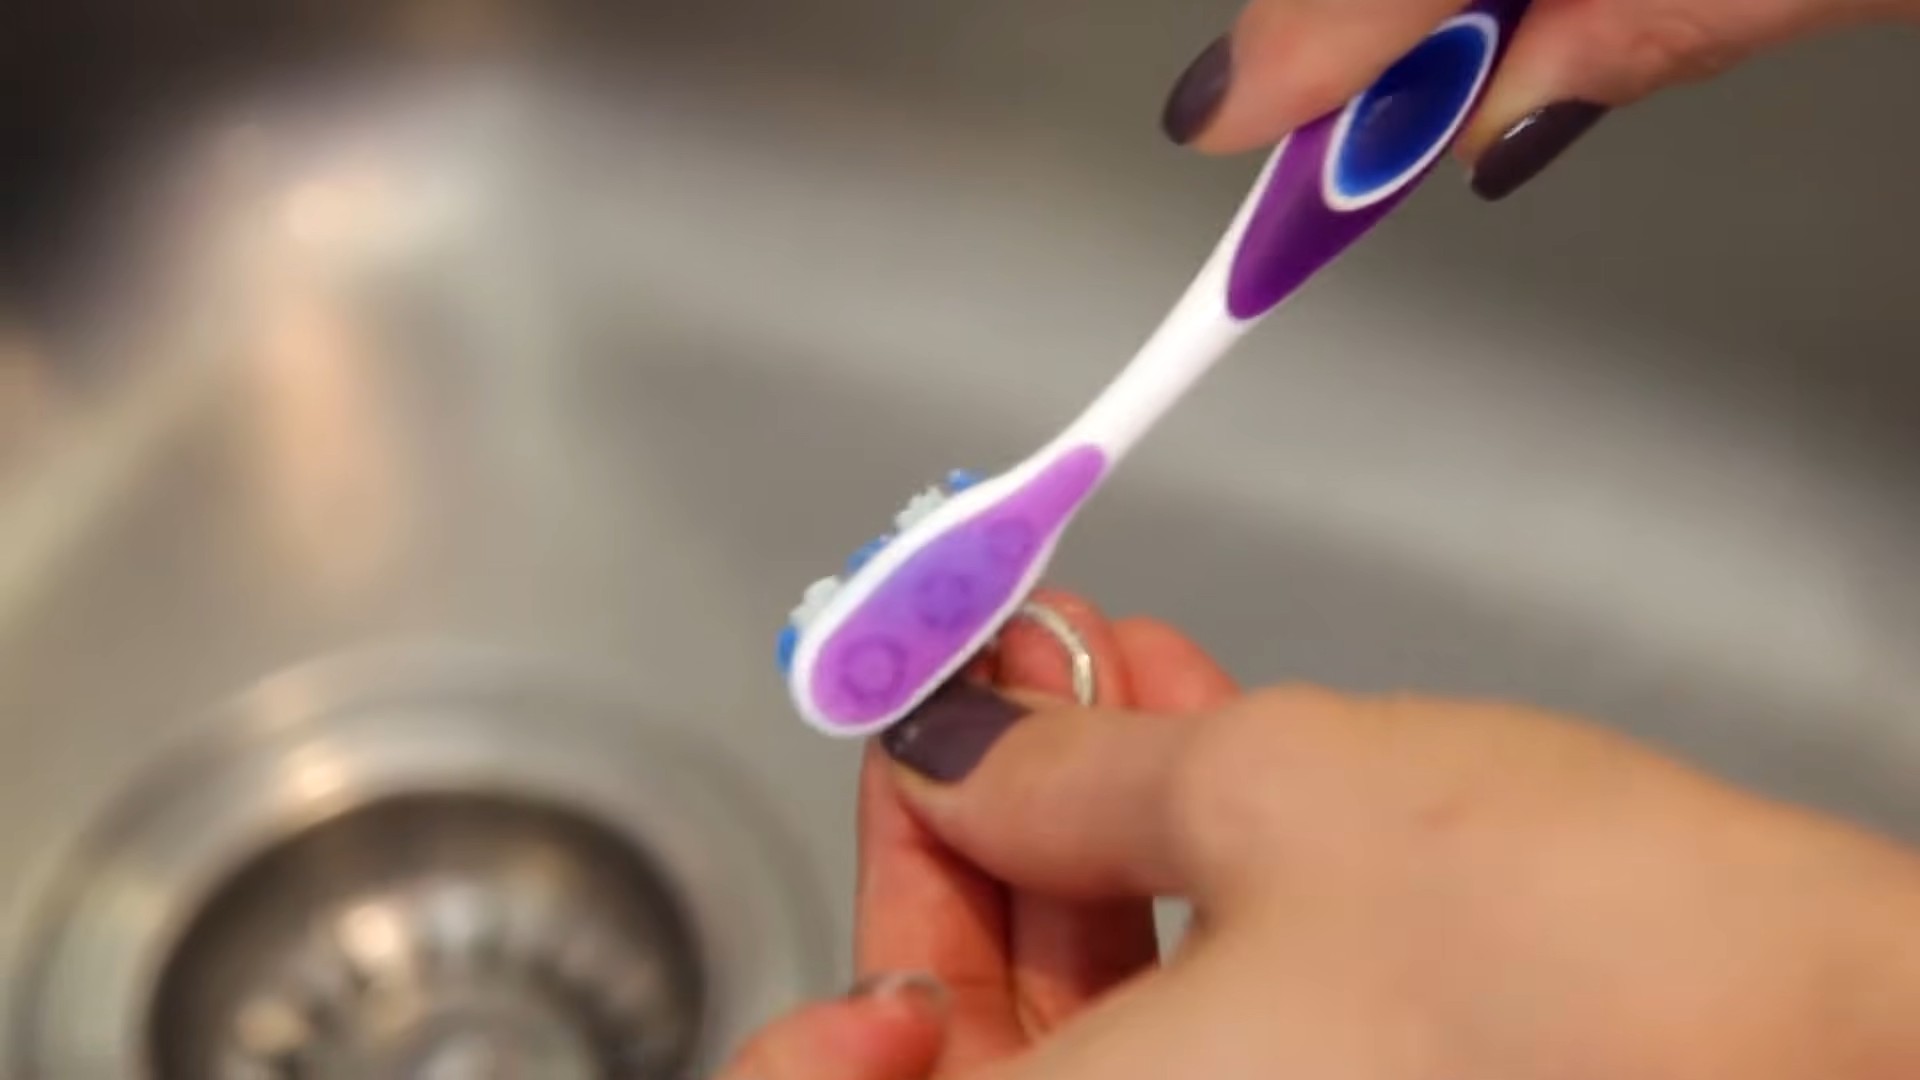
* **Optional: Old Toothbrush:** An old toothbrush can be helpful for scrubbing stubborn grime in conjunction with our tiny tool.
* **Optional: Microfiber Cloth:** For wiping away excess cleaner and polishing surfaces.
Assembling Your Tiny Cleaning Tool
This is where the magic happens! Don’t worry, it’s not complicated at all.
1. **Prepare the Skewer:** If you’re using a wooden skewer, you might want to blunt the sharp end slightly with scissors or sandpaper. This will prevent it from scratching delicate surfaces. If you’re using chopsticks, you’re good to go!
2. **Attach the Cotton Swabs:** This is the core of our tool. Take a handful of cotton swabs (I usually start with 3-5, depending on the size of the area I’m cleaning) and arrange them around one end of the skewer. Make sure the cotton tips are facing outwards and are clustered together tightly.
3. **Secure with Rubber Bands:** Now, carefully wrap a rubber band tightly around the base of the cotton swabs, securing them to the skewer. You might need to use two or even three rubber bands to ensure a snug fit. The goal is to prevent the cotton swabs from slipping or falling off during use. Make sure the rubber bands are positioned close to the cotton tips to maximize their cleaning power.
4. **Trim Excess (Optional):** If the cotton swabs are sticking out too far or are uneven, you can trim them slightly with scissors to create a more compact and manageable cleaning head. Be careful not to cut too much off, as you still want to have plenty of cotton to absorb the cleaning solution and scrub away dirt.
5. **Test the Stability:** Before you start cleaning, give your new tool a little test run. Gently press the cotton swabs against a surface and see if they stay securely attached. If they seem loose, add another rubber band or adjust their positioning.
Cleaning Different Areas: Step-by-Step Guides
Now that you have your trusty tiny cleaning tool, let’s put it to work! Here are some specific examples of how to use it to tackle those pesky cleaning challenges.
Cleaning Around Faucets and Sinks
This is a classic problem area. Grime and mineral deposits tend to accumulate around the base of faucets and in the crevices of sinks.
1. **Prepare Your Cleaning Solution:** I recommend using a diluted vinegar solution for this task. Mix equal parts white vinegar and water in a small container.
2. **Dip and Apply:** Dip the cotton swab end of your cleaning tool into the vinegar solution, making sure the cotton is thoroughly saturated.
3. **Scrub the Grime:** Gently scrub the areas around the faucet base, paying close attention to the crevices and edges. The cotton swabs will get into those tight spaces that are impossible to reach with a regular sponge or cloth.
4. **Use the Toothbrush (If Needed):** For stubborn mineral deposits, you can use an old toothbrush to scrub the area after applying the vinegar solution. The bristles will help to loosen the grime.
5. **Wipe Clean:** Once you’ve scrubbed away the grime, use a damp microfiber cloth to wipe away any excess vinegar solution and polish the surface.
Cleaning Keyboards and Electronics
Keyboards are notorious for collecting dust, crumbs, and other debris. This tiny cleaning tool is perfect for getting between the keys and removing that gunk.
1. **Power Down:** Always turn off and unplug your keyboard or electronic device before cleaning it. This is crucial for safety.
2. **Prepare Rubbing Alcohol:** Pour a small amount of rubbing alcohol (isopropyl alcohol) into a small container. Rubbing alcohol is a great cleaning agent for electronics because it evaporates quickly and won’t damage the components.
3. **Dip and Dab:** Dip the cotton swab end of your cleaning tool into the rubbing alcohol, but be careful not to saturate it too much. You want the cotton to be damp, not dripping.
4. **Clean Between the Keys:** Gently run the cotton swabs between the keys, using a back-and-forth motion to dislodge dust and debris. You can also use the tool to clean the edges of the keys and the surrounding surface.
5. **Clean Ports and Connections:** Use the tool to carefully clean out any dust or debris that may be clogging the ports and connections on your device.
6. **Let it Dry:** Allow the rubbing alcohol to evaporate completely before turning your keyboard or device back on.
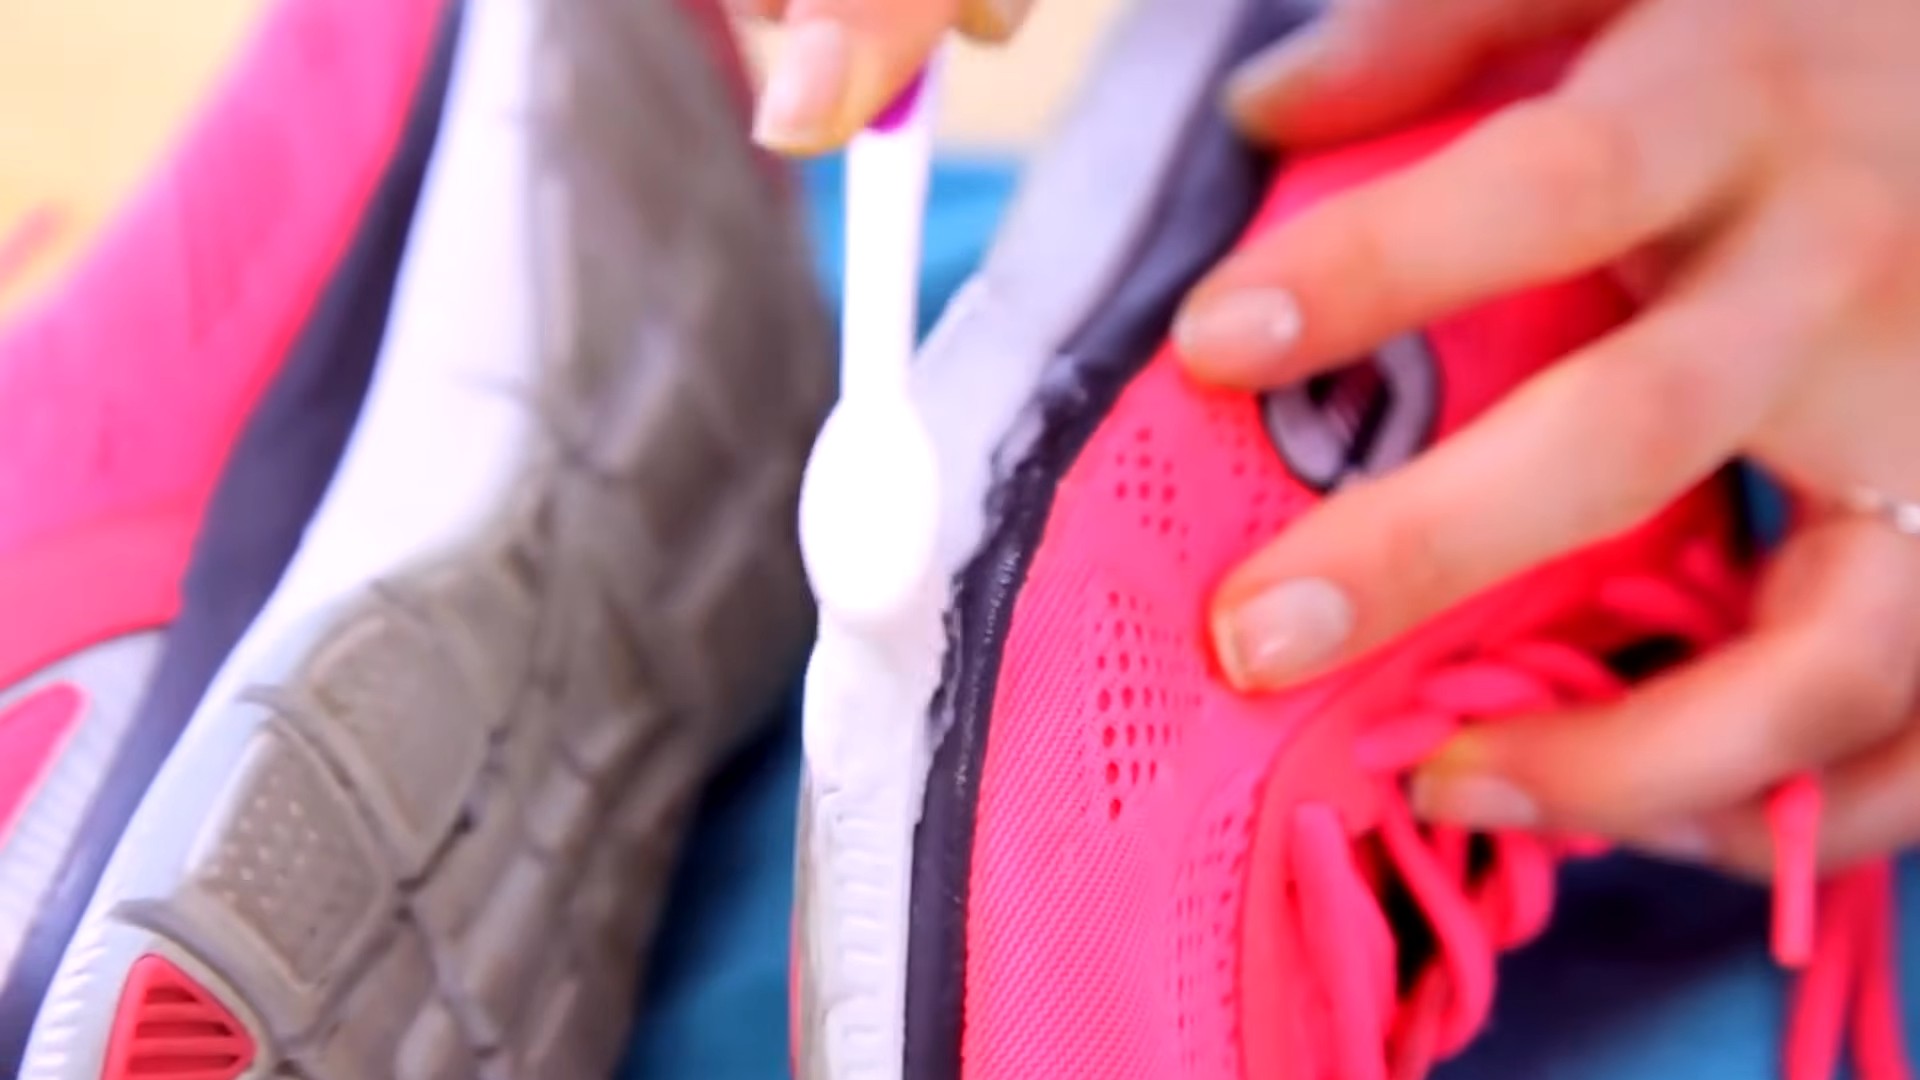
Cleaning Car Interiors
Car interiors can be a breeding ground for dirt and grime, especially in those hard-to-reach areas.
1. **Choose Your Cleaner:** For car interiors, you can use a variety of cleaning solutions, depending on the surface you’re cleaning. For general cleaning, an all-purpose cleaner or a diluted solution of dish soap and water will work well. For leather surfaces, use a dedicated leather cleaner.
2. **Target the Cracks and Crevices:** Use your tiny cleaning tool to target the cracks and crevices around the dashboard, console, and seats. Pay special attention to areas where crumbs and dust tend to accumulate.
3. **Clean Around Buttons and Controls:** The cotton swabs are perfect for cleaning around buttons, knobs, and other controls.
4. **Reach Under Seats:** Use the skewer to extend your reach and clean under the seats. You might be surprised at what you find lurking down there!
5. **Wipe Clean:** After cleaning, use a damp microfiber cloth to wipe away any excess cleaner and polish the surfaces.
Cleaning Bathroom Grout
Grout can be a real pain to clean. It’s porous and tends to trap dirt and mildew.
1. **Prepare Your Grout Cleaner:** There are many commercial grout cleaners available, but you can also make your own using baking soda and vinegar. Mix baking soda and water to form a paste, then apply the paste to the grout. Spray with vinegar and let it fizz for a few minutes.
2. **Apply and Scrub:** Dip the cotton swab end of your cleaning tool into the grout cleaner and apply it to the grout lines. Use the tool to scrub the grout, paying close attention to areas with heavy staining or mildew.
3. **Use the Toothbrush (If Needed):** For stubborn stains, use an old toothbrush to scrub the grout after applying the cleaner.
4. **Rinse Thoroughly:** After scrubbing, rinse the grout thoroughly with water to remove any remaining cleaner.
5. **Dry the Grout:** Use a clean cloth to dry the grout and prevent water spots.
Tips and Tricks for Maximum Cleaning Power
* **Experiment with Different Cleaning Solutions:** Don’t be afraid to try different cleaning solutions to see what works best for different surfaces and types of grime.
* **Replace Cotton Swabs Frequently:** As the cotton swabs get dirty, replace them with fresh ones to maintain maximum cleaning power.
* **Adjust the Number of Cotton Swabs:** You can adjust the number of cotton swabs you use depending on the size of the area you’re cleaning and the amount of dirt you need to remove.
* **Use Different Angles:** Experiment with different angles to reach into tight spaces and crevices.
* **Don’t Apply Too Much Pressure:** Be gentle when cleaning delicate surfaces to avoid scratching or damaging them.
* **Clean Regularly:** The more often you clean, the easier it will be to keep those hard-to-reach areas sparkling.
This DIY tiny cleaning tool has become my go-to for tackling all those little cleaning challenges around the house. It’s cheap, easy to make, and incredibly effective. I hope you find it as helpful as I do! Happy cleaning!
Conclusion
So, there you have it! Creating your own tiny cleaning tool is not just a cost-effective alternative to expensive, store-bought options; it’s a game-changer for tackling those frustratingly small and hard-to-reach spaces in your home, car, or even your electronics. We’ve all been there – staring at dust bunnies clinging to keyboard crevices, crumbs stubbornly lodged in car vents, or grime accumulating around delicate camera lenses. These areas often get neglected simply because standard cleaning tools are too bulky or abrasive. This DIY solution empowers you to conquer these cleaning challenges with precision and ease.
The beauty of this project lies in its simplicity and adaptability. You’re not confined to a single design or material. Feel free to experiment with different types of brushes, cotton swabs, or even repurposed materials like old toothbrushes or makeup applicators. For particularly stubborn grime, consider dipping your tiny cleaning tool in a mild cleaning solution like diluted vinegar or rubbing alcohol (always test on an inconspicuous area first!). You can even create specialized tools for different tasks – a stiffer brush for scrubbing grout, a softer brush for dusting delicate electronics, or a pointed tool for reaching deep into narrow crevices.
Beyond the practical benefits, crafting your own tiny cleaning tool is a surprisingly satisfying experience. It’s a chance to get creative, repurpose materials, and take control of your cleaning routine. You’ll find yourself reaching for your custom-made tool more often, knowing that you have the perfect solution for any small-scale cleaning task.
This DIY tiny cleaning tool is a must-try for anyone who values a clean and tidy space, especially those often overlooked nooks and crannies. It’s a simple, effective, and customizable solution that will save you time, money, and frustration.
We’re confident that you’ll love the results. But don’t just take our word for it! We encourage you to try this DIY trick for yourself and share your experience with us. Let us know what materials you used, what modifications you made, and what cleaning challenges you conquered. Share your photos and tips in the comments below – we’re eager to see your creative solutions and learn from your experiences. Together, we can revolutionize the way we tackle those tiny cleaning tasks!
Frequently Asked Questions (FAQ)
What materials are best for making a tiny cleaning tool?
The best materials depend on the intended use of your tiny cleaning tool. For general dusting and cleaning, soft materials like cotton swabs, microfiber cloths, or foam brushes are ideal. For scrubbing stubborn grime, consider using stiffer bristles from an old toothbrush or a small nylon brush. For reaching into narrow crevices, pointed tools made from plastic or wood can be helpful. Consider repurposing items you already have around the house, such as old makeup brushes, pipe cleaners, or even the bristles from a worn-out dish brush. The key is to choose materials that are durable, non-abrasive (to avoid scratching delicate surfaces), and easy to clean.
How do I clean my tiny cleaning tool after use?
Cleaning your tiny cleaning tool is essential to prevent the spread of dirt and grime. For tools used with dry materials like dust, simply shake them out or use a vacuum cleaner with a brush attachment to remove any debris. For tools used with cleaning solutions, rinse them thoroughly with warm water and soap. For tools used with oil-based products, you may need to use a degreasing cleaner. Allow your tiny cleaning tool to air dry completely before storing it to prevent mold and mildew growth. You can also disinfect your tool by soaking it in a solution of diluted bleach or rubbing alcohol for a few minutes.
Can I use this tiny cleaning tool on electronics?
Yes, you can use a tiny cleaning tool on electronics, but it’s important to take precautions to avoid damaging sensitive components. Always turn off and unplug the electronic device before cleaning it. Use a soft, dry brush or cotton swab to gently remove dust and debris from keyboards, screens, and other surfaces. Avoid using liquids directly on electronics, as they can cause short circuits. If you need to use a cleaning solution, dampen a cloth or swab lightly and wring out any excess liquid. Be especially careful when cleaning around ports and connectors to prevent moisture from entering the device. Consider using compressed air to blow out dust from hard-to-reach areas.
What are some specific uses for a tiny cleaning tool?
The possibilities are endless! Here are just a few ideas:
* Cleaning keyboards and computer mice: Remove dust, crumbs, and other debris from between keys and around buttons.
* Cleaning car vents and dashboards: Reach into narrow vents and crevices to remove dust and dirt.
* Cleaning camera lenses and equipment: Gently remove dust and fingerprints from delicate lenses and sensors.
* Cleaning jewelry: Remove dirt and grime from intricate settings and hard-to-reach areas.
* Cleaning grout: Scrub away mildew and stains from grout lines in bathrooms and kitchens.
* Cleaning small appliances: Reach into crevices and corners of blenders, toasters, and other small appliances.
* Detailing models and miniatures: Remove dust and debris from intricate details.
* Cleaning sewing machines: Remove lint and thread from delicate mechanisms.
* Cleaning hearing aids: Gently remove earwax and debris from hearing aid components.
How can I make my tiny cleaning tool more effective for stubborn grime?
For stubborn grime, consider using a slightly abrasive material like a scouring pad or a stiff brush. You can also try using a cleaning solution specifically designed for the type of grime you’re dealing with. For example, a degreasing cleaner can be effective for removing grease and oil, while a mildew cleaner can be used to remove mold and mildew. Always test the cleaning solution on an inconspicuous area first to ensure that it doesn’t damage the surface you’re cleaning. You can also try using a combination of heat and moisture to loosen stubborn grime. For example, you can use a steam cleaner or a damp cloth to soften the grime before scrubbing it with your tiny cleaning tool.
How do I store my tiny cleaning tool?
Store your tiny cleaning tool in a clean, dry place to prevent the growth of mold and mildew. You can store it in a drawer, a container, or even hang it on a hook. If you’re storing multiple tiny cleaning tools, consider organizing them by type or use. This will make it easier to find the right tool for the job. You can also label your tools to help you remember what they’re used for.
Is this DIY tiny cleaning tool environmentally friendly?
Yes, making your own tiny cleaning tool can be a more environmentally friendly option than buying disposable cleaning products. By repurposing materials you already have around the house, you can reduce waste and save money. You can also choose to use eco-friendly cleaning solutions, such as vinegar or baking soda, instead of harsh chemicals. When your tiny cleaning tool eventually wears out, consider recycling the materials if possible.
What if I don’t have the materials to make a tiny cleaning tool?
If you don’t have the materials to make a tiny cleaning tool, don’t worry! You can easily find inexpensive materials at your local dollar store, hardware store, or craft store. You can also ask friends and family if they have any old toothbrushes, makeup brushes, or other items that they’re willing to donate. The key is to be creative and resourceful.
Can I adapt this DIY for larger cleaning tasks?
While this article focuses on a *tiny* cleaning tool, the principles can be adapted for larger tasks. For example, you could create a larger brush for cleaning grout or a longer tool for reaching high shelves. The key is to scale up the materials and design to suit the specific task.
Leave a Comment