
Quick cleaning time saving tips are a game-changer for anyone juggling a busy life! Let’s face it, nobody enjoys spending their precious free time scrubbing and tidying. We all crave a sparkling clean home, but the thought of dedicating hours to cleaning can be daunting.
Throughout history, cultures have developed ingenious methods to maintain cleanliness efficiently. From ancient Roman bathhouses to the meticulous cleaning rituals of Japanese homes, the desire for a tidy living space has always been a priority. But in today’s fast-paced world, we need solutions that fit our modern lifestyles. That’s where these DIY cleaning hacks come in!
I’m here to share some of my favorite quick cleaning time saving tips that will revolutionize your cleaning routine. Imagine reclaiming those lost hours and spending them on activities you truly love. These aren’t just random tips; they’re tried-and-true methods that will help you clean smarter, not harder. Whether you’re a busy professional, a parent on the go, or simply someone who wants to enjoy a cleaner home with less effort, these DIY tricks are for you. Get ready to transform your cleaning routine and say goodbye to endless hours of scrubbing!
DIY Cleaning Hacks to Save You Time and Sanity!
Okay, let’s be honest, cleaning isn’t exactly anyone’s favorite pastime. But a clean home is a happy home, right? So, I’m going to share some of my absolute favorite DIY cleaning hacks that will seriously cut down on your cleaning time and leave you with more time to do the things you actually enjoy. Get ready to say goodbye to endless scrubbing and hello to a sparkling clean house!
Cleaning Your Microwave Like a Pro (Without the Elbow Grease!)
This is one of my go-to hacks because, let’s face it, microwaves get gross. Splatters, spills, and mysterious food remnants 鈥?it’s a breeding ground for grime. But fear not, this method requires minimal effort and maximum results.
What you’ll need:
* 1 cup of water
* 1 tablespoon of white vinegar or lemon juice
* Microwave-safe bowl
* Clean sponge or cloth
Step-by-step instructions:
1. Combine water and vinegar (or lemon juice): In your microwave-safe bowl, mix the water and vinegar (or lemon juice). The vinegar or lemon juice helps to loosen the grime and deodorize the microwave.
2. Microwave the mixture: Place the bowl in the microwave and heat on high for 5-7 minutes. You want the mixture to boil and create steam inside the microwave. This steam is key to loosening all that stuck-on food.
3. Let it sit: Once the timer goes off, don’t open the microwave immediately! Let the bowl sit inside for another 3-5 minutes. This allows the steam to continue working its magic.
4. Wipe it clean: Carefully remove the bowl (it will be hot!). Then, using your clean sponge or cloth, wipe down the inside of the microwave. You’ll be amazed at how easily the grime comes off! For stubborn spots, you might need a little extra scrubbing, but it should be significantly easier than before.
5. Dry it off: Finally, dry the inside of the microwave with a clean cloth. And voila! A sparkling clean microwave with minimal effort.
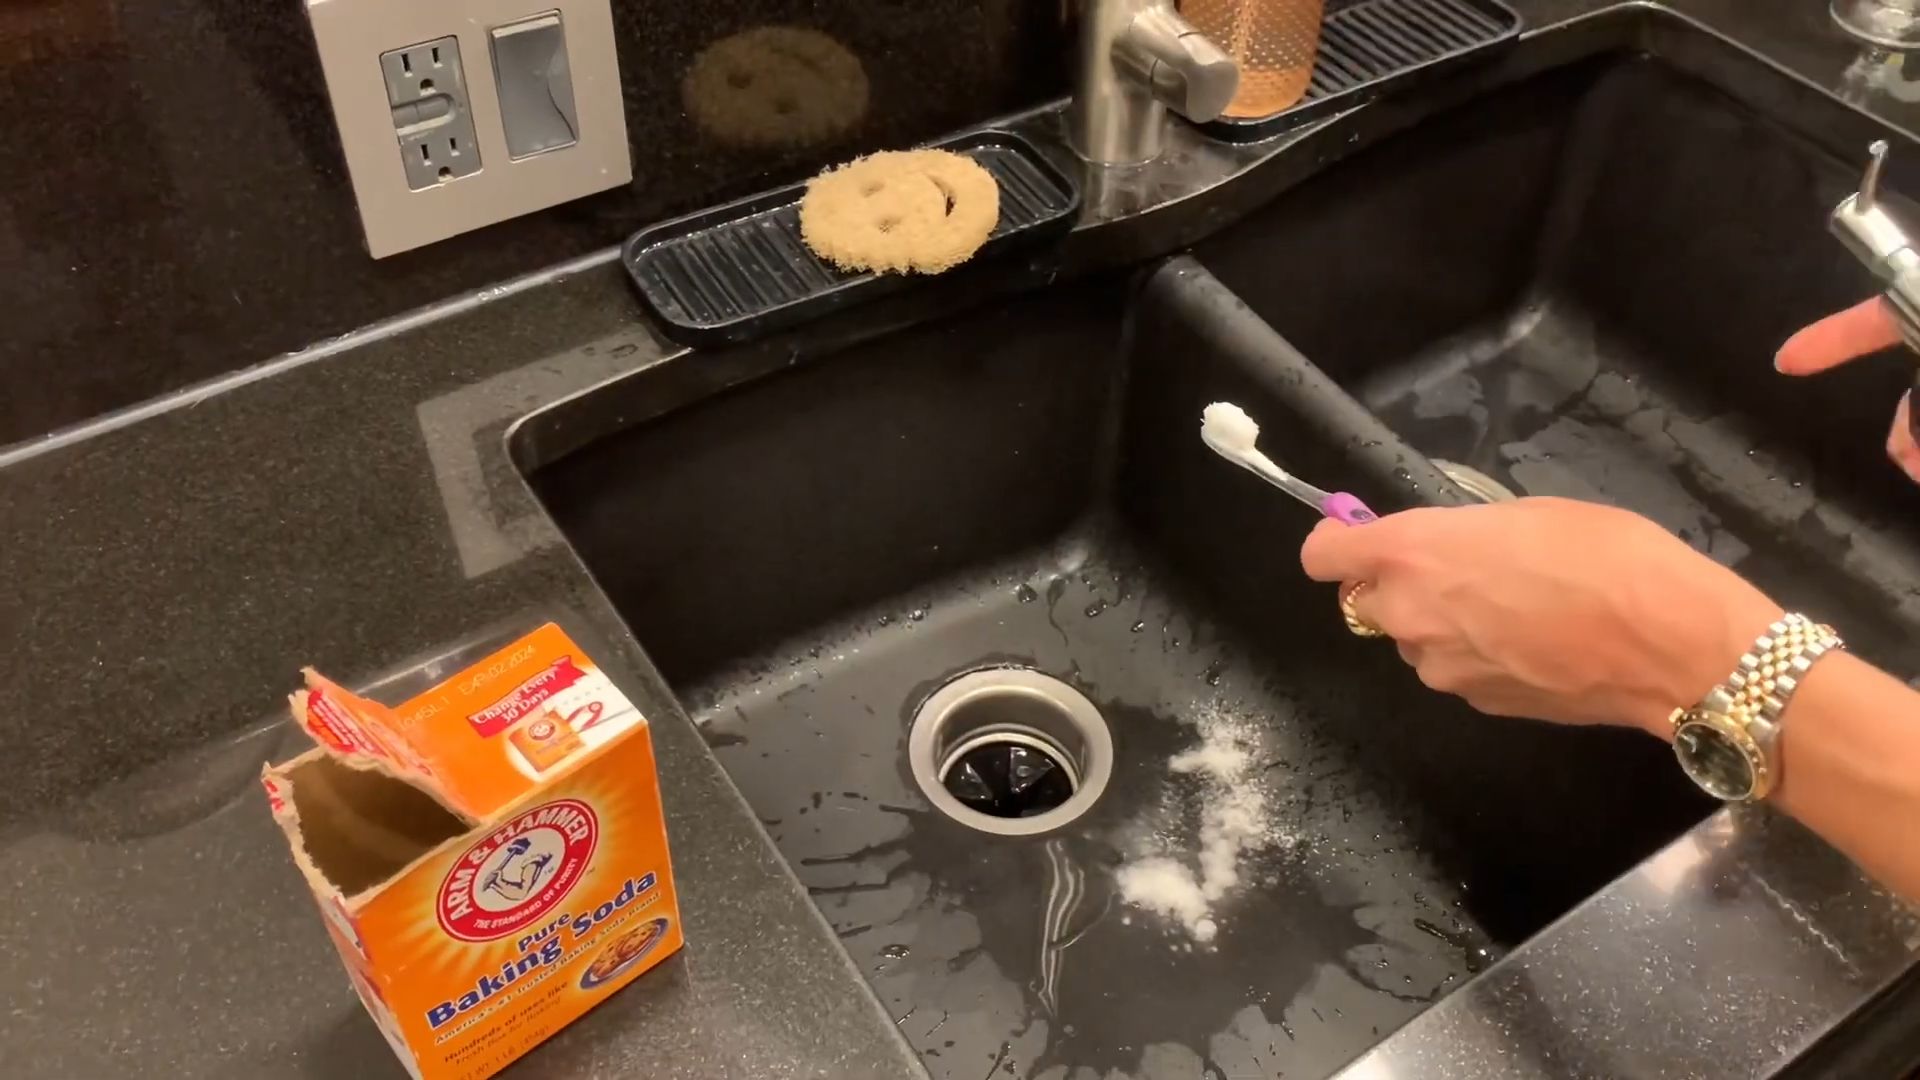
Unclogging Drains the Natural Way
Clogged drains are a major annoyance. And those chemical drain cleaners? They’re harsh, smelly, and not exactly environmentally friendly. Luckily, there’s a simple and effective natural solution that I swear by.
What you’ll need:
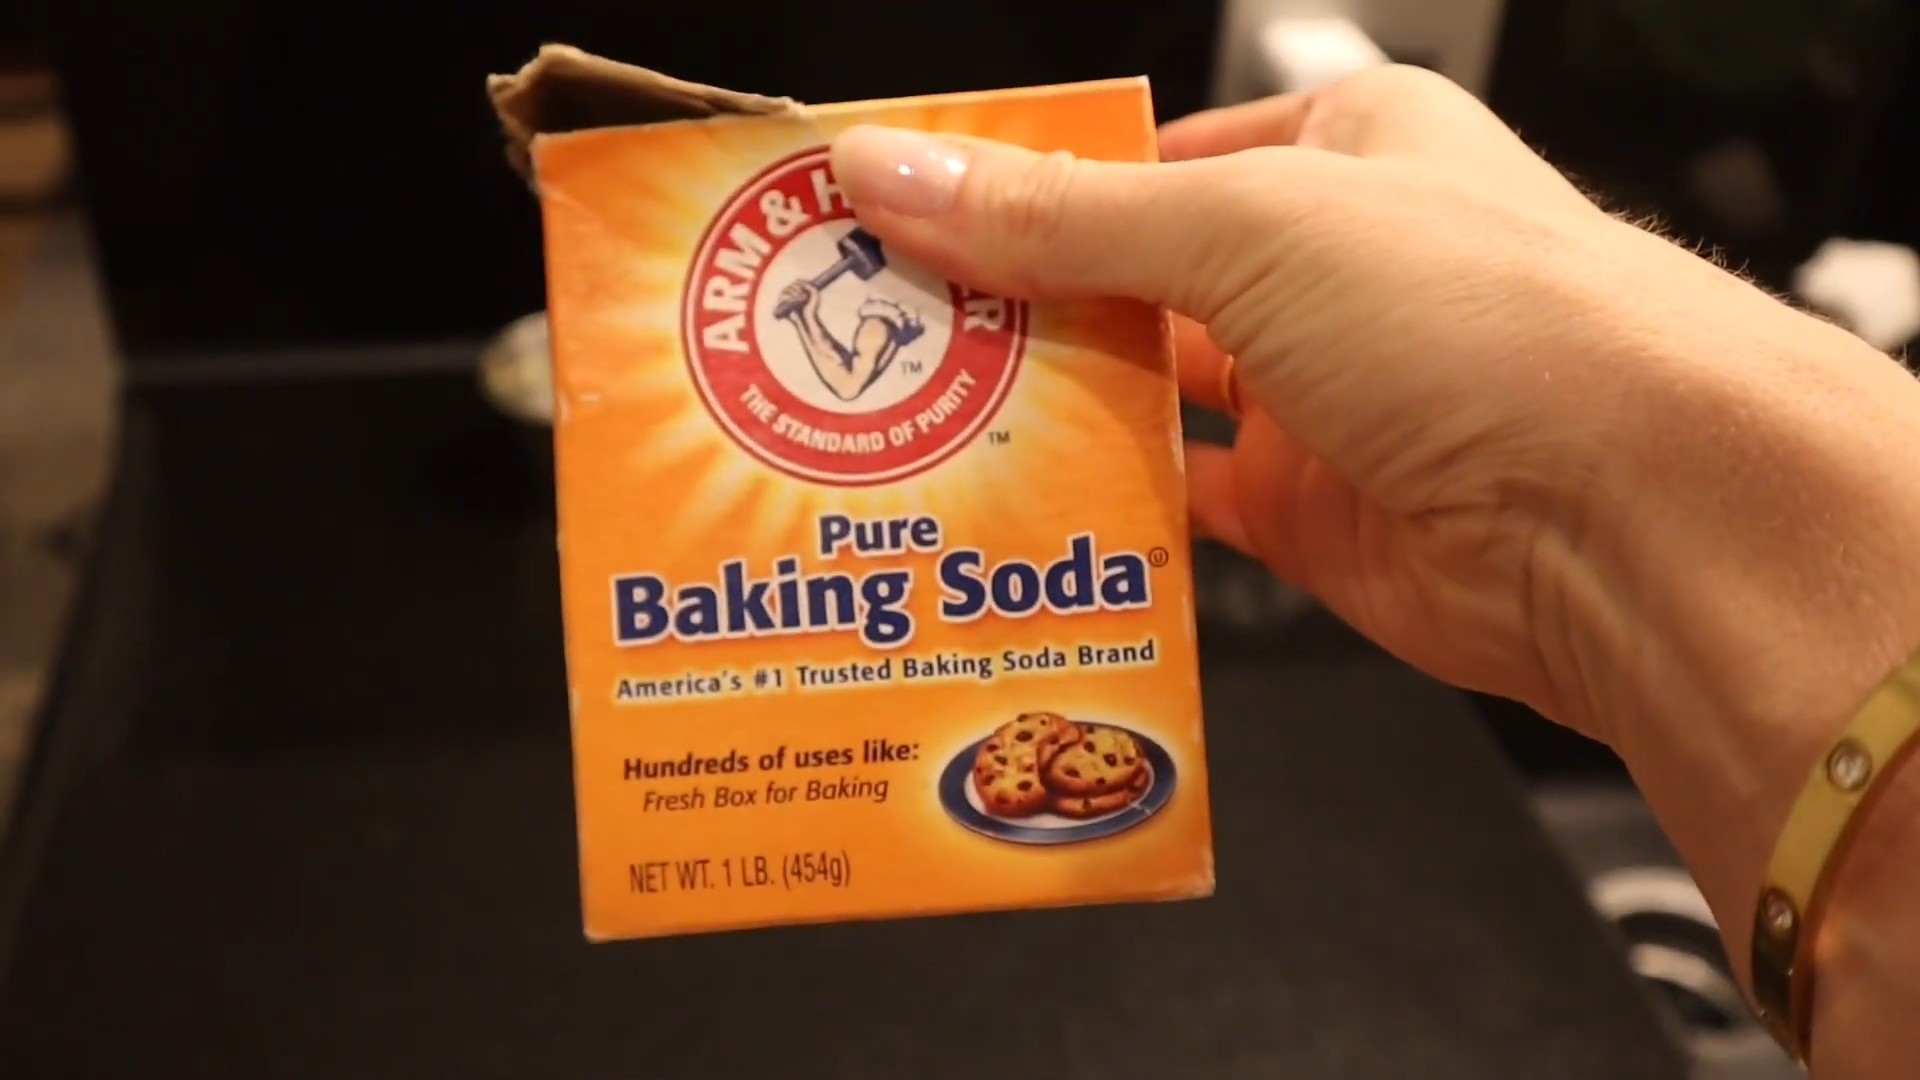
* 1 cup of baking soda
* 2 cups of white vinegar
* Boiling water
Step-by-step instructions:
1. Pour in the baking soda: Carefully pour one cup of baking soda down the clogged drain. Try to get as much of it down the drain as possible.
2. Add the vinegar: Next, pour two cups of white vinegar down the drain. You’ll likely hear a fizzing sound 鈥?that’s the chemical reaction between the baking soda and vinegar, which helps to break down the clog.
3. Let it fizz: Let the mixture fizz and bubble for about 30 minutes. This gives the baking soda and vinegar time to work their magic.
4. Flush with boiling water: After 30 minutes, carefully pour a pot of boiling water down the drain. The hot water helps to flush away the loosened clog.
5. Repeat if necessary: If the drain is still clogged, repeat the process. For particularly stubborn clogs, you might need to repeat it a few times.
6. Prevention is key: To prevent future clogs, avoid pouring grease down the drain and use a drain strainer to catch hair and other debris.
Making Your Own All-Purpose Cleaner
Store-bought all-purpose cleaners can be expensive and often contain harsh chemicals. But making your own is super easy, cost-effective, and you know exactly what’s going into it!
What you’ll need:
* Spray bottle
* 1/2 cup white vinegar
* 1/4 cup rubbing alcohol (70% isopropyl alcohol)
* 1 teaspoon dish soap (I prefer a natural, unscented one)
* 2 cups water
* Optional: 10-20 drops of your favorite essential oil (lemon, lavender, or tea tree are great choices)
Step-by-step instructions:
1. Combine ingredients: In your spray bottle, combine the white vinegar, rubbing alcohol, dish soap, and water.
2. Add essential oils (optional): If you’re using essential oils, add them to the mixture. Essential oils not only add a pleasant scent but also have antibacterial and antiviral properties.
3. Shake well: Secure the spray bottle lid and shake well to combine all the ingredients.
4. Use as needed: Spray the cleaner onto surfaces and wipe clean with a cloth or sponge. This cleaner is great for countertops, sinks, appliances, and more.
5. Test in an inconspicuous area: Before using on delicate surfaces, test the cleaner in an inconspicuous area to ensure it doesn’t cause any damage.
Cleaning Your Shower Head for Better Water Pressure
Over time, shower heads can become clogged with mineral deposits, leading to reduced water pressure and an uneven spray. But cleaning your shower head is easier than you think!
What you’ll need:
* White vinegar
* Plastic bag (gallon-sized)
* Rubber band or twist tie
* Old toothbrush
Step-by-step instructions:
1. Fill the bag with vinegar: Fill the plastic bag with enough white vinegar to completely submerge the shower head.
2. Attach the bag to the shower head: Carefully place the bag over the shower head, ensuring that the shower head is fully submerged in the vinegar. Use a rubber band or twist tie to secure the bag to the shower head.
3. Let it soak: Let the shower head soak in the vinegar for at least 30 minutes, or even overnight for heavily clogged shower heads. The vinegar will dissolve the mineral deposits.
4. Remove the bag and scrub: Remove the bag and discard the vinegar. Use an old toothbrush to scrub away any remaining mineral deposits.
5. Rinse thoroughly: Turn on the shower and let the water run for a few minutes to rinse away any remaining vinegar and debris.
6. Enjoy improved water pressure: You should now have a shower head with improved water pressure and a more even spray!
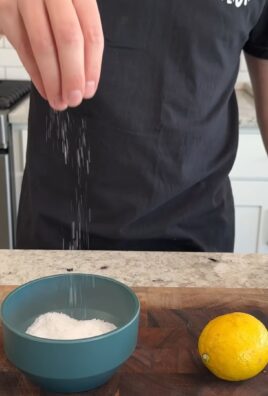
Freshening Up Your Mattress
We spend a lot of time on our mattresses, so it’s important to keep them clean and fresh. This simple DIY method will help to eliminate odors and keep your mattress feeling like new.
What you’ll need:
* Baking soda
* Essential oil (optional)
* Vacuum cleaner with upholstery attachment
* Sifter or strainer
Step-by-step instructions:
1. Strip the bed: Remove all bedding from the mattress.
2. Sprinkle with baking soda: In a bowl, mix baking soda with a few drops of your favorite essential oil (optional). The essential oil will add a pleasant scent. Use a sifter or strainer to evenly sprinkle the baking soda mixture over the entire surface of the mattress.
3. Let it sit: Let the baking soda sit on the mattress for at least 30 minutes, or even longer for heavily soiled mattresses. The baking soda will absorb odors and moisture.
4. Vacuum thoroughly: Use a vacuum cleaner with an upholstery attachment to thoroughly vacuum the entire surface of the mattress, removing all of the baking soda.
5. Flip the mattress: Flip the mattress and repeat the process on the other side.
6. Put the bedding back on: Once you’ve vacuumed both sides of the mattress, put your clean bedding back on.
Cleaning Your Blender Like a Pro
Blenders are great for smoothies and soups, but cleaning them can be a pain. This hack makes it super easy!
What you’ll need:
* Dish soap
* Water
Step-by-step instructions:
1. Fill halfway with water: After using your blender, fill it about halfway with warm water.
2. Add dish soap: Add a squirt of dish soap to the water.
3. Blend: Secure the lid and blend on high speed for about 30-60 seconds.
4. Rinse: Pour out the soapy water and rinse the blender thoroughly with clean water.
5. Dry: Let the blender air dry or dry it with a clean towel.
Reviving Smelly Sponges
Sponges can quickly become breeding grounds for bacteria and odors. Here’s how to revive them:
What you’ll need:
* White vinegar
* Water
* Microwave-safe bowl
Step-by-step instructions:
1. Mix vinegar and water: In a microwave-safe bowl, mix
Conclusion
So, there you have it! This simple yet incredibly effective DIY cleaning trick is a game-changer for anyone looking to reclaim their precious time and maintain a sparkling clean home. We’ve all been there, staring down a mountain of chores, feeling overwhelmed and wishing for a magic wand. While this isn’t *quite* magic, it’s the next best thing. It’s about working smarter, not harder, and leveraging readily available ingredients to achieve professional-level results.
The beauty of this particular cleaning hack lies in its versatility and adaptability. It’s not a one-size-fits-all solution, but rather a foundation upon which you can build and customize to suit your specific needs and preferences. For instance, if you’re dealing with particularly stubborn grime, consider adding a tablespoon of washing soda to the mixture for an extra boost of cleaning power. Or, if you prefer a more natural scent, experiment with different essential oils like lavender, lemon, or eucalyptus. A few drops can transform your cleaning routine into an aromatherapy session, leaving your home smelling fresh and inviting.
Another variation to consider is the application method. While we’ve focused on using a spray bottle for ease of use, you can also create a larger batch of the solution and use it with a microfiber cloth for wiping down surfaces. This is particularly useful for cleaning larger areas like countertops or floors. For tackling hard-to-reach spots, an old toothbrush dipped in the solution can work wonders.
The real key to success with this DIY cleaning trick is consistency. Incorporate it into your regular cleaning routine, even if it’s just for a few minutes each day. You’ll be amazed at how much cleaner your home stays with minimal effort. Think of it as a proactive approach to cleaning, preventing dirt and grime from building up in the first place.
But the best part? You’re not just saving time and money; you’re also reducing your reliance on harsh chemicals. Many commercial cleaning products contain ingredients that can be harmful to your health and the environment. By making your own cleaning solution, you have complete control over what goes into it, ensuring a safer and healthier home for you and your family.
This quick cleaning time saving tip is more than just a recipe; it’s a lifestyle change. It’s about taking control of your cleaning routine and making it work for you, not against you. It’s about creating a cleaner, healthier, and more enjoyable living space without sacrificing your precious time.
So, what are you waiting for? Gather your ingredients, mix up a batch of this amazing cleaning solution, and experience the difference for yourself. We’re confident that you’ll be thrilled with the results. And once you’ve tried it, we’d love to hear about your experience! Share your tips, variations, and before-and-after photos in the comments below. Let’s create a community of clean-living enthusiasts who are passionate about saving time and money while keeping their homes sparkling clean. We can’t wait to see what you create!
Frequently Asked Questions (FAQ)
What exactly are the ingredients needed for this DIY cleaning trick?
The beauty of this cleaning solution is its simplicity. You’ll typically need just a few common household items: water, vinegar (white distilled vinegar is usually recommended), and dish soap. Some variations might include baking soda, washing soda, or essential oils for added cleaning power or fragrance. The specific ratios will depend on the recipe you’re following, but generally, it’s a combination of these ingredients diluted with water.
Is vinegar safe to use on all surfaces?
While vinegar is a fantastic natural cleaner, it’s not suitable for all surfaces. Avoid using it on natural stone surfaces like marble, granite, and limestone, as the acidity can etch and damage them. It’s also best to avoid using vinegar on waxed furniture, as it can strip the wax. Always test the solution in an inconspicuous area first to ensure it doesn’t cause any discoloration or damage. For delicate surfaces, consider diluting the vinegar further or using a different cleaning solution altogether.
Can I use any type of dish soap?
While most dish soaps will work, it’s best to use a clear, unscented dish soap to avoid any potential discoloration or residue. Avoid using dish soaps that contain added moisturizers or lotions, as these can leave a film on surfaces. A simple, basic dish soap is usually the best choice.
How long will the cleaning solution last?
The shelf life of this DIY cleaning solution depends on the ingredients used. A solution made with just water, vinegar, and dish soap can typically last for several weeks or even months when stored in a cool, dark place. However, if you add ingredients like essential oils or fresh lemon juice, the shelf life may be shorter. It’s always a good idea to label the bottle with the date you made the solution and discard it if it starts to look cloudy or smell off.
Can I use this cleaning solution on my floors?
Yes, you can use this cleaning solution on many types of floors, but it’s crucial to consider the material of your flooring. For sealed hardwood floors, dilute the solution significantly and use a damp mop to avoid over-wetting the wood. Avoid using vinegar on unsealed hardwood floors, as it can damage the finish. For tile floors, this cleaning solution can be very effective. Always test the solution in an inconspicuous area first to ensure it doesn’t cause any damage or discoloration.
Is this cleaning solution safe for pets and children?
While this DIY cleaning solution is generally safer than many commercial cleaning products, it’s still important to exercise caution when using it around pets and children. Keep the solution out of reach of children and pets, and avoid spraying it directly on them. If your pet or child ingests the solution, contact a veterinarian or poison control center immediately. It’s also a good idea to ventilate the area well after cleaning to minimize any potential irritation.
Can I add bleach to this cleaning solution for extra disinfecting power?
No, never mix bleach with vinegar or dish soap. Mixing bleach with vinegar can create toxic chlorine gas, which can be harmful or even fatal. Mixing bleach with dish soap can create other dangerous chemical reactions. It’s crucial to keep bleach separate from other cleaning products to avoid any potential hazards. If you need to disinfect a surface, use a separate disinfecting solution specifically designed for that purpose.
How often should I use this cleaning solution?
The frequency of use depends on your cleaning needs and preferences. You can use this cleaning solution daily for quick wipe-downs or weekly for more thorough cleaning. The key is to incorporate it into your regular cleaning routine to prevent dirt and grime from building up. Experiment with different frequencies to find what works best for you and your lifestyle.
What are some other uses for this DIY cleaning solution?
Besides general surface cleaning, this DIY cleaning solution can be used for a variety of other purposes. It can be used to clean windows and mirrors, remove hard water stains, freshen up your garbage disposal, and even clean your microwave. Its versatility makes it a valuable addition to any cleaning arsenal.
Where can I find more quick cleaning time saving tips?
There are numerous online resources available that offer a wealth of quick cleaning time saving tips. You can search for cleaning blogs, websites, and social media accounts that specialize in home cleaning and organization. Look for tips that are tailored to your specific needs and preferences, and always test new cleaning methods in an inconspicuous area first. Don’t be afraid to experiment and find what works best for you!
Leave a Comment