
Grow Mint Indoors? Absolutely! Imagine stepping into your kitchen and snipping fresh, fragrant mint leaves for your morning tea, a refreshing mojito, or a flavorful addition to your favorite dishes. No more last-minute grocery store runs or settling for wilted, lackluster herbs. This is the magic of bringing the garden inside, and it’s easier than you think!
Mint, with its vibrant history stretching back to ancient Greece and Rome where it was used for medicinal purposes and culinary delights, has always been a beloved herb. Today, its popularity continues to soar, but access to fresh, high-quality mint can sometimes be a challenge. That’s where our DIY guide comes in.
I’m going to show you simple, effective tricks to grow mint indoors successfully, regardless of your gardening experience. Whether you’re a seasoned green thumb or a complete beginner, these hacks will empower you to cultivate a thriving mint plant right on your windowsill. Say goodbye to expensive store-bought mint and hello to a constant supply of fresh, aromatic leaves. Let’s get started and unlock the secrets to indoor mint gardening!
Grow Your Own Mint Indoors: A Beginner’s Guide
Hey there, fellow plant enthusiasts! Ever dreamt of having fresh, fragrant mint readily available for your mojitos, teas, or culinary creations? Well, dream no more! Growing mint indoors is surprisingly easy, and I’m here to guide you through every step of the process. Trust me, even if you’re a self-proclaimed “black thumb,” you can totally nail this.
Choosing Your Mint Variety
First things first, let’s talk mint varieties. There’s a whole world beyond just “mint”! Here are a few popular choices for indoor growing:
* Peppermint: The classic, strong mint flavor we all know and love. Great for teas and desserts.
* Spearmint: A milder, sweeter mint, perfect for cocktails and savory dishes.
* Chocolate Mint: Yes, you read that right! This variety has a subtle chocolate aroma and flavor. It’s a fun one to experiment with.
* Apple Mint: A fruity, slightly fuzzy mint with a gentle apple scent. Delicious in salads and drinks.
I recommend starting with peppermint or spearmint – they’re generally the easiest to grow. You can find mint plants at most garden centers or even some grocery stores.
Gathering Your Supplies
Okay, time to assemble your arsenal! Here’s what you’ll need:
* A healthy mint plant: Look for a plant with vibrant green leaves and no signs of pests or disease.
* A pot with drainage holes: Mint likes well-draining soil, so drainage is crucial. A 6-inch pot is a good starting size.
* Potting mix: Use a good-quality potting mix specifically formulated for containers. Avoid using garden soil, as it can compact and hinder drainage.
* Watering can or spray bottle: For keeping your mint hydrated.
* Grow light (optional but recommended): If you don’t have a sunny windowsill, a grow light will help your mint thrive.
* Scissors or pruning shears: For harvesting and trimming your mint.
* Fertilizer (optional): A balanced liquid fertilizer can give your mint a boost.
Planting Your Mint
Alright, let’s get our hands dirty!
1. Prepare the pot: Fill the pot with potting mix, leaving about an inch of space at the top.
2. Remove the mint plant from its container: Gently squeeze the sides of the container to loosen the plant. Carefully lift the plant out, being mindful of the roots.
3. Loosen the roots: Gently tease apart the roots with your fingers. This will encourage them to spread out and establish themselves in the new pot.
4. Plant the mint: Place the mint plant in the center of the pot. Make sure the top of the root ball is level with the soil surface.
5. Fill in with potting mix: Add more potting mix around the plant, gently pressing it down to secure the plant.
6. Water thoroughly: Water the plant until water drains out of the drainage holes. This will help settle the soil and hydrate the roots.
Finding the Perfect Spot
Mint loves sunlight, so finding the right location is key.
1. Choose a sunny windowsill: A south-facing or east-facing windowsill is ideal. Mint needs at least 4-6 hours of sunlight per day.
2. Consider a grow light: If you don’t have a sunny windowsill, a grow light is a great alternative. Position the grow light about 6-12 inches above the plant.
3. Avoid drafts: Keep your mint away from drafts, as they can dry out the leaves.
Watering and Feeding Your Mint
Watering is crucial, but overwatering can be just as harmful as underwatering.
1. Water regularly: Water your mint when the top inch of soil feels dry to the touch.
2. Don’t overwater: Avoid letting the pot sit in standing water, as this can lead to root rot.
3. Use a watering can or spray bottle: Water gently at the base of the plant, avoiding getting the leaves wet.
4. Fertilize (optional): If you want to give your mint a boost, fertilize it every 2-4 weeks with a balanced liquid fertilizer. Follow the instructions on the fertilizer label.
Harvesting Your Mint
The best part! Harvesting encourages growth and provides you with fresh mint.
1. Harvest regularly: Once your mint plant is established, you can start harvesting leaves.
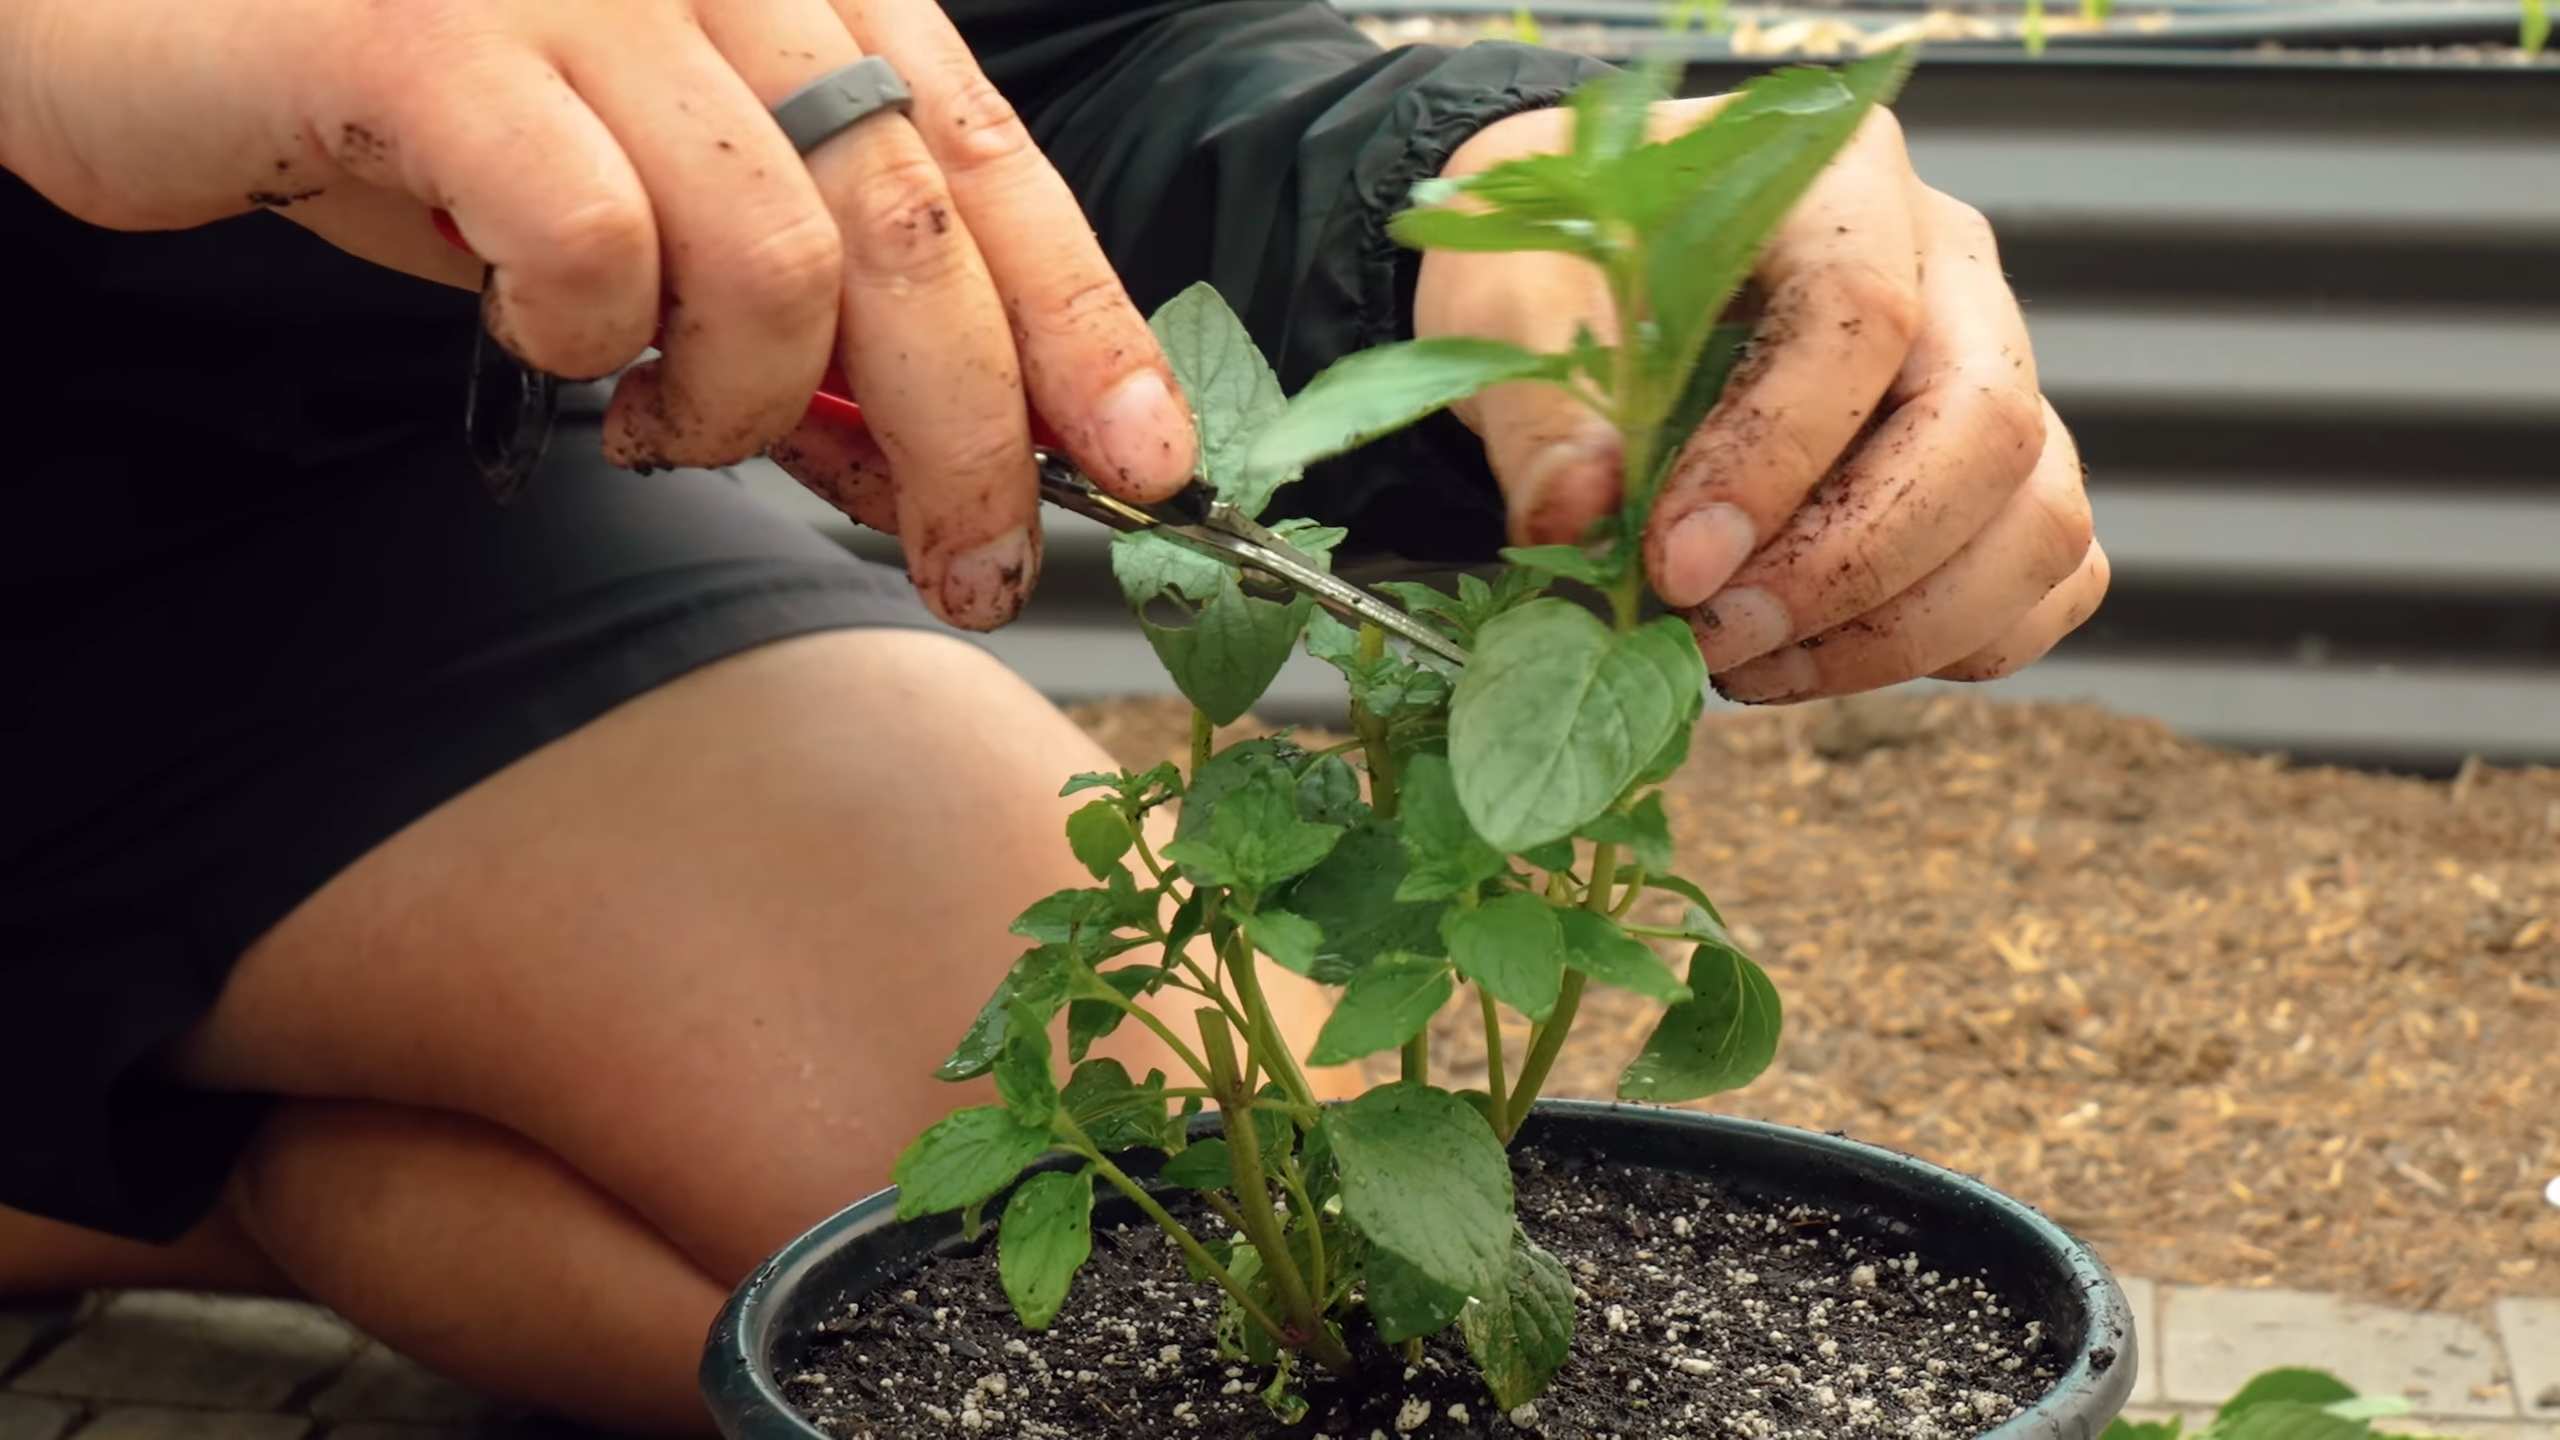
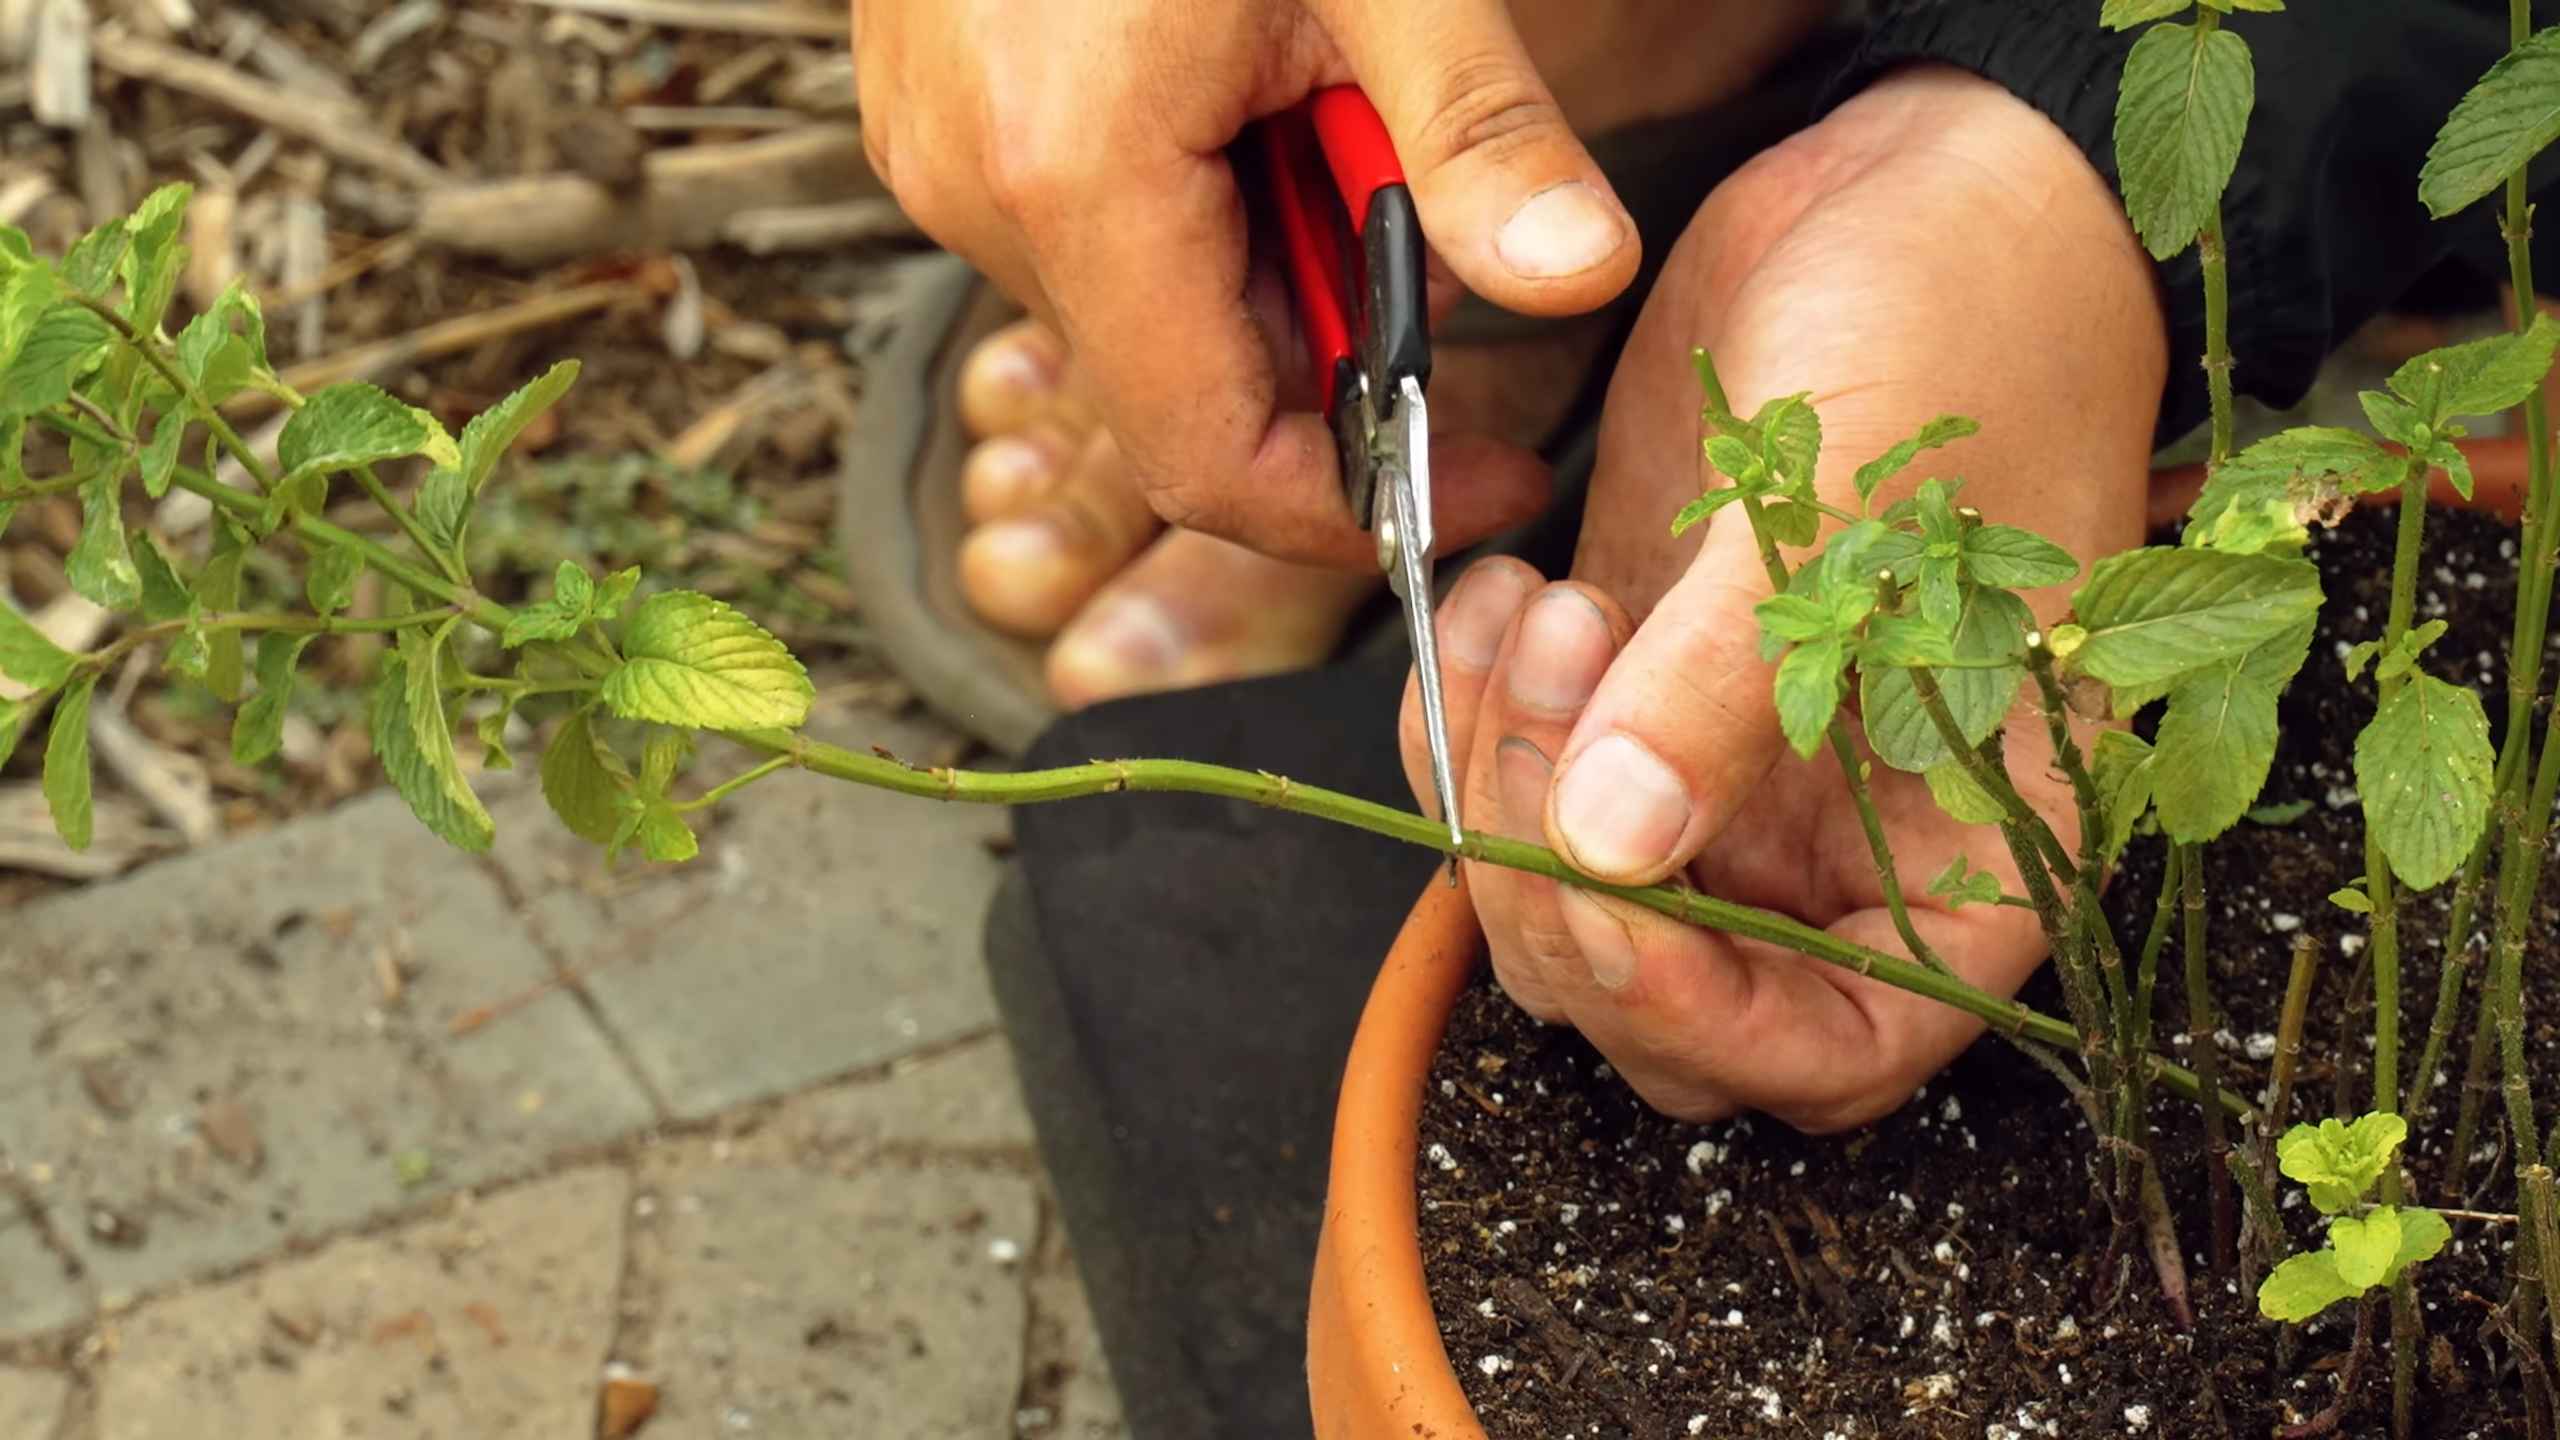
2. Pinch or cut stems: Use scissors or pruning shears to pinch or cut stems just above a leaf node (the point where leaves grow from the stem).
3. Don’t remove more than one-third of the plant at a time: This will allow the plant to recover and continue growing.
4. Harvest in the morning: The essential oils in mint are most concentrated in the morning, so that’s the best time to harvest for maximum flavor.
Pruning and Maintenance
Mint can be a bit of a rambunctious grower, so pruning is important to keep it under control.
1. Prune regularly: Prune your mint plant regularly to encourage bushier growth and prevent it from becoming leggy.
2. Remove dead or yellowing leaves: This will help prevent the spread of disease.
3. Pinch off flower buds: If you want to maximize leaf production, pinch off any flower buds that appear. Flowering can reduce the flavor of the leaves.
4. Repot as needed: As your mint plant grows, it may need to be repotted into a larger container. Repotting every year or two is usually sufficient.
Dealing with Pests and Diseases
Even indoors, pests and diseases can sometimes be a problem.
1. Inspect your plant regularly: Check your mint plant regularly for signs of pests or diseases.
2. Common pests: Aphids, spider mites, and whiteflies are common pests that can infest mint plants.
3. Treat pests with insecticidal soap: If you find pests, treat your plant with insecticidal soap. Follow the instructions on the product label.
4. Prevent fungal diseases: Good air circulation and proper watering can help prevent fungal diseases.
5. Remove infected leaves: If you see any leaves with spots or discoloration, remove them immediately to prevent the spread of disease.
Troubleshooting Common Problems
Sometimes, things don’t go exactly as planned. Here are some common problems and how to fix them:
* Yellowing leaves: This could be caused by overwatering, underwatering, or nutrient deficiency. Adjust your watering schedule and consider fertilizing your plant.
* Leggy growth: This is usually caused by insufficient light. Move your plant to a sunnier location or provide supplemental light with a grow light.
* Brown spots on leaves: This could be a sign of fungal disease. Improve air circulation and avoid getting the leaves wet when watering.
* Slow growth: This could be caused by a number of factors, including insufficient light, poor soil, or nutrient deficiency. Make sure your plant is getting enough light, water, and nutrients.
Propagating Your Mint
Want more mint? Propagating is easy!
1. Take stem cuttings: Cut a 4-6 inch stem from your mint plant, just below a leaf node.
2. Remove the lower leaves: Remove the leaves from the bottom inch of the stem.
3. Place the cutting in water: Place the cutting in a glass of water, making sure the bottom node is submerged.
4. Wait for roots to develop: Place the glass in a bright, indirect light location. Change the water every few days. Roots should start to develop in a week or two.
5. Plant the cutting: Once the roots are about an inch long, plant the cutting in a pot filled with potting mix.
6. Water thoroughly: Water the newly planted cutting thoroughly.
Enjoying Your Homegrown Mint
Now for the best part – using your fresh mint!
* Make tea: Steep fresh mint leaves in hot water for a refreshing and flavorful tea.
* Add to cocktails: Mint is a classic ingredient in mojitos, mint juleps, and other cocktails.
* Use in cooking: Mint can be used in a variety of savory and sweet dishes, from salads and sauces to desserts and candies.
* Garnish dishes: Fresh mint leaves make a beautiful and fragrant garnish for any dish.
Growing mint indoors is a rewarding experience that will provide you with fresh, flavorful mint all year round. With a little care and attention, you’ll be enjoying your homegrown mint in no time! Happy growing!
Conclusion
So, there you have it! Growing mint indoors is not only achievable, but it’s also incredibly rewarding. Imagine fresh, fragrant mint leaves readily available at your fingertips, ready to elevate your culinary creations, infuse your beverages with a refreshing zest, or simply add a touch of greenery to your living space. This DIY project is a must-try for anyone looking to add a touch of freshness to their home and kitchen, regardless of their gardening experience.
The benefits extend beyond mere convenience. By growing your own mint, you’re ensuring a constant supply of organic, pesticide-free herbs. You’re also reducing your reliance on store-bought mint, which can often be expensive and less flavorful. Plus, the simple act of nurturing a plant can be incredibly therapeutic, offering a calming and grounding experience in our increasingly hectic lives.
Don’t be afraid to experiment with different varieties of mint! Peppermint, spearmint, chocolate mint, and even apple mint each offer unique flavors and aromas. Try planting a few different types in separate containers to create a diverse and aromatic indoor herb garden. You can also experiment with different types of containers. While terracotta pots are classic and allow for good drainage, you can also use repurposed containers like mason jars or even old teacups for a more rustic and charming look. Just be sure to provide adequate drainage.
Consider the lighting in your home when choosing a location for your mint. While mint thrives in bright, indirect sunlight, it can also tolerate partial shade. If you don’t have a sunny windowsill, you can supplement with a grow light to ensure your mint receives enough light.
This indoor gardening project is more than just a way to get fresh herbs; it’s a way to connect with nature, enhance your culinary experiences, and add a touch of beauty to your home.
We wholeheartedly encourage you to give this DIY trick a try. It’s a simple, affordable, and incredibly satisfying project that will bring a touch of freshness and flavor to your life. Once you’ve successfully grown your own mint indoors, we’d love to hear about your experience! Share your tips, tricks, and photos in the comments below. Let’s create a community of indoor mint growers and inspire others to embrace the joy of homegrown herbs. Let us know what challenges you faced and how you overcame them. Did you find a particular variety of mint thrived better than others in your indoor environment? What creative ways have you found to use your homegrown mint? Your insights could be invaluable to other aspiring indoor gardeners.
Remember, even if you encounter a few setbacks along the way, don’t give up! Gardening is a learning process, and every mistake is an opportunity to grow (pun intended!). With a little patience and care, you’ll be enjoying fresh, fragrant mint from your own indoor garden in no time. So go ahead, get your hands dirty, and experience the joy of growing your own mint indoors!
Frequently Asked Questions (FAQ)
How much sunlight does indoor mint need?
Mint thrives in bright, indirect sunlight. Ideally, aim for at least 4-6 hours of sunlight per day. A south-facing or east-facing window is usually a good choice. If you don’t have a sunny window, you can supplement with a grow light. Position the grow light a few inches above the plant and leave it on for 12-14 hours per day. Observe your mint closely. If the leaves are pale or leggy (stretched out), it may not be getting enough light. If the leaves are scorched or yellowing, it may be getting too much direct sunlight. Adjust the location or lighting accordingly. Remember, consistency is key. Providing a stable and adequate light source will help your mint thrive indoors.
What kind of soil is best for growing mint indoors?
Mint prefers well-draining soil that is rich in organic matter. A good potting mix specifically formulated for herbs is ideal. You can also create your own potting mix by combining equal parts of potting soil, perlite, and compost. Perlite helps improve drainage, while compost provides essential nutrients. Avoid using garden soil, as it can be too heavy and may contain pests or diseases. Before planting, moisten the potting mix slightly. It should be damp but not soggy. This will help the mint roots establish themselves more easily. When repotting, always use fresh potting mix to ensure your mint has access to the nutrients it needs.
How often should I water my indoor mint plant?
Water your mint plant when the top inch of soil feels dry to the touch. Avoid overwatering, as this can lead to root rot. When you water, water thoroughly until water drains out of the bottom of the pot. This ensures that the entire root system is moistened. Allow the excess water to drain away completely. Don’t let the pot sit in standing water, as this can also contribute to root rot. During the warmer months, you may need to water your mint more frequently. During the cooler months, you can reduce the watering frequency. Always check the soil moisture before watering to avoid overwatering.
How do I harvest mint leaves from my indoor plant?
Harvest mint leaves by pinching or cutting them off the stem just above a leaf node (the point where a leaf grows out of the stem). This will encourage the plant to branch out and produce more leaves. You can harvest leaves as needed, but avoid removing more than one-third of the plant at a time. Regular harvesting will also help prevent the plant from becoming leggy. For the best flavor, harvest mint leaves in the morning, after the dew has dried. You can use the fresh mint leaves immediately, or you can dry them for later use. To dry mint leaves, hang them upside down in a cool, dry place or use a dehydrator.
How do I prevent my indoor mint from becoming invasive?
Mint is known for being an invasive plant, but this is less of a concern when growing it indoors in a container. However, it’s still important to take precautions to prevent it from spreading. Always keep your mint plant contained in a pot. Avoid planting it directly in the ground, even indoors. If you’re growing multiple mint plants, keep them separated to prevent them from cross-pollinating. Regularly prune your mint plant to keep it under control. This will also encourage bushier growth. If you notice any runners (stems that grow horizontally along the surface of the soil), remove them immediately. By taking these simple precautions, you can enjoy the benefits of growing mint indoors without worrying about it taking over your home.
What are some common problems when growing mint indoors and how do I fix them?
Some common problems include pests like aphids or spider mites. Treat these with insecticidal soap or neem oil. Overwatering can lead to root rot, so ensure proper drainage and allow the soil to dry slightly between waterings. Yellowing leaves can indicate nutrient deficiencies; fertilize with a balanced liquid fertilizer. Leggy growth suggests insufficient light; move the plant to a brighter location or use a grow light. Regularly inspect your plant for signs of problems and address them promptly to keep your mint healthy and thriving.
Can I grow mint from cuttings indoors?
Yes, growing mint from cuttings is a very effective way to propagate new plants. Simply take a cutting that is about 4-6 inches long, remove the lower leaves, and place the cutting in a glass of water. Make sure that at least one or two leaf nodes are submerged in the water. Place the glass in a bright, indirect light location. Change the water every few days. After a week or two, you should start to see roots forming. Once the roots are about an inch long, you can plant the cutting in a pot filled with well-draining potting mix. Water thoroughly and keep the soil moist until the plant is established. This is a great way to expand your indoor mint garden without having to buy new plants.

Leave a Comment