
Grow Chili Peppers Easily, and add a fiery kick to your culinary creations! Have you ever dreamed of harvesting your own vibrant, flavorful chili peppers right from your backyard? Imagine the satisfaction of plucking a perfectly ripe pepper, knowing you nurtured it from seed to spice. This isn’t just a dream; it’s an achievable reality with a few simple tricks and DIY hacks.
Chili peppers have a rich history, dating back thousands of years in the Americas. They were prized by ancient civilizations like the Aztecs and Mayans, not only for their flavor but also for their medicinal properties. Today, they’re a staple in cuisines worldwide, adding heat and depth to dishes from Mexico to Thailand.
But why should you bother growing your own? Well, store-bought chili peppers can sometimes lack the freshness and intensity of flavor that homegrown varieties offer. Plus, growing your own allows you to choose from a wider range of unique and exotic peppers that you might not find at your local grocery store. I’m here to show you how to grow chili peppers easily, even if you don’t have a green thumb. We’ll explore simple DIY techniques, from seed starting to pest control, ensuring a bountiful harvest of these fiery gems. Get ready to spice up your life, one chili pepper at a time!
Growing Chili Peppers: My Foolproof DIY Guide
Okay, chili pepper enthusiasts, gather ’round! I’m going to share my tried-and-true method for growing a bumper crop of chili peppers, even if you think you have a “brown thumb.” This isn’t rocket science, but a little know-how goes a long way. I’ve broken it down into easy-to-follow steps, so you’ll be harvesting fiery goodness in no time.
Choosing Your Chili Pepper Variety
Before we get our hands dirty, let’s talk peppers! The world of chili peppers is vast and exciting. From mild bell peppers (yes, they’re technically chilies!) to scorching habaneros, there’s a pepper for every palate.
* Consider your heat tolerance: Be honest with yourself! Don’t start with a ghost pepper if you’re not used to the heat. Jalapeños, poblanos, or Anaheim peppers are great starting points.
* Think about your climate: Some peppers thrive in hot, humid conditions, while others prefer cooler temperatures. Research which varieties are best suited for your region.
* Space constraints: If you’re growing in containers, opt for compact varieties like Thai chilies or ornamental peppers.
* Personal preference: What do you want to use your peppers for? Salsa? Hot sauce? Drying? This will influence your choice.
I personally love growing jalapeños for everyday use and a few habaneros for when I’m feeling brave. This year, I’m also trying out some Scotch bonnets – wish me luck!
Starting Your Chili Pepper Seeds
Starting from seed gives you the most control over your plants and allows you to grow varieties that might not be available at your local nursery. I usually start my seeds indoors about 6-8 weeks before the last expected frost.
* Gather your supplies: You’ll need:
* Chili pepper seeds
* Seed starting trays or small pots
* Seed starting mix (this is crucial – regular potting soil is too heavy)
* A spray bottle
* A heat mat (optional, but highly recommended)
* A grow light (also optional, but helps prevent leggy seedlings)
* Sowing the seeds:
1. Moisten the seed starting mix thoroughly. It should be damp, not soggy.
2. Fill your seed starting trays or pots with the moistened mix.
3. Make a small indentation (about ¼ inch deep) in the center of each cell or pot.
4. Place 2-3 seeds in each indentation. This increases your chances of germination.
5. Gently cover the seeds with the seed starting mix.
6. Lightly mist the surface with water.
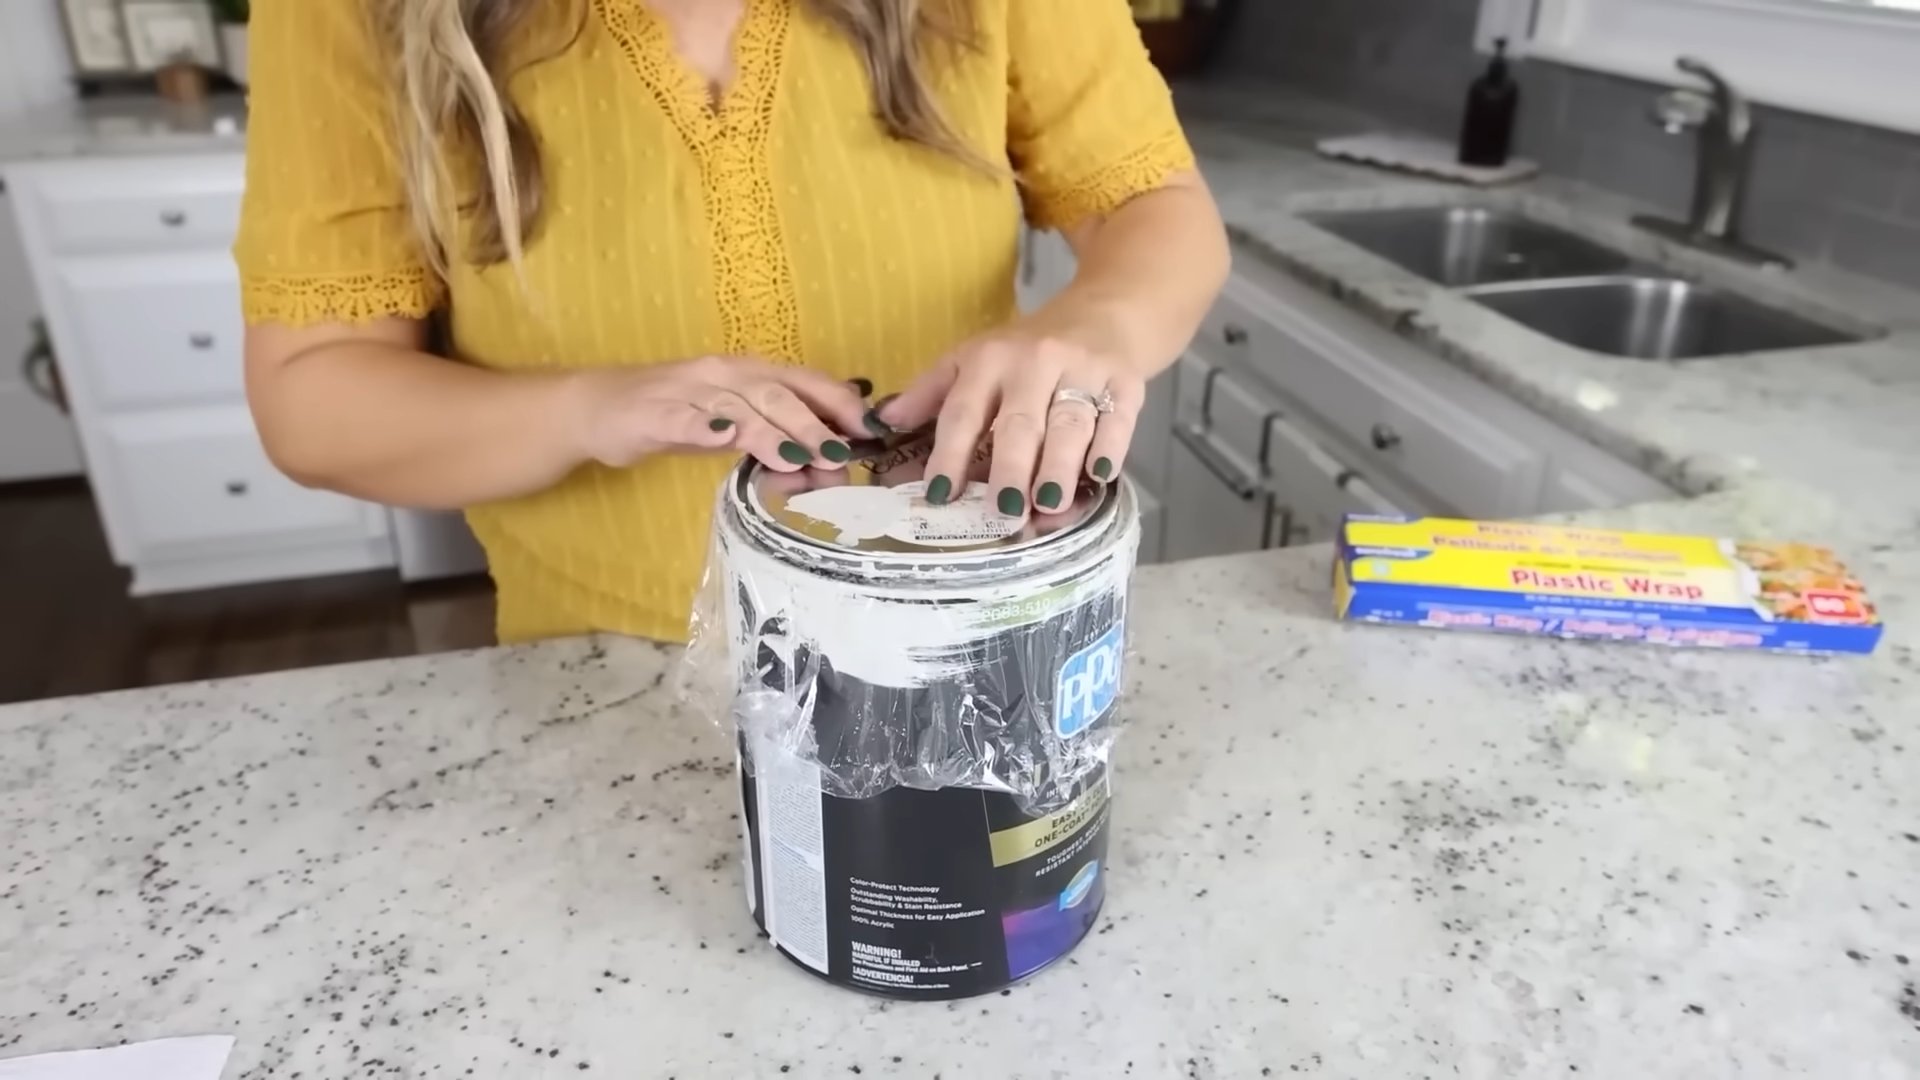
7. Cover the trays or pots with a clear plastic dome or plastic wrap to create a humid environment.
8. Place the trays or pots on a heat mat and under a grow light (if using).
* Maintaining the seedlings:
1. Keep the seed starting mix consistently moist, but not waterlogged. Mist regularly.
2. Maintain a temperature of around 75-85°F (24-29°C). The heat mat helps with this.
3. Once the seedlings emerge (usually within 7-14 days), remove the plastic dome or wrap.
4. If using a grow light, keep it a few inches above the seedlings and provide 14-16 hours of light per day.
5. Thin the seedlings to one per cell or pot once they have their first true leaves (the second set of leaves). Snip off the weaker seedlings at the soil line. Don’t pull them out, as this can disturb the roots of the remaining seedling.
Transplanting Your Chili Pepper Seedlings
Once the danger of frost has passed and your seedlings have developed several sets of true leaves (usually 6-8 weeks after sowing), it’s time to transplant them outdoors.
* Hardening off: This is a crucial step! You need to gradually acclimate your seedlings to outdoor conditions before transplanting them.
1. Start by placing the seedlings outdoors in a sheltered location (e.g., a porch or patio) for an hour or two each day.
2. Gradually increase the amount of time they spend outdoors each day, exposing them to more sunlight and wind.
3. After about a week, they should be able to tolerate a full day outdoors.
* Preparing the planting site:
1. Choose a sunny location that receives at least 6-8 hours of direct sunlight per day.
2. The soil should be well-draining and rich in organic matter. Amend the soil with compost or well-rotted manure.
3. Space the plants 18-24 inches apart, depending on the variety.
* Transplanting:
1. Dig a hole that is slightly larger than the root ball of the seedling.
2. Gently remove the seedling from its pot, being careful not to damage the roots.
3. Place the seedling in the hole and backfill with soil.
4. Water thoroughly.
5. Mulch around the plants with straw, wood chips, or shredded leaves to help retain moisture and suppress weeds.
Caring for Your Chili Pepper Plants
Now that your chili pepper plants are in the ground, it’s time to provide them with the care they need to thrive.
* Watering: Water deeply and regularly, especially during hot, dry weather. Avoid overhead watering, as this can promote fungal diseases. Aim to water at the base of the plant.
* Fertilizing: Chili peppers are heavy feeders. Fertilize them every 2-3 weeks with a balanced fertilizer or a fertilizer specifically formulated for peppers and tomatoes. I like to use a liquid fertilizer diluted to half strength.
* Pest control: Keep an eye out for common pests like aphids, whiteflies, and spider mites. Treat infestations promptly with insecticidal soap or neem oil.
* Weed control: Keep the area around your plants free of weeds, which can compete for nutrients and water.
* Support: Taller varieties may need staking or caging to prevent them from falling over, especially when loaded with fruit.
Dealing with Common Chili Pepper Problems
Even with the best care, you might encounter some problems along the way. Here are a few common issues and how to address them:
* Blossom end rot: This is caused by a calcium deficiency and results in a dark, sunken spot on the bottom of the fruit. To prevent blossom end rot, ensure that your soil is well-drained and that you are watering consistently. You can also add calcium to the soil in the form of bone meal or crushed eggshells.
* Sunscald: This occurs when the fruit is exposed to too much direct sunlight, causing it to become bleached and damaged. To prevent sunscald, provide some shade for your plants during the hottest part of the day.
* Fungal diseases: Chili peppers are susceptible to various fungal diseases, such as powdery mildew and leaf spot. To prevent these diseases, avoid overhead watering, provide good air circulation, and treat affected plants with a fungicide.
* Pest infestations: As mentioned earlier, keep an eye out for common pests and treat infestations promptly.
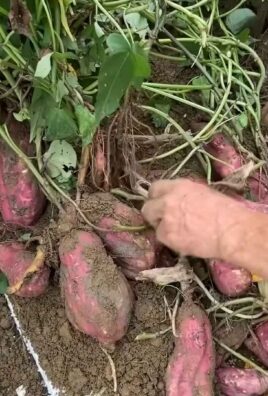
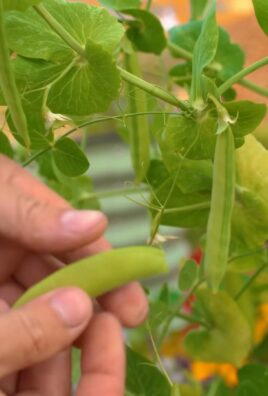
Harvesting Your Chili Peppers
The moment you’ve been waiting for! Harvesting your chili peppers is the most rewarding part of the process.
* When to harvest: The timing of the harvest depends on the variety and your personal preference. Generally, peppers are ready to harvest when they have reached their mature size and color.
* How to harvest: Use pruning shears or scissors to cut the peppers from the plant, leaving a small stem attached.
* Handling hot peppers: Wear gloves when handling hot peppers, as the capsaicin (the compound that makes them spicy) can irritate your skin. Avoid touching your eyes or face after handling hot peppers.
Preserving Your Chili Peppers
If you have a bumper crop of chili peppers, you’ll want to preserve them so you can enjoy them year-round. Here are a few popular methods:
* Drying: String the peppers together and hang them in a well-ventilated area until they are completely dry. You can also dry them in a dehydrator or oven.
* Pickling: Pickled peppers are a delicious and easy way to preserve them. There are many different pickling recipes available online.
* Freezing: Freeze whole peppers or chop them and freeze them in freezer bags.
* Making hot sauce: Turn your peppers into a delicious homemade hot sauce. Again, there are countless recipes online to explore.
I usually dry a bunch of my jalapeños to make chili flakes and pickle the rest. I also experiment with different hot sauce recipes every year.
Extra Tips for Chili Pepper Success
Here are a few extra tips that I’ve
Conclusion
So, there you have it! Growing chili peppers easily doesn’t have to be a daunting task reserved for seasoned gardeners. With this simple DIY trick, you can transform your chili pepper growing experience from frustrating to fruitful. We’ve shown you how to create the perfect environment for your chili plants to thrive, maximizing their potential and ensuring a bountiful harvest.
This isn’t just about saving money; it’s about taking control of your food source and enjoying the satisfaction of nurturing something from seed to table. Imagine the pride you’ll feel when you’re adding your own homegrown chili peppers to your favorite dishes, knowing you cultivated them with your own hands. The flavor is simply unmatched – fresher, more vibrant, and bursting with the unique characteristics of your chosen variety.
But the benefits extend beyond just taste. By growing your own chili peppers, you’re also reducing your carbon footprint by minimizing transportation and packaging. You’re also ensuring that your peppers are free from harmful pesticides and chemicals, giving you peace of mind about what you’re consuming.
Don’t be afraid to experiment! This DIY method is incredibly versatile. You can adapt it to suit your specific needs and preferences. For example, if you live in a particularly hot climate, consider adding a shade cloth to protect your plants from scorching. If you’re short on space, you can easily adapt this method for container gardening. Try different types of soil mixes to see what works best for your chili pepper variety. You could even try companion planting, adding herbs like basil or rosemary to deter pests and enhance the flavor of your peppers.
Consider exploring different varieties of chili peppers too! From the mild and fruity poblano to the fiery habanero, there’s a chili pepper out there for everyone. Experiment with different heat levels and flavor profiles to find your favorites. You can even dry your excess peppers to create your own chili powder or flakes, ensuring you have a supply of homegrown heat all year round.
We are confident that this DIY trick will revolutionize your chili pepper growing endeavors. It’s simple, effective, and incredibly rewarding. So, what are you waiting for? Gather your supplies, follow our instructions, and get ready to experience the joy of growing your own delicious chili peppers.
We’re eager to hear about your experiences! Share your photos, tips, and successes in the comments below. Let’s create a community of chili pepper enthusiasts and learn from each other. Tell us what varieties you’re growing, what challenges you’ve faced, and what tips you’ve discovered along the way. Your feedback will help us improve this guide and inspire others to embark on their own chili pepper growing journey. Remember, the best way to learn is by doing, so get out there and start growing! Let’s make growing chili peppers easily a reality for everyone!
Frequently Asked Questions (FAQ)
What kind of soil is best for growing chili peppers?
Chili peppers thrive in well-draining soil that is rich in organic matter. A good starting point is a mix of equal parts potting soil, compost, and perlite or vermiculite. The potting soil provides a base, the compost adds nutrients and improves drainage, and the perlite or vermiculite helps to aerate the soil and prevent compaction. Avoid using garden soil directly, as it can be too heavy and may contain pests or diseases. You can also amend your soil with aged manure or bone meal to provide additional nutrients. Consider testing your soil’s pH level; chili peppers prefer a slightly acidic to neutral pH of around 6.0 to 7.0.
How often should I water my chili pepper plants?
Watering frequency depends on several factors, including the climate, the type of soil, and the size of the pot. Generally, you should water your chili pepper plants when the top inch of soil feels dry to the touch. Avoid overwatering, as this can lead to root rot. When you do water, water deeply, ensuring that the water reaches the roots. During hot, dry weather, you may need to water more frequently. Check your plants daily and adjust your watering schedule accordingly. Using a moisture meter can help you determine the moisture level of the soil and prevent over or under-watering.
How much sunlight do chili pepper plants need?
Chili pepper plants need at least 6-8 hours of direct sunlight per day to thrive. Choose a sunny location for your plants, preferably one that receives morning sun and afternoon shade in hotter climates. If you’re growing your plants indoors, you may need to supplement with grow lights. Position the grow lights about 6-12 inches above the plants and keep them on for 14-16 hours per day. Insufficient sunlight can lead to leggy growth, reduced flowering, and smaller peppers.
What are some common pests and diseases that affect chili pepper plants, and how can I prevent them?
Common pests that affect chili pepper plants include aphids, spider mites, whiteflies, and pepper weevils. Diseases include fungal infections like powdery mildew, blossom end rot, and verticillium wilt. To prevent pests and diseases, start with healthy plants and use well-draining soil. Regularly inspect your plants for signs of infestation or disease. You can use insecticidal soap or neem oil to control pests. Ensure good air circulation around your plants to prevent fungal diseases. Avoid overhead watering, as this can create a humid environment that encourages fungal growth. Blossom end rot is often caused by calcium deficiency, so amend your soil with calcium or use a calcium-rich fertilizer.
When should I harvest my chili peppers?
The timing of harvest depends on the variety of chili pepper and your personal preference. Generally, chili peppers are ready to harvest when they have reached their mature color and size. The color will vary depending on the variety, from green to red, yellow, orange, or even purple. The peppers should feel firm to the touch. You can harvest chili peppers at any stage of ripeness, but the flavor and heat will intensify as they ripen. Use pruning shears or scissors to cut the peppers from the plant, leaving a small stem attached.
Can I grow chili peppers indoors?
Yes, you can grow chili peppers indoors, especially if you live in a climate with cold winters. Choose a sunny location near a window or supplement with grow lights. Use a well-draining potting mix and provide adequate water and nutrients. Pollinate the flowers by hand using a small brush or cotton swab. Indoor chili pepper plants may not produce as many peppers as outdoor plants, but you can still enjoy a decent harvest.
How can I increase the heat of my chili peppers?
Several factors can influence the heat of chili peppers, including genetics, climate, and growing conditions. To increase the heat of your peppers, provide them with plenty of sunlight and water. Avoid over-fertilizing, as this can reduce the heat. Stressing the plants slightly by withholding water for a short period before harvest can also increase the heat. Some growers believe that adding Epsom salts to the soil can also increase the heat. Remember that the heat level of chili peppers is measured using the Scoville scale, and different varieties have different heat levels.
What are some good companion plants for chili peppers?
Companion planting can help to deter pests, attract beneficial insects, and improve the overall health of your chili pepper plants. Good companion plants for chili peppers include basil, rosemary, oregano, thyme, marigolds, and nasturtiums. Basil repels aphids, spider mites, and whiteflies. Rosemary deters cabbage moths and bean beetles. Marigolds repel nematodes and other soil pests. Nasturtiums attract aphids, diverting them away from your chili pepper plants.
How do I store chili peppers after harvesting?
There are several ways to store chili peppers after harvesting. You can dry them, freeze them, pickle them, or make chili oil or hot sauce. To dry chili peppers, string them together and hang them in a well-ventilated area until they are completely dry. You can also dry them in a dehydrator or oven. To freeze chili peppers, wash and dry them thoroughly, then place them in a freezer bag. To pickle chili peppers, follow a canning recipe. To make chili oil or hot sauce, there are many recipes available online.

Leave a Comment