
Grow Bush Beans Easily and transform your garden into a haven of fresh, homegrown goodness! Have you ever dreamed of plucking plump, juicy beans straight from your backyard, ready to be tossed into a vibrant salad or simmered in a hearty stew? Well, dream no more! This DIY guide is your ticket to a bountiful bush bean harvest, even if you’re a complete beginner.
Bush beans, unlike their vining cousins, offer a compact and manageable growing experience, perfect for small gardens, patios, or even container gardening. Their history stretches back centuries, with beans being a staple crop in many cultures around the world, providing essential protein and nutrients. From ancient Mesoamerica to the far reaches of Asia, beans have nourished generations.
But why should you learn to grow bush beans easily? In today’s world, where we’re increasingly conscious of where our food comes from, growing your own produce offers a sense of control, satisfaction, and connection to nature. Plus, homegrown beans taste infinitely better than anything you’ll find in the supermarket! This DIY article will equip you with simple, effective tricks and hacks to ensure a thriving bush bean patch. We’ll cover everything from seed selection and soil preparation to pest control and harvesting, making the process fun and rewarding. Let’s get started and unlock the secrets to a bean-tastic garden!
Grow Bush Beans Like a Pro: A DIY Guide
Hey there, fellow gardening enthusiasts! I’m so excited to share my tried-and-true method for growing bush beans. It’s easier than you think, and the reward of fresh, homegrown beans is absolutely worth it. This guide will walk you through every step, from prepping the soil to harvesting your bounty. Let’s get started!
Choosing Your Bush Bean Variety
Before we dive into the nitty-gritty, let’s talk about bean varieties. Bush beans are fantastic because they don’t require trellises or support structures like pole beans do. They stay compact and are perfect for smaller gardens or even container gardening. Here are a few of my favorites:
* Blue Lake Bush: These are classic, reliable, and produce stringless, dark green beans. They’re also great for canning or freezing.
* Contender: As the name suggests, these are early producers and very hardy. They’re a good choice if you live in an area with a shorter growing season.
* Provider: Another early variety, Provider beans are known for their high yields and resistance to common bean diseases.
* Roma II: These flat, Italian-style beans are incredibly flavorful and tender. They’re delicious steamed or sautéed.
* Golden Wax: If you want something a little different, try Golden Wax beans. They’re yellow and have a slightly sweeter flavor.
Once you’ve picked your variety (or varieties!), you’re ready to move on to the next step.
Preparing Your Garden Bed
Bush beans thrive in well-drained soil that’s rich in organic matter. Here’s how I prepare my garden bed:
* Timing is Key: Bush beans are warm-season crops, so wait until the danger of frost has passed before planting. The soil temperature should be at least 60°F (16°C). I usually plant mine a couple of weeks after the last expected frost.
* Sunlight: Choose a spot that gets at least 6-8 hours of direct sunlight per day. More sun means more beans!
* Soil Testing (Optional but Recommended): If you’re unsure about your soil’s pH, it’s a good idea to get a soil test. Bush beans prefer a slightly acidic to neutral pH of 6.0-7.0. You can buy a soil testing kit at most garden centers or send a sample to your local agricultural extension office.
* Clearing the Area: Remove any weeds, rocks, or debris from the planting area. Weeds compete with your bean plants for nutrients and water, so it’s important to get rid of them.
* Amending the Soil: This is where the magic happens! I like to amend my soil with plenty of compost or well-rotted manure. This adds organic matter, improves drainage, and provides essential nutrients for the bean plants. Spread a 2-3 inch layer of compost over the planting area and work it into the top 6-8 inches of soil.
* Tilling (Optional): If your soil is compacted, you may want to till it to loosen it up. However, be careful not to over-till, as this can damage the soil structure.
* Leveling the Bed: Rake the soil to create a smooth, level surface. This will make planting easier and ensure that the beans get even watering.
Planting Your Bush Beans
Now for the fun part – planting! Here’s my step-by-step guide:
1. Soaking the Seeds (Optional): Some gardeners like to soak their bean seeds in water for a few hours before planting to speed up germination. I’ve tried it both ways, and I haven’t noticed a huge difference, but it can’t hurt! If you choose to soak them, don’t soak them for more than 8 hours, as they can rot.
2. Spacing: Bush beans should be planted about 2-4 inches apart in rows that are 18-24 inches apart. This gives them enough room to grow without overcrowding.
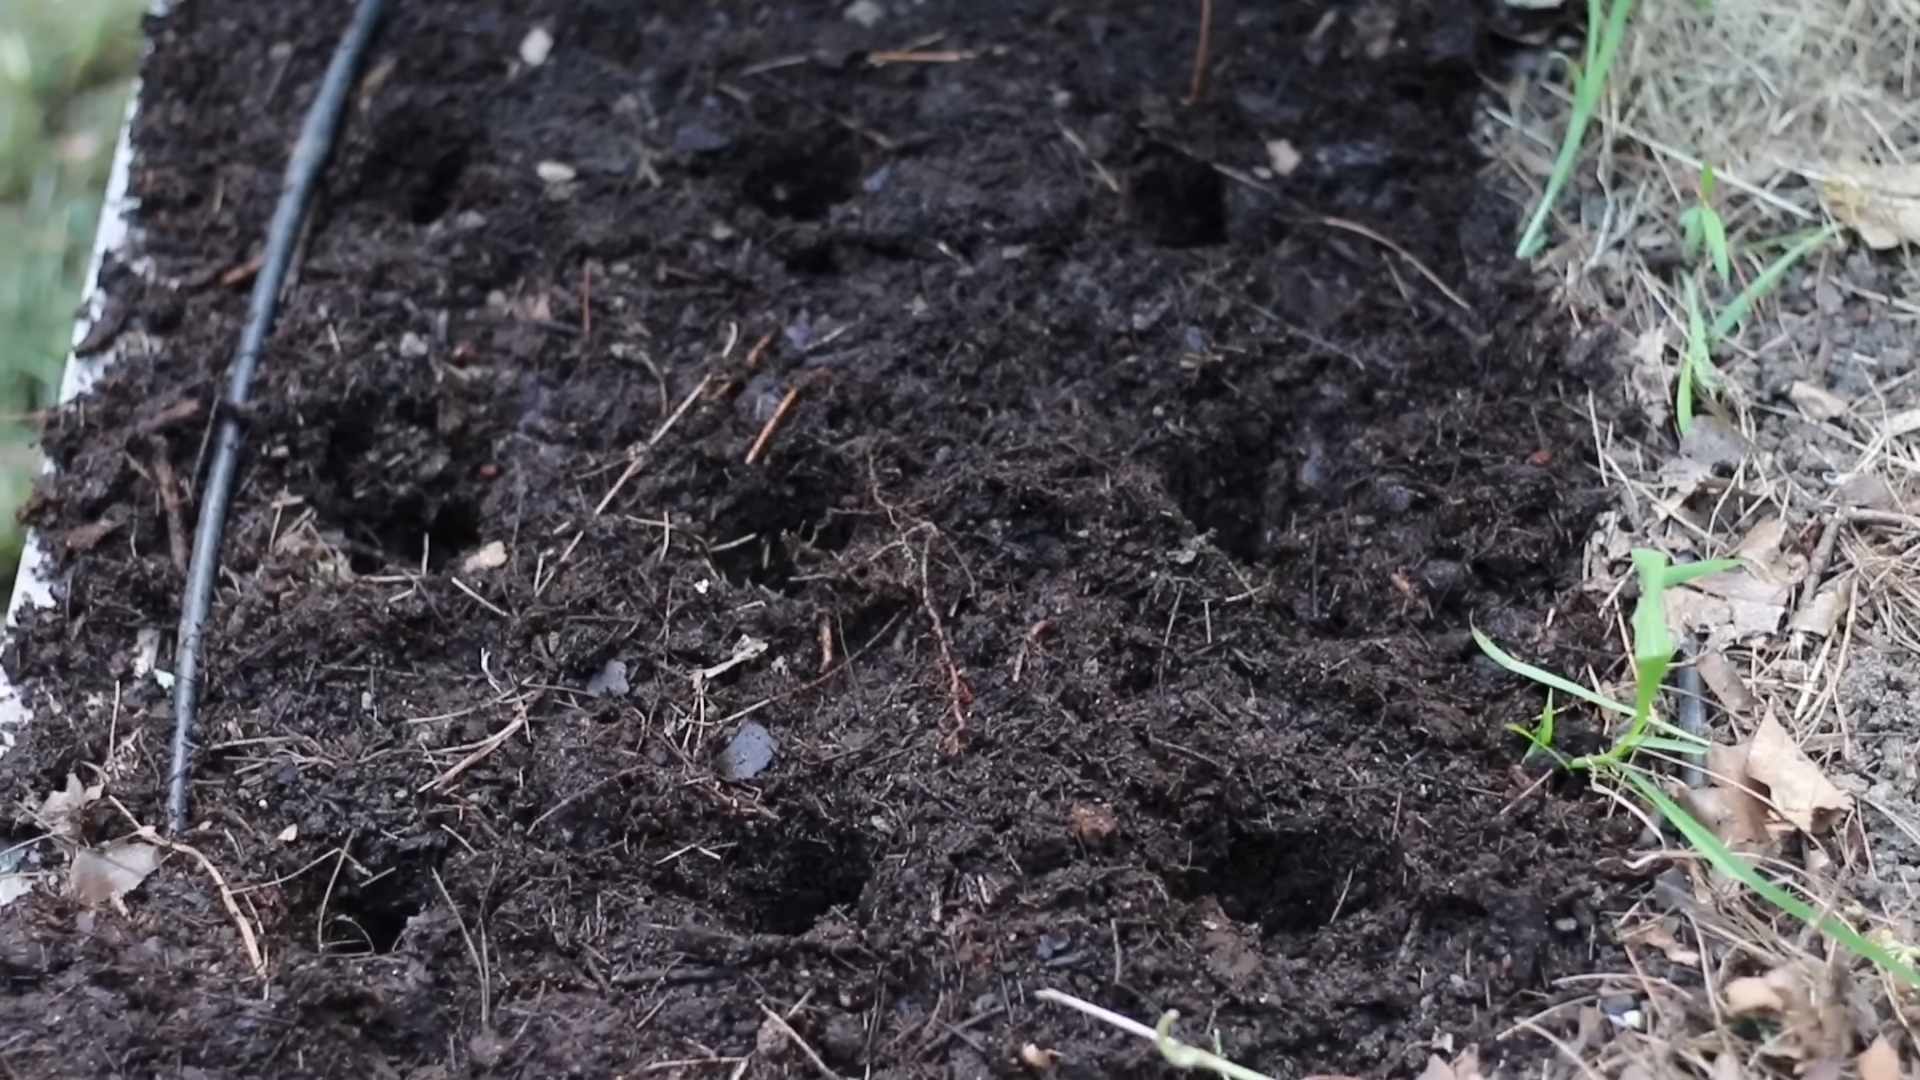
3. Depth: Plant the seeds about 1 inch deep. Use your finger or a small trowel to create a small hole, drop in the seed, and cover it with soil.
4. Watering: After planting, water the soil gently but thoroughly. You want to make sure the soil is moist but not waterlogged.
5. Marking the Rows: Use plant markers or labels to identify the rows of beans. This will help you keep track of what you’ve planted and avoid accidentally weeding them out later.
6. Succession Planting (Optional): To extend your harvest, consider succession planting. Plant a new row of beans every 2-3 weeks. This way, you’ll have a continuous supply of fresh beans throughout the growing season.
Caring for Your Bush Bean Plants
Once your bean plants are in the ground, it’s important to provide them with the care they need to thrive. Here’s what I do:
1. Watering: Bush beans need consistent moisture, especially during flowering and pod development. Water deeply whenever the top inch of soil feels dry to the touch. Avoid overhead watering, as this can promote fungal diseases. Soaker hoses or drip irrigation are ideal.
2. Weeding: Keep the area around your bean plants free of weeds. Weeds compete for nutrients and water, and they can also harbor pests and diseases. Hand-pull weeds regularly or use a hoe to cultivate the soil.
3. Mulching: Apply a layer of mulch around your bean plants to help retain moisture, suppress weeds, and regulate soil temperature. Straw, wood chips, or shredded leaves are all good options.
4. Fertilizing (Optional): Bush beans are legumes, which means they can fix nitrogen from the air into the soil. However, if your soil is particularly poor, you may want to give them a boost with a balanced fertilizer. Follow the instructions on the fertilizer package carefully. I usually use a fertilizer that is low in nitrogen, as too much nitrogen can promote leafy growth at the expense of pod production.
5. Pest Control: Keep an eye out for common bean pests, such as aphids, bean beetles, and spider mites. If you spot any pests, take action immediately. You can try spraying them with insecticidal soap or neem oil. You can also attract beneficial insects to your garden by planting flowers that provide nectar and pollen.
6. Disease Prevention: Bush beans are susceptible to several fungal diseases, such as powdery mildew and bean rust. To prevent these diseases, avoid overhead watering, provide good air circulation, and remove any infected leaves promptly. You can also spray your plants with a fungicide if necessary.
Harvesting Your Bush Beans
The moment you’ve been waiting for! Here’s how to harvest your bush beans:
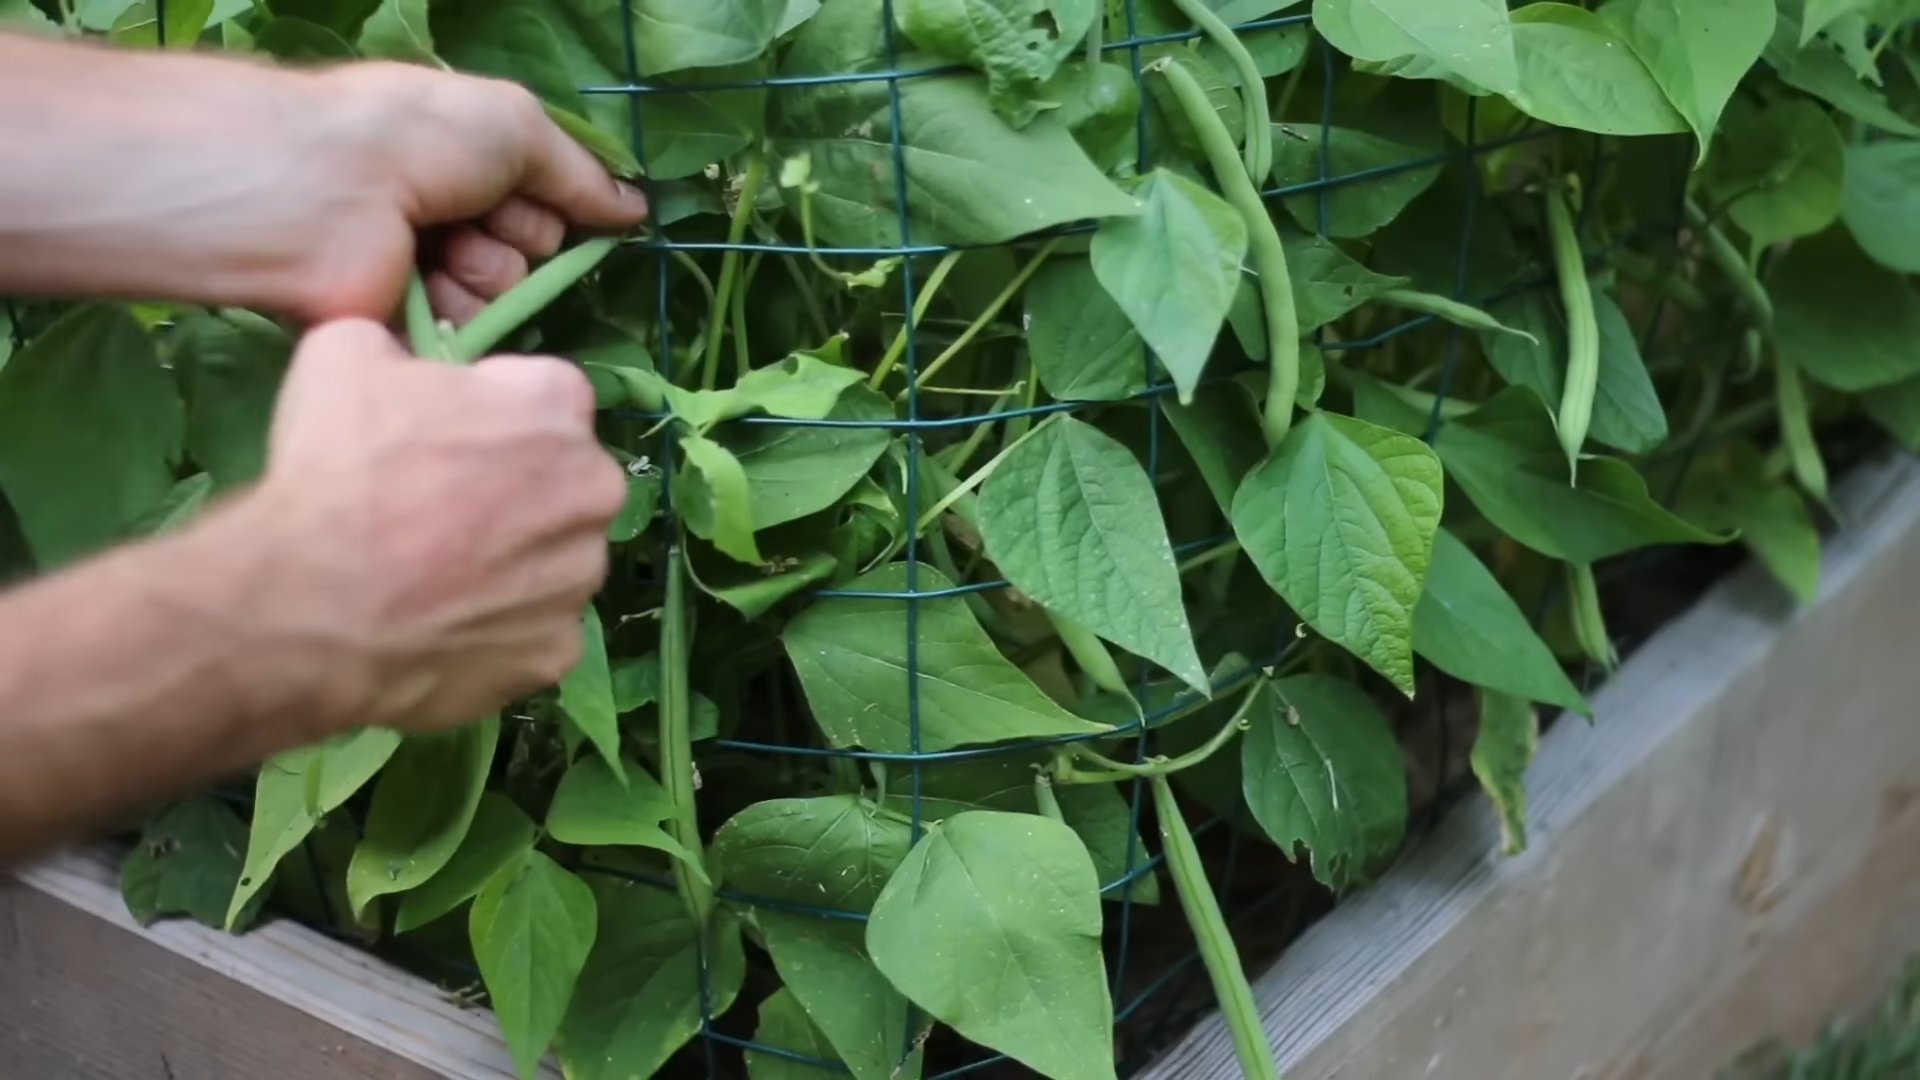
1. Timing: Bush beans are typically ready to harvest about 50-60 days after planting. The pods should be firm, plump, and snap easily when bent. Don’t let them get too large or they’ll become tough and stringy.
2. Technique: Gently snap the pods off the plant, being careful not to damage the stems or leaves. Use two hands if necessary.
3. Frequency: Harvest your beans regularly, every 2-3 days. This will encourage the plants to produce more pods.
4. Storage: Freshly harvested bush beans are best eaten right away. However, you can store them in the refrigerator for up to a week. To store them, place them in a plastic bag or container and keep them in the crisper drawer.
5. Preserving: If you have a bumper crop of beans, you can preserve them by canning, freezing, or drying. Canning and freezing are the most common methods.
Troubleshooting
Even with the best care, you may encounter some problems while growing bush beans. Here are a few common issues and how to address them:
* Poor Germination: If your bean seeds aren’t germinating, it could be due to several factors, such as cold soil, poor soil drainage, or old seeds. Make sure the soil temperature is at least 60°F (16°C) before planting. Improve soil drainage by adding compost or other organic matter. Use fresh seeds that are less than a year old.
* Yellowing Leaves: Yellowing leaves can be a sign of nutrient deficiency, overwatering, or disease. Check the soil pH and nutrient levels. Make sure the soil is well-drained. Inspect the plants for signs of disease.
* Lack of Pods: If your bean plants are growing well but not producing pods, it could be due to a lack of pollination, high temperatures, or too much nitrogen. Attract pollinators to your garden by planting flowers. Avoid planting beans during the hottest part of the summer. Use a fertilizer that is low in nitrogen.
* Pest Infestations: As mentioned earlier, bean plants are susceptible to several pests. Monitor your plants regularly and take action immediately if
Conclusion
So, there you have it! Growing bush beans doesn’t have to be a daunting task. With a little preparation, the right timing, and this simple DIY trick, you can transform your garden into a thriving bush bean haven. We’ve shown you how to maximize your yield and minimize common problems, all while keeping things manageable and fun.
Why is this DIY approach a must-try? Because it empowers you to take control of your food source, connect with nature, and enjoy the unparalleled flavor of homegrown vegetables. Store-bought beans simply can’t compare to the crisp, fresh taste of beans picked straight from your garden. Plus, you’ll know exactly what went into growing them – no mystery chemicals or long-distance transportation.
Beyond the basic method, there’s plenty of room for experimentation. Try different varieties of bush beans to discover your favorites. Some popular choices include Blue Lake, Contender, and Provider, each offering a unique flavor profile and texture. You can also experiment with companion planting. Marigolds, for example, are known to deter bean beetles, while nasturtiums can attract aphids away from your precious bean plants. Consider adding herbs like rosemary or thyme nearby to further enhance the flavor of your beans and deter pests.
Another variation to consider is succession planting. By planting a new batch of bush beans every two to three weeks, you can ensure a continuous harvest throughout the growing season. This is especially useful if you have a large family or enjoy canning or freezing your beans for later use.
Don’t be afraid to get your hands dirty and embrace the learning process. Gardening is all about trial and error, and even experienced gardeners encounter challenges along the way. The key is to stay patient, observe your plants carefully, and adapt your approach as needed.
We are confident that this guide will set you on the path to successful bush bean cultivation. Remember, the secret to grow bush beans easily lies in understanding their needs and providing them with the right environment. So, grab your seeds, prepare your soil, and get ready to enjoy a bountiful harvest of delicious, homegrown bush beans.
We’re eager to hear about your experiences! Did this DIY trick work for you? What varieties of bush beans did you try? What challenges did you encounter, and how did you overcome them? Share your stories, tips, and photos in the comments below. Let’s create a community of bush bean enthusiasts and learn from each other’s successes and failures. Happy gardening!
Frequently Asked Questions (FAQ)
What is the best time to plant bush beans?
The ideal time to plant bush beans is after the last frost of spring, when the soil has warmed to at least 60°F (15°C). Bush beans are sensitive to cold temperatures, so planting too early can result in poor germination or stunted growth. Check your local weather forecast and planting calendar to determine the best planting date for your region. You can also use a soil thermometer to ensure that the soil is warm enough. If you’re unsure, it’s always better to err on the side of caution and wait a week or two longer.
How much sunlight do bush beans need?
Bush beans require at least six hours of direct sunlight per day to thrive. Choose a planting location that receives full sun throughout the day. If your garden is partially shaded, try to plant your bush beans in the area that receives the most sunlight. Insufficient sunlight can lead to leggy growth, reduced yields, and increased susceptibility to diseases.
What type of soil is best for growing bush beans?
Bush beans prefer well-drained soil that is rich in organic matter. Amend your soil with compost or other organic materials before planting to improve drainage and fertility. Avoid planting in heavy clay soil, as this can lead to root rot. The ideal soil pH for bush beans is between 6.0 and 7.0. You can test your soil pH using a soil testing kit and amend it accordingly.
How often should I water bush beans?
Bush beans need consistent moisture, especially during germination and pod development. Water deeply and regularly, aiming to keep the soil consistently moist but not waterlogged. Avoid overhead watering, as this can promote fungal diseases. Instead, water at the base of the plants using a soaker hose or drip irrigation system. The frequency of watering will depend on the weather conditions and soil type. Check the soil moisture regularly and water when the top inch of soil feels dry to the touch.
What are some common pests and diseases that affect bush beans?
Bush beans are susceptible to a variety of pests and diseases, including bean beetles, aphids, spider mites, and fungal diseases like powdery mildew and bean rust. Regularly inspect your plants for signs of pests or diseases and take action promptly. Use organic pest control methods, such as insecticidal soap or neem oil, to control pests. Improve air circulation and avoid overhead watering to prevent fungal diseases. Consider planting disease-resistant varieties of bush beans to minimize the risk of disease.
How do I harvest bush beans?
Bush beans are typically ready to harvest about 50-60 days after planting. Harvest the beans when they are young, tender, and fully developed but before the seeds inside become too large. Pick the beans regularly to encourage continued production. Snap the beans off the plant carefully to avoid damaging the stems. Overripe beans will be tough and stringy, so it’s important to harvest them at the right stage of maturity.
Can I grow bush beans in containers?
Yes, bush beans can be grown successfully in containers. Choose a large container with drainage holes and fill it with a well-draining potting mix. Plant the bush bean seeds according to the instructions on the seed packet. Water regularly and fertilize every few weeks with a balanced fertilizer. Place the container in a location that receives at least six hours of direct sunlight per day. Container-grown bush beans may require more frequent watering than those grown in the ground.
How do I store bush beans?
Freshly harvested bush beans can be stored in the refrigerator for up to a week. To store them, place them in a plastic bag or container and keep them in the crisper drawer. You can also freeze bush beans for longer storage. To freeze them, blanch them in boiling water for 2-3 minutes, then transfer them to an ice bath to stop the cooking process. Drain the beans thoroughly and pack them into freezer bags or containers. Frozen bush beans can be stored for up to a year. You can also can bush beans using a pressure canner. Follow the instructions in a canning guide carefully to ensure that the beans are safely preserved.


Leave a Comment