
DIY Paint Brush Holder: Tired of your paint brushes rolling around, getting bristles bent, and generally creating a chaotic mess in your workspace? I know I was! For centuries, artists and craftspeople have struggled with the same dilemma: how to keep their precious tools organized and protected. From makeshift jars to elaborate wooden stands, the quest for the perfect paint brush storage solution is a tale as old as art itself.
But let’s face it, buying a fancy brush holder can be expensive, and often they’re not even that practical. That’s where the magic of DIY comes in! This article is your ultimate guide to creating a fantastic DIY Paint Brush Holder that’s not only functional but also adds a touch of personality to your creative space. I’ll show you how to repurpose everyday items into clever storage solutions, saving you money and reducing waste.
Imagine a world where your brushes are neatly organized, easily accessible, and always in tip-top shape. No more frantic searching for the right brush or accidentally ruining delicate bristles. This simple DIY project will transform your painting experience, making it more enjoyable and efficient. So, grab your supplies, and let’s get crafting! I promise, you’ll wonder how you ever lived without this handy little creation.
DIY Paint Brush Holder: Taming the Chaos!
Okay, fellow DIY enthusiasts, let’s be honest. We all love a good painting project, but the aftermath? A chaotic mess of brushes rolling around, bristles bent, and paint everywhere! I’ve been there, done that, and got the paint-splattered t-shirt. That’s why I’m sharing my super easy and surprisingly stylish DIY paint brush holder. It’s a game-changer, trust me. Not only will it keep your brushes organized and in tip-top shape, but it’ll also look pretty darn good on your workbench.
Materials You’ll Need
Before we dive in, let’s gather our supplies. The beauty of this project is that you can often use things you already have lying around!
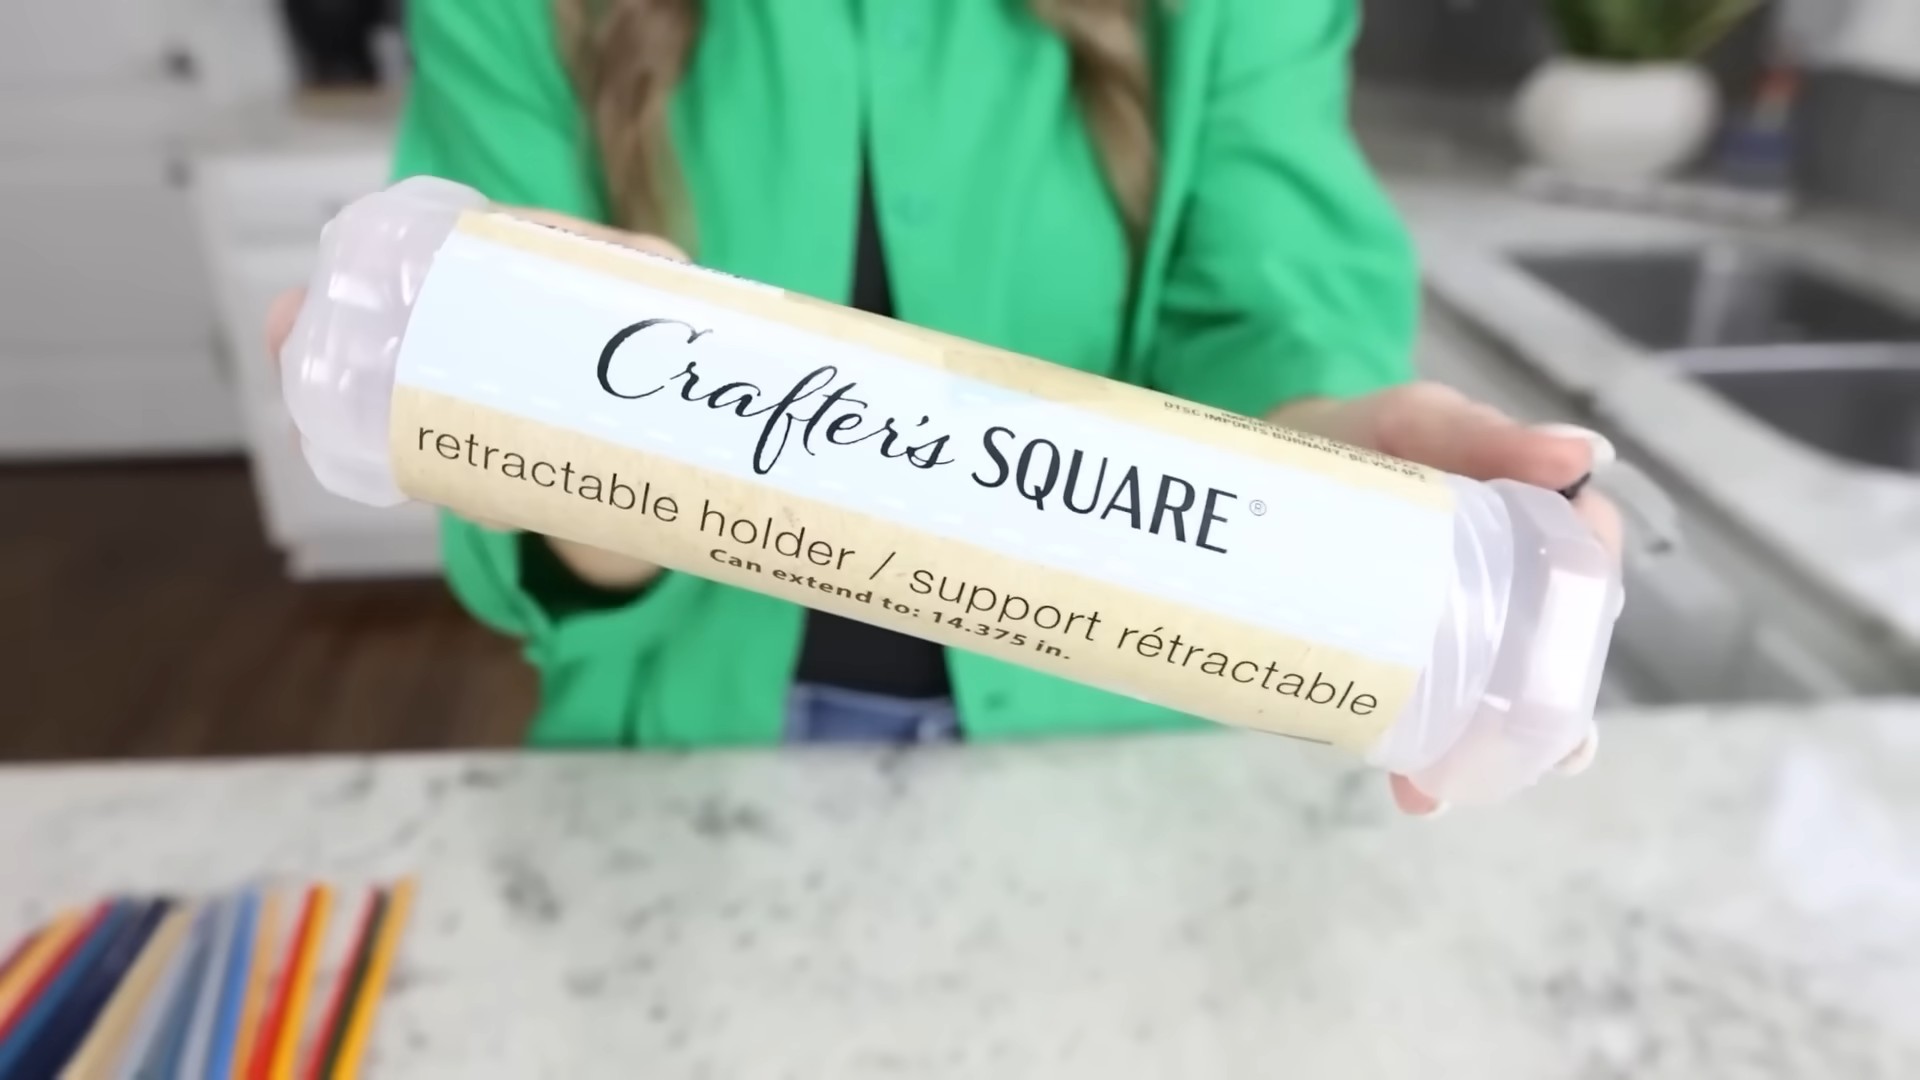
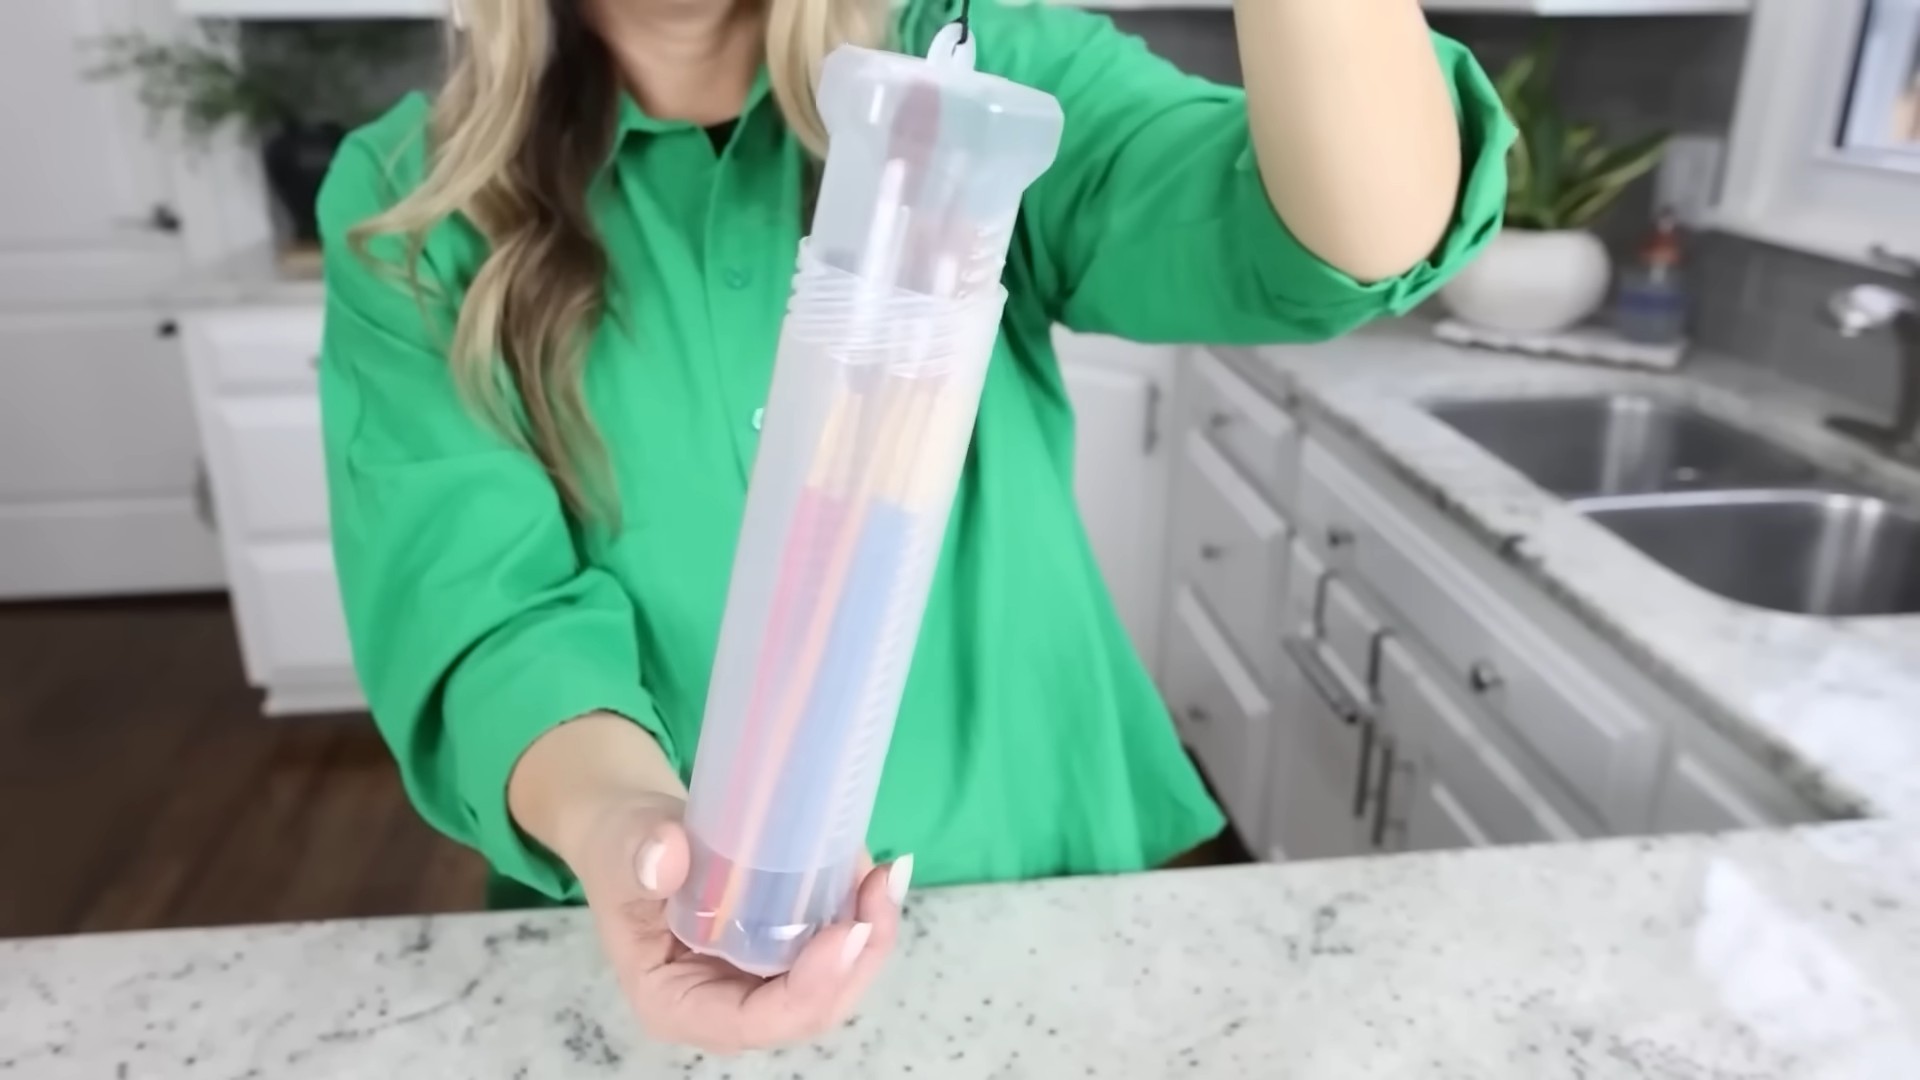
* A sturdy container: Think mason jar, coffee can (cleaned, of course!), a ceramic pot, or even a repurposed tin can. I’m using a wide-mouth mason jar for this tutorial because I love the rustic look.
* Pebbles, marbles, or sand: This will weigh down the container and provide support for the brushes. I’m opting for smooth river pebbles for a natural vibe.
* Craft paint (optional): If you want to personalize your container, grab your favorite colors!
* Paint brushes (obviously!): We need something to organize, right?
* Mod Podge or sealant (optional): To protect any paint you apply.
* Embellishments (optional): Twine, ribbon, lace, buttons – whatever makes your heart sing!
* Hot glue gun and glue sticks (optional, for embellishments).
* Newspaper or drop cloth: To protect your work surface.
Step-by-Step Instructions
Alright, let’s get our hands dirty (well, not *too* dirty!). Here’s the breakdown of how to create your very own paint brush haven.
1. Prepare Your Container:
* First things first, make sure your container is clean and dry. If you’re using a can, remove any labels and wash it thoroughly.
* If you’re planning to paint your container, now’s the time! I’m going to paint my mason jar a soft, creamy white to match my studio decor.
* Apply a thin, even coat of paint using a brush or sponge. Let it dry completely. You might need two coats for full coverage.
* Once the paint is dry, you can seal it with Mod Podge or another sealant to protect it from scratches and water damage. This step is optional, but I highly recommend it, especially if you’re using a water-based paint.
* Let the sealant dry completely according to the manufacturer’s instructions.
2. Add Weight and Support:
* Now, we need to add some weight to the bottom of the container to keep it from tipping over when it’s full of brushes.
* Pour your pebbles, marbles, or sand into the container until it’s about one-third to halfway full.
* Arrange the pebbles so they are evenly distributed. This will provide a stable base for your brushes.
3. Embellish (Optional, But Highly Encouraged!):
* This is where you can really let your creativity shine! There are endless ways to personalize your paint brush holder.
* Twine Time: Wrap twine around the top of the jar, securing it with hot glue. You can create a simple, rustic look or get fancy with different knots and patterns.
* Ribbon Romance: Tie a pretty ribbon around the jar and add a bow. Choose a ribbon that complements your studio decor.
* Lace Love: Glue a strip of lace around the jar for a vintage-inspired look.
* Button Bonanza: Hot glue buttons of different sizes and colors onto the jar for a whimsical touch.
* Stencil Sensations: Use stencils and paint to add patterns or designs to the jar.
* I’m going to wrap some natural twine around the top of my jar and add a few small wooden beads for a bohemian vibe.
4. Arrange Your Brushes:
* The moment we’ve been waiting for! Now it’s time to organize your brushes.
* Carefully insert your brushes into the container, bristles up.
* Arrange them so that the larger, heavier brushes are towards the center for stability.
* You can group your brushes by size, type, or color – whatever makes the most sense to you.
* Play around with the arrangement until you’re happy with how it looks.
Tips and Tricks for a Perfect Paint Brush Holder
Here are a few extra tips to help you create the ultimate paint brush organizer:
* Consider the Size: Choose a container that’s the right size for your brush collection. If you have a lot of brushes, you’ll need a larger container.
* Think About Stability: Make sure your container is sturdy and won’t tip over easily. A wide base is key.
* Get Creative with Embellishments: Don’t be afraid to experiment with different materials and techniques. The possibilities are endless!
* Clean Your Brushes Regularly: This will help them last longer and prevent paint from building up in the bristles.
* Store Your Brushes Properly: When you’re not using your brushes, store them in your new paint brush holder, bristles up, to prevent them from bending or warping.
* Upcycle and Repurpose: Look around your house for items you can repurpose into a paint brush holder. This is a great way to save money and reduce waste.
* Personalize It: Add your initials, a favorite quote, or a meaningful symbol to your paint brush holder to make it truly your own.
* Group Similar Brushes: Organize your brushes by type (e.g., flat brushes, round brushes, detail brushes) to make it easier to find the one you need.
* Consider a Rotating Organizer: If you have a large brush collection, you might want to consider a rotating organizer for easy access to all your brushes. You can adapt this project by placing the container on a lazy susan!
* Protect Your Work Surface: Always use a drop cloth or newspaper to protect your work surface from paint spills and splatters.
* Use Proper Ventilation: When painting or using sealants, make sure you’re working in a well-ventilated area.
* Let Things Dry Completely: Be patient and allow all paint and sealants to dry completely before moving on to the next step. This will prevent smudging and ensure a professional-looking finish.
* Don’t Overcrowd: Avoid overcrowding your paint brush holder. Give your brushes enough space to breathe to prevent them from getting damaged.
* Experiment with Different Fillers: Instead of pebbles, marbles, or sand, you could use dried beans, rice, or even coffee beans for a unique look and texture.
* Add a Handle: If you want to be able to easily move your paint brush holder around, consider adding a handle. You can attach a handle to the side of the container using hot glue or screws.
* Make Multiple Holders: If you have a very large brush collection, you might want to make multiple paint brush holders to keep everything organized.
* Gift It: This DIY paint brush holder makes a thoughtful and practical gift for any artist or crafter in your life.
Troubleshooting Tips
* Container Tipping Over: If your container is tipping over, add more weight to the bottom. You can use heavier pebbles or marbles, or even add a layer of sand.
* Paint Not Adhering: If the paint isn’t adhering to your container, try sanding the surface lightly before painting. You can also use a primer to help the paint stick better.
* Embellishments Falling Off: If your embellishments are falling off, make sure you’re using a strong adhesive, such as hot glue. You can also try roughening up the surface of the container before gluing to provide a better grip.
* Brushes Getting Damaged: If your brushes are getting damaged in the holder, make sure they’re not overcrowded. You can also try adding a layer of foam or felt to the bottom of the container to cushion the bristles.
Enjoy Your Organized Workspace!
And there you have it! A beautiful and functional paint brush holder that will keep your brushes organized and your workspace looking tidy. I hope you enjoyed this DIY project as much as I did. Now go forth and create!
Conclusion
So, there you have it! Creating your own DIY paint brush holder isn’t just a fun afternoon project; it’s a game-changer for your art space. Forget about precariously balanced brushes rolling off your desk or bristles getting bent and damaged in a drawer. This simple solution offers a dedicated, organized, and visually appealing way to store your brushes, extending their lifespan and keeping your workspace clutter-free.
Why is this a must-try? Because it’s incredibly customizable! You’re not stuck with a one-size-fits-all solution. You can tailor the size, shape, and materials to perfectly match your collection and aesthetic. Use a repurposed mason jar for a rustic vibe, a sleek ceramic container for a modern look, or even upcycle a cardboard box for an eco-friendly option. The possibilities are truly endless.
Beyond the basic design, consider adding personalized touches. Paint the holder to match your studio décor, decoupage it with inspiring images, or even add labels to each section for easy brush identification. For larger collections, create a multi-tiered holder using stacked containers or a repurposed spice rack. If you work with different types of brushes (watercolor, acrylic, oil), consider creating separate holders for each to prevent cross-contamination. You could even incorporate drainage holes in the bottom of your holder if you frequently clean your brushes and want them to air dry thoroughly.
This DIY project is also incredibly budget-friendly. You likely already have many of the necessary materials lying around your house. Even if you need to purchase a few items, the cost will be significantly less than buying a pre-made brush holder from an art supply store. Plus, you get the satisfaction of creating something functional and beautiful with your own two hands.
We wholeheartedly encourage you to give this DIY paint brush holder a try. It’s a simple project with a huge impact on your art practice. Not only will it help you stay organized and protect your brushes, but it will also add a touch of personality to your workspace.
Don’t be afraid to experiment with different materials and designs to find what works best for you. And most importantly, have fun with it! We’re confident that you’ll love the results.
Once you’ve created your own masterpiece, we’d love to see it! Share your creations with us on social media using #DIYBrushHolder and tell us about your experience. What materials did you use? What challenges did you overcome? What tips would you share with other aspiring DIYers? We can’t wait to see what you come up with! Your insights and inspiration could help others transform their art spaces and elevate their creative process. So, grab your supplies, unleash your creativity, and get ready to revolutionize your brush storage!
Frequently Asked Questions (FAQ)
What materials can I use to make a DIY paint brush holder?
The beauty of this project is its versatility! You can use a wide range of materials, depending on your desired aesthetic and budget. Some popular options include:
* Repurposed containers: Mason jars, tin cans, coffee mugs, ceramic bowls, and even plastic bottles can all be transformed into stylish brush holders.
* Cardboard: Cardboard boxes or tubes can be easily cut, shaped, and decorated to create custom holders. This is a great eco-friendly option.
* Wood: Wooden blocks, planks, or boxes can be used to create sturdy and durable holders. You can paint, stain, or varnish the wood to achieve your desired look.
* Plastic: Plastic containers or pipes can be used to create lightweight and waterproof holders.
* Clay: If you’re feeling ambitious, you can even mold your own brush holder from clay.
Consider the size and shape of your brushes when choosing your materials. You’ll also want to think about the overall aesthetic of your workspace and choose materials that complement your existing décor.
How do I prevent my brushes from falling over in the holder?
This is a common concern, especially with taller brushes. Here are a few tips to keep your brushes upright:
* Add weight to the bottom of the holder: Place pebbles, sand, or marbles in the bottom of the container to add stability.
* Use dividers: Create dividers inside the holder to separate the brushes and prevent them from leaning against each other. You can use cardboard, foam board, or even small wooden dowels.
* Choose a holder with a narrow opening: A narrow opening will provide more support for the brushes.
* Arrange brushes strategically: Place heavier brushes towards the center of the holder and lighter brushes towards the edges.
How do I clean my DIY paint brush holder?
The cleaning method will depend on the materials you used to create your holder.
* For containers made of glass, ceramic, or plastic: Simply wash them with soap and water. You can also use a disinfectant cleaner to kill any bacteria.
* For cardboard holders: Wipe them down with a damp cloth. Avoid getting them too wet, as this can damage the cardboard.
* For wooden holders: Wipe them down with a damp cloth. You can also use a wood cleaner to remove any stains or dirt.
Regular cleaning will help to keep your brush holder looking its best and prevent the buildup of paint and other debris.
Can I make a paint brush holder with drainage holes?
Yes, absolutely! This is a great idea if you frequently clean your brushes and want them to air dry thoroughly. Here’s how you can do it:
* Drill holes in the bottom of the container: Use a drill bit that is appropriate for the material you’re working with. Be careful not to crack or damage the container.
* Line the bottom of the container with a mesh screen: This will prevent the brushes from falling through the holes.
* Place the holder on a tray or saucer: This will catch any water that drips out.
How can I customize my DIY paint brush holder to match my studio décor?
There are endless ways to customize your brush holder to match your personal style. Here are a few ideas:
* Paint it: Choose a color that complements your studio décor. You can use acrylic paint, spray paint, or even chalk paint.
* Decoupage it: Glue images, patterns, or fabrics onto the holder to create a unique and personalized design.
* Add embellishments: Glue on beads, sequins, buttons, or other embellishments to add some sparkle and personality.
* Wrap it: Wrap the holder in yarn, twine, or ribbon to add texture and visual interest.
* Label it: Use labels to identify different types of brushes or to add a personal message.
Let your creativity run wild and have fun with it! The goal is to create a brush holder that is both functional and visually appealing.
What if I don’t have any of the suggested materials on hand?
Don’t worry! Get creative and look around your house for other potential materials. You might be surprised at what you can find. Consider using:
* Empty food containers (yogurt cups, sour cream containers)
* Old spice jars
* Toilet paper rolls or paper towel tubes
* Leftover fabric scraps
* Broken toys or figurines
The key is to think outside the box and see what you can repurpose into a functional and stylish brush holder. Remember, the best DIY projects are often the ones that are made with unexpected materials.

Leave a Comment