
Kitchen Garlic Time Saving Tips – are you tired of spending precious minutes peeling and mincing garlic every time a recipe calls for it? I know I was! For centuries, garlic has been a culinary staple, adding depth and flavor to dishes across cultures. From ancient Egypt, where it was believed to bestow strength, to modern-day kitchens worldwide, garlic’s pungent aroma and health benefits have made it indispensable. But let’s be honest, dealing with those sticky cloves can be a real pain.
That’s why I’m so excited to share these game-changing kitchen garlic time saving tips with you. Imagine whipping up a delicious meal without the usual garlic prep hassle. Think of all the extra time you’ll have to savor your creations or simply relax! In today’s fast-paced world, efficiency in the kitchen is key. These DIY hacks will not only save you time but also make cooking more enjoyable. So, ditch the garlic press and get ready to revolutionize your garlic game with these simple, yet effective techniques. Let’s dive in and unlock the secrets to effortless garlic preparation!
DIY: Garlic Prep Like a Pro – Save Time and Sanity in the Kitchen!
Okay, garlic lovers, let’s be honest. We all adore that pungent, delicious flavor garlic brings to our dishes, but peeling and mincing it can be a real drag, especially when you’re in a hurry. I’ve got some game-changing DIY hacks that will revolutionize your garlic prep, saving you precious time and keeping your fingers from smelling like garlic for days! Trust me, these tips are lifesavers.
The Mighty Microwave Hack: Peeling Garlic in Seconds
This is my absolute favorite method for quickly peeling a whole head of garlic. It’s almost magical!
What you’ll need:
* A whole head of garlic
* A microwave-safe plate
Step-by-step instructions:
1. Separate the cloves: Gently break apart the head of garlic into individual cloves. Don’t worry about peeling them yet.
2. Microwave for a flash: Place the unpeeled cloves on the microwave-safe plate. Microwave on high for just 15-20 seconds. Don’t overdo it! You just want to loosen the skins.
3. The magic peel: Let the cloves cool for a few seconds (they’ll be hot!). Now, simply pinch the root end of each clove, and the skin should slip right off. Seriously, it’s that easy! If some cloves are stubborn, microwave them for another 5 seconds.
The Jar Shake: A Fun and Effective Peeling Method
This method is surprisingly effective and a little bit fun! It’s great for peeling a larger quantity of garlic cloves at once.
What you’ll need:
* Garlic cloves (a handful or more)
* A jar with a lid (a mason jar works perfectly)
Step-by-step instructions:
1. Separate the cloves: As before, break apart the head of garlic into individual cloves.
2. Jar it up: Place the unpeeled garlic cloves into the jar. Make sure there’s enough room for them to move around freely.
3. Shake, shake, shake! Secure the lid tightly on the jar. Now, shake the jar vigorously for about 20-30 seconds. You’ll hear the skins rubbing against the cloves.
4. Check your progress: Open the jar and see how well the cloves have peeled. If needed, shake for another 10-15 seconds.
5. Separate the peeled cloves: Pour the contents of the jar onto a cutting board. The peeled cloves should be mostly separated from the skins. Pick out the peeled cloves and discard the skins.
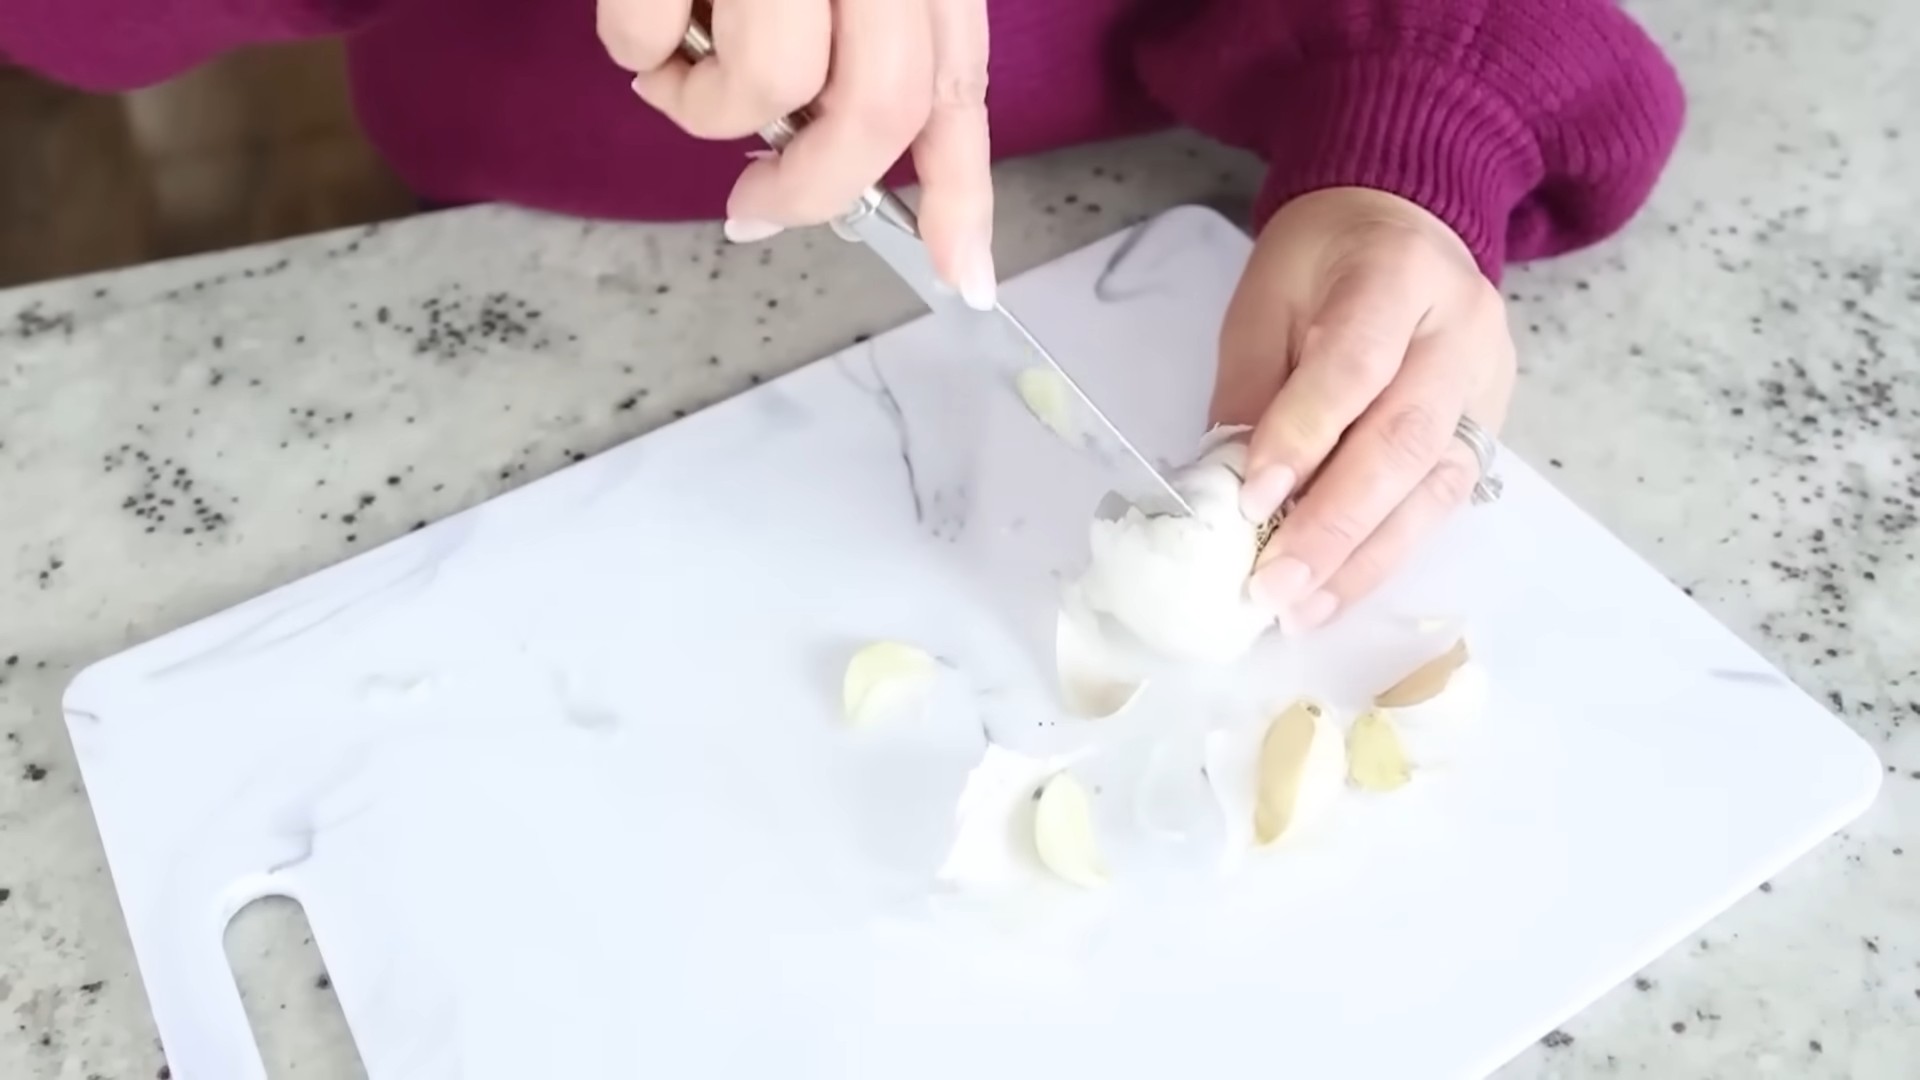
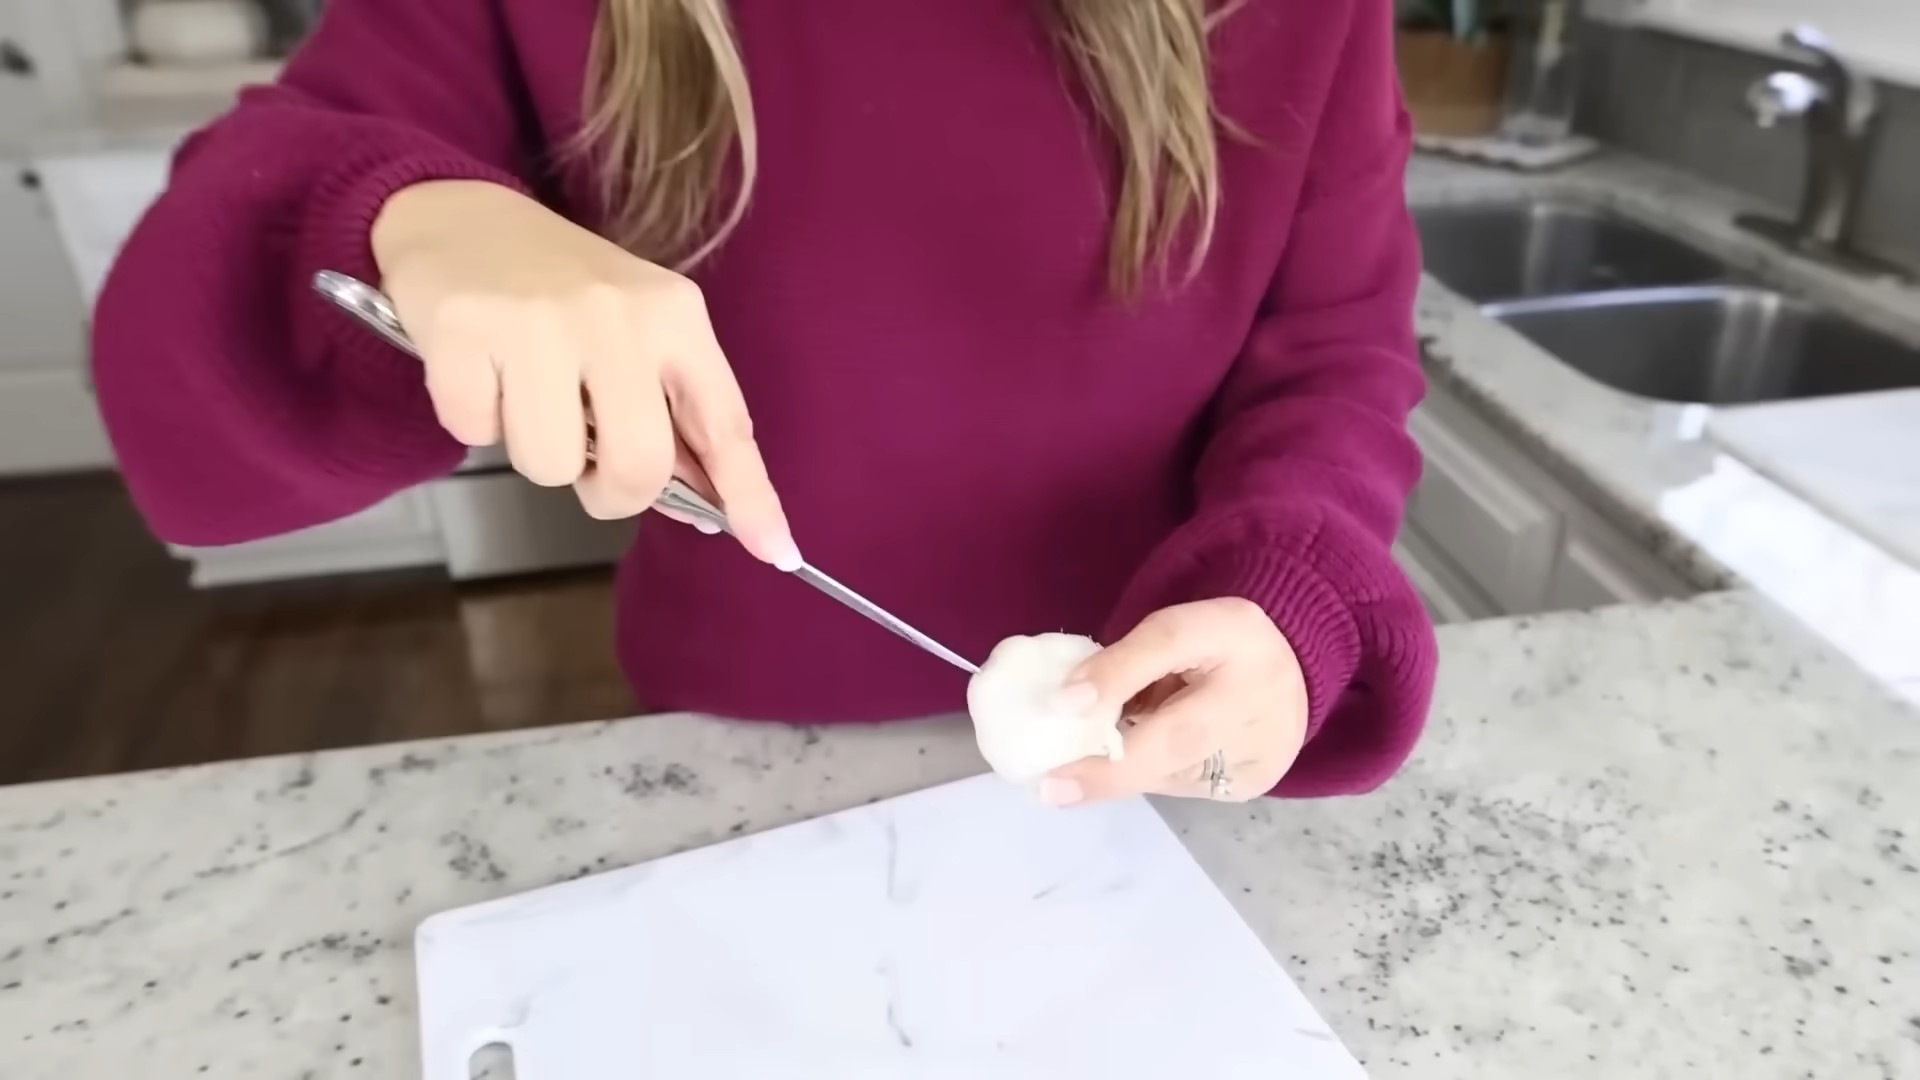
The Knife Smash: Quick Peeling for a Single Clove
This is my go-to method when I only need to peel one or two cloves of garlic. It’s quick, efficient, and requires minimal effort.
What you’ll need:
* Garlic clove(s)
* A chef’s knife
Step-by-step instructions:
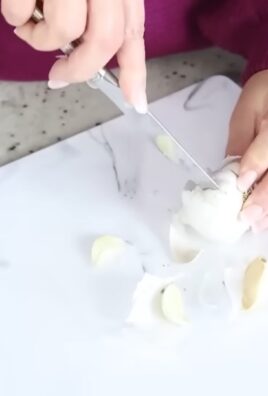
1. Place the clove: Place the unpeeled garlic clove on a cutting board.
2. Smash it! Lay the flat side of your chef’s knife on top of the clove. Using the heel of your hand, firmly press down on the knife until you hear a slight crack. Be careful not to cut yourself!
3. Peel away: The skin should now be loosened and easy to peel off. Simply remove the skin with your fingers.
Mincing Magic: Achieving Perfectly Minced Garlic Every Time
Now that you’ve got your garlic peeled, let’s talk about mincing. Here are a few ways to get perfectly minced garlic without the hassle.
The Classic Knife Method: Mastering the Rocking Chop
This is the traditional method, and with a little practice, you can become a mincing master.
What you’ll need:
* Peeled garlic clove(s)
* A chef’s knife
* A cutting board
Step-by-step instructions:
1. Smash (optional): You can lightly smash the peeled garlic clove with the flat side of your knife (as described above) to make it easier to mince. This is optional, but I find it helps.
2. Slice thinly: Hold the garlic clove firmly with your non-dominant hand. Using your chef’s knife, slice the clove thinly lengthwise.
3. Slice crosswise: Rotate the sliced garlic and slice it thinly crosswise. You should now have small, diced pieces.
4. The rocking chop: Gather the diced garlic into a pile. Place the tip of your chef’s knife on the cutting board and hold the handle. Using a rocking motion, move the knife back and forth over the garlic, pressing down lightly. Continue rocking and chopping until the garlic is minced to your desired consistency. The key is to keep the tip of the knife on the board and use a smooth, rocking motion.
5. Gather and repeat: Occasionally, gather the garlic back into a pile and continue chopping until it’s all evenly minced.
The Garlic Press: A Quick and Easy Solution
A garlic press is a fantastic tool for quickly mincing garlic. It’s especially useful when you need a lot of minced garlic.
What you’ll need:
* A garlic press
* Peeled garlic clove(s)
Step-by-step instructions:
1. Load the press: Place a peeled garlic clove into the chamber of the garlic press. Make sure the clove isn’t too large, or it might get stuck.
2. Squeeze! Squeeze the handles of the garlic press together. The minced garlic will be forced through the holes.
3. Scrape and use: Scrape the minced garlic from the press and use it in your recipe.
4. Clean the press: Clean the garlic press immediately after use to prevent the garlic from drying and becoming difficult to remove.
The Microplane Zester: For a Fine Garlic Paste
A microplane zester is perfect for creating a fine garlic paste, which is great for sauces, dressings, and marinades.
What you’ll need:
* A microplane zester
* Peeled garlic clove(s)
Step-by-step instructions:
1. Hold the zester: Hold the microplane zester firmly over a bowl or cutting board.
2. Grate the garlic: Hold the peeled garlic clove and rub it against the microplane zester. Use a gentle, even pressure.
3. Collect the paste: The garlic will be grated into a fine paste. Continue grating until you’ve used the desired amount of garlic.
Garlic Storage Secrets: Keeping Your Garlic Fresh Longer
Now that you’re a garlic prep pro, let’s talk about storage. Proper storage is essential for keeping your garlic fresh and flavorful.
Storing Whole Garlic Heads:
* Cool, dark, and dry: Store whole heads of garlic in a cool, dark, and dry place with good ventilation. A pantry or cupboard is ideal.
* Avoid the refrigerator: Refrigerating whole garlic heads can cause them to sprout and become rubbery.
* Mesh bags are your friend: Store garlic in a mesh bag or a container with good airflow.
* Check regularly: Inspect your garlic regularly for signs of spoilage, such as soft spots or mold.
Storing Peeled Garlic Cloves:
* Refrigerate in oil: Place peeled garlic cloves in a jar and cover them with olive oil. Store in the refrigerator for up to a week. The garlic-infused oil can also be used for cooking. Be aware of the risk of botulism with improperly stored garlic in oil. Always refrigerate and use within a week.
* Freeze for later: Freeze peeled garlic cloves in a single layer on a baking sheet. Once frozen, transfer them to a freezer bag or container. You can add them directly to your cooking without thawing.
* Garlic paste in the fridge: Store garlic paste made with a microplane in an airtight container in the refrigerator for up to 2 days.
Storing Minced Garlic:
* Use immediately: Minced garlic is best used immediately, as it loses its flavor quickly.
* Refrigerate briefly: If you need to store minced garlic, place it in an airtight container in the refrigerator for no more than a day.
* Don’t leave at room temperature: Never leave minced garlic at room temperature for extended periods, as it can become a breeding ground for bacteria.
Bonus Tip: De-Stinking Your Hands
After handling garlic, your hands can retain a strong odor. Here are a few tricks to get rid of the garlic smell:
* Stainless steel: Rub your hands on a
Conclusion
So, there you have it! This simple yet incredibly effective DIY trick for prepping garlic is a game-changer in the kitchen. Forget struggling with sticky peels and uneven chopping. This method not only saves you precious time but also ensures you get the most flavor out of your garlic, every single time. We’ve all been there, rushing to get dinner on the table, only to be slowed down by tedious tasks like peeling and mincing garlic. This technique eliminates that frustration, allowing you to focus on the joy of cooking and creating delicious meals.
Why is this a must-try? Because it’s efficient, it’s easy, and it elevates your cooking experience. Imagine effortlessly adding perfectly minced garlic to your favorite pasta sauce, stir-fry, or homemade bread. The possibilities are endless! Plus, think of all the time you’ll save – time that can be better spent enjoying your meal with loved ones or tackling other kitchen tasks. This is more than just a shortcut; it’s a smart way to work in the kitchen.
Looking for variations? Absolutely! While the method we described focuses on mincing, you can easily adapt it for other garlic preparations. For example, if you need roasted garlic, simply toss the peeled cloves with olive oil, salt, and pepper after the shaking process and roast them in the oven until soft and caramelized. Or, if you prefer garlic paste, pulse the minced garlic in a food processor with a little olive oil until smooth. You can even infuse olive oil with garlic flavor by gently heating the minced garlic in oil over low heat. Remember to strain the oil and discard the garlic solids to prevent spoilage.
Another great variation is to freeze the minced garlic for later use. Simply spread the minced garlic in a thin layer on a baking sheet lined with parchment paper and freeze until solid. Then, break the frozen garlic into smaller pieces and store them in an airtight container in the freezer. This way, you’ll always have fresh, prepped garlic on hand, ready to add a burst of flavor to any dish. You can also freeze the garlic in olive oil in ice cube trays for easy portioning.
We truly believe that this DIY garlic time-saving tip will revolutionize your kitchen routine. It’s a simple solution to a common problem, and the results are truly remarkable. We encourage you to give it a try and see for yourself how much time and effort you can save.
Don’t just take our word for it! We’re eager to hear about your experiences with this trick. Did it work as well for you as it did for us? Did you discover any new variations or adaptations? Share your thoughts, tips, and photos in the comments below. Let’s create a community of garlic-loving cooks who are always looking for ways to make life easier and more delicious in the kitchen. We can’t wait to see what you come up with! So go ahead, embrace the power of this simple technique and unlock a world of flavor in your cooking. Happy cooking!
Frequently Asked Questions (FAQs)
Q: What kind of container works best for shaking the garlic?
A: A container with a tight-fitting lid is essential. We recommend using two stainless steel bowls that can nest together securely, creating a sealed environment. A mason jar with a wide mouth and a secure lid also works well. Avoid using plastic containers, as they may absorb the garlic odor. The key is to ensure the container is durable enough to withstand vigorous shaking without breaking or leaking. Glass containers are generally a good option, but be cautious when shaking them to avoid breakage.
Q: How long should I shake the garlic to peel it effectively?
A: The shaking time can vary depending on the freshness of the garlic and the type of container you’re using. Generally, shaking for about 20-30 seconds is sufficient. However, it’s best to check the garlic after 20 seconds and continue shaking if needed. You’ll know the garlic is ready when the peels have separated from the cloves and are loose inside the container. If the garlic is particularly fresh, it may require a bit more shaking.
Q: What if the garlic doesn’t peel completely after shaking?
A: If some cloves still have their peels attached after shaking, don’t worry! Simply remove the peeled cloves and shake the remaining ones for another 10-15 seconds. You can also use your fingers to gently peel any stubborn cloves. Sometimes, a little manual assistance is needed, especially with older garlic.
Q: Can I use this method with pre-peeled garlic cloves?
A: While this method is primarily designed for peeling garlic, you can still use it to mince pre-peeled cloves. Simply place the pre-peeled cloves in the container and shake them vigorously to break them down into smaller pieces. However, be aware that the resulting mince may be slightly uneven compared to using a knife or food processor.
Q: How should I store the minced garlic after using this method?
A: Properly storing minced garlic is crucial to maintain its freshness and flavor. The best way to store it is in an airtight container in the refrigerator. You can also add a thin layer of olive oil on top to help prevent oxidation and keep the garlic moist. Minced garlic typically lasts for about 1-2 weeks in the refrigerator. For longer storage, consider freezing the minced garlic as described in the variations section above.
Q: Does this method work with all types of garlic?
A: Yes, this method should work with most types of garlic, including both hardneck and softneck varieties. However, the effectiveness may vary slightly depending on the size and freshness of the cloves. Older garlic may be more difficult to peel, while fresher garlic tends to peel more easily.
Q: Is there a way to reduce the garlic smell on my hands after handling it?
A: Garlic’s pungent aroma can linger on your hands, but there are several ways to minimize it. Try rubbing your hands on a stainless steel object, such as a spoon or your kitchen sink, under cold running water. The sulfur compounds in garlic bind to the stainless steel, helping to neutralize the odor. You can also wash your hands with lemon juice or a mixture of baking soda and water.
Q: Can I use this method to prepare garlic for pickling or fermenting?
A: Absolutely! This method is a great way to quickly and efficiently peel garlic for pickling or fermenting. The peeled cloves are ready to be added to your brine or fermentation vessel. Just be sure to follow proper pickling or fermentation guidelines to ensure food safety.
Q: What are some other creative ways to use minced garlic?
A: The possibilities are endless! Minced garlic can be added to countless dishes to enhance their flavor. Use it to make garlic bread, garlic butter, or garlic aioli. Add it to soups, stews, sauces, and marinades. Sprinkle it on roasted vegetables or grilled meats. Mix it with herbs and spices to create a flavorful dry rub. You can even use it to make homemade garlic-infused oil or vinegar. Let your culinary creativity run wild!
Q: Is there any risk of damaging my container while shaking the garlic?
A: While the risk is minimal, it’s always a good idea to use a sturdy container that can withstand vigorous shaking. Avoid using thin or fragile glass containers, as they may be more prone to breakage. Ensure the lid is securely fastened to prevent it from coming loose during shaking. If you’re concerned about damaging your container, you can try wrapping it in a towel for added protection.


Leave a Comment