
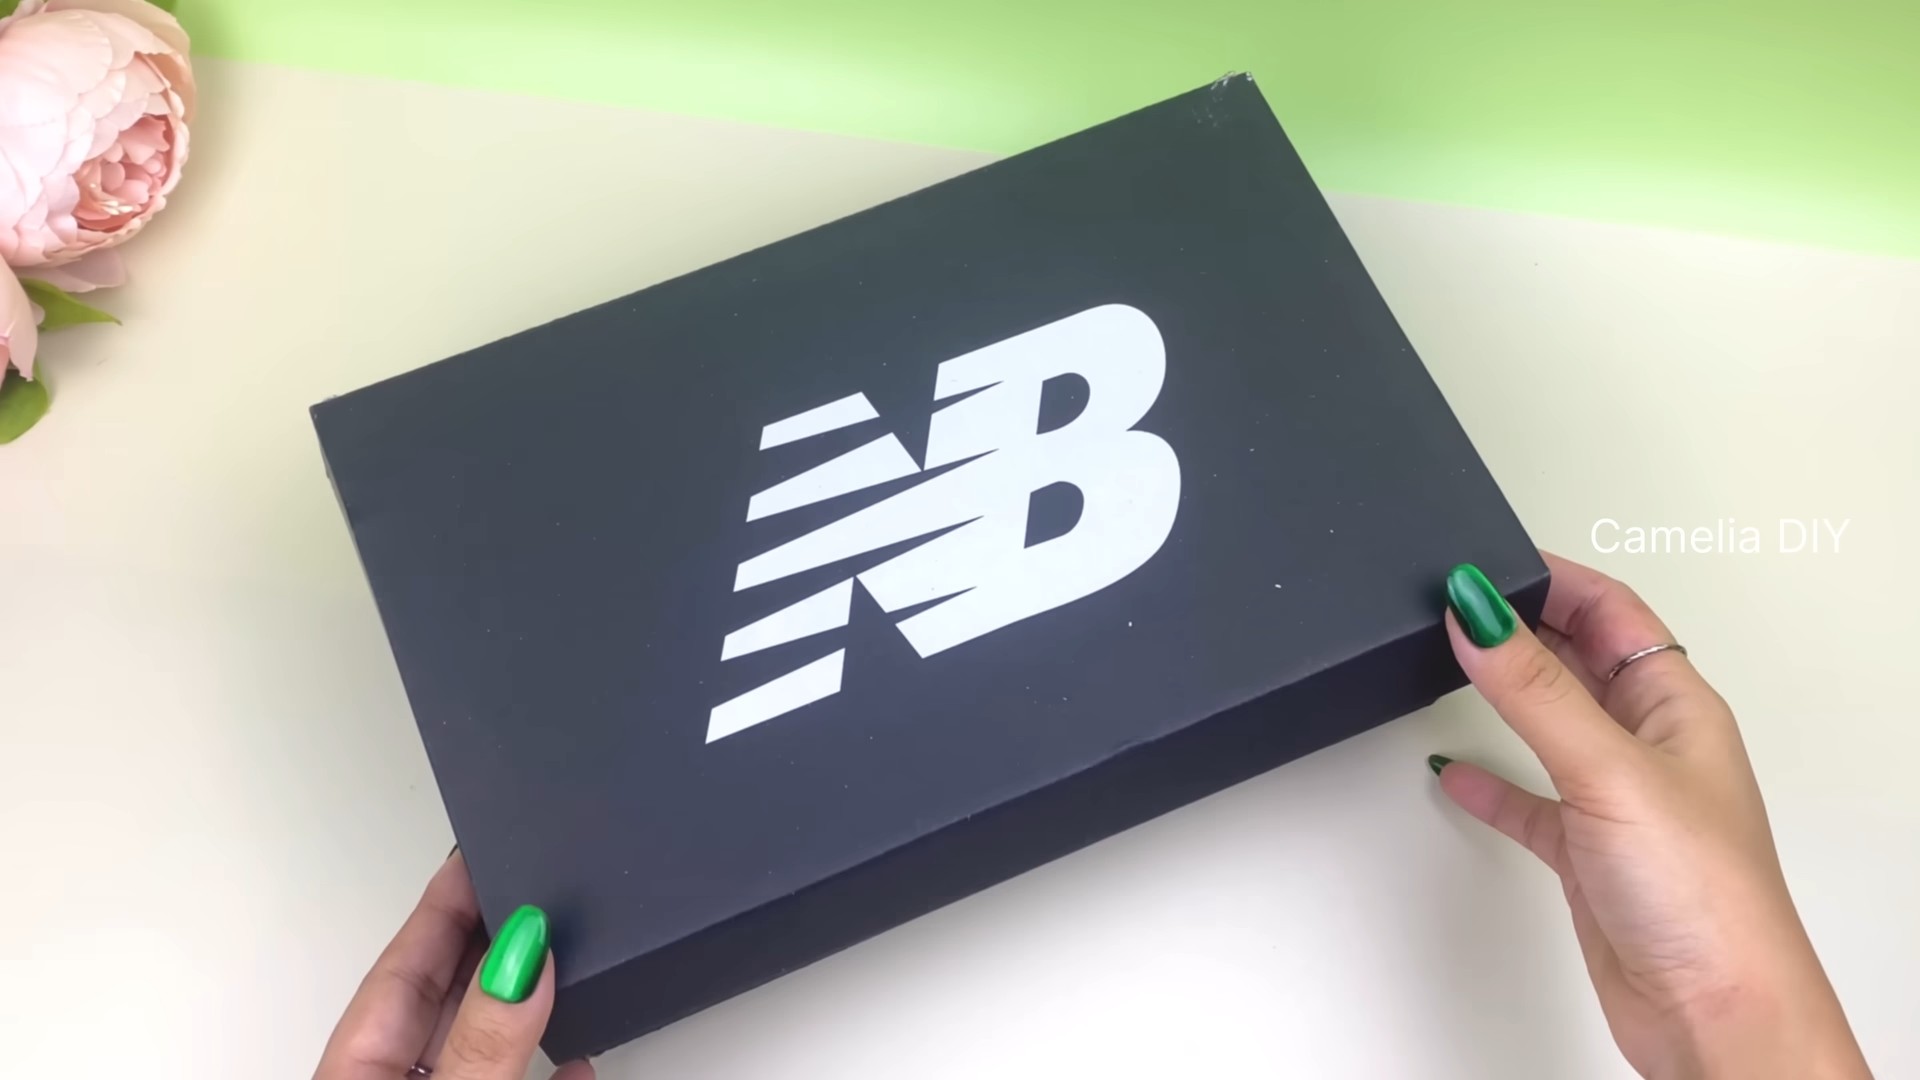
Shoe Box DIY Projects: Who knew those humble cardboard containers could be the key to unlocking your inner crafter? I’m always amazed at how everyday items can be transformed into something beautiful and functional, and shoe boxes are definitely a prime example! For generations, people have repurposed materials out of necessity, turning scraps into treasures. Think of the resourceful pioneers who built homes from the land or the wartime efforts that encouraged creative reuse. That spirit of ingenuity lives on in the modern DIY movement.
But why should you care about shoe box DIY projects? Well, for starters, it’s a fantastic way to declutter and organize your home without spending a fortune. Let’s be honest, we all have a stack of empty shoe boxes lurking in a closet somewhere! Instead of tossing them, I’m going to show you how to turn them into stylish storage solutions, charming decor pieces, and even fun activities for the kids. Plus, it’s an eco-friendly way to reduce waste and give those boxes a new lease on life. Get ready to unleash your creativity and discover the endless possibilities of shoe box DIY projects!
Shoe Box DIY Projects: Unleash Your Creativity!
Hey there, fellow DIY enthusiasts! Got a stack of empty shoe boxes gathering dust? Don’t toss them! These humble cardboard containers are a goldmine of crafting potential. I’m going to show you how to transform those boxes into amazing and useful items for your home. Get ready to unleash your inner artist and create something fantastic!
DIY Charging Station
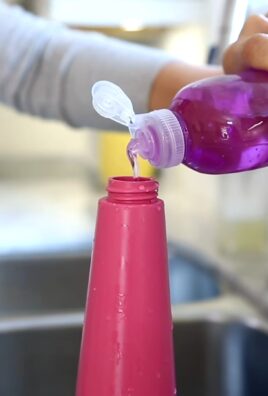
Tired of tangled cords and devices cluttering your counter? This charging station is the perfect solution! It’s simple, stylish, and keeps everything organized.
Materials You’ll Need:
* A sturdy shoe box (the size depends on how many devices you want to charge)
* Craft knife or scissors
* Ruler
* Pencil
* Sandpaper (optional)
* Spray paint or decorative paper (your choice of color/pattern)
* Hot glue gun and glue sticks
* Power strip
* Cable ties or Velcro straps (optional)
Step-by-Step Instructions:
1. Prepare the Shoe Box: First, I like to give the shoe box a quick once-over. If there are any rough edges or staples sticking out, gently sand them down. This will give you a smoother surface to work with.
2. Mark the Cord Holes: Decide where you want the cords to enter the box. I usually place them at the back, near the bottom. Use a ruler and pencil to mark the spots for the holes. Make sure they’re big enough to accommodate the thickest cord you’ll be using.
3. Cut the Cord Holes: Carefully use your craft knife or scissors to cut out the holes you marked. Be patient and take your time to avoid tearing the cardboard. If you’re using a craft knife, place a cutting mat underneath to protect your work surface.
4. Create Device Slots (Optional): If you want to create individual slots for each device, you can use cardboard dividers. Cut pieces of cardboard to the desired size and shape, and then hot glue them inside the box to create compartments. This helps keep your devices from sliding around and bumping into each other.
5. Decorate the Box: This is where you can really get creative! You can spray paint the box in your favorite color, cover it with decorative paper, or even use fabric. If you’re spray painting, be sure to do it in a well-ventilated area and apply several thin coats for the best results. If you’re using decorative paper, apply a thin layer of glue to the box and carefully smooth the paper over it, making sure to remove any air bubbles.
6. Prepare the Lid: You can either leave the lid off entirely or create a slot for the device screens to be visible. If you choose to create a slot, measure and cut out a rectangular opening in the lid. You can then decorate the lid to match the box.
7. Secure the Power Strip: Place the power strip inside the box and secure it to the bottom using hot glue or Velcro straps. Make sure the power switch is easily accessible.
8. Organize the Cords: Thread the cords through the holes you cut earlier. Use cable ties or Velcro straps to bundle the cords together and keep them from getting tangled.
9. Plug in and Enjoy! Plug the power strip into an outlet and start charging your devices. Enjoy your newly organized and clutter-free charging station!
DIY Drawer Dividers
Keep your drawers neat and tidy with these simple shoe box dividers. They’re perfect for organizing clothes, accessories, or even office supplies.
Materials You’ll Need:
* Shoe boxes (number depends on the size of your drawers and how many dividers you want)
* Ruler
* Pencil
* Scissors or craft knife
* Decorative paper or fabric (optional)
* Glue (if using decorative paper or fabric)
Step-by-Step Instructions:
1. Measure Your Drawers: Carefully measure the inside dimensions of your drawers. You’ll need to know the length, width, and height to determine how to cut the shoe boxes.
2. Cut the Shoe Boxes: Use a ruler and pencil to mark the cutting lines on the shoe boxes. You’ll likely need to cut the boxes down to the desired height. You can also cut them lengthwise or widthwise to create different sized dividers.
3. Assemble the Dividers: If you’re creating dividers that are taller than the original shoe box height, you can combine multiple pieces of cardboard. Use glue or tape to secure the pieces together.
4. Decorate the Dividers (Optional): If you want to add a touch of style to your dividers, you can cover them with decorative paper or fabric. Apply a thin layer of glue to the cardboard and carefully smooth the paper or fabric over it.
5. Arrange in Drawers: Place the dividers in your drawers and arrange them to create the desired compartments. You can experiment with different configurations until you find what works best for you.
6. Organize Your Items: Start filling the compartments with your clothes, accessories, or office supplies. Enjoy your newly organized and clutter-free drawers!
DIY Wall Art
Turn shoe box lids into unique and eye-catching wall art. This is a great way to add a personal touch to your home decor.
Materials You’ll Need:
* Shoe box lids (any size or shape)
* Paint (acrylic, watercolor, or spray paint)
* Paintbrushes or sponges
* Decorative paper, fabric scraps, or other embellishments (optional)
* Glue
* Hanging hardware (picture hooks or sawtooth hangers)
Step-by-Step Instructions:
1. Prepare the Lids: Clean the shoe box lids and remove any stickers or labels. If the lids are flimsy, you can reinforce them by gluing a piece of cardboard to the back.
2. Paint the Background: Paint the lids with your desired background color. You can use acrylic paint, watercolor paint, or spray paint. Let the paint dry completely before moving on to the next step.
3. Create Your Design: This is where you can let your creativity shine! You can paint abstract designs, create geometric patterns, or even paint landscapes or portraits. You can also use stencils or stamps to create more intricate designs.
4. Add Embellishments (Optional): If you want to add some extra flair to your wall art, you can embellish it with decorative paper, fabric scraps, buttons, beads, or other materials. Glue the embellishments to the lids using a strong adhesive.
5. Seal the Artwork (Optional): To protect your artwork and make it more durable, you can seal it with a clear coat of varnish or sealant.
6. Attach Hanging Hardware: Attach picture hooks or sawtooth hangers to the back of the lids. Make sure the hardware is securely attached so that your artwork won’t fall off the wall.
7. Hang and Enjoy! Hang your newly created wall art on the wall and enjoy your unique and personalized home decor! You can arrange the lids in a grid pattern, create a gallery wall, or hang them individually.
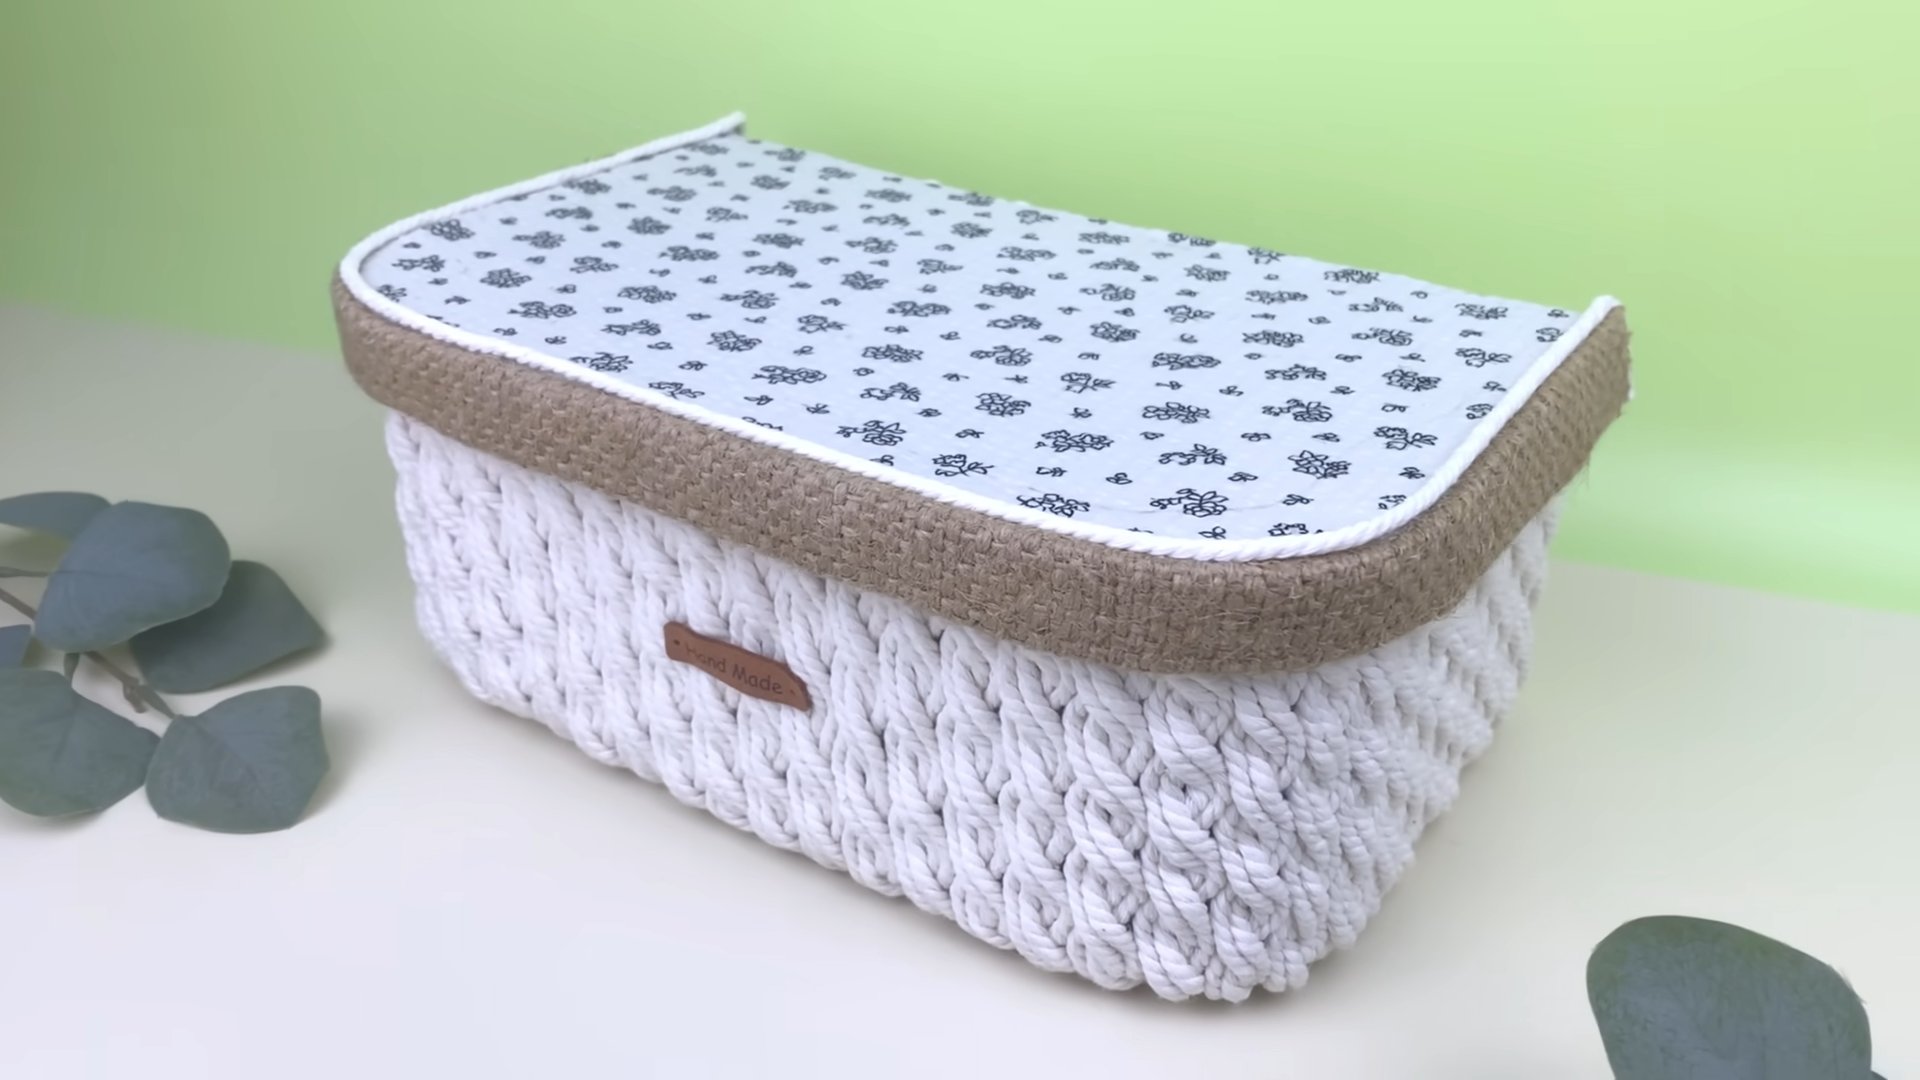
DIY Gift Boxes
Forget store-bought gift boxes! Shoe boxes make fantastic personalized gift containers.
Materials You’ll Need:
* Shoe boxes (various sizes)
* Wrapping paper, decorative paper, fabric, or paint
* Scissors
* Glue or tape
* Ribbon, twine, or other embellishments
* Gift tag
Step-by-Step Instructions:
1. Prepare the Box: Ensure the shoe box is clean and free of any debris. If the box is damaged, reinforce it with tape.
2. Wrap or Decorate: Choose your preferred method of decoration. You can wrap the box in wrapping paper, cover it with decorative paper or fabric, or paint it.
* Wrapping Paper: Cut the wrapping paper to size, leaving enough overlap to secure the edges. Apply glue or double-sided tape to the box and carefully adhere the wrapping paper, smoothing out any wrinkles.
* Decorative Paper/Fabric: Similar to wrapping paper, cut the paper or fabric to size. Apply glue to the box and carefully smooth the material over the surface.
* Painting: Apply a primer if necessary, then paint the box with your desired color. Let it dry completely before adding any embellishments.
3. Decorate the Lid: Repeat the wrapping or decorating process for the lid of the shoe box. Ensure the lid fits snugly on the box.
4. Add Embellishments: Get creative with embellishments! Tie a ribbon around the box, add a decorative bow, or attach a gift tag. You can also use stickers, stamps, or other craft supplies to personalize the box further.
5. Personalize the Gift Tag: Write a heartfelt message on the gift tag and attach it to the box.
6. Fill with Goodies: Place your carefully chosen gift inside the decorated shoe box.
7.
Conclusion
So, there you have it! Transforming humble shoe boxes into functional and stylish organizers is not just a fun afternoon project; it’s a game-changer for decluttering and adding a personal touch to your home. We’ve explored several exciting ways to repurpose these cardboard containers, from creating charming drawer dividers to crafting elegant storage boxes that rival store-bought versions. The beauty of these shoe box DIY projects lies in their adaptability. You’re not confined to rigid instructions; instead, you’re empowered to let your creativity shine and tailor each project to your specific needs and aesthetic preferences.
Think about it: those overflowing drawers can finally be tamed with custom-sized dividers, perfectly compartmentalizing socks, underwear, or even jewelry. Imagine transforming a stack of mismatched shoe boxes into a cohesive storage system for your craft supplies, complete with labels and decorative accents. Or picture a stylish charging station, neatly concealing cords and keeping your devices organized and accessible. The possibilities are truly endless.
But the benefits extend beyond mere organization. By embracing these DIY projects, you’re also contributing to a more sustainable lifestyle. You’re giving discarded materials a new lease on life, reducing waste, and minimizing your environmental footprint. Plus, you’re saving money by avoiding expensive store-bought organizers. It’s a win-win situation!
Don’t be afraid to experiment with different materials and techniques. Try using fabric scraps, wallpaper remnants, or even paint to personalize your shoe box creations. Add embellishments like buttons, ribbons, or stencils to create unique and eye-catching designs. Consider lining the inside of your boxes with felt or velvet for a luxurious touch.
For variations, explore using larger boxes for storing sweaters or blankets, or smaller boxes for organizing makeup or office supplies. You can even combine multiple shoe boxes to create larger storage units, such as a custom-built bookshelf or a multi-drawer organizer. Get creative with labeling – use chalkboard paint for reusable labels, or print out elegant labels using your computer.
We encourage you to dive into these shoe box DIY projects and discover the joy of transforming ordinary materials into extraordinary creations. Don’t worry if your first attempt isn’t perfect; the learning process is part of the fun. The most important thing is to let your imagination run wild and enjoy the process of creating something unique and functional.
And most importantly, we want to hear about your experiences! Share your photos, tips, and variations in the comments section below. Let us know which projects you tried, what challenges you faced, and what creative solutions you came up with. Your feedback will not only inspire other readers but also help us improve our future DIY guides. So, grab your shoe boxes, gather your supplies, and get ready to unleash your inner DIY enthusiast! We can’t wait to see what you create. Remember, the best projects are the ones that reflect your personality and make your life a little bit easier and more organized. Happy crafting!
Frequently Asked Questions (FAQs)
What kind of shoe boxes work best for these DIY projects?
The best shoe boxes are sturdy and made of thick cardboard. Avoid using flimsy boxes that are easily crushed or damaged. Boxes with lids are ideal for creating storage containers, while boxes without lids can be used for drawer dividers or open storage solutions. Consider the size of the boxes you have available and choose projects that are appropriate for their dimensions. For projects requiring extra strength, you can reinforce the boxes with packing tape or glue.
What are some essential tools and materials I’ll need?
The basic tools and materials you’ll need for most shoe box DIY projects include:
* Scissors or a craft knife
* Ruler or measuring tape
* Pencil or marker
* Glue (hot glue, craft glue, or spray adhesive)
* Packing tape
* Decorative paper, fabric, or paint
* Embellishments (buttons, ribbons, stencils, etc.)
Depending on the specific project, you may also need additional materials such as cardboard tubes, felt, foam board, or metal hardware.
How can I make my shoe box projects more durable?
To increase the durability of your shoe box creations, consider the following tips:
* Reinforce the corners and edges with packing tape.
* Apply multiple coats of paint or sealant to protect the surface.
* Line the inside of the boxes with felt or fabric to prevent tearing.
* Use sturdy glue or adhesive to secure all materials.
* Avoid overloading the boxes with heavy items.
How do I prevent my shoe box projects from looking cheap or unfinished?
The key to creating professional-looking shoe box projects is attention to detail. Here are some tips to elevate your DIY creations:
* Choose high-quality materials, such as thick decorative paper or durable fabric.
* Take your time and be precise with your measurements and cuts.
* Conceal any raw edges or seams with trim or decorative tape.
* Add embellishments that complement the overall design.
* Pay attention to the finishing touches, such as smoothing out wrinkles or removing excess glue.
Can I use these projects to organize items other than shoes?
Absolutely! Shoe box DIY projects are incredibly versatile and can be used to organize a wide variety of items, including:
* Clothing (socks, underwear, scarves)
* Accessories (jewelry, belts, hats)
* Craft supplies (yarn, beads, paint)
* Office supplies (pens, paper clips, tape)
* Makeup and toiletries
* Toys and games
* Electronics and cables
How do I customize these projects to fit my specific needs and style?
Customization is where the real fun begins! Here are some ideas to personalize your shoe box DIY projects:
* Choose colors and patterns that match your existing décor.
* Add labels to clearly identify the contents of each box.
* Use different sizes and shapes of boxes to create a custom storage system.
* Incorporate personal touches, such as photos, artwork, or mementos.
* Experiment with different textures and materials to create a unique look.
Where can I find inspiration for shoe box DIY projects?
There are countless resources available online for finding inspiration for shoe box DIY projects. Check out websites like Pinterest, Instagram, and YouTube for tutorials, ideas, and inspiration. You can also browse home décor magazines or visit craft stores to get ideas for materials and techniques. Don’t be afraid to experiment and try new things – the possibilities are endless!
How can I involve my kids in these DIY projects?
Shoe box DIY projects are a great way to get kids involved in crafting and organization. Choose projects that are age-appropriate and allow them to express their creativity. Let them help with tasks such as cutting, gluing, painting, and decorating. Be sure to supervise them closely and provide guidance as needed. Not only will they have fun, but they’ll also learn valuable skills and develop a sense of accomplishment.
What if I don’t have enough shoe boxes?
If you don’t have enough shoe boxes on hand, ask friends and family to save their empty boxes for you. You can also check with local shoe stores or retailers – they may be willing to donate their excess boxes. Alternatively, you can purchase cardboard boxes in various sizes from craft stores or online retailers.
Are there any safety precautions I should take?
When working on shoe box DIY projects, it’s important to take certain safety precautions:
* Use sharp tools, such as scissors or craft knives, with caution.
* Protect your work surface with a cutting mat or newspaper.
* Wear gloves when working with glue or paint.
* Ensure adequate ventilation when using spray adhesives or paints.
* Supervise children closely when they are involved in the projects.
By following these safety guidelines, you can ensure a fun and safe crafting experience. Remember to always prioritize safety and use common sense when working on any DIY project. These shoe box DIY projects are meant to be enjoyable, so take your time, be careful, and have fun creating!
Leave a Comment