
Grow Endive at Home, you say? Absolutely! Have you ever dreamt of strolling into your backyard and harvesting fresh, slightly bitter, and incredibly versatile endive for your salad? I know I have! For centuries, endive has been a culinary delight, with its roots tracing back to 17th-century Belgium, where legend has it that a farmer accidentally discovered its unique blanching process.
But why should you bother learning to grow endive at home? Well, for starters, store-bought endive can be pricey and often lacks the vibrant freshness of homegrown produce. Plus, there’s something incredibly satisfying about nurturing a plant from seed to table. Imagine impressing your friends and family with a gourmet salad featuring endive you cultivated yourself!
This DIY guide is your key to unlocking the secrets of successful endive cultivation. We’ll break down the process into easy-to-follow steps, from seed starting to harvesting, ensuring that even novice gardeners can enjoy a bountiful endive harvest. So, grab your gardening gloves, and let’s embark on this exciting journey together! You’ll be amazed at how rewarding it is to grow your own delicious and nutritious endive right in your backyard.
Growing Endive at Home: A DIY Guide to Bitter Bliss
Okay, so you want to grow endive at home? Awesome! It might seem a little intimidating at first, but trust me, with a little patience and this guide, you’ll be enjoying fresh, slightly bitter endive in your salads and cooked dishes in no time. Endive is a cool-season crop, which means it thrives in cooler temperatures, making it perfect for spring or fall planting. The process involves two main stages: sowing and growing the roots, and then forcing the chicons (the edible part). Let’s dive in!
Phase 1: Sowing and Growing the Roots
This is where we lay the groundwork for those delicious endive chicons. Think of it as building a strong foundation for your endive empire!
- Timing is Key: Start seeds indoors 12-16 weeks before the first expected frost in the fall, or 12-16 weeks before the last expected frost in the spring. I usually start mine in late summer for a fall harvest.
- Choosing the Right Variety: There are several endive varieties to choose from, including ‘Witloof’ (the classic Belgian endive), ‘Sugarloaf,’ and ‘Escarole’ (which is technically a broad-leaved endive, but similar). I personally prefer ‘Witloof’ for its classic flavor and shape.
- Soil Preparation: Endive prefers well-drained, fertile soil with a pH of 6.0 to 7.0. Before planting, amend your soil with compost or well-rotted manure to improve drainage and fertility. I always add a generous amount of compost – it makes a huge difference!
Step-by-Step Instructions for Sowing Endive Seeds:
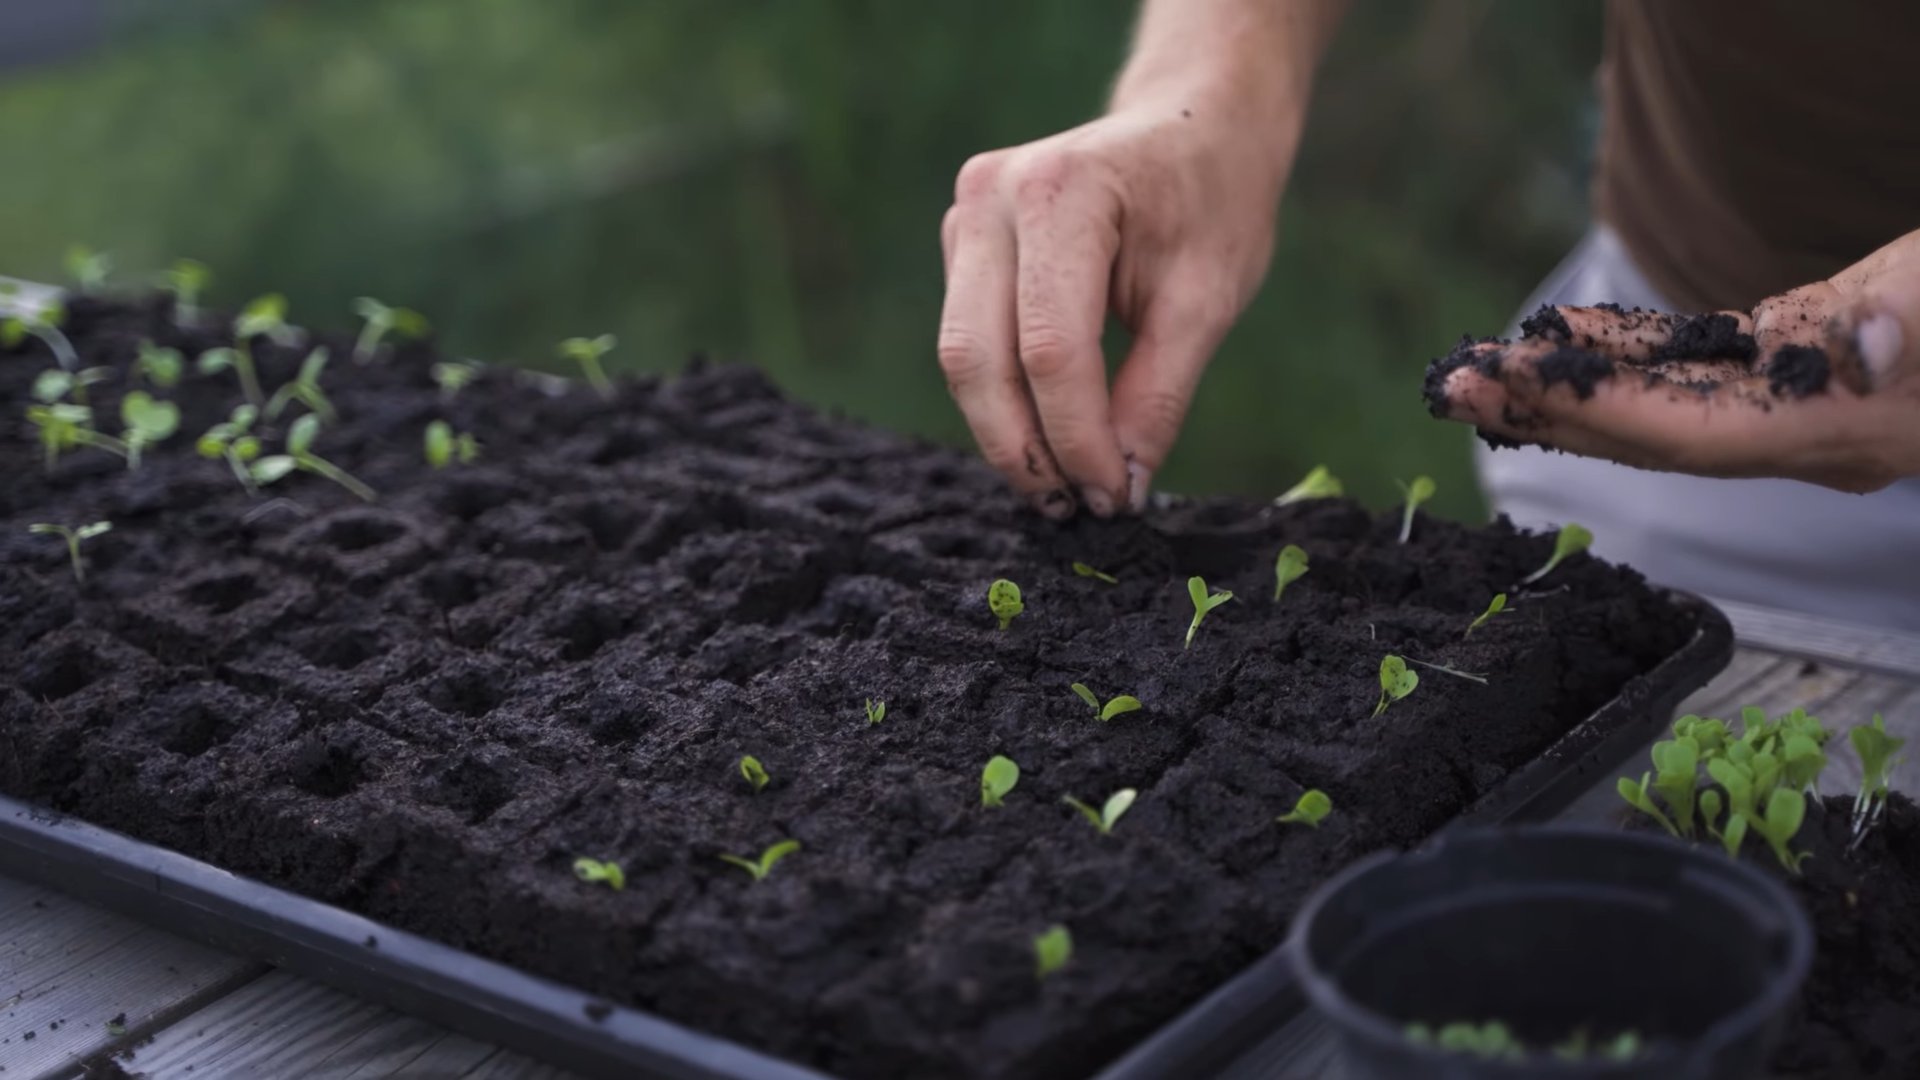
- Prepare Your Seed Starting Trays or Pots: Fill your seed starting trays or small pots with a good quality seed starting mix. Moisten the mix thoroughly, but don’t let it get soggy. I like to use a spray bottle to gently dampen the soil.
- Sow the Seeds: Sow the endive seeds about ¼ inch deep and ½ inch apart. You can sow a few seeds per cell or pot and then thin them later. I usually sow 2-3 seeds per cell just to be safe.
- Provide Light and Warmth: Endive seeds need light to germinate, so place your seed starting trays under grow lights or in a bright, sunny window. Maintain a soil temperature of around 60-70°F (15-21°C). A heat mat can be helpful if your home is cool.
- Keep the Soil Moist: Water the seedlings regularly to keep the soil consistently moist, but not waterlogged. Again, a spray bottle is your best friend here!
- Thin the Seedlings: Once the seedlings have developed their first true leaves (the leaves that appear after the initial seed leaves), thin them to one plant per cell or pot. Choose the strongest, healthiest-looking seedling to keep. I know it’s hard to thin them, but it’s necessary for healthy growth!
- Harden Off the Seedlings: Before transplanting the seedlings outdoors, you’ll need to harden them off. This process gradually acclimates the seedlings to outdoor conditions. Start by placing the seedlings outdoors in a sheltered location for a few hours each day, gradually increasing the amount of time they spend outdoors over the course of a week or two.
Transplanting Endive Seedlings:
- Prepare the Garden Bed: Choose a sunny location in your garden with well-drained soil. Amend the soil with compost or well-rotted manure, as mentioned earlier.
- Transplant the Seedlings: Space the endive seedlings about 12-18 inches apart in rows that are 18-24 inches apart. Dig a hole that is slightly larger than the root ball of the seedling, gently remove the seedling from its pot, and place it in the hole. Backfill with soil and gently firm the soil around the base of the plant.
- Water Thoroughly: Water the transplanted seedlings thoroughly after planting.
Caring for Growing Endive Roots:
- Watering: Water regularly, especially during dry periods. Endive needs consistent moisture to thrive. I usually water deeply once or twice a week, depending on the weather.
- Weeding: Keep the garden bed free of weeds. Weeds compete with endive for water and nutrients. I like to hand-weed regularly to keep things under control.
- Fertilizing: Fertilize the endive plants with a balanced fertilizer every few weeks. Follow the instructions on the fertilizer package. I use a liquid seaweed fertilizer – it’s gentle and effective.
- Pest and Disease Control: Keep an eye out for pests and diseases. Common pests of endive include aphids, slugs, and snails. Common diseases include downy mildew and leaf spot. Treat any problems promptly with appropriate organic pest control methods. I’ve found that a strong blast of water from the hose can often dislodge aphids.
Phase 2: Forcing the Chicons
This is the fun part where we get those tightly packed, pale endive heads (chicons) that we all love. Forcing is essentially growing the endive in the dark, which prevents chlorophyll production and results in the characteristic pale color and slightly bitter flavor.
- Harvesting the Roots: In the late fall, after the first frost, carefully dig up the endive roots. Cut off the leaves about 1 inch above the crown of the root. Be careful not to damage the roots. I use a garden fork to gently lift the roots from the soil.
- Preparing the Roots: Trim any small side roots, leaving only the main taproot. Select healthy, firm roots that are about 1-2 inches in diameter. Discard any damaged or diseased roots.
- Chilling the Roots: Place the roots in a cool, dark place (like a refrigerator or unheated garage) for 2-3 weeks. This chilling period is essential for breaking dormancy and encouraging chicon formation. I usually store mine in a plastic bag in the refrigerator.
Forcing Endive Chicons Indoors:
- Prepare Your Forcing Container: Choose a container that is deep enough to accommodate the roots and the chicons. A large bucket, tub, or even a garbage can will work. Make sure the container has drainage holes.
- Plant the Roots: Fill the container with a moist growing medium, such as sand, peat moss, or potting soil. Plant the endive roots upright in the growing medium, packing them closely together. Leave about 1-2 inches of the root crown exposed.
- Water Thoroughly: Water the roots thoroughly after planting.
- Create a Dark Environment: This is crucial! Cover the container with a light-proof lid or place it in a completely dark room. You can use a black plastic bag, a dark cloth, or even an upturned bucket to create the dark environment. The key is to block out all light.
- Maintain Consistent Moisture: Keep the growing medium consistently moist, but not waterlogged. Check the moisture level regularly and water as needed.
- Maintain a Cool Temperature: The ideal temperature for forcing endive is around 60-65°F (15-18°C).
- Wait Patiently: It will take about 3-5 weeks for the chicons to develop. Check the chicons regularly to monitor their growth.
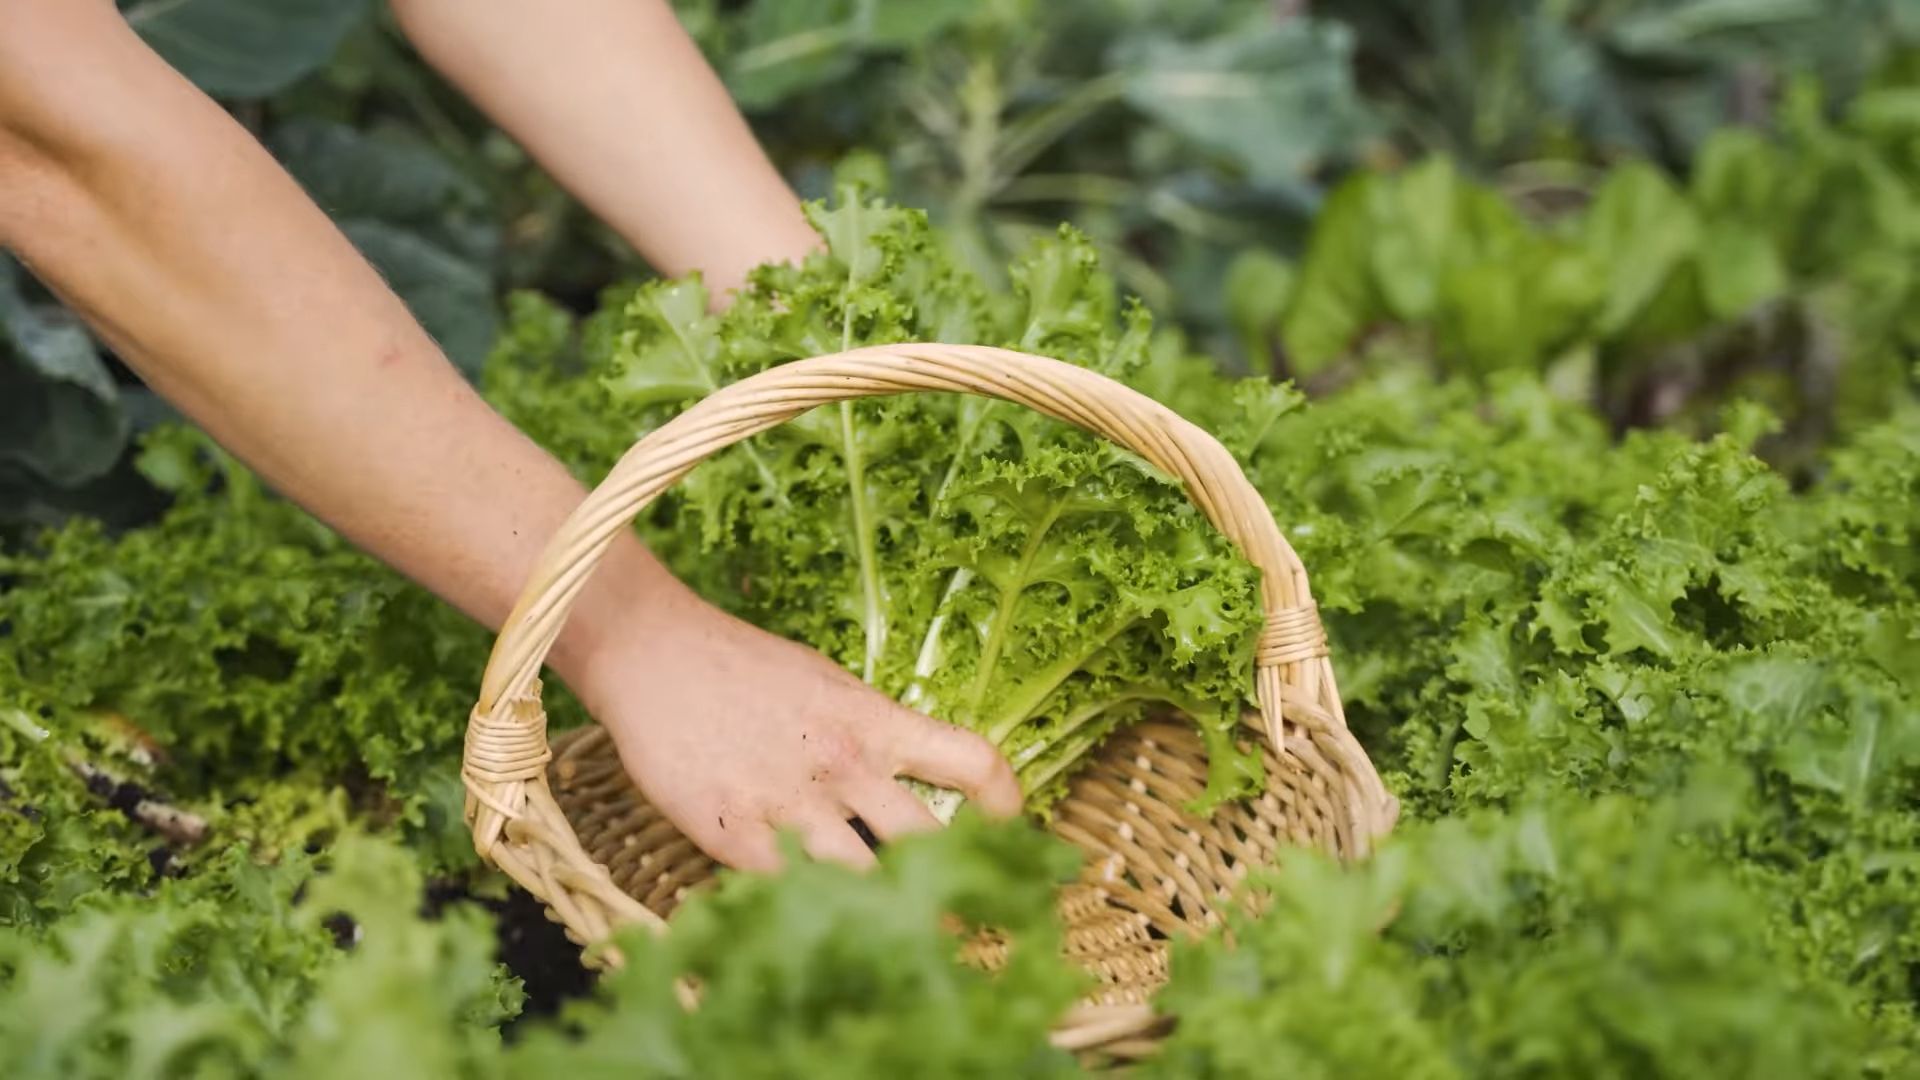
Harvesting Your Endive Chicons:
- Check for Readiness: The chicons are ready to harvest when they are about 4-6 inches long and tightly packed.
- Harvest Carefully: Gently pull the chicons from the roots. You may need to use a knife to cut them free.
- Enjoy Your Harvest: Rinse the chicons and enjoy them in salads, cooked dishes, or as a snack. They’re delicious!
Tips and Tricks for Successful Endive Growing:
- Successive Planting: To ensure a continuous harvest, sow endive seeds every few weeks.
- Blanching in the Garden: You can also blanch endive in the garden by covering the plants with a dark cloth or bucket for a few weeks before harvesting. This will produce a milder flavor.
- Root Storage: If you have more roots than you can force at once, you can store them in the refrigerator for several months. Just make sure to keep them moist.
- Experiment with Varieties: Try different endive varieties to find your favorite flavor and texture.
- Don’t Give Up! Endive can be a bit challenging to grow, but it’s definitely worth the effort. Don’t be discouraged if your first attempt isn’t perfect. Just keep trying, and you’ll eventually get the hang of it.
Conclusion
So, there you have it! Growing endive at home, especially forcing it indoors for those tender, blanched leaves, is not only achievable but incredibly rewarding. Forget those wilted, overpriced heads at the grocery store. With a little patience and this straightforward DIY trick, you can enjoy fresh, crisp endive whenever the craving strikes.
Why is this a must-try? Because it puts you in control. You control the quality, the freshness, and even the variety. Imagine the satisfaction of serving a salad featuring endive you nurtured from root to table. Plus, it’s a fantastic way to extend your gardening season and enjoy homegrown produce even during the colder months.
But the beauty of this method lies in its adaptability. Feel free to experiment! Try different varieties of endive, such as the broad-leaved Batavian or the curly-leaved Frisee. Adjust the blanching time to achieve your preferred level of bitterness. Some gardeners even add a touch of molasses to the water during forcing to subtly sweeten the endive. You could also try forcing endive in different containers – terracotta pots, plastic tubs, even repurposed buckets will work as long as they provide adequate drainage and darkness.
Don’t be intimidated by the “forcing” process. It’s simpler than it sounds, and the results are well worth the effort. The key is to maintain consistent moisture and darkness during the blanching phase. Check on your endive regularly, and adjust your watering schedule as needed.
We are confident that once you taste the difference between store-bought and homegrown, forced endive, you’ll be hooked. It’s a game-changer for salads, braises, and even grilled appetizers.
So, what are you waiting for? Gather your endive roots, prepare your forcing container, and embark on this exciting gardening adventure. We encourage you to try this DIY trick and experience the joy of growing your own delicious, blanched endive.
And most importantly, don’t forget to share your experience! We’d love to hear about your successes, your challenges, and any variations you try. Post photos of your homegrown endive on social media using #HomegrownEndive and tag us so we can celebrate your gardening triumphs. Let’s build a community of endive enthusiasts and inspire others to embrace the joys of homegrown produce. Happy gardening!
Frequently Asked Questions (FAQ)
What exactly is “forcing” endive, and why is it necessary?
Forcing endive is the process of encouraging the endive root to produce a new head of blanched leaves in a controlled environment, typically indoors. It’s necessary because endive naturally produces bitter leaves when exposed to sunlight. By forcing it in darkness, we prevent chlorophyll production, resulting in the pale, tender, and less bitter leaves that are characteristic of Belgian endive. The forcing process essentially tricks the plant into thinking it’s still winter, prompting it to draw on its stored energy to produce a new head.
Where do I get the endive roots for forcing?
You have a couple of options. The easiest is to purchase endive roots specifically sold for forcing from a garden center or online seed supplier. These are typically pre-chilled and ready to go. Alternatively, you can grow your own endive from seed. Sow the seeds in spring, and harvest the roots in the fall after the first frost. Store the roots in a cool, dark place (like a refrigerator) for a few weeks to chill them before forcing. Make sure to select healthy, firm roots for the best results.
How long does it take to force endive?
The forcing process typically takes about 3-5 weeks, depending on the temperature and humidity of your forcing environment. Warmer temperatures will speed up the process, while cooler temperatures will slow it down. You’ll know the endive is ready when the heads are firm and tightly closed, and the leaves are pale yellow or white.
What kind of container should I use for forcing endive?
Almost any container that can hold soil and provide drainage will work. Terracotta pots, plastic tubs, buckets, or even repurposed containers are all suitable options. The key is to ensure the container is deep enough to accommodate the endive roots and the soil covering them. It should also be easy to cover or place in a dark location.
How do I keep the endive in complete darkness during forcing?
Darkness is crucial for successful endive forcing. You can achieve this by covering the container with a light-proof lid, a black plastic bag, or even an upturned bucket. Make sure the cover is secure and doesn’t allow any light to penetrate. Alternatively, you can place the entire container in a dark room, such as a basement or closet.
How often should I water the endive during forcing?
Keep the soil consistently moist, but not waterlogged. Check the moisture level regularly by sticking your finger into the soil. If the top inch feels dry, it’s time to water. Water gently to avoid disturbing the roots. Overwatering can lead to rot, so be careful not to overdo it.
What if my endive starts to rot during forcing?
Rot is usually caused by overwatering or poor drainage. If you notice any signs of rot, such as slimy or discolored leaves, remove the affected parts immediately. Improve drainage by adding more perlite or sand to the soil mix. Reduce watering frequency and ensure the container is well-ventilated.
Can I force endive more than once from the same root?
While it’s possible to get a second, smaller head from the same root, the quality and yield will be significantly lower. It’s generally best to discard the roots after the first forcing.
What can I do with the endive once it’s forced?
The possibilities are endless! Endive is delicious in salads, braises, soups, and even grilled. The slightly bitter flavor pairs well with sweet and savory ingredients. Try it with walnuts, apples, blue cheese, or balsamic vinaigrette in a salad. Braise it with butter and herbs for a simple side dish. Or grill it and serve it with a drizzle of olive oil and a sprinkle of sea salt.
Is growing endive at home worth the effort?
Absolutely! While it requires a bit of patience and attention, growing your own endive at home is a rewarding experience. You’ll enjoy fresher, more flavorful endive than you can find in the store, and you’ll have the satisfaction of knowing you grew it yourself. Plus, it’s a great way to extend your gardening season and enjoy homegrown produce year-round. The unique flavor and texture of homegrown, forced endive are truly worth the effort.


Leave a Comment