
Simple Bathroom Cleaning Routine: Let’s face it, cleaning the bathroom is nobody’s favorite chore. But what if I told you that with a few clever tricks and a simple routine, you could transform this dreaded task into a manageable and even (dare I say?) satisfying experience?
For centuries, cultures around the world have recognized the importance of cleanliness, not just for hygiene, but also for mental well-being. From ancient Roman bathhouses to Japanese onsen, the act of cleansing has always been intertwined with a sense of renewal and peace. While we might not have the luxury of a sprawling bathhouse, we can certainly create a clean and calming sanctuary in our own bathrooms.
In today’s busy world, who has time to spend hours scrubbing tiles? That’s where this DIY guide comes in! I’m going to share my favorite tips and tricks for establishing a simple bathroom cleaning routine that will keep your bathroom sparkling without taking up your entire weekend. We’ll cover everything from quick daily maintenance to tackling those tougher, less frequent cleaning tasks. Get ready to say goodbye to bathroom grime and hello to a fresh, inviting space!
DIY Deep Clean: Transforming Your Bathroom into a Sparkling Sanctuary
Okay, let’s face it, cleaning the bathroom is nobody’s favorite chore. But a clean bathroom is a happy bathroom, and a happy bathroom makes for a happier you! I’m going to walk you through my tried-and-true method for a deep clean that will leave your bathroom sparkling and smelling fresh. This isn’t just a surface wipe-down; we’re tackling the grime, the mildew, and everything in between. Get ready to roll up your sleeves!
What You’ll Need: Your Cleaning Arsenal
Before we dive in, let’s gather our supplies. Having everything on hand will make the process much smoother. Here’s my go-to list:
* Cleaning Solutions:
* All-purpose cleaner (I prefer a natural, citrus-based one, but use what you like!)
* Bathroom cleaner specifically for soap scum and mildew (or a DIY alternative, which I’ll share later!)
* Toilet bowl cleaner
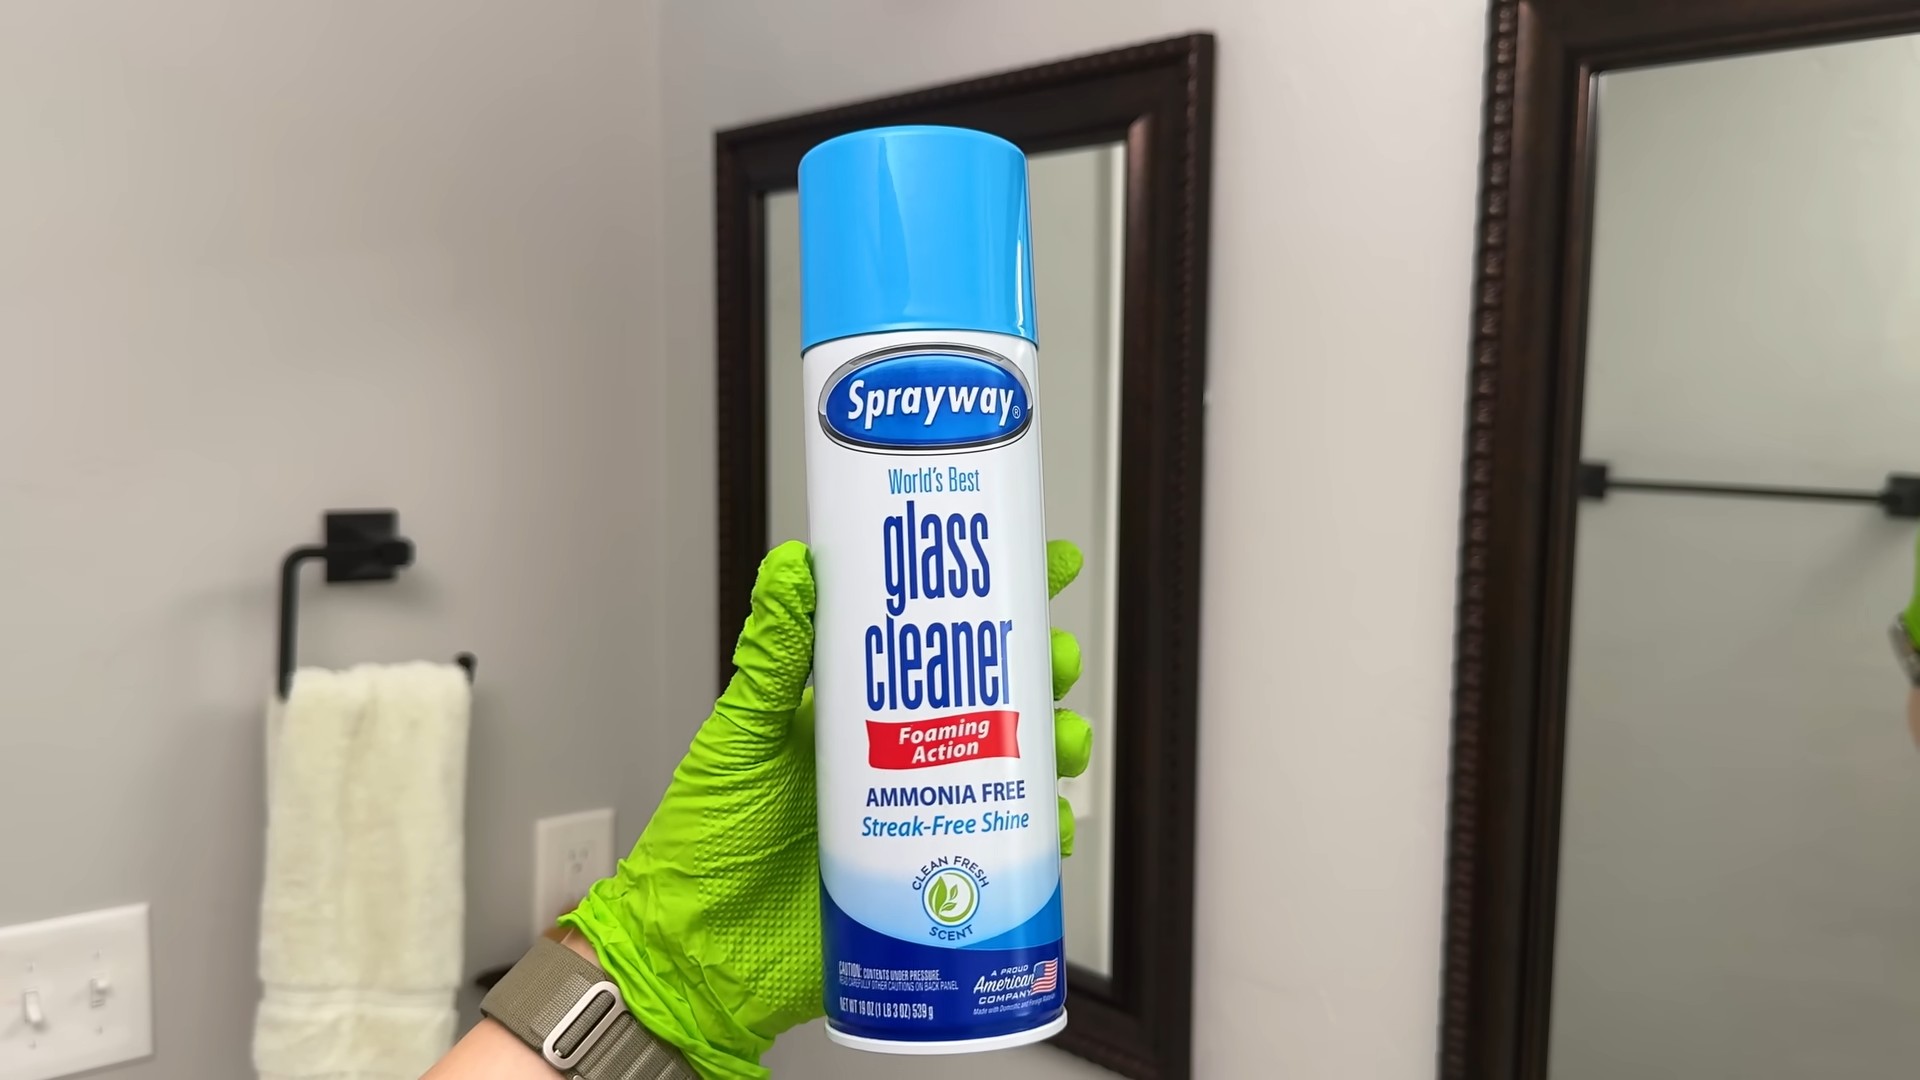
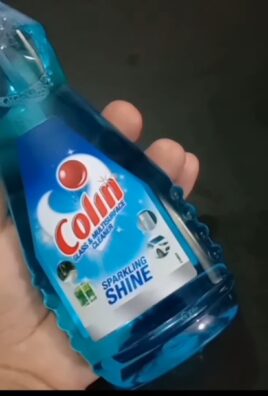
* Glass cleaner
* Baking soda
* White vinegar
* Hydrogen peroxide (optional, for stubborn stains)
* Tools of the Trade:
* Spray bottles (for your cleaning solutions)
* Microfiber cloths (lots of them! They’re the best for streak-free cleaning)
* Scrub brush (for the toilet bowl)
* Grout brush (a small, stiff brush for cleaning grout lines)
* Sponge
* Squeegee (for shower doors and mirrors)
* Rubber gloves (protect those hands!)
* Old toothbrush (for hard-to-reach spots)
* Small bucket or container
* Trash bags
* Ventilation fan (or open a window!)
Phase 1: Prepping for Battle
Before we start scrubbing, let’s get the bathroom ready for its makeover.
1. Clear the Clutter: Remove everything from the counters, shelves, and shower. This includes toiletries, bath mats, shower curtains, and anything else that’s in the way. This will give you a clear surface to work on and prevent you from accidentally spraying cleaner on your belongings. Place everything in a safe spot, like a basket or another room.
2. Dry Dusting: Before you introduce any moisture, give everything a quick dry dusting. This will remove loose dust and debris, making the cleaning process more effective. Use a microfiber cloth or a duster to wipe down surfaces like countertops, shelves, and light fixtures.
3. Ventilation is Key: Open a window or turn on the ventilation fan to ensure proper airflow. This is especially important when using cleaning products, as it helps to prevent the buildup of fumes.
Phase 2: Tackling the Toilet
Let’s start with the toilet, as it’s often the least pleasant part of the bathroom to clean.
1. Apply Toilet Bowl Cleaner: Squirt toilet bowl cleaner under the rim of the toilet bowl, making sure to coat the entire surface. Let it sit for at least 10-15 minutes to allow the cleaner to work its magic.
2. Clean the Exterior: While the cleaner is working in the bowl, use an all-purpose cleaner and a microfiber cloth to wipe down the exterior of the toilet, including the tank, the seat, the lid, and the base. Pay special attention to areas that are frequently touched, such as the handle and the seat.
3. Scrub the Bowl: After the cleaner has had time to sit, use a toilet brush to scrub the inside of the bowl thoroughly. Pay attention to any stains or buildup.
4. Flush and Rinse: Flush the toilet to rinse away the cleaner and any debris. If there are still stains or buildup, repeat steps 1-3.
5. Final Wipe Down: Give the exterior of the toilet one last wipe down with a clean microfiber cloth to remove any lingering cleaner or water spots.
Phase 3: Shower Power: Cleaning the Shower and Tub
Now, let’s move on to the shower and tub. This area often accumulates soap scum, mildew, and hard water stains, so it requires a bit more elbow grease.
1. Spray with Bathroom Cleaner: Generously spray the shower walls, tub, and shower door (or curtain) with a bathroom cleaner specifically designed for soap scum and mildew. Let it sit for at least 10-15 minutes to allow the cleaner to penetrate the grime.
2. Scrub, Scrub, Scrub: Use a sponge or scrub brush to scrub the shower walls, tub, and shower door. Pay special attention to areas where soap scum and mildew tend to accumulate, such as the corners and grout lines. For stubborn stains, you can try using a paste of baking soda and water.
3. Grout Cleaning: Use a grout brush to scrub the grout lines between the tiles. This will help to remove any dirt, mildew, or discoloration. You can also use a grout cleaner specifically designed for this purpose.
4. Rinse Thoroughly: Rinse the shower walls, tub, and shower door thoroughly with water to remove all traces of cleaner and debris.
5. Squeegee the Shower Door: Use a squeegee to remove excess water from the shower door. This will help to prevent water spots and streaks.
6. Shower Curtain Cleaning: If you have a shower curtain, either wash it in the washing machine according to the manufacturer’s instructions or wipe it down with a damp cloth and a mild detergent.
7. Clean the Showerhead: Mineral buildup can clog your showerhead. To clean it, fill a plastic bag with white vinegar and secure it around the showerhead with a rubber band. Make sure the showerhead is submerged in the vinegar. Let it soak for a few hours or overnight. Remove the bag and run the shower to flush out any remaining vinegar and debris.
Phase 4: Sink and Countertop Sparkle
Next up, the sink and countertop. These areas are often used multiple times a day, so they can quickly become dirty and cluttered.
1. Clear the Countertop: Remove everything from the countertop, including soap dispensers, toothbrush holders, and any other items.
2. Spray with All-Purpose Cleaner: Spray the countertop and sink with an all-purpose cleaner.
3. Wipe Down Surfaces: Use a microfiber cloth to wipe down the countertop and sink, paying attention to any spills or stains.
4. Clean the Faucet: Use a damp cloth to clean the faucet, removing any water spots or soap scum. You can also use an old toothbrush to clean around the base of the faucet.
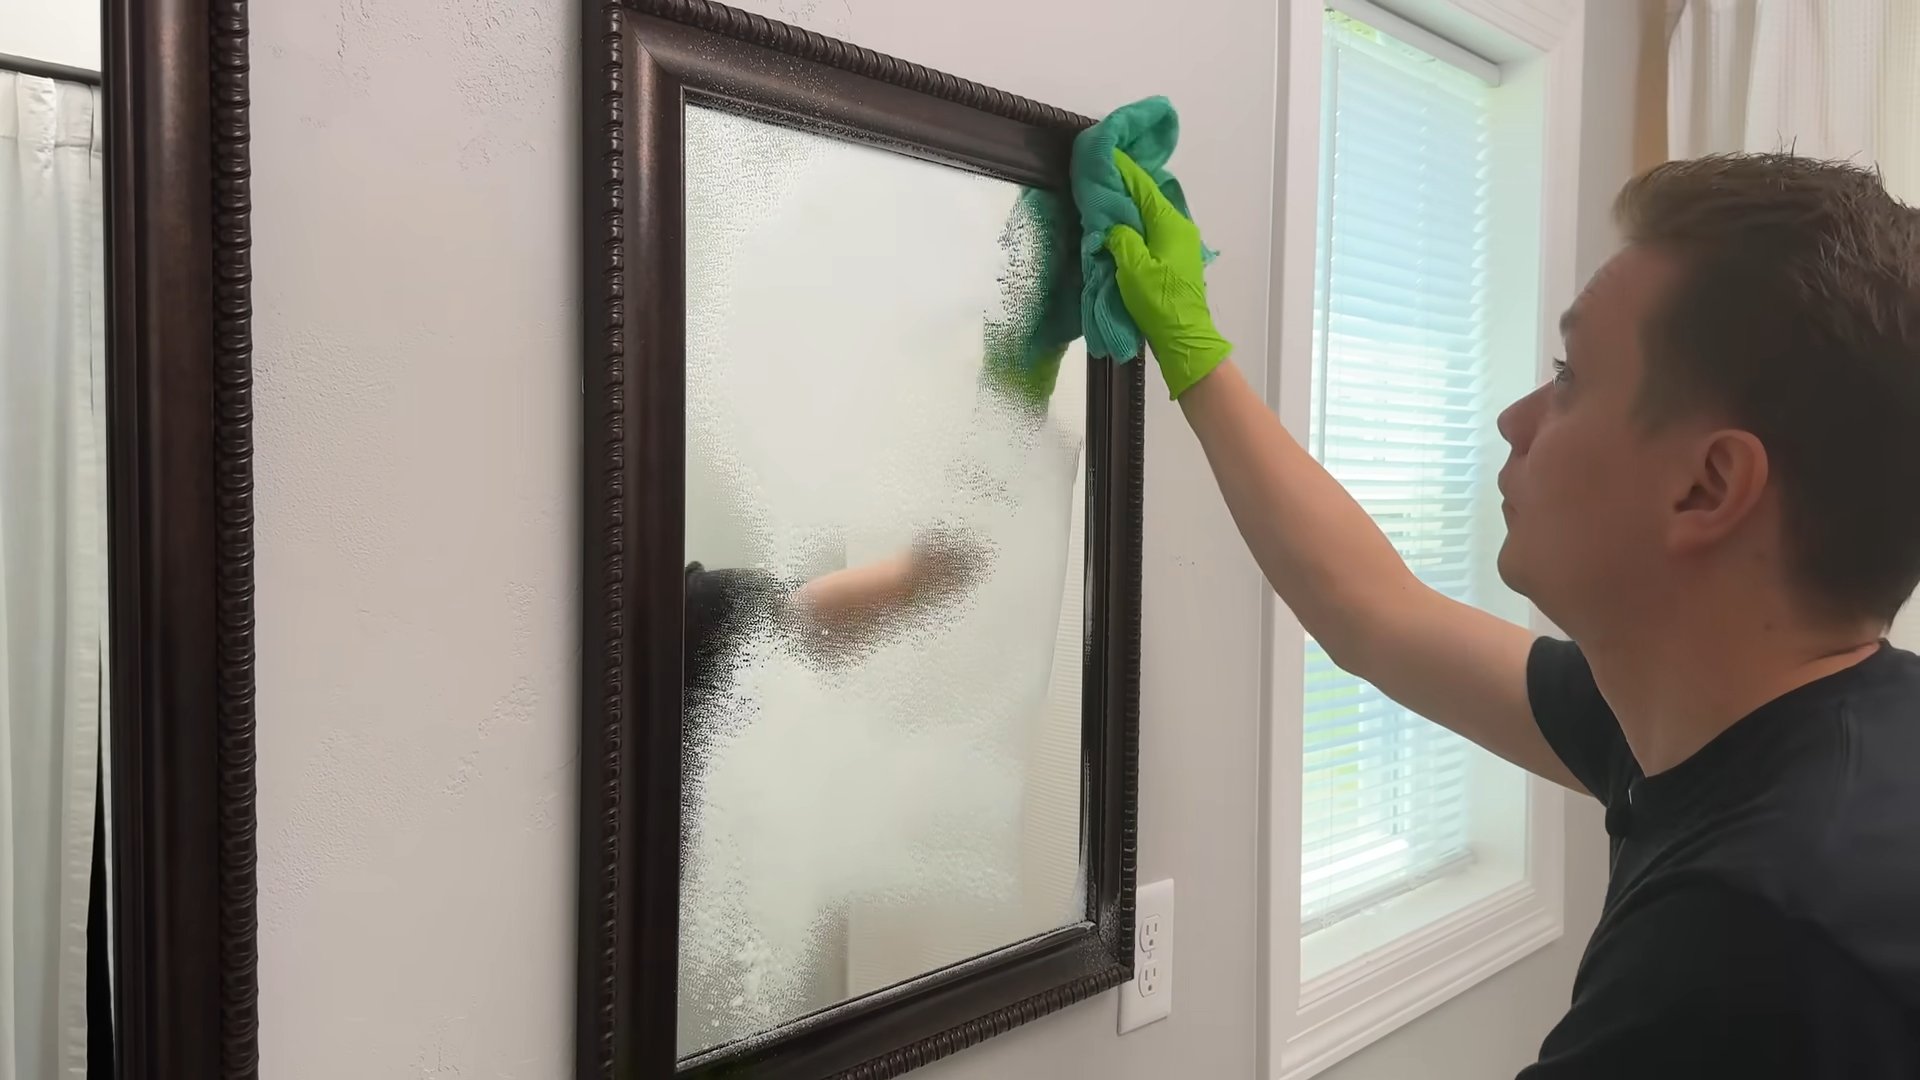
5. Clean the Mirror: Spray the mirror with glass cleaner and wipe it down with a clean microfiber cloth. Use a squeegee for a streak-free finish.
6. Clean the Drain: Pour a cup of baking soda down the drain, followed by a cup of white vinegar. Let it fizz for about 30 minutes, then flush with hot water. This will help to clear any clogs and freshen the drain.
Phase 5: Floor to Glory
Finally, let’s tackle the floor. A clean floor can make a huge difference in the overall appearance of your bathroom.
1. Sweep or Vacuum: Sweep or vacuum the floor to remove any loose dirt, dust, or debris.
2. Mop the Floor: Mop the floor with a bathroom cleaner or an all-purpose cleaner. Be sure to follow the manufacturer’s instructions for the cleaner you are using.
3. Pay Attention to Corners and Edges: Use a grout brush or an old toothbrush to clean the corners and edges of the floor, where dirt and grime tend to accumulate.
4. Rinse (If Necessary): If you are using a cleaner that requires rinsing, rinse the floor with clean water.
5. Dry the Floor: Allow the floor to air dry completely before replacing any bath mats or rugs.
Phase 6: The Finishing Touches
Now that the major cleaning is done, let’s add the finishing touches to make your bathroom truly sparkle.
1. Replace Items: Return all of the items you removed from the counters, shelves, and shower. Organize them neatly and consider decluttering any items you no longer use.
2. Clean Accessories: Wipe down soap dispensers, toothbrush holders, and other accessories with a damp cloth.
3. Replace Towels: Hang fresh, clean towels.
4. Empty the Trash: Empty the trash can and replace the liner.
5. Add Air Freshener: Add an air freshener or diffuser to keep your bathroom smelling fresh.
6. Admire Your Work: Step back and admire your sparkling clean bathroom! You deserve it!
Bonus Tip: DIY Cleaning Solutions
Want to save money and avoid harsh chemicals? Here are a couple of my favorite DIY cleaning solutions:
* All-Purpose Cleaner: Mix equal parts white vinegar
Conclusion
So, there you have it! Transforming your bathroom cleaning routine from a dreaded chore into a manageable, even enjoyable, task is entirely within your reach. This simple bathroom cleaning routine isn’t just about achieving a sparkling clean bathroom; it’s about reclaiming your time, reducing stress, and creating a healthier, more pleasant living space.
The beauty of this routine lies in its adaptability. Feel free to tweak it to perfectly suit your needs and preferences. For instance, if you’re particularly sensitive to strong smells, consider using essential oils like tea tree or eucalyptus in your cleaning solutions for a natural, refreshing scent. Alternatively, if you have stubborn hard water stains, a paste of baking soda and vinegar left to sit for a few minutes before scrubbing can work wonders.
Don’t underestimate the power of consistency. Even dedicating just 15-20 minutes a week to this simple bathroom cleaning routine can make a world of difference. You’ll find that surfaces stay cleaner for longer, preventing the buildup of grime and mildew that can be so difficult to remove. Plus, a consistently clean bathroom is simply more inviting and relaxing to use.
We understand that everyone’s bathroom and cleaning habits are different. Maybe you prefer a different type of cleaner for your shower, or perhaps you find that a daily wipe-down of the sink is all you need to keep it sparkling. The key is to find what works best for you and stick with it.
But the real magic of this routine is in its simplicity. No complicated steps, no harsh chemicals, just a few simple tasks performed regularly to maintain a clean and healthy bathroom. It’s a sustainable approach to cleaning that fits seamlessly into even the busiest of schedules.
We wholeheartedly encourage you to give this simple bathroom cleaning routine a try. You might be surprised at how much easier and more enjoyable it makes the whole process. And once you’ve experienced the satisfaction of a consistently clean bathroom, we’re confident you’ll never go back to your old ways.
Don’t keep this secret to yourself! Share your experiences with us and other readers. What are your favorite cleaning tips and tricks? What variations have you found that work best for your bathroom? Let’s create a community of clean bathroom enthusiasts and help each other make this chore a little less daunting.
So, grab your supplies, set a timer, and get ready to transform your bathroom cleaning routine. You’ll be amazed at the results!
Frequently Asked Questions (FAQs)
Q: How often should I perform this simple bathroom cleaning routine?
A: Ideally, performing this routine once a week is sufficient for maintaining a clean bathroom. However, the frequency can be adjusted based on your bathroom usage and personal preferences. If you have a busy household or notice buildup more quickly, you might consider doing a quick touch-up mid-week. Conversely, if your bathroom sees less use, you might be able to stretch the routine to every other week. The key is to find a schedule that works for you and prevents grime from accumulating.
Q: What if I have stubborn stains or mildew in my bathroom?
A: For stubborn stains, a paste of baking soda and water (or vinegar for tougher stains) can be applied to the affected area and left to sit for 15-20 minutes before scrubbing. For mildew, a solution of bleach and water (always use caution and proper ventilation when working with bleach) can be sprayed on the affected area, left to sit for a few minutes, and then scrubbed and rinsed thoroughly. Alternatively, you can use a commercial mildew remover. Remember to always test any cleaning solution in an inconspicuous area first to ensure it doesn’t damage the surface.
Q: Can I use natural cleaning products instead of commercial ones?
A: Absolutely! Many natural cleaning products are just as effective as commercial ones and are often safer for your health and the environment. Vinegar, baking soda, lemon juice, and essential oils are all excellent natural cleaning agents. For example, you can use a mixture of vinegar and water as an all-purpose cleaner, baking soda as a gentle abrasive, and lemon juice to remove hard water stains. Experiment with different combinations to find what works best for you.
Q: What’s the best way to clean a showerhead?
A: Mineral buildup can often clog showerheads and reduce water pressure. To clean a showerhead, fill a plastic bag with white vinegar and secure it around the showerhead so that the showerhead is submerged in the vinegar. Let it soak for several hours or overnight. Remove the bag and scrub away any remaining residue with an old toothbrush. Rinse thoroughly with water.
Q: How can I prevent mold and mildew from growing in my bathroom?
A: Proper ventilation is key to preventing mold and mildew growth. Always run the exhaust fan during and after showering or bathing to remove excess moisture. You can also open a window to allow fresh air to circulate. Wipe down wet surfaces, such as shower walls and doors, after each use. Regularly clean your bathroom with a mildew-resistant cleaner.
Q: What are some tips for keeping my bathroom smelling fresh?
A: There are several ways to keep your bathroom smelling fresh. You can place a bowl of baking soda in the bathroom to absorb odors. You can also use essential oil diffusers or scented candles (always exercise caution when using candles). Another simple trick is to place a few drops of essential oil on the inside of your toilet paper roll.
Q: How do I clean a toilet effectively?
A: For a basic toilet cleaning, use a toilet bowl cleaner and a toilet brush to scrub the bowl thoroughly. Flush the toilet to rinse. For a deeper clean, you can pour a cup of vinegar into the toilet bowl and let it sit for several hours or overnight before scrubbing and flushing. You can also use a pumice stone to remove stubborn stains.
Q: What’s the best way to clean bathroom mirrors and glass surfaces?
A: A simple solution of equal parts white vinegar and water works wonders for cleaning mirrors and glass surfaces. Spray the solution onto the surface and wipe clean with a microfiber cloth. Avoid using paper towels, as they can leave streaks.
Q: How can I make my simple bathroom cleaning routine more eco-friendly?
A: There are many ways to make your bathroom cleaning routine more eco-friendly. Use reusable cleaning cloths instead of paper towels. Choose cleaning products that are biodegradable and free of harsh chemicals. Consider making your own cleaning solutions using natural ingredients like vinegar, baking soda, and lemon juice. Reduce your water consumption by turning off the faucet while scrubbing.
Q: What if I don’t have time for a full weekly cleaning?
A: Even a quick 5-10 minute tidy-up each day can make a big difference. Wipe down the sink and counter after each use, quickly scrub the toilet, and sweep the floor. These small tasks will prevent dirt and grime from building up and make your weekly cleaning routine much easier.


Leave a Comment