
Grow Artichokes? Absolutely! I know what you might be thinking: “Artichokes? Aren’t those fancy vegetables only grown on sprawling farms?” Well, I’m here to tell you that you can absolutely cultivate these architectural beauties right in your own backyard, even if you’re a complete beginner. Forget the intimidation factor; with a little know-how, you’ll be harvesting your own delicious artichokes before you know it!
Artichokes have a rich history, dating back to ancient Roman times, where they were considered a delicacy. They’ve been cultivated and enjoyed for centuries, and now, you can join that tradition. But why bother growing your own? Simple: homegrown artichokes taste infinitely better than anything you’ll find in the store. Plus, there’s immense satisfaction in nurturing a plant from seedling to harvest, knowing you’ve created something delicious and beautiful.
This beginner’s guide is your key to unlocking the secrets of successfully grow artichokes. We’ll break down everything you need to know, from choosing the right variety to providing the perfect growing conditions. Imagine impressing your friends and family with a stunning artichoke dish made with ingredients you grew yourself. Ready to get started? Let’s dive in!
Growing Artichokes: A Beginner’s Guide to Bountiful Blooms (and Delicious Hearts!)
Okay, artichoke lovers, listen up! I’m going to walk you through everything you need to know to grow your own artichokes. It might seem intimidating, but trust me, with a little patience and the right information, you’ll be harvesting those gorgeous, edible buds in no time. We’ll cover everything from choosing the right variety to dealing with pests. Let’s get started!
Choosing Your Artichoke Variety
First things first, you need to decide which artichoke variety is right for you. There are a few popular choices, each with its own unique characteristics.
* Green Globe: This is probably the most common variety you’ll find. It produces large, round, green artichokes with a classic flavor. It’s a reliable choice for most climates.
* Violetta: If you’re looking for something a little different, Violetta artichokes are a beautiful purple color. They tend to be slightly smaller than Green Globes, but they have a lovely, delicate flavor.
* Imperial Star: This variety is known for its early maturity, which is great if you live in an area with a shorter growing season. It produces medium-sized, green artichokes.
* Big Heart: As the name suggests, this variety is all about the heart! It produces large, nearly spineless artichokes with a high percentage of edible heart.
Consider your climate, your taste preferences, and the space you have available when making your decision. I personally love Green Globe for its classic flavor and reliability, but I’ve also had success with Imperial Star in my slightly cooler climate.
Getting Started: Seeds vs. Transplants
You have two main options for starting your artichokes: from seed or from transplants.
* Seeds: Starting from seed is the more economical option, but it requires more patience. Artichokes started from seed may not produce in their first year.
* Transplants: Buying transplants is a faster way to get your artichoke plants established. You’ll likely get a harvest in the first year, but it will be more expensive.
I usually recommend transplants for beginners, just because it’s more rewarding to see those artichokes sooner rather than later. However, if you’re on a budget or enjoy the challenge of starting from seed, go for it!
Step-by-Step Guide to Growing Artichokes
Alright, let’s get down to the nitty-gritty. Here’s a step-by-step guide to growing your own artichokes:
1. Prepare the Soil: Artichokes are heavy feeders, so they need rich, well-drained soil. Amend your soil with plenty of compost or well-rotted manure before planting. I like to dig in at least a few inches of compost to give them a good start. The ideal soil pH is between 6.0 and 7.0.
2. Choose a Sunny Location: Artichokes need at least 6-8 hours of sunlight per day. Choose a location in your garden that gets plenty of sunshine. Remember, these plants can get quite large, so give them plenty of space.
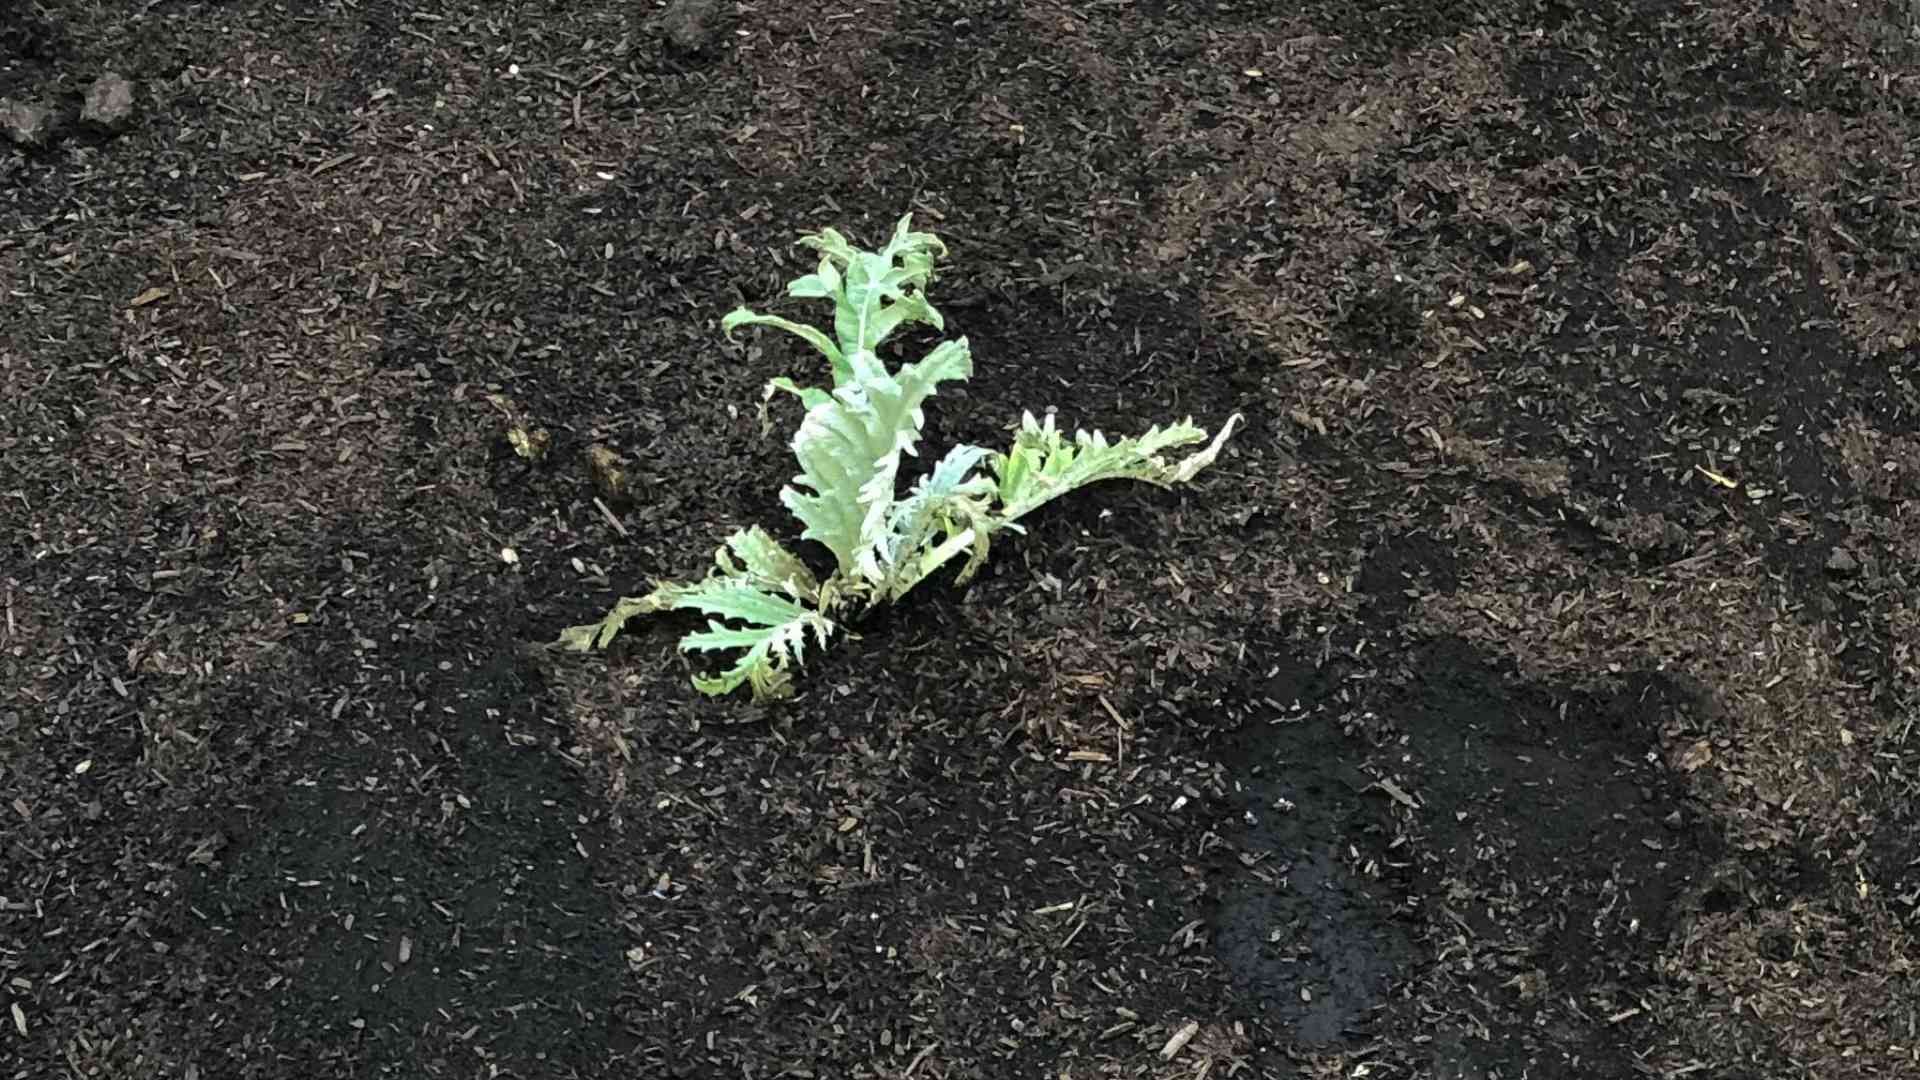
3. Planting Transplants: If you’re using transplants, plant them in the spring after the last frost. Dig a hole that’s slightly larger than the root ball of the transplant. Gently remove the transplant from its container and place it in the hole. Backfill with soil and water thoroughly. Space plants about 3-4 feet apart.
4. Planting Seeds (Optional): If you’re starting from seed, you’ll need to start them indoors about 8-10 weeks before the last frost. Sow the seeds in seed-starting trays or pots filled with seed-starting mix. Keep the soil moist and warm. Once the seedlings have developed a few sets of true leaves, you can transplant them into larger pots. Harden them off gradually before transplanting them into the garden after the last frost.
5. Watering: Artichokes need consistent moisture, especially during hot, dry weather. Water deeply and regularly, especially when the plants are young and establishing themselves. Avoid overhead watering, as this can lead to fungal diseases. I prefer using a soaker hose or drip irrigation to deliver water directly to the roots.
6. Fertilizing: As I mentioned earlier, artichokes are heavy feeders. Fertilize them regularly with a balanced fertilizer. I like to use a slow-release fertilizer at planting time, followed by regular applications of liquid fertilizer throughout the growing season. Fish emulsion or seaweed extract are great organic options.
7. Mulching: Mulch around your artichoke plants with straw, wood chips, or other organic mulch. This will help to retain moisture, suppress weeds, and regulate soil temperature.
8. Overwintering: In colder climates, artichokes need to be protected from frost. Cut back the foliage to about 6 inches above the ground after the first frost. Cover the plants with a thick layer of mulch, such as straw or leaves. You can also use a frost blanket for extra protection. In milder climates, you may not need to provide any winter protection.
9. Pest and Disease Control: Keep an eye out for pests and diseases. Aphids, slugs, and snails can be common problems. You can control aphids with insecticidal soap or neem oil. Slugs and snails can be handpicked or trapped. Fungal diseases can be prevented by avoiding overhead watering and ensuring good air circulation.
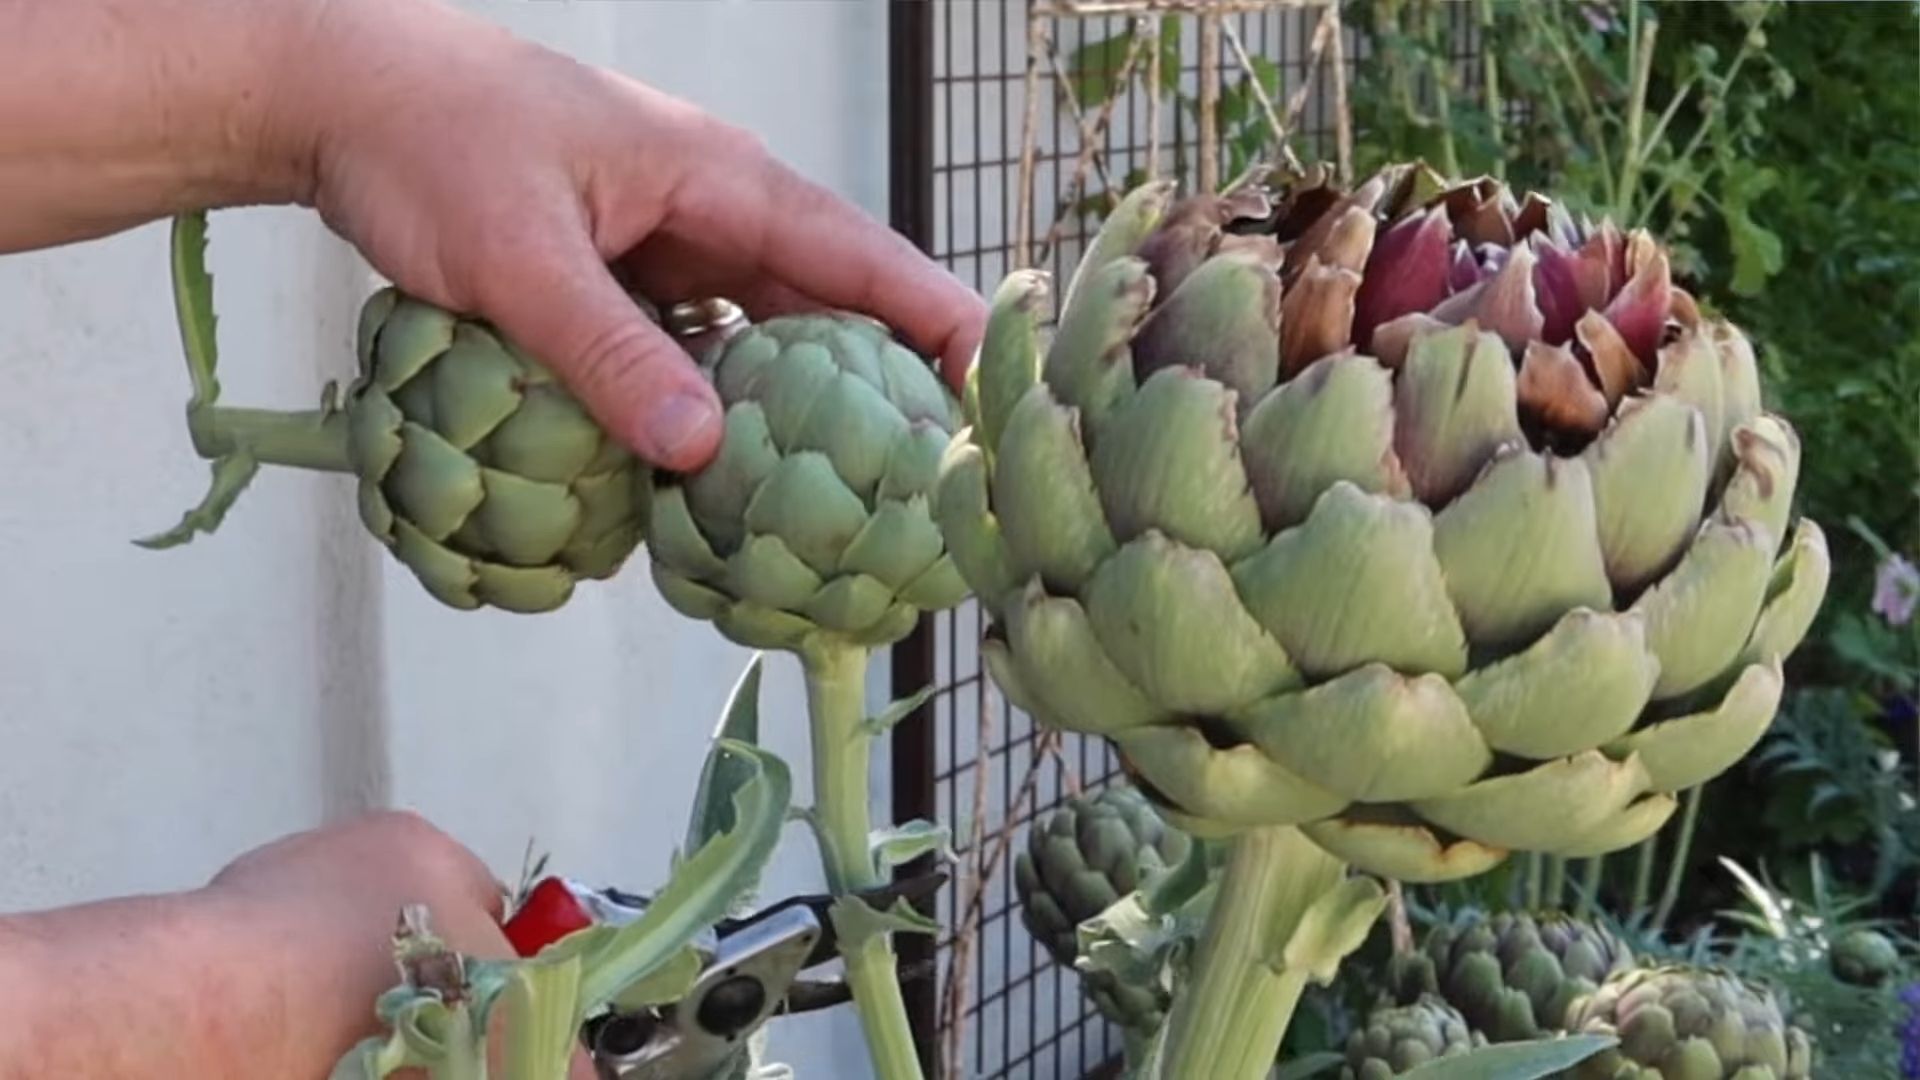
10. Harvesting: Artichokes are ready to harvest when the buds are still tight and firm, but the bracts (the outer leaves) have started to open slightly. Cut the artichokes from the plant with a sharp knife, leaving a few inches of stem attached. Harvest the main bud first, followed by the side shoots.
Dealing with Common Artichoke Problems
Even with the best care, you might encounter some problems while growing artichokes. Here are a few common issues and how to deal with them:
* Aphids: These tiny pests can suck the sap from your artichoke plants, causing them to weaken and become distorted. Spray them with insecticidal soap or neem oil. You can also try attracting beneficial insects, such as ladybugs, which will feed on the aphids.
* Slugs and Snails: These slimy creatures can munch on the leaves of your artichoke plants, leaving behind unsightly holes. Handpick them at night or set out traps filled with beer. You can also use copper tape around your plants to deter them.
* Artichoke Plume Moth: The larvae of this moth can bore into the artichoke buds, causing them to rot. Remove and destroy any infested buds. You can also use pheromone traps to attract and kill the adult moths.
* Root Rot: This fungal disease can occur in poorly drained soil. Make sure your soil is well-drained and avoid overwatering. If you suspect root rot, you can try treating the soil with a fungicide.
* Lack of Bud Production: If your artichoke plants aren’t producing buds, it could be due to a number of factors, such as insufficient sunlight, poor soil, or lack of water. Make sure your plants are getting enough sunlight, water, and nutrients. You may also need to thin out the plants to improve air circulation.
Harvesting and Enjoying Your Artichokes
Okay, so you’ve nurtured your artichoke plants, battled the pests, and now it’s time to reap the rewards! Harvesting artichokes is pretty straightforward.
* When to Harvest: The best time to harvest is when the buds are plump and firm, but before the bracts (the pointy leaves) start to spread open too much. You want them to be nice and tight.
* How to Harvest: Use a sharp knife to cut the artichoke stem about 2-3 inches below the base of the bud. Be careful not to damage the rest of the plant.
* What to Do with Them: Now for the fun part – eating them! Artichokes can be steamed, boiled, grilled, or baked. The most common way to eat them is to steam them and then dip the bracts in melted butter or aioli. The heart of the artichoke is the most prized part – it’s incredibly tender and flavorful. You can also use artichoke hearts in salads, dips, and other dishes.
Extending the Harvest
If you want to extend your artichoke harvest, here are a few tips:
* Succession Planting: Plant new artichoke plants every few weeks to ensure a continuous harvest throughout the growing season.
* Harvest Regularly: Harvest the artichokes as soon as they’re ready to encourage the plant to produce more buds.
* Provide Adequate Water and Nutrients: Keep your artichoke plants well-watered and fertilized to support continued growth and bud production.
Propagating Artichokes
If you want to expand your artichoke patch, you can propagate them from offshoots, also known as “pups.”
* When to Propagate: The best time to propagate artichokes
Conclusion
So, there you have it! Growing your own artichokes isn’t just a gardening project; it’s an investment in delicious, healthy eating and a beautiful addition to your landscape. We’ve walked you through everything from selecting the right variety and preparing your soil to nurturing your plants and harvesting those prized buds. Remember, patience is key. Artichokes are perennials, meaning they’ll come back year after year, rewarding your initial efforts with an increasing bounty.
This DIY trick, focusing on **growing artichokes**, is a must-try for several compelling reasons. First, the flavor of a homegrown artichoke, freshly picked and steamed, is simply unparalleled. It’s sweeter, more tender, and bursting with a freshness you just can’t find in store-bought varieties. Second, you have complete control over the growing process, ensuring that your artichokes are free from harmful pesticides and chemicals. This is especially important if you’re committed to organic gardening and healthy eating. Third, growing artichokes is surprisingly rewarding. Watching those majestic plants thrive and produce those unique, edible flowers is a source of immense satisfaction.
Looking for variations? Consider companion planting! Artichokes thrive alongside plants like marigolds, which deter pests, and legumes like beans and peas, which fix nitrogen in the soil. You can also experiment with different artichoke varieties. ‘Green Globe’ is a classic choice, but ‘Violetta’ offers a beautiful purple hue and a slightly different flavor profile. For warmer climates, ‘Imperial Star’ is a great option, known for its early and abundant yields. Another fun variation is to try forcing your artichokes to produce a second crop in the fall by cutting back the plants after the initial harvest. This requires careful watering and fertilization, but the reward of a late-season artichoke harvest is well worth the effort.
Don’t be intimidated by the perceived complexity of growing artichokes. With the right information and a little dedication, anyone can successfully cultivate these culinary treasures. We’ve provided you with a solid foundation, but the real learning comes from experience. So, get your hands dirty, embrace the challenges, and enjoy the journey.
We wholeheartedly encourage you to try this DIY trick and experience the joy of growing your own artichokes. Imagine serving a delicious artichoke dip made with freshly harvested buds to your friends and family. Picture your garden adorned with those striking, architectural plants. The possibilities are endless!
Most importantly, we want to hear about your experiences! Share your successes, your challenges, and your tips with us in the comments below. What variety did you choose? What growing techniques did you find most effective? What delicious recipes did you create with your homegrown artichokes? Your feedback will not only help us improve this guide but also inspire other gardeners to embark on their own artichoke-growing adventures. Let’s build a community of artichoke enthusiasts and share the love of this amazing plant!
Frequently Asked Questions (FAQ)
What is the best time of year to plant artichokes?
The ideal time to plant artichokes depends on your climate. In regions with mild winters (zones 7-10), you can plant artichokes in the fall for a spring harvest. In colder climates (zones 6 and below), it’s best to start artichokes indoors 8-10 weeks before the last expected frost and transplant them outdoors in the spring after the danger of frost has passed. This gives them a head start and allows them to establish themselves before the heat of summer.
How much space do artichoke plants need?
Artichoke plants are large and require ample space to thrive. Each plant needs at least 3-4 feet of space in all directions. This allows for proper air circulation and prevents overcrowding, which can lead to disease. When planning your garden, factor in the mature size of the plants to ensure they have enough room to grow.
What kind of soil is best for growing artichokes?
Artichokes prefer well-drained, fertile soil that is rich in organic matter. The ideal soil pH is between 6.0 and 7.0. Before planting, amend your soil with compost, aged manure, or other organic materials to improve its drainage and fertility. If your soil is heavy clay, consider adding sand or perlite to improve drainage.
How often should I water my artichoke plants?
Artichokes need consistent moisture, especially during the growing season. Water deeply and regularly, especially during dry spells. Aim to keep the soil consistently moist but not waterlogged. Mulching around the plants can help retain moisture and suppress weeds. Reduce watering slightly during the dormant season.
How do I fertilize my artichoke plants?
Artichokes are heavy feeders and benefit from regular fertilization. Apply a balanced fertilizer (e.g., 10-10-10) in the spring when new growth appears. You can also side-dress the plants with compost or aged manure throughout the growing season. Avoid over-fertilizing, as this can lead to excessive foliage growth at the expense of bud production.
How do I protect my artichoke plants from pests and diseases?
Artichokes can be susceptible to pests such as aphids, snails, and artichoke plume moths. Regularly inspect your plants for signs of infestation and take appropriate action. Aphids can be controlled with insecticidal soap or a strong blast of water. Snails can be handpicked or trapped. Artichoke plume moths can be difficult to control, but row covers can help prevent them from laying eggs on the plants. Diseases such as powdery mildew and botrytis can also affect artichokes. Ensure good air circulation around the plants and avoid overhead watering to minimize the risk of these diseases.
When are artichokes ready to harvest?
Artichokes are typically ready to harvest in the spring or early summer, depending on the variety and your climate. The buds are ready to harvest when they are firm, plump, and have tightly closed scales. The size of the bud is also an indicator of ripeness. Cut the buds from the plant with a sharp knife, leaving a few inches of stem attached.
Can I grow artichokes in containers?
Yes, you can grow artichokes in containers, but you’ll need a large container (at least 20 gallons) to accommodate their size. Choose a well-draining potting mix and provide regular watering and fertilization. Container-grown artichokes may need to be moved to a sheltered location during the winter in colder climates.
What do I do with my artichoke plants in the winter?
In mild climates, artichokes can remain in the ground over winter with minimal protection. In colder climates, you’ll need to protect the plants from freezing temperatures. Cut back the foliage to a few inches above the ground and mulch heavily around the base of the plants with straw or leaves. You can also dig up the plants and store them in a cool, dark place over winter, replanting them in the spring.
My artichoke plant produced buds the first year, is this normal?
While artichokes are perennials and typically produce buds in their second year, some varieties, especially those started indoors early, may produce a small crop in their first year. This is perfectly normal and a welcome bonus! However, don’t expect a full harvest in the first year. The plant will focus on establishing its root system, and the second year will bring a much more abundant yield.
How can I encourage more bud production on my artichoke plants?
To encourage more bud production, ensure your artichoke plants receive adequate sunlight (at least 6 hours per day), consistent watering, and regular fertilization. Remove any suckers (small shoots that grow from the base of the plant) to direct the plant’s energy towards bud development. Also, harvest the main bud promptly to encourage the development of side buds.
Are artichoke leaves edible?
While the primary edible part of the artichoke is the heart and the base of the petals, the leaves are technically edible, but they are quite tough and bitter. They are not typically eaten directly. However, some people use artichoke leaves to make tea or extracts, which are believed to have health benefits.
How do I store harvested artichokes?
Freshly harvested artichokes are best used as soon as possible, but they can be stored in the refrigerator for up to a week. To store them, sprinkle them with water and place them in a plastic bag. Avoid washing them before storing, as this can promote spoilage.

Leave a Comment