
Clean Mold from Shower – it’s a phrase that might send shivers down your spine, but don’t worry, I’m here to help! Let’s face it, that unsightly mold creeping into your shower is not only an eyesore, but it can also pose health risks. Nobody wants to start their day with a moldy greeting, right?
For centuries, humans have battled the persistent problem of mold in damp environments. From ancient Roman bathhouses to modern-day homes, the struggle is real! But fear not, because I’m about to share some incredibly effective and easy DIY tricks to banish that mold for good. You don’t need to be a cleaning expert to tackle this; these are simple solutions using ingredients you probably already have in your home.
Why is it so important to clean mold from shower? Well, beyond the obvious aesthetic reasons, mold can trigger allergies, asthma, and other respiratory issues. Plus, letting it fester can lead to more serious structural damage to your bathroom over time. I’m going to show you how to reclaim your shower, protect your health, and save money on expensive cleaning products. Get ready to say goodbye to mold and hello to a sparkling clean, healthy shower space!
DIY Mold Removal: Reclaim Your Sparkling Shower!
Okay, let’s face it, mold in the shower is a common problem, and it’s definitely not pretty. But don’t despair! You don’t need to call in a professional (unless it’s a *really* bad case). I’m going to walk you through a few effective DIY methods to banish that mold and get your shower looking fresh and clean again. We’ll cover everything from prevention to tackling stubborn stains. Let’s get started!
What You’ll Need: The Mold-Fighting Arsenal
Before we dive in, let’s gather our supplies. Having everything ready will make the process much smoother. Here’s what I recommend:
* Spray Bottles: You’ll need at least two. One for your cleaning solution and another for plain water.
* Old Toothbrush or Scrub Brush: An old toothbrush is perfect for getting into those tight corners and grout lines. A scrub brush with stiffer bristles will help with larger areas.
* Microfiber Cloths or Sponges: Microfiber cloths are great because they’re absorbent and won’t scratch surfaces. Sponges work well too, especially for applying cleaning solutions.
* Protective Gear: This is important! Wear gloves (rubber or disposable) to protect your skin from the cleaning solutions and the mold itself. A mask is also a good idea to avoid inhaling mold spores. Eye protection (goggles or safety glasses) is a must, especially when spraying.
* White Vinegar: This is my go-to for mild mold problems. It’s a natural disinfectant and deodorizer.
* Baking Soda: Another natural powerhouse! Baking soda is a mild abrasive that helps scrub away mold and stains.
* Hydrogen Peroxide (3%): This is a stronger option for tougher mold. It’s a bleaching agent, so test it in an inconspicuous area first.
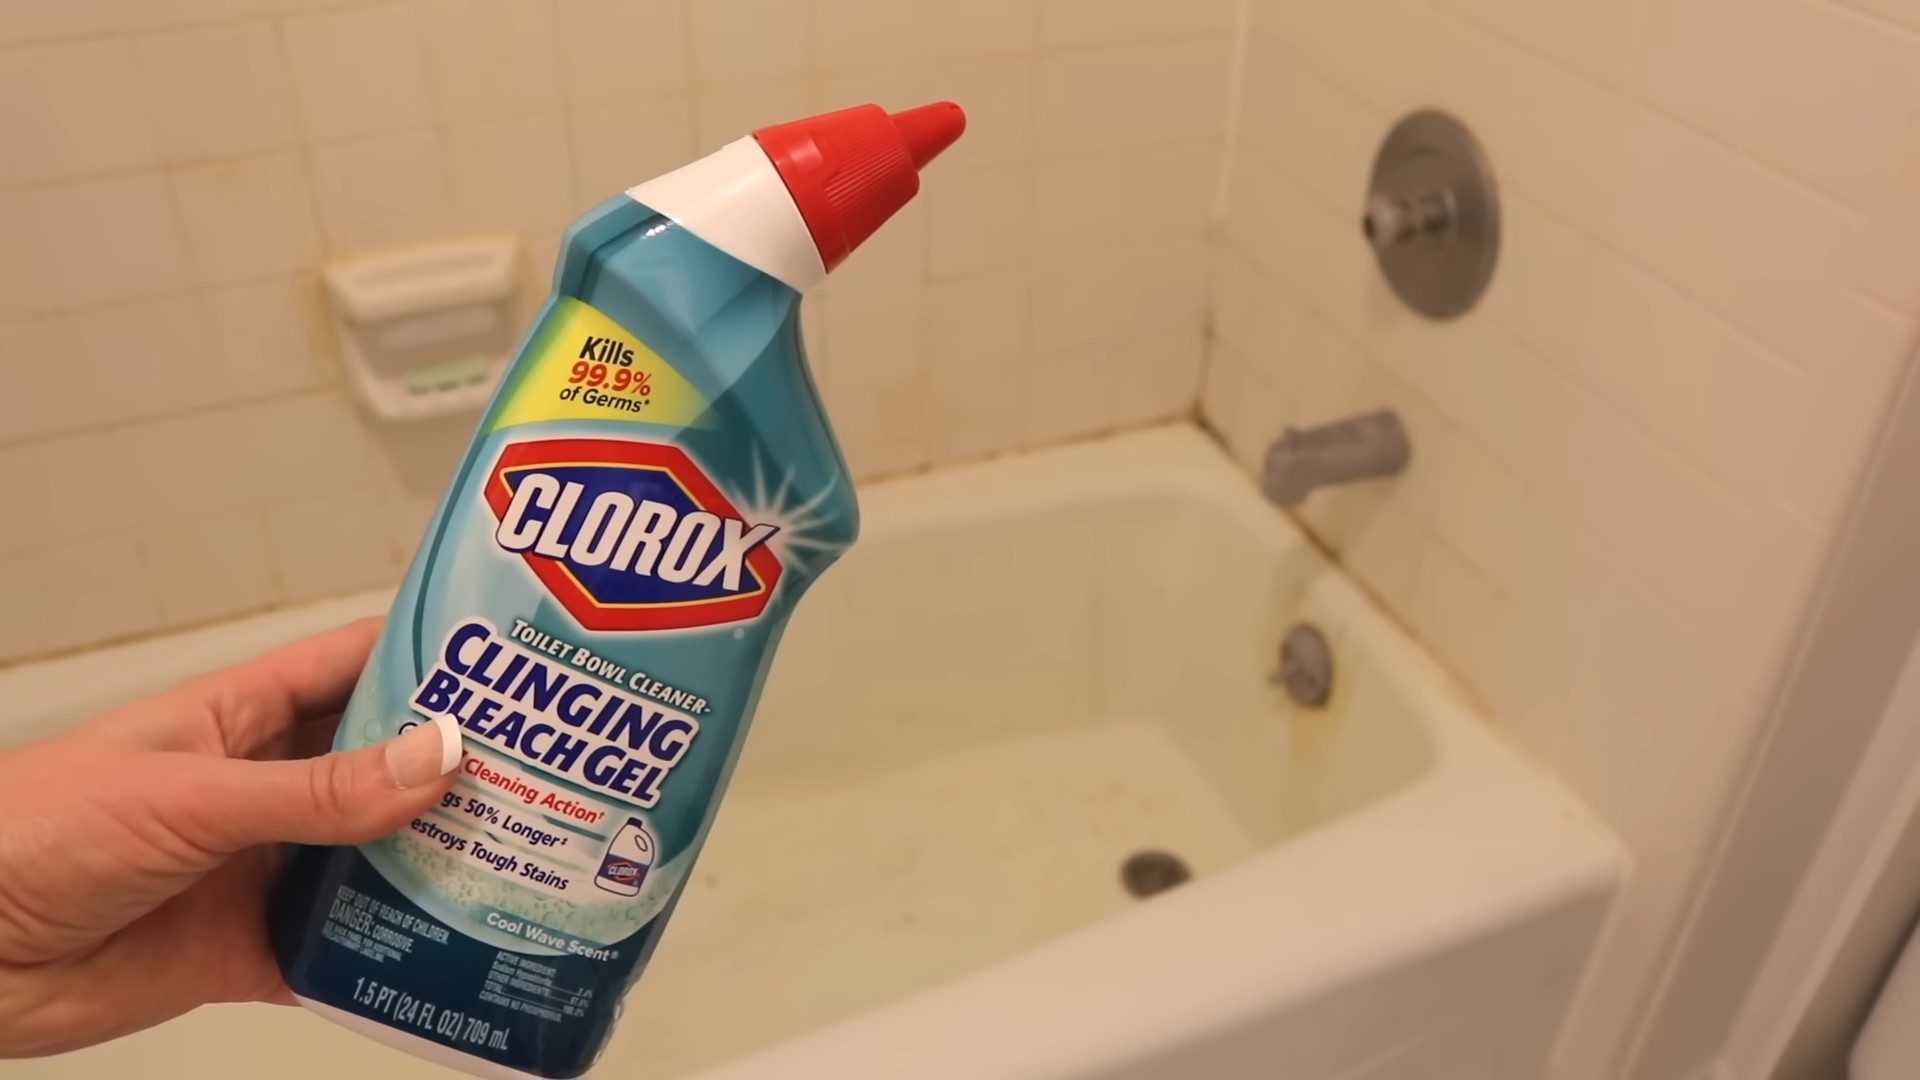
* Bleach (Sodium Hypochlorite): Use this as a last resort for really stubborn mold. It’s very effective but can be harsh and requires extra caution.
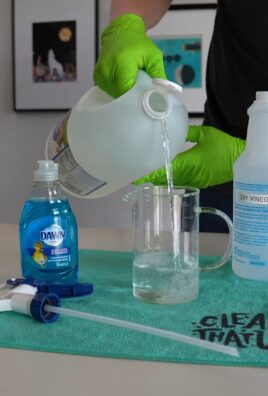
* Dish Soap (Optional): A few drops of dish soap can help cut through grime and grease, making the cleaning process more effective.
* Caulk (Optional): If the caulk around your shower is heavily damaged or moldy, you might need to replace it.
* Caulk Removal Tool (Optional): If you’re replacing the caulk, this tool will make the job much easier.
* Spray Bottle with Fan (Optional): This is helpful for applying cleaning solutions to large areas.
* Squeegee (Optional): For daily maintenance to prevent mold growth.
Method 1: Vinegar Power – The Gentle Approach
This method is great for tackling mild mold and preventing future growth. Vinegar is a natural disinfectant and deodorizer, and it’s safe for most surfaces.
1. Prepare the Vinegar Solution: Pour undiluted white vinegar into a spray bottle. No need to mix it with water!
2. Spray the Moldy Areas: Generously spray the vinegar onto all the moldy areas in your shower, including the grout, tiles, and shower curtain.
3. Let it Sit: Allow the vinegar to sit on the mold for at least an hour. For tougher mold, you can let it sit overnight. The longer it sits, the more effective it will be.
4. Scrub and Rinse: After the soaking time, use your old toothbrush or scrub brush to scrub the moldy areas. You should see the mold starting to loosen and disappear.
5. Rinse Thoroughly: Rinse the shower with clean water to remove all traces of vinegar and mold.
6. Dry the Shower: Use a clean microfiber cloth to dry the shower thoroughly. This will help prevent mold from returning.
Method 2: Baking Soda Paste – The Abrasive Scrub
Baking soda is a mild abrasive that can help scrub away stubborn mold and stains. It’s also a natural deodorizer, so it will leave your shower smelling fresh.
1. Make a Baking Soda Paste: Mix baking soda with a small amount of water to create a thick paste. You want it to be thick enough to stick to the moldy areas.
2. Apply the Paste: Apply the baking soda paste to the moldy areas in your shower.
3. Let it Sit: Allow the paste to sit on the mold for at least 30 minutes. For tougher mold, you can let it sit for a few hours.
4. Scrub Vigorously: Use your old toothbrush or scrub brush to scrub the moldy areas. The baking soda will act as a mild abrasive, helping to loosen and remove the mold.
5. Rinse Thoroughly: Rinse the shower with clean water to remove all traces of baking soda and mold.
6. Dry the Shower: Use a clean microfiber cloth to dry the shower thoroughly.
Method 3: Hydrogen Peroxide – The Stain Fighter
Hydrogen peroxide is a stronger option for tackling tougher mold and stains. It’s a bleaching agent, so test it in an inconspicuous area first to make sure it doesn’t discolor your surfaces.
1. Prepare the Hydrogen Peroxide: Pour 3% hydrogen peroxide into a spray bottle.
2. Spray the Moldy Areas: Generously spray the hydrogen peroxide onto the moldy areas in your shower.
3. Let it Sit: Allow the hydrogen peroxide to sit on the mold for at least 10 minutes.
4. Scrub and Rinse: Use your old toothbrush or scrub brush to scrub the moldy areas.
5. Rinse Thoroughly: Rinse the shower with clean water to remove all traces of hydrogen peroxide and mold.
6. Dry the Shower: Use a clean microfiber cloth to dry the shower thoroughly.
Method 4: Bleach – The Last Resort (Use with Caution!)
Bleach is a very effective mold killer, but it’s also harsh and can be dangerous if not used properly. Use this method as a last resort and always follow these precautions:
* Ventilation is Key: Open windows and turn on the exhaust fan to ensure good ventilation.
* Protective Gear is Essential: Wear gloves, a mask, and eye protection.
* Never Mix Bleach with Ammonia: This can create toxic fumes.
* Test in an Inconspicuous Area: Bleach can discolor surfaces, so test it first.
1. Prepare the Bleach Solution: Mix one part bleach with ten parts water in a spray bottle.
2. Spray the Moldy Areas: Carefully spray the bleach solution onto the moldy areas in your shower.
3. Let it Sit: Allow the bleach solution to sit on the mold for at least 10 minutes.
4. Scrub and Rinse: Use your old toothbrush or scrub brush to scrub the moldy areas.
5. Rinse Thoroughly: Rinse the shower with clean water to remove all traces of bleach and mold.
6. Dry the Shower: Use a clean microfiber cloth to dry the shower thoroughly.
Dealing with Stubborn Grout Mold
Grout is notorious for trapping mold. Here’s how to tackle it:
1. Apply Your Chosen Solution: Use any of the above methods (vinegar, baking soda paste, hydrogen peroxide, or bleach) to saturate the grout lines.
2. Let it Soak: Allow the solution to soak into the grout for at least 30 minutes.
3. Scrub with a Grout Brush: A grout brush with stiff bristles is essential for getting into those narrow lines. Scrub vigorously.
4. Rinse Thoroughly: Rinse the grout with clean water.
5. Repeat if Necessary: If the mold is still visible, repeat the process.
Replacing Moldy Caulk: A Fresh Start
If the caulk around your shower is heavily damaged or moldy, it’s best to replace it. This will create a fresh, clean seal and prevent future mold growth.
1. Remove the Old Caulk: Use a caulk removal tool or a utility knife to carefully remove the old caulk. Be sure to remove all traces of the old caulk.
2. Clean the Area: Clean the area where the caulk was with a mold-killing solution (like vinegar or bleach).
3. Dry the Area: Make sure the area is completely dry before applying new caulk.
4. Apply New Caulk: Apply a bead of new caulk along the joint.
5. Smooth the Caulk: Use a caulk smoothing tool or your finger to smooth the caulk and create a clean, even seal.
6. Allow to Cure: Allow the caulk to cure according to the manufacturer’s instructions.
Preventing Mold Growth: The Key to a Clean Shower
The best way to deal with mold
Conclusion
So, there you have it! This DIY method for cleaning mold from your shower isn’t just another cleaning hack; it’s a game-changer. We’ve walked you through a simple, effective, and budget-friendly way to reclaim your shower from unsightly and potentially harmful mold. Forget harsh chemicals and endless scrubbing – this approach leverages the power of readily available ingredients to deliver impressive results.
Why is this a must-try? Because it works! It’s safer for you, your family, and the environment compared to many commercial mold removers. Plus, it saves you money and time. Imagine stepping into a sparkling clean shower, free from the worry of mold lurking in the corners. That’s the promise of this DIY solution.
But the beauty of this method lies in its adaptability. Feel free to experiment with variations to suit your specific needs and preferences. For instance, if you have particularly stubborn mold, you can increase the concentration of vinegar or hydrogen peroxide. For a more pleasant scent, add a few drops of your favorite essential oil, like tea tree or eucalyptus, both known for their antifungal properties, to the spray bottle. Remember to always test any new solution in an inconspicuous area first to ensure it doesn’t damage your shower surfaces.
Consider using a scrub brush with stiff bristles for grout lines or textured surfaces where mold tends to accumulate. A toothbrush can also be incredibly useful for reaching tight corners and crevices. After cleaning, ensure proper ventilation by opening a window or turning on the exhaust fan to help dry the shower and prevent future mold growth.
We’re confident that this DIY trick will become your go-to solution for keeping your shower mold-free. It’s a simple, effective, and sustainable way to maintain a clean and healthy bathroom environment.
Now, it’s your turn! We encourage you to give this DIY method a try and experience the difference for yourself. Don’t just take our word for it – see the results firsthand. And most importantly, share your experience with us! Let us know how it worked for you, any variations you tried, and any tips you discovered along the way. Your feedback will help others discover the power of this simple yet effective solution for cleaning mold from shower spaces. Share your before-and-after photos, your success stories, and your questions in the comments below. Together, we can create a community of clean and healthy homes!
Frequently Asked Questions (FAQ)
What exactly causes mold to grow in the shower?
Mold thrives in damp, dark, and poorly ventilated environments, making showers a prime breeding ground. The constant moisture from showering, combined with the warmth and humidity, creates ideal conditions for mold spores to germinate and grow. Soap scum, body oils, and other organic matter provide a food source for the mold, further accelerating its growth. Inadequate ventilation, such as a lack of an exhaust fan or infrequent opening of windows, traps moisture and contributes to the problem. Leaky faucets or showerheads can also create persistent dampness that encourages mold growth.
Is mold in the shower dangerous?
Yes, mold in the shower can be dangerous, especially for individuals with allergies, asthma, or weakened immune systems. Mold spores can become airborne and inhaled, triggering allergic reactions such as sneezing, coughing, runny nose, itchy eyes, and skin rashes. In more severe cases, mold exposure can lead to asthma attacks, respiratory infections, and other health problems. Certain types of mold, such as Stachybotrys chartarum (black mold), can produce mycotoxins, which are toxic substances that can cause more serious health issues. Even for healthy individuals, prolonged exposure to mold can lead to irritation and discomfort. Therefore, it’s important to address mold growth promptly and effectively.
How often should I clean my shower to prevent mold growth?
The frequency of cleaning depends on several factors, including the humidity levels in your bathroom, the frequency of shower use, and the effectiveness of your ventilation. As a general guideline, you should aim to clean your shower at least once a week to prevent mold growth. However, if you notice signs of mold appearing sooner, such as dark spots or a musty odor, you may need to clean it more frequently. After each shower, wipe down the walls and door with a squeegee or towel to remove excess moisture. Ensure proper ventilation by opening a window or turning on the exhaust fan for at least 30 minutes after showering. Regularly cleaning your shower and maintaining good ventilation will help prevent mold from taking hold.
Can I use bleach to clean mold in the shower?
While bleach can be effective at killing mold on non-porous surfaces, it’s not always the best solution for cleaning mold in the shower. Bleach only removes the color of the mold, but it doesn’t necessarily kill the roots. This means that the mold can quickly return. Additionally, bleach can be harmful to your health and the environment. It can irritate your skin, eyes, and respiratory system, and it can release toxic fumes. When mixed with ammonia or other cleaning products, bleach can create dangerous gases. Furthermore, bleach can damage certain shower surfaces, such as grout and caulk. The DIY method described above, using vinegar or hydrogen peroxide, is a safer and more effective alternative for cleaning mold in the shower.
What if the mold keeps coming back after cleaning?
If mold keeps returning after cleaning, it indicates that the underlying cause of the mold growth hasn’t been addressed. This could be due to persistent moisture, poor ventilation, or a hidden leak. First, ensure that you’re thoroughly drying the shower after each use and maintaining good ventilation. Check for any leaks in the showerhead, faucets, or plumbing and repair them promptly. If the mold is growing in grout lines or caulk, it may be necessary to remove and replace them. Consider using a mold-resistant caulk to prevent future growth. In severe cases, you may need to consult with a professional mold remediation specialist to identify and address the source of the moisture problem. They can also provide more advanced cleaning and prevention techniques.
Are there any natural ways to prevent mold growth in the shower?
Yes, there are several natural ways to prevent mold growth in the shower. As mentioned earlier, good ventilation is crucial. Open a window or turn on the exhaust fan after each shower to remove excess moisture. Wipe down the shower walls and door with a squeegee or towel to dry them. Consider using a dehumidifier in your bathroom to reduce humidity levels. Tea tree oil is a natural antifungal agent that can be added to a spray bottle with water and used to mist the shower after each use. Regularly clean your shower with vinegar or hydrogen peroxide to kill any mold spores that may be present. Avoid using soap bars, as they tend to leave behind more residue that can feed mold growth. Instead, opt for liquid soaps or shower gels. By implementing these natural prevention methods, you can significantly reduce the risk of mold growth in your shower.


Leave a Comment