
Growing dill indoors can feel like a secret superpower for any home cook or gardening enthusiast! Imagine having fresh, fragrant dill readily available, no matter the season, right in your kitchen. Forget those sad, wilted bunches from the grocery store – we’re talking vibrant, flavorful dill at your fingertips.
Dill, with its feathery leaves and distinctive aroma, has a rich history. Originating in the Mediterranean and Southern Russia, it was prized by the ancient Greeks and Romans for its medicinal properties and culinary uses. They even believed it brought good fortune! Today, dill continues to be a staple in cuisines worldwide, adding a bright, herbaceous note to everything from pickles and dips to fish and salads.
But why bother growing dill indoors? Well, for starters, it gives you complete control over the growing environment. No more battling unpredictable weather, pests, or diseases that can plague outdoor gardens. Plus, let’s be honest, not everyone has the space or time for a sprawling outdoor garden. Growing dill indoors is a fantastic solution for apartment dwellers, busy professionals, or anyone who simply wants a convenient and rewarding gardening experience. I’m excited to share some simple DIY tricks and hacks that will have you harvesting your own fresh dill in no time!

Growing Dill Indoors: A Beginner’s Guide to Fresh Herbs Year-Round
Hey there, fellow herb enthusiasts! Ever dreamt of having fresh, fragrant dill readily available, even when the snow is piling up outside? Well, dream no more! Growing dill indoors is surprisingly easy and rewarding. I’m going to walk you through everything you need to know to cultivate your own little dill patch right in your kitchen.
What You’ll Need: The Dill Starter Pack
Before we dive into the nitty-gritty, let’s gather our supplies. Here’s what you’ll need to get started:
* Dill Seeds: Opt for a variety specifically suited for container gardening, if possible. ‘Fernleaf’ dill is a popular choice for its compact size.
* Potting Mix: Use a high-quality, well-draining potting mix. Avoid garden soil, as it can compact and hinder drainage.
* Containers: Choose pots that are at least 6 inches deep and wide. Dill has a taproot, so adequate depth is crucial. Make sure your pots have drainage holes!
* Grow Lights (Optional but Recommended): Dill needs plenty of light, so a grow light can be a lifesaver, especially during the darker months.
* Watering Can or Spray Bottle: For gentle watering.
* Small Shovel or Trowel: For planting the seeds.
* Plant Labels: To keep track of what you’ve planted.
* A Sunny Windowsill (or a dedicated spot for your grow lights): Dill craves sunshine!
Getting Started: Planting Your Dill Seeds
Okay, now for the fun part – planting! Here’s a step-by-step guide to get your dill seeds started:
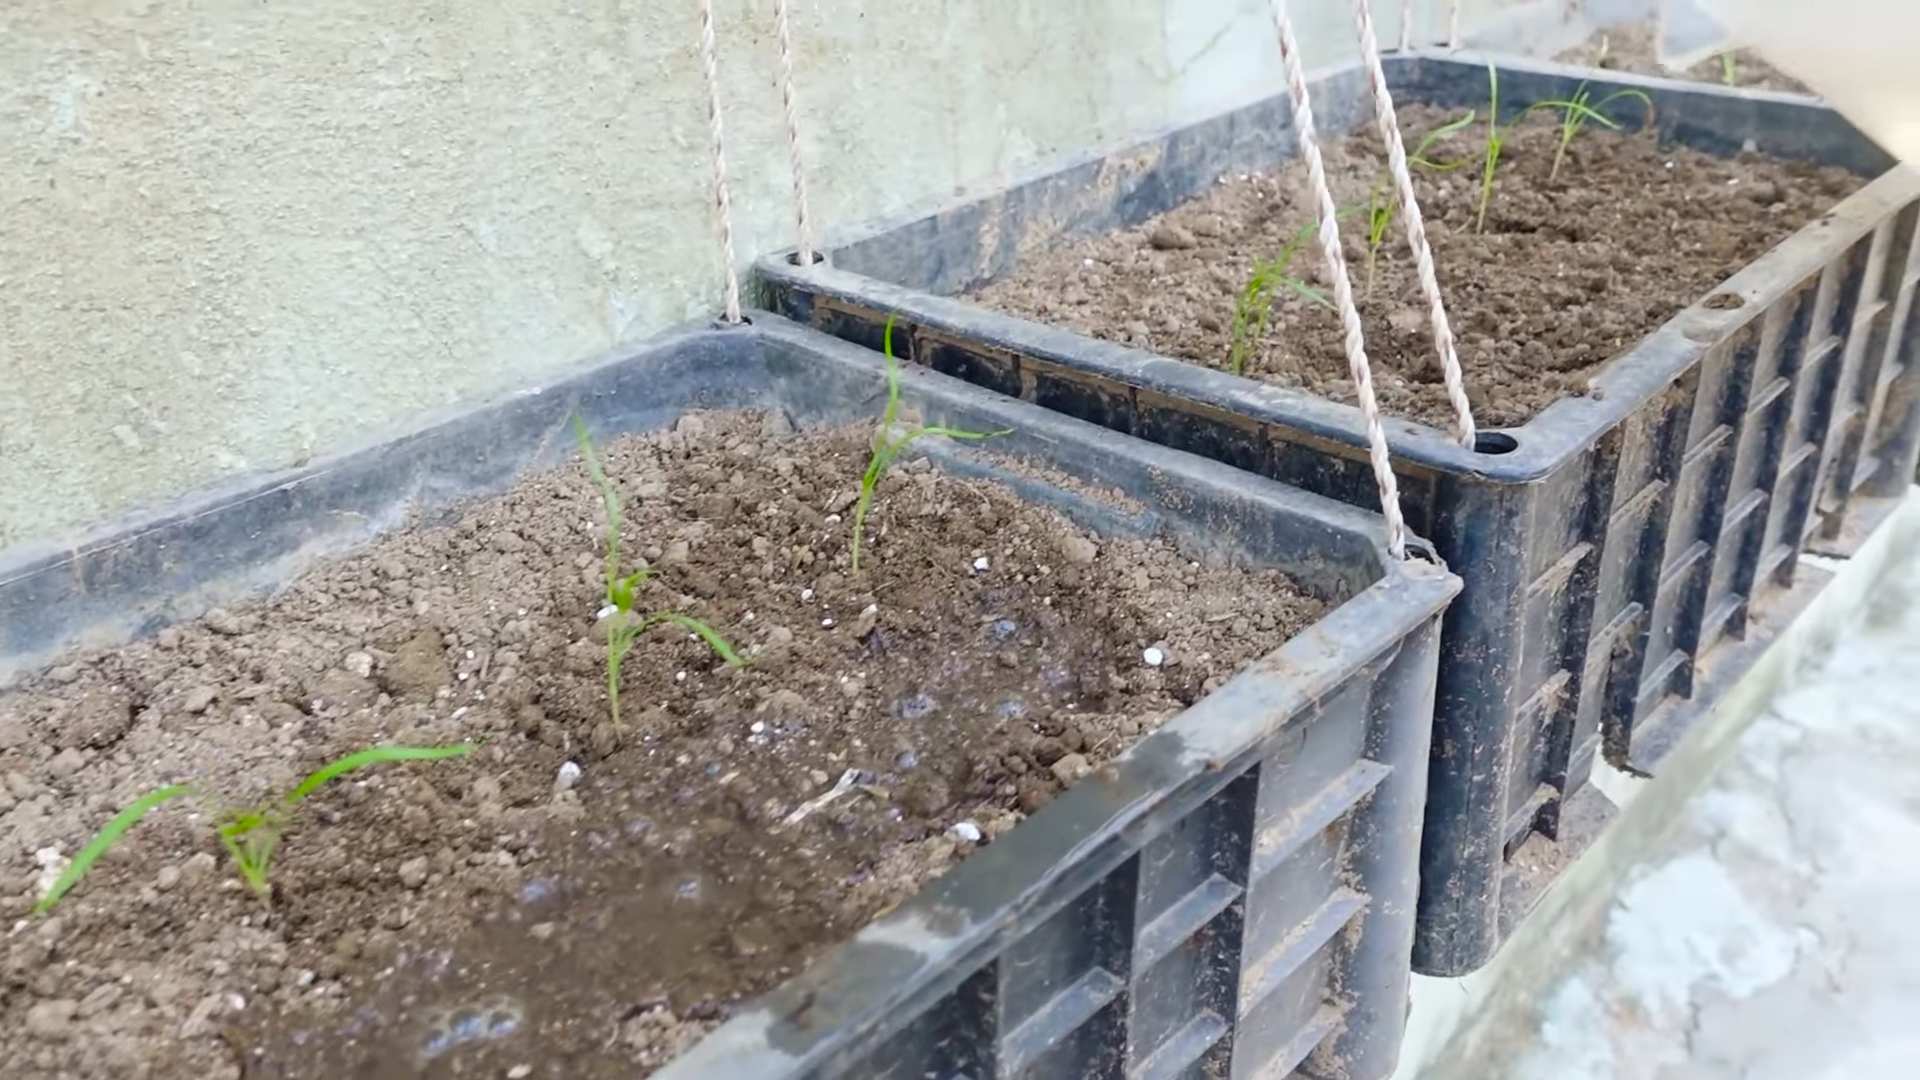
1. Prepare Your Pots: Fill your chosen containers with the potting mix, leaving about an inch of space at the top. Gently pat down the soil to remove any large air pockets.
2. Sow the Seeds: Dill seeds are relatively small, so sprinkle them evenly over the surface of the soil. I usually aim for about 5-7 seeds per pot. Don’t overcrowd them!
3. Cover the Seeds: Lightly cover the seeds with about ¼ inch of potting mix. They need a little darkness to germinate.
4. Water Gently: Use your watering can or spray bottle to gently moisten the soil. Avoid overwatering, as this can cause the seeds to rot. The soil should be damp, not soggy.
5. Label Your Pots: Don’t forget to label your pots with the date and the type of herb you’re planting. Trust me, it’s easy to forget later!
6. Find a Sunny Spot: Place your pots on a sunny windowsill that receives at least 6 hours of direct sunlight per day. If you don’t have a sunny windowsill, use a grow light. Position the light a few inches above the pots and keep it on for 12-14 hours per day.
Nurturing Your Dill: Care and Maintenance
Once your dill seeds are planted, it’s time to provide them with the care they need to thrive. Here’s what you need to do:
1. Watering: Keep the soil consistently moist, but not waterlogged. Water when the top inch of soil feels dry to the touch. Avoid letting the soil dry out completely, as this can stress the plants.
2. Light: Dill needs plenty of light to grow properly. If you’re using a grow light, make sure it’s positioned correctly and providing adequate light. If you’re using a windowsill, rotate the pots regularly to ensure that all sides of the plants receive sunlight.
3. Temperature: Dill prefers temperatures between 60°F and 70°F (15°C and 21°C). Avoid placing your plants near drafts or sources of extreme heat or cold.
4. Fertilizing: Dill doesn’t need a lot of fertilizer, but a light feeding every few weeks can help to promote healthy growth. Use a balanced liquid fertilizer diluted to half strength.
5. Thinning: Once your seedlings have emerged and have a few sets of true leaves, you may need to thin them out. This means removing some of the weaker seedlings to give the stronger ones more room to grow. Aim for about 2-3 inches between plants.
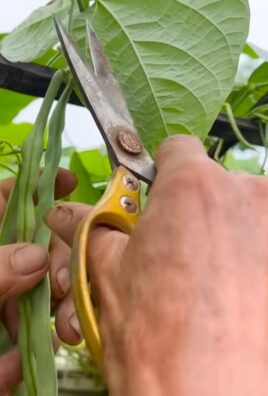
6. Pinching: Pinching back the tips of the stems can encourage bushier growth. Simply snip off the top inch or so of the stem with your fingers or scissors.
Dealing with Problems: Pests and Diseases
While dill is relatively easy to grow, it can be susceptible to a few pests and diseases. Here’s what to watch out for:
* Aphids: These tiny insects can suck the sap from your plants, causing them to weaken and become distorted. You can control aphids by spraying them with a strong stream of water or by using insecticidal soap.
* Spider Mites: These tiny pests can also suck the sap from your plants, causing them to develop yellow or brown spots. You can control spider mites by increasing humidity around your plants and by using insecticidal soap.
* Powdery Mildew: This fungal disease can cause a white, powdery coating to form on the leaves of your plants. You can prevent powdery mildew by providing good air circulation and by avoiding overwatering. If your plants do develop powdery mildew, you can treat them with a fungicide.
Harvesting Your Dill: Enjoying the Fruits (or Herbs!) of Your Labor
The best part of growing dill indoors is, of course, harvesting it! You can start harvesting dill leaves as soon as the plants are about 6 inches tall.
1. Harvesting Leaves: Simply snip off the leaves with scissors or your fingers. Start by harvesting the outer leaves first, as this will encourage the plant to produce more new growth.
2. Harvesting Seeds: If you want to harvest dill seeds, allow the plants to flower and then let the seed heads dry on the plant. Once the seed heads are dry, you can cut them off and shake out the seeds.
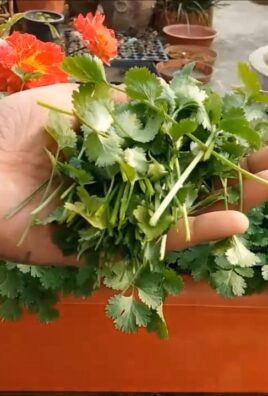
3. Using Your Dill: Fresh dill is delicious in salads, soups, sauces, and dips. You can also use it to flavor fish, chicken, and vegetables. Dill seeds can be used as a spice in pickles, breads, and other dishes.
Extending the Harvest: Keeping Your Dill Growing
Dill is an annual herb, which means that it completes its life cycle in one year. However, you can extend the harvest by succession planting. This means planting new seeds every few weeks to ensure a continuous supply of fresh dill.
1. Succession Planting: Start new seeds every 2-3 weeks to have a continuous supply.
2. Overwintering: While dill is an annual, you might be able to overwinter it indoors if you provide it with enough light and warmth. Cut back the plant in the fall and bring it indoors. Place it in a sunny location and water it regularly.
Troubleshooting: Common Dill Growing Problems
Even with the best care, you might encounter some problems when growing dill indoors. Here are some common issues and how to fix them:
* Leggy Growth: If your dill plants are tall and spindly, they’re probably not getting enough light. Move them to a sunnier location or provide them with a grow light.
* Yellowing Leaves: Yellowing leaves can be a sign of overwatering, underwatering, or nutrient deficiency. Check the soil moisture and adjust your watering accordingly. If the soil is dry, water more frequently. If the soil is soggy, water less frequently. You can also try fertilizing your plants with a balanced liquid fertilizer.
* Slow Growth: Slow growth can be caused by a variety of factors, including lack of light, poor soil, or pests. Make sure your plants are getting enough light and that the soil is well-draining. Check for pests and treat them accordingly.
Choosing the Right Dill Variety
While most dill varieties will grow indoors, some are better suited for container gardening than others. Here are a few popular choices:
* Fernleaf Dill: This compact variety is a great choice for small spaces. It has a bushy growth habit and produces flavorful leaves.
* Dukat Dill: This variety is known for its strong aroma and flavor. It’s a good choice for adding to soups, sauces, and dips.
* Bouquet Dill: This variety is a good choice for harvesting seeds. It produces large seed heads that are easy to harvest.
Extra Tips for Dill Success
Here are a few extra tips to help you grow the best dill possible:
* Use a well-draining potting mix. Dill doesn’t like to sit in soggy soil.
* Provide plenty of light. Dill needs at least 6 hours of direct sunlight per day.
* Water regularly, but don’t overwater. Keep the soil consistently moist, but not waterlogged.
* Fertilize lightly every few
Conclusion
So, there you have it! Growing dill indoors is not only achievable, but it’s also a remarkably rewarding experience. Imagine having fresh, fragrant dill readily available, regardless of the season, to elevate your culinary creations. No more last-minute trips to the grocery store or settling for dried herbs that lack the vibrant flavor of fresh dill. This DIY trick is a game-changer for any home cook or gardening enthusiast.
But why is this a must-try? Beyond the convenience, growing your own dill allows you to control the quality and freshness of your herbs. You know exactly what goes into your dill – no pesticides, no questionable additives, just pure, unadulterated flavor. Plus, the process itself is incredibly therapeutic. Nurturing a plant from seed to harvest is a deeply satisfying experience that connects you with nature, even within the confines of your home.
This is more than just growing herbs; it’s about enhancing your lifestyle.
Now, let’s talk variations and suggestions. While we’ve focused on the basics, there’s plenty of room for experimentation. Consider trying different varieties of dill, such as ‘Bouquet’ or ‘Fernleaf,’ to discover your preferred flavor profile. You can also experiment with different potting mixes to see what works best for your growing conditions. Some gardeners swear by adding a bit of compost to their potting mix for extra nutrients.
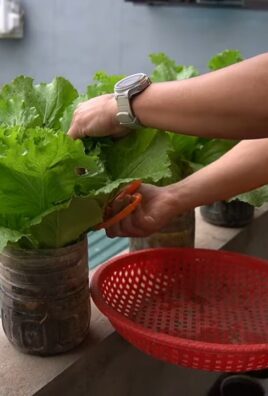
Another fun variation is to grow dill alongside other herbs in a larger container. Dill pairs well with parsley, chives, and basil, creating a mini herb garden right on your windowsill. Just be sure to provide enough space for each plant to thrive.
And don’t forget about the flowers! Dill flowers are not only beautiful, but they’re also edible and attract beneficial insects to your home. Let a few of your dill plants bolt (go to seed) and enjoy the delicate flavor of the flowers in salads or as a garnish. You can even use the seeds for pickling or to add a unique flavor to your bread.
Ultimately, the best way to learn is by doing. So, we wholeheartedly encourage you to give this DIY trick a try. Start small, be patient, and don’t be afraid to experiment. The rewards of having fresh, homegrown dill at your fingertips are well worth the effort.
We’re confident that you’ll be amazed at how easy and enjoyable it is to grow your own dill indoors. And we can’t wait to hear about your experiences! Share your tips, tricks, and photos with us in the comments below. Let’s create a community of indoor dill growers and inspire others to embrace the joys of homegrown herbs. Let us know how your indoor dill growing journey goes!
Frequently Asked Questions (FAQ)
What is the best time of year to start growing dill indoors?
You can start growing dill indoors at any time of year! Unlike outdoor gardening, indoor growing isn’t dictated by the seasons. As long as you provide adequate light, warmth, and water, your dill will thrive regardless of the time of year. However, many gardeners find that starting in early spring or late winter gives their dill a head start before the outdoor growing season begins. This allows them to transplant their dill outdoors if they choose to, or simply enjoy a continuous supply of fresh dill indoors.
How much sunlight does indoor dill need?
Dill requires at least 6 hours of direct sunlight per day to thrive. A south-facing window is ideal, but if you don’t have one, a west-facing window can also work. If you’re not getting enough natural light, you can supplement with a grow light. Position the grow light a few inches above the dill plants and keep it on for 12-16 hours per day. Insufficient light will result in leggy, weak plants with poor flavor.
What type of soil is best for growing dill indoors?
Dill prefers well-draining soil that is rich in organic matter. A good quality potting mix is a great starting point. You can also amend the potting mix with compost or other organic materials to improve drainage and fertility. Avoid using garden soil, as it can be too heavy and may contain pests or diseases. The ideal pH for dill is between 6.0 and 7.0.
How often should I water my indoor dill plants?
Water your dill plants when the top inch of soil feels dry to the touch. Avoid overwatering, as this can lead to root rot. Dill prefers slightly dry conditions, so it’s better to err on the side of underwatering than overwatering. When you water, water deeply until the water drains out of the bottom of the pot. This ensures that the roots are getting enough moisture.
How do I fertilize my indoor dill plants?
Dill doesn’t require heavy fertilization, but a light feeding every few weeks can help to promote healthy growth. Use a balanced liquid fertilizer diluted to half strength. Apply the fertilizer after watering to avoid burning the roots. Avoid over-fertilizing, as this can lead to leggy growth and reduced flavor.
How do I harvest dill from my indoor plants?
You can start harvesting dill leaves as soon as the plants are a few inches tall. Simply snip off the leaves with scissors or your fingers. Avoid removing more than one-third of the plant at a time, as this can stunt its growth. Regular harvesting will encourage the plant to produce more leaves. You can also harvest the dill flowers and seeds for culinary use.
What are some common problems when growing dill indoors?
Some common problems when growing dill indoors include aphids, spider mites, and powdery mildew. Aphids and spider mites can be controlled with insecticidal soap or neem oil. Powdery mildew is a fungal disease that can be prevented by providing good air circulation and avoiding overwatering. If you notice any signs of disease or pests, treat them promptly to prevent them from spreading.
How long does it take for dill to grow indoors?
Dill typically germinates within 7-14 days. You can start harvesting leaves within 6-8 weeks of planting. The plant will continue to grow and produce leaves for several months. If you allow the plant to bolt (go to seed), it will eventually stop producing leaves.
Can I transplant my indoor dill plants outdoors?
Yes, you can transplant your indoor dill plants outdoors once the weather warms up and the risk of frost has passed. Harden off the plants by gradually exposing them to outdoor conditions for a week or two before transplanting. Choose a sunny location with well-draining soil.
What are some uses for fresh dill?
Fresh dill is a versatile herb that can be used in a variety of dishes. It’s commonly used to flavor pickles, dips, sauces, and salads. It also pairs well with fish, chicken, and vegetables. Dill flowers and seeds can also be used for culinary purposes. Experiment with different recipes to discover your favorite ways to use fresh dill. Growing dill indoors provides you with a constant supply of this flavorful herb.
Leave a Comment