
Sponge cleaning hacks – who knew such simple tools could be the key to a sparkling clean home? I’m always on the lookout for clever ways to save time and effort around the house, and let me tell you, I’ve stumbled upon some game-changing sponge cleaning hacks that I just have to share with you!
Sponges have been around for centuries, originally harvested from the sea and used for everything from bathing to cleaning wounds. While we’ve largely moved on to synthetic versions, their absorbent nature and scrubbing power remain invaluable. But let’s be honest, sponges can get pretty gross, pretty fast. They’re a breeding ground for bacteria, and that’s the last thing you want to spread around your home. That’s where these sponge cleaning hacks come in!
In this article, I’m going to reveal some simple yet effective DIY tricks to keep your sponges fresh, clean, and ready to tackle any mess. From microwave sanitizing to vinegar soaks, you’ll learn how to extend the life of your sponges and avoid spreading germs. Trust me, these tips will not only save you money but also give you peace of mind knowing your home is truly clean. So, grab your sponges, and let’s get started!
DIY Sponge Cleaning Hacks: Extend the Life of Your Kitchen Companion
Let’s face it, our kitchen sponges are unsung heroes. They tackle greasy dishes, wipe up spills, and generally keep our cooking spaces clean. But they also get pretty gross, pretty fast. Instead of constantly tossing them, I’m going to share some of my favorite DIY sponge cleaning hacks to keep them fresh, effective, and lasting longer.
Understanding Sponge Hygiene
Before we dive into the hacks, it’s important to understand why sponges get so nasty. They’re porous, which means they’re perfect breeding grounds for bacteria, mold, and mildew. Food particles get trapped inside, providing a feast for these unwanted guests. That’s why regular cleaning is crucial.
Hack 1: The Microwave Method (Quick & Easy)
This is my go-to method for a quick refresh. It’s super simple and effective at killing a lot of the bacteria lurking within.
What you’ll need:
* Your dirty sponge
* Microwave-safe bowl
* Water
Step-by-step instructions:
1. Rinse the sponge thoroughly: Start by rinsing your sponge under running water to remove any loose food particles. Squeeze it out as much as possible.
2. Soak the sponge: Place the sponge in the microwave-safe bowl and add enough water to completely submerge it. Make sure the sponge is fully saturated.
3. Microwave for 2 minutes: Pop the bowl into the microwave and heat on high for 2 minutes. Important: Keep a close eye on it. Sometimes sponges can overheat and potentially catch fire, although this is rare.
4. Let it cool: Carefully remove the bowl from the microwave. The water and sponge will be very hot! Let it cool down for a few minutes before handling.
5. Squeeze and dry: Once cool enough to handle, squeeze out all the excess water from the sponge. You can let it air dry or toss it in the dryer on low heat.
Why this works: The microwave’s heat kills a significant portion of the bacteria and other microorganisms living in the sponge.
Hack 2: The Bleach Soak (For Heavy-Duty Cleaning)
When your sponge is particularly grimy or has a lingering odor, a bleach soak is a powerful solution. Always use caution when working with bleach and wear gloves to protect your skin.
What you’ll need:
* Your dirty sponge
* Clean sink or bucket
* Bleach
* Water
* Gloves
Step-by-step instructions:
1. Rinse the sponge: As with the microwave method, start by rinsing the sponge thoroughly to remove loose debris.
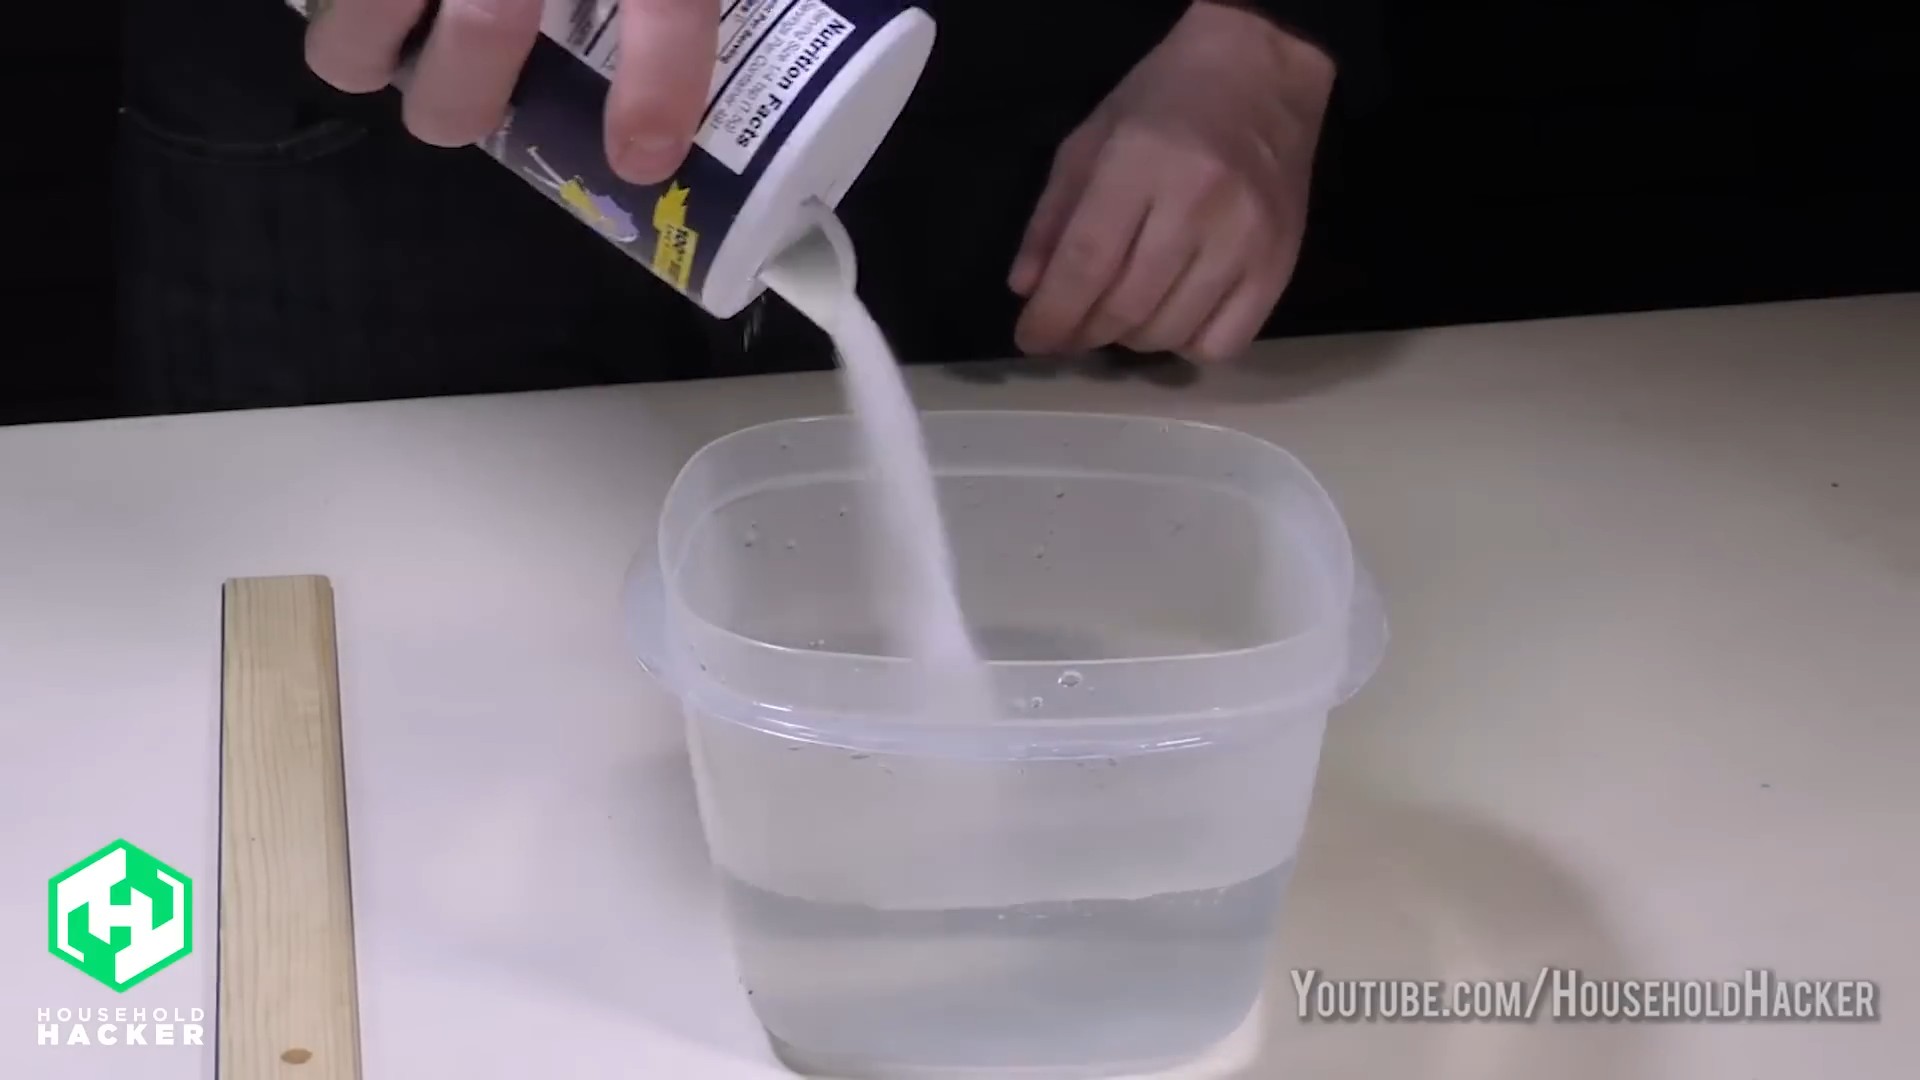
2. Prepare the bleach solution: In your clean sink or bucket, mix 3/4 cup of bleach with one gallon of cold water. Important: Always add bleach to water, never the other way around, to avoid dangerous fumes.
3. Soak the sponge: Submerge the sponge completely in the bleach solution. Make sure it’s fully saturated.
4. Let it soak for 5 minutes: Allow the sponge to soak in the bleach solution for at least 5 minutes, but no more than 10 minutes. Prolonged soaking can damage the sponge.
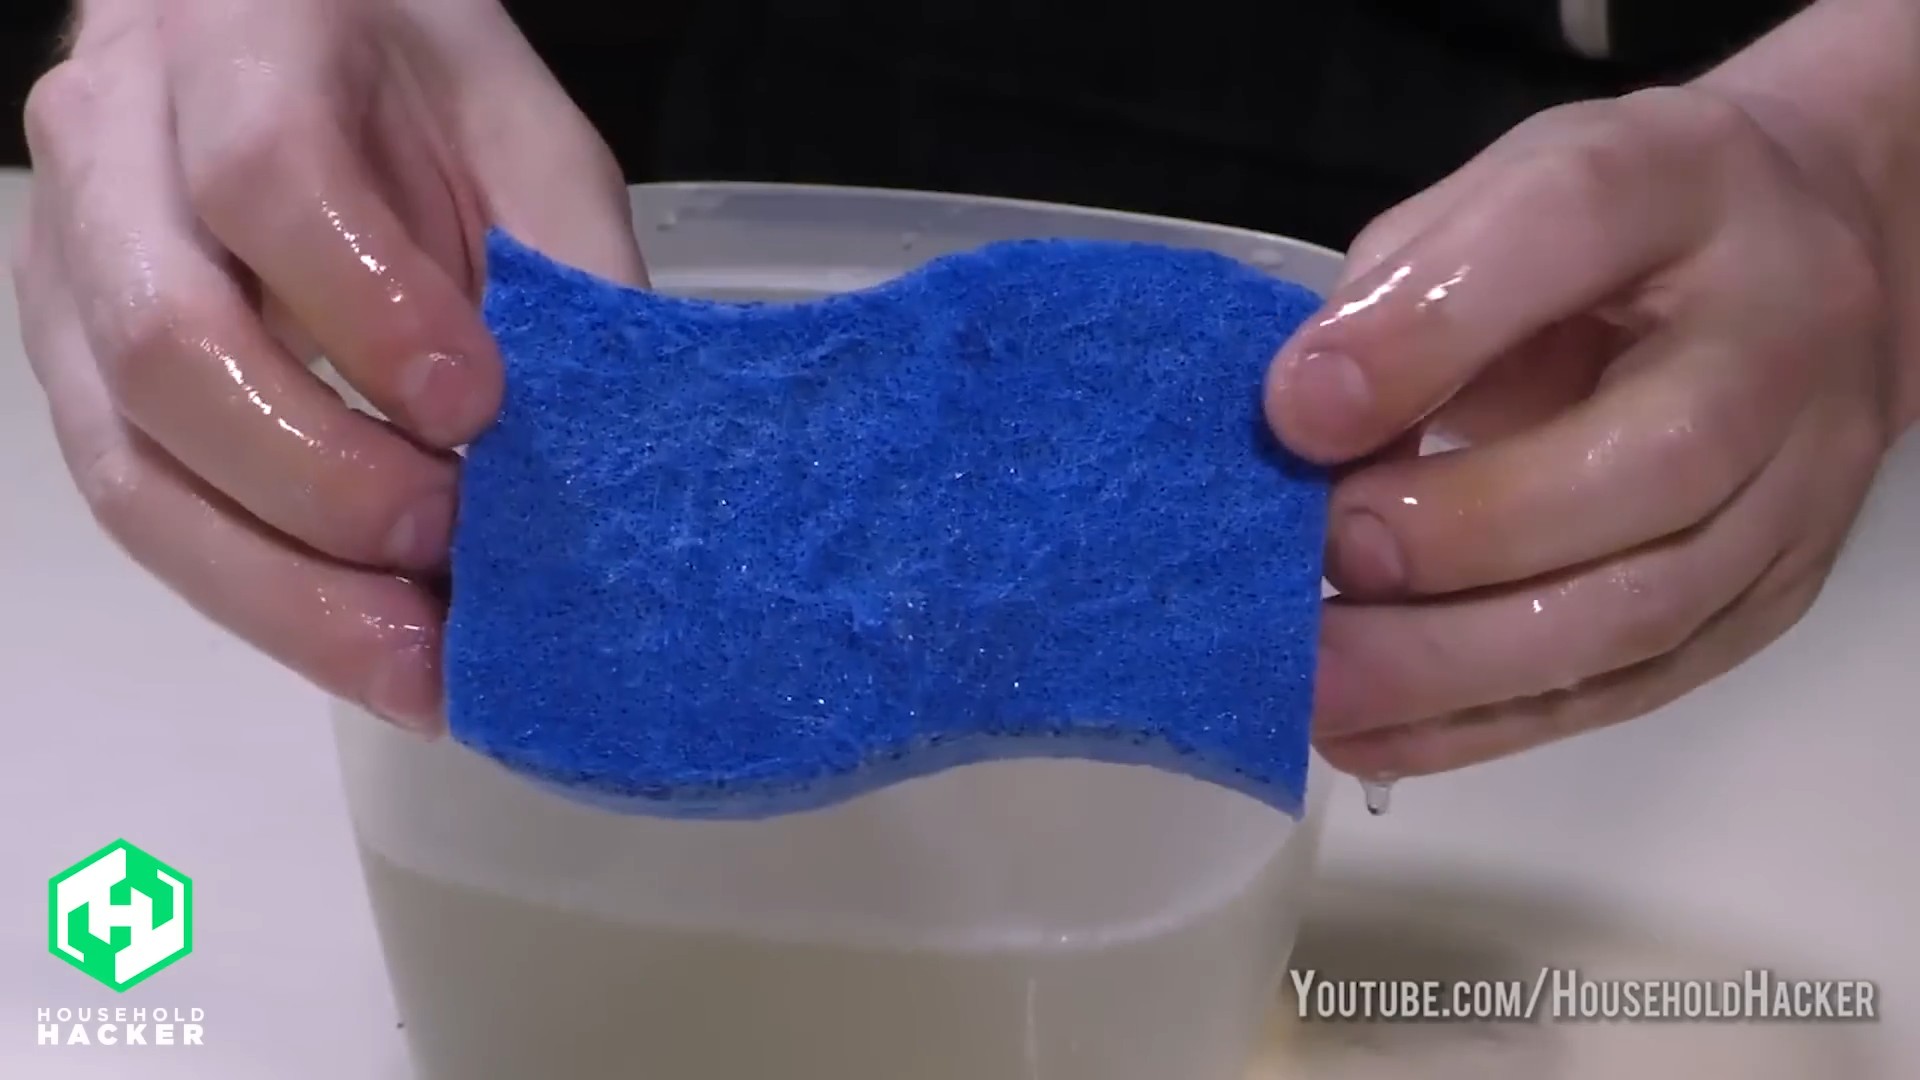
5. Rinse thoroughly: Remove the sponge from the bleach solution and rinse it extremely thoroughly under running water. Keep rinsing until all traces of bleach are gone. You should no longer smell any bleach.
6. Squeeze and dry: Squeeze out all the excess water and let the sponge air dry or tumble dry on low.
Why this works: Bleach is a powerful disinfectant that kills a wide range of bacteria, viruses, and fungi.
Hack 3: The Vinegar Soak (A Natural Alternative)
If you prefer a more natural cleaning solution, vinegar is a great alternative to bleach. It’s effective at killing bacteria and removing odors.
What you’ll need:
* Your dirty sponge
* Clean sink or bowl
* White vinegar
* Water (optional)
Step-by-step instructions:
1. Rinse the sponge: Rinse the sponge thoroughly to remove any loose food particles.
2. Prepare the vinegar solution: You can use undiluted white vinegar for maximum cleaning power, or dilute it with equal parts water if you prefer a milder solution. Fill your clean sink or bowl with the vinegar solution.
3. Soak the sponge: Submerge the sponge completely in the vinegar solution.
4. Let it soak for at least 1 hour: Allow the sponge to soak in the vinegar solution for at least an hour, or even overnight for heavily soiled sponges.
5. Rinse thoroughly: Remove the sponge from the vinegar solution and rinse it thoroughly under running water.
6. Squeeze and dry: Squeeze out all the excess water and let the sponge air dry or tumble dry on low.
Why this works: Vinegar is a natural disinfectant that contains acetic acid, which kills bacteria and inhibits mold growth.
Hack 4: The Dishwasher Cycle (Convenient & Effective)
If you have a dishwasher, you can easily clean your sponges along with your dishes.
What you’ll need:
* Your dirty sponge
* Dishwasher
Step-by-step instructions:
1. Rinse the sponge: Rinse the sponge thoroughly to remove any loose food particles.
2. Place the sponge in the dishwasher: Place the sponge on the top rack of your dishwasher, away from the heating element.
3. Run a normal cycle: Run a normal dishwasher cycle with your regular detergent.
4. Dry the sponge: Once the cycle is complete, remove the sponge and let it air dry.
Why this works: The high heat and detergent in the dishwasher effectively sanitize the sponge.
Hack 5: The Baking Soda Paste (For Stubborn Stains & Odors)
For sponges with stubborn stains or lingering odors, a baking soda paste can work wonders.
What you’ll need:
* Your dirty sponge
* Baking soda
* Water
Step-by-step instructions:
1. Rinse the sponge: Rinse the sponge thoroughly to remove any loose food particles.
2. Make a baking soda paste: In a small bowl, mix baking soda with a small amount of water to create a thick paste.
3. Apply the paste: Apply the baking soda paste to the stained or smelly areas of the sponge.
4. Let it sit for 30 minutes: Allow the paste to sit on the sponge for at least 30 minutes.
5. Rinse thoroughly: Rinse the sponge thoroughly under running water until all traces of the baking soda paste are gone.
6. Squeeze and dry: Squeeze out all the excess water and let the sponge air dry.
Why this works: Baking soda is a natural deodorizer and abrasive cleaner that helps to lift stains and neutralize odors.
Hack 6: The Freezing Method (Simple Bacteria Control)
This is a super simple method that can help slow down bacterial growth. It won’t kill everything, but it’s a good addition to your routine.
What you’ll need:
* Your dirty sponge
* Freezer
Step-by-step instructions:
1. Rinse the sponge: Rinse the sponge thoroughly to remove any loose food particles.
2. Wring out excess water: Squeeze out as much water as possible from the sponge.
3. Place in a bag (optional): While not strictly necessary, placing the sponge in a clean freezer bag can help prevent it from absorbing odors from other items in your freezer.
4. Freeze for at least 24 hours: Place the sponge in the freezer for at least 24 hours.
5. Thaw and dry: Remove the sponge from the freezer and allow it to thaw completely. Squeeze out any excess water and let it air dry.
Why this works: Freezing temperatures inhibit the growth of many types of bacteria.
Maintaining a Clean Sponge: Prevention is Key
Cleaning your sponge regularly is essential, but preventing it from getting too dirty in the first place is even better. Here are some tips:
* Rinse after each use: After each use, rinse your sponge thoroughly under running water to remove any food particles.
* Squeeze out excess water: Squeeze out as much water as possible after rinsing. A damp sponge is a breeding ground for bacteria.
* Store it properly: Store your sponge in a well-ventilated area where it can dry completely. Avoid leaving it in a damp sink or on a wet surface. I like to use a sponge holder that allows air to circulate.
* Use separate sponges: Consider using separate sponges for different tasks, such
Conclusion
So, there you have it! These simple yet incredibly effective sponge cleaning hacks are a game-changer for anyone looking to maintain a cleaner, healthier home. We’ve explored methods that not only sanitize your sponges but also extend their lifespan, saving you money and reducing waste. From the microwave method to the vinegar soak and the bleach solution, each technique offers a unique approach to tackling the bacteria and grime that inevitably accumulate in these everyday cleaning tools.
But why is this a must-try? Because a dirty sponge isn’t just unpleasant; it’s a breeding ground for harmful microorganisms that can spread throughout your kitchen and home. By regularly cleaning your sponges, you’re actively preventing the transfer of bacteria to surfaces you use for food preparation and other daily activities. This is especially crucial for families with young children or individuals with compromised immune systems. Think of it as a small investment in your overall health and well-being.
Beyond the basic methods, feel free to experiment with variations to suit your specific needs and preferences. For instance, if you’re sensitive to the smell of vinegar, add a few drops of essential oil, like lemon or tea tree, to the vinegar solution for a more pleasant aroma. If you’re concerned about using bleach, consider using hydrogen peroxide as a gentler alternative. You can also combine methods – perhaps a vinegar soak followed by a microwave session for a double dose of cleaning power.
Don’t be afraid to get creative and find what works best for you!
We understand that everyone’s cleaning routine is different, and what works for one person might not work for another. That’s why we encourage you to try these sponge cleaning hacks and adapt them to your own lifestyle. The key is consistency. Make sponge cleaning a regular part of your cleaning schedule, whether it’s daily, weekly, or bi-weekly, depending on how frequently you use your sponges.
Ultimately, these sponge cleaning hacks are about more than just having a clean sponge. They’re about creating a healthier, safer, and more sustainable home environment. They’re about taking control of the germs and bacteria that can lurk in unexpected places. And they’re about saving money and reducing waste by extending the life of your cleaning tools.
So, what are you waiting for? Give these hacks a try and see the difference they can make. We’re confident that you’ll be amazed at how easy and effective they are. And most importantly, we want to hear about your experience! Share your results, your variations, and your own tips in the comments below. Let’s create a community of clean sponge enthusiasts and help each other maintain healthier homes. Your feedback is invaluable and will help us continue to improve and refine these techniques. Let us know which of these **sponge cleaning hacks** worked best for you!
Frequently Asked Questions (FAQ)
1. How often should I clean my sponges?
The frequency of cleaning your sponges depends on how often you use them. As a general guideline, you should aim to clean your sponges at least every other day, or daily if you use them frequently for tasks like cleaning up raw meat juices or other potentially hazardous substances. For sponges used less often, a weekly cleaning should suffice. However, if your sponge starts to smell or look visibly dirty, it’s time for a cleaning, regardless of your regular schedule. Remember, prevention is key to maintaining a hygienic kitchen.
2. Which cleaning method is the most effective?
The most effective cleaning method depends on your preferences and the level of cleaning you desire. The bleach solution is generally considered the most powerful for killing bacteria, but it requires careful handling and ventilation. The vinegar soak is a gentler alternative that is still effective at disinfecting and deodorizing. The microwave method is quick and convenient, but it’s important to ensure the sponge is thoroughly wet to prevent it from catching fire. Ultimately, the best method is the one you’ll consistently use. Consider rotating between different methods to maximize their benefits.
3. Can I clean my sponges in the dishwasher?
Yes, you can clean your sponges in the dishwasher. Place them in the top rack to avoid excessive heat that could damage them. Run a normal cycle with detergent. While this method can help remove some debris and bacteria, it may not be as effective as other methods like the bleach solution or vinegar soak. It’s a good option for a quick refresh, but consider using a more thorough cleaning method periodically.
4. How do I know when it’s time to replace my sponge?
Even with regular cleaning, sponges will eventually wear out and need to be replaced. Look for signs of excessive wear and tear, such as crumbling, tearing, or a persistent odor that doesn’t go away after cleaning. If your sponge is visibly damaged or smells foul, it’s time to toss it. As a general rule, replace your sponges every two to four weeks, depending on usage.
5. Are there any natural alternatives to bleach for cleaning sponges?
Yes, there are several natural alternatives to bleach for cleaning sponges. Vinegar is a great option, as mentioned earlier. Hydrogen peroxide is another effective disinfectant that is gentler than bleach. You can also try using baking soda, which has mild abrasive and deodorizing properties. Simply sprinkle baking soda on the sponge, add a little water, and scrub. For a more potent natural cleaner, combine vinegar and baking soda. Be aware that this will create a fizzing reaction, so do it in a well-ventilated area.
6. Can I use essential oils to clean my sponges?
While essential oils are not a substitute for proper cleaning methods, they can be added to cleaning solutions for their antimicrobial and fragrance properties. Tea tree oil, lemon oil, and eucalyptus oil are all known for their antibacterial and antifungal properties. Add a few drops of your chosen essential oil to your vinegar soak or other cleaning solution. However, be cautious when using essential oils around pets, as some can be toxic to animals.
7. What type of sponges are best for cleaning?
The best type of sponge for cleaning depends on your specific needs and preferences. Cellulose sponges are absorbent and biodegradable, making them a good eco-friendly option. Synthetic sponges are more durable and resistant to bacteria, but they are not biodegradable. Microfiber sponges are excellent for scrubbing and removing dirt, but they may require more frequent cleaning. Consider the pros and cons of each type before making a decision.
8. How can I prevent my sponges from getting dirty so quickly?
There are several things you can do to prevent your sponges from getting dirty so quickly. Rinse your sponge thoroughly after each use to remove food particles and debris. Squeeze out excess water to prevent bacteria from growing. Store your sponge in a well-ventilated area to allow it to dry completely. Avoid using your sponge to clean up raw meat juices or other potentially hazardous substances. Use separate sponges for different cleaning tasks to prevent cross-contamination.

Leave a Comment