
Grow Epazote in Your Kitchen: Imagine stepping into your kitchen, not just to cook, but to harvest fresh, flavorful herbs right from your windowsill! For centuries, epazote has been a culinary staple in Mexican and Central American cuisine, adding a distinctive, slightly pungent flavor to dishes like black beans and quesadillas. But what if I told you that you don’t need a sprawling garden to enjoy this unique herb?
I’m excited to share some simple, effective DIY tricks that will allow you to grow epazote in your kitchen, regardless of your gardening experience. Forget those expensive grocery store herbs that wilt within days. With a few basic supplies and these easy-to-follow steps, you can have a constant supply of fresh epazote at your fingertips.
Why is this DIY project so important? Well, beyond the incredible flavor, growing your own epazote ensures you have access to a fresh, organic ingredient, free from harmful pesticides. Plus, it’s incredibly rewarding to nurture a plant from seed to harvest. So, let’s ditch the store-bought herbs and embark on this exciting journey to cultivate your own little epazote haven right in your kitchen!
Grow Epazote in Your Kitchen: A Beginner’s Guide
Okay, so you want to grow epazote in your kitchen? Awesome! It’s a fantastic herb to have on hand, especially if you love Mexican cuisine. It adds a unique, slightly citrusy, and almost medicinal flavor to dishes like beans, quesadillas, and soups. Plus, it’s super easy to grow indoors. Let’s get started!
What You’ll Need
Before we dive in, let’s gather our supplies. You probably have some of these already, which is a bonus!
* **Epazote Seeds:** You can find these online or at most garden centers. Make sure they’re from a reputable source for the best germination rates.
* **Small Pots or Containers:** Choose pots that are at least 4-6 inches in diameter. Good drainage is key!
* **Potting Mix:** Use a well-draining potting mix. Avoid using garden soil, as it can compact and hinder growth.
* **Watering Can or Spray Bottle:** For gentle watering.
* **Sunny Windowsill or Grow Light:** Epazote needs plenty of light.
* **Optional: Seed Starting Tray:** If you want to start a lot of seeds at once.
* **Optional: Heat Mat:** To speed up germination.
Getting Started: Planting Your Epazote Seeds
This is where the magic begins! We’re going to plant those tiny seeds and watch them sprout into deliciousness.
1. **Prepare Your Pots:** Fill your pots with the potting mix, leaving about an inch of space at the top. Gently pat down the soil to remove any large air pockets.
2. **Sow the Seeds:** Epazote seeds are tiny, so sprinkle them sparingly over the surface of the soil. You don’t want to overcrowd them. A pinch or two per pot is usually enough.
3. **Cover Lightly:** Gently cover the seeds with a very thin layer of potting mix. They need light to germinate, so don’t bury them too deep.
4. **Water Gently:** Use a spray bottle or watering can with a gentle nozzle to moisten the soil. Be careful not to wash the seeds away. The soil should be damp, but not soggy.
5. **Provide Warmth and Light:** Place your pots in a warm location with plenty of sunlight. A south-facing windowsill is ideal. If you don’t have enough natural light, use a grow light. If you’re using a heat mat, place the pots on the mat to speed up germination.
6. **Maintain Moisture:** Keep the soil consistently moist, but not waterlogged. Check the soil daily and water when the top inch feels dry to the touch.
Nurturing Your Epazote Seedlings
Once your seeds have germinated (usually within 7-14 days), it’s time to focus on nurturing those little seedlings.
1. **Thinning (If Necessary):** If you have too many seedlings in one pot, thin them out by gently snipping off the weaker ones at the soil level. This will give the remaining seedlings more room to grow.
2. **Light:** Ensure your seedlings are getting plenty of light. If they start to look leggy (tall and spindly), they’re not getting enough light. Move them to a sunnier location or use a grow light.
3. **Watering:** Continue to water regularly, keeping the soil moist but not soggy.
4. **Fertilizing (Optional):** You can fertilize your epazote seedlings with a diluted liquid fertilizer every few weeks. Use a balanced fertilizer (e.g., 10-10-10) and follow the instructions on the label. However, epazote isn’t a heavy feeder, so you can skip this step if you prefer.
5. **Air Circulation:** Good air circulation is important to prevent fungal diseases. Make sure your plants have enough space around them and avoid overcrowding.
Transplanting (If Needed)
If you started your seeds in a seed starting tray or small pots, you may need to transplant them into larger pots as they grow.
1. **Choose a Larger Pot:** Select a pot that is at least 6-8 inches in diameter.
2. **Prepare the Pot:** Fill the pot with well-draining potting mix.
3. **Gently Remove the Seedling:** Carefully remove the seedling from its original pot, being careful not to damage the roots. You can gently loosen the soil around the roots with your fingers.
4. **Plant the Seedling:** Place the seedling in the center of the new pot and fill in around the roots with potting mix.
5. **Water Thoroughly:** Water the seedling thoroughly after transplanting.
6. **Provide Shade:** Keep the transplanted seedling in a shady location for a few days to help it adjust to its new environment.
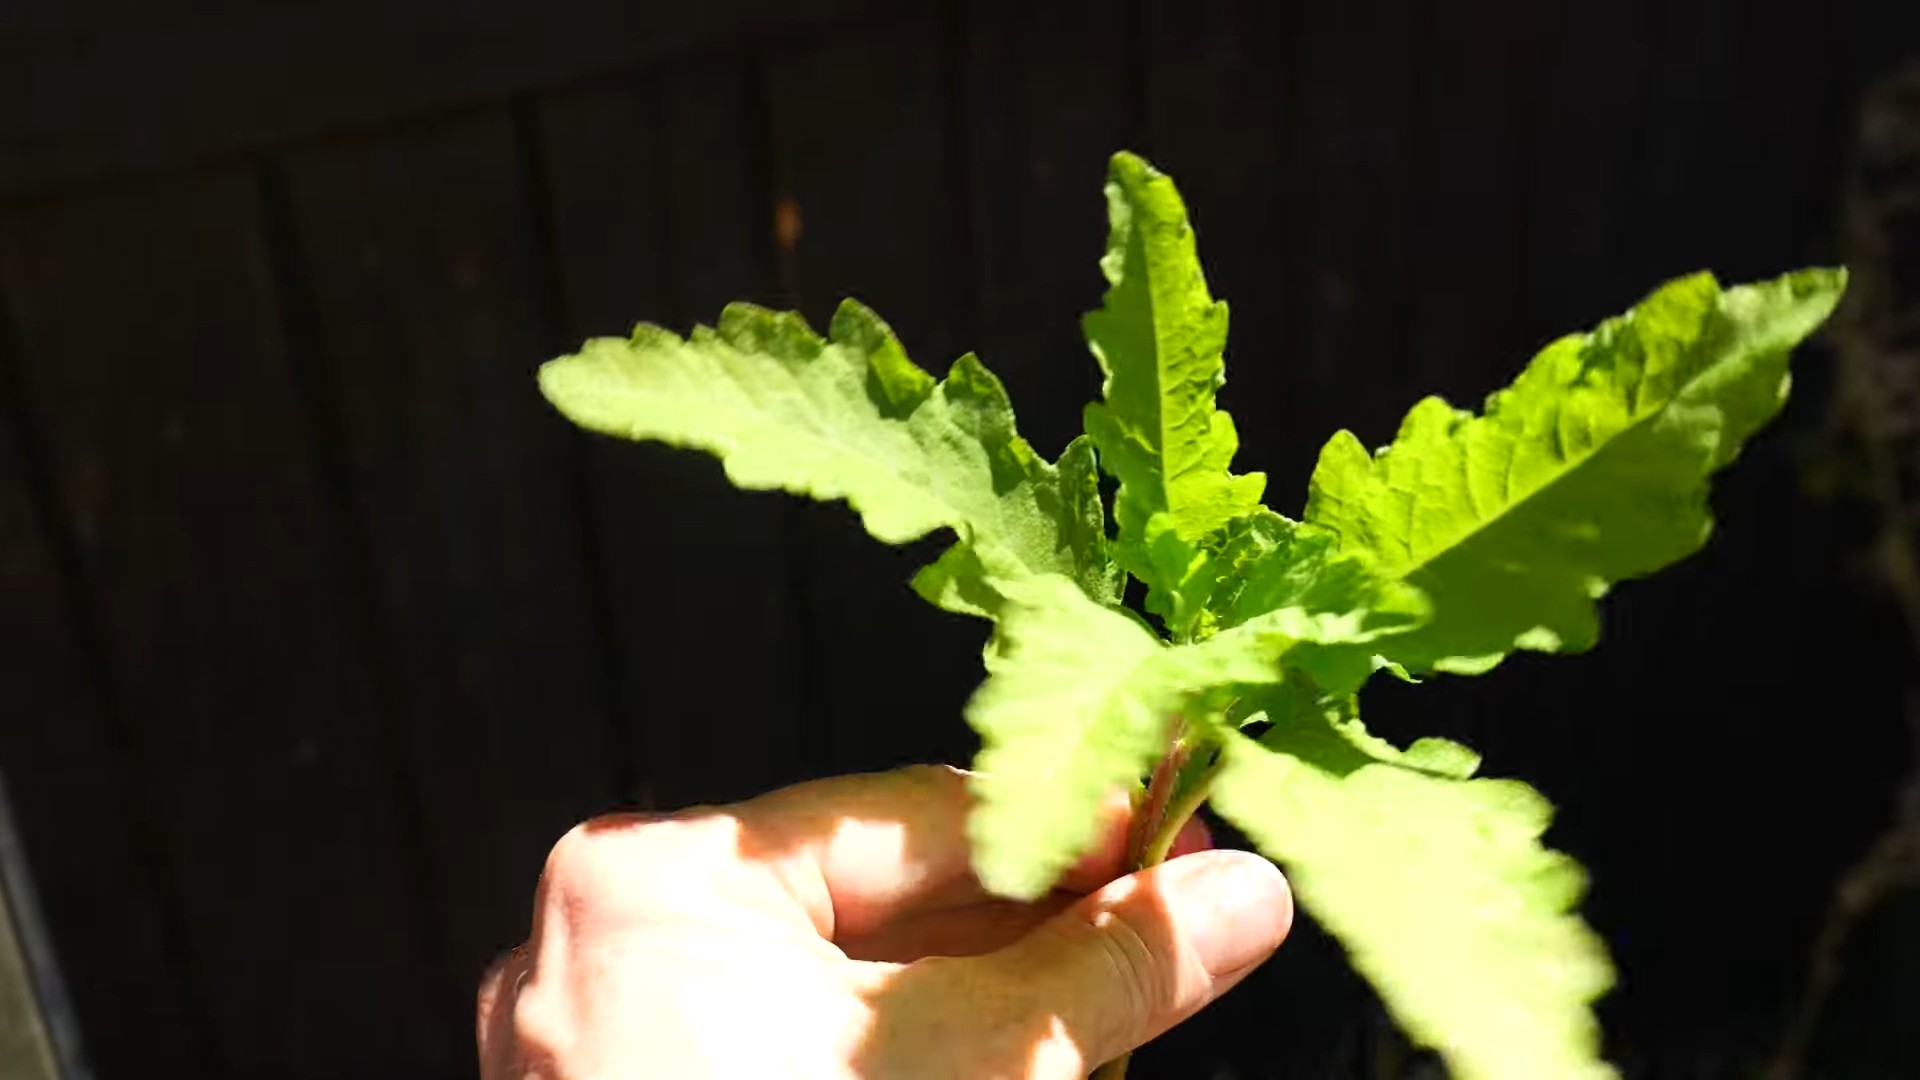
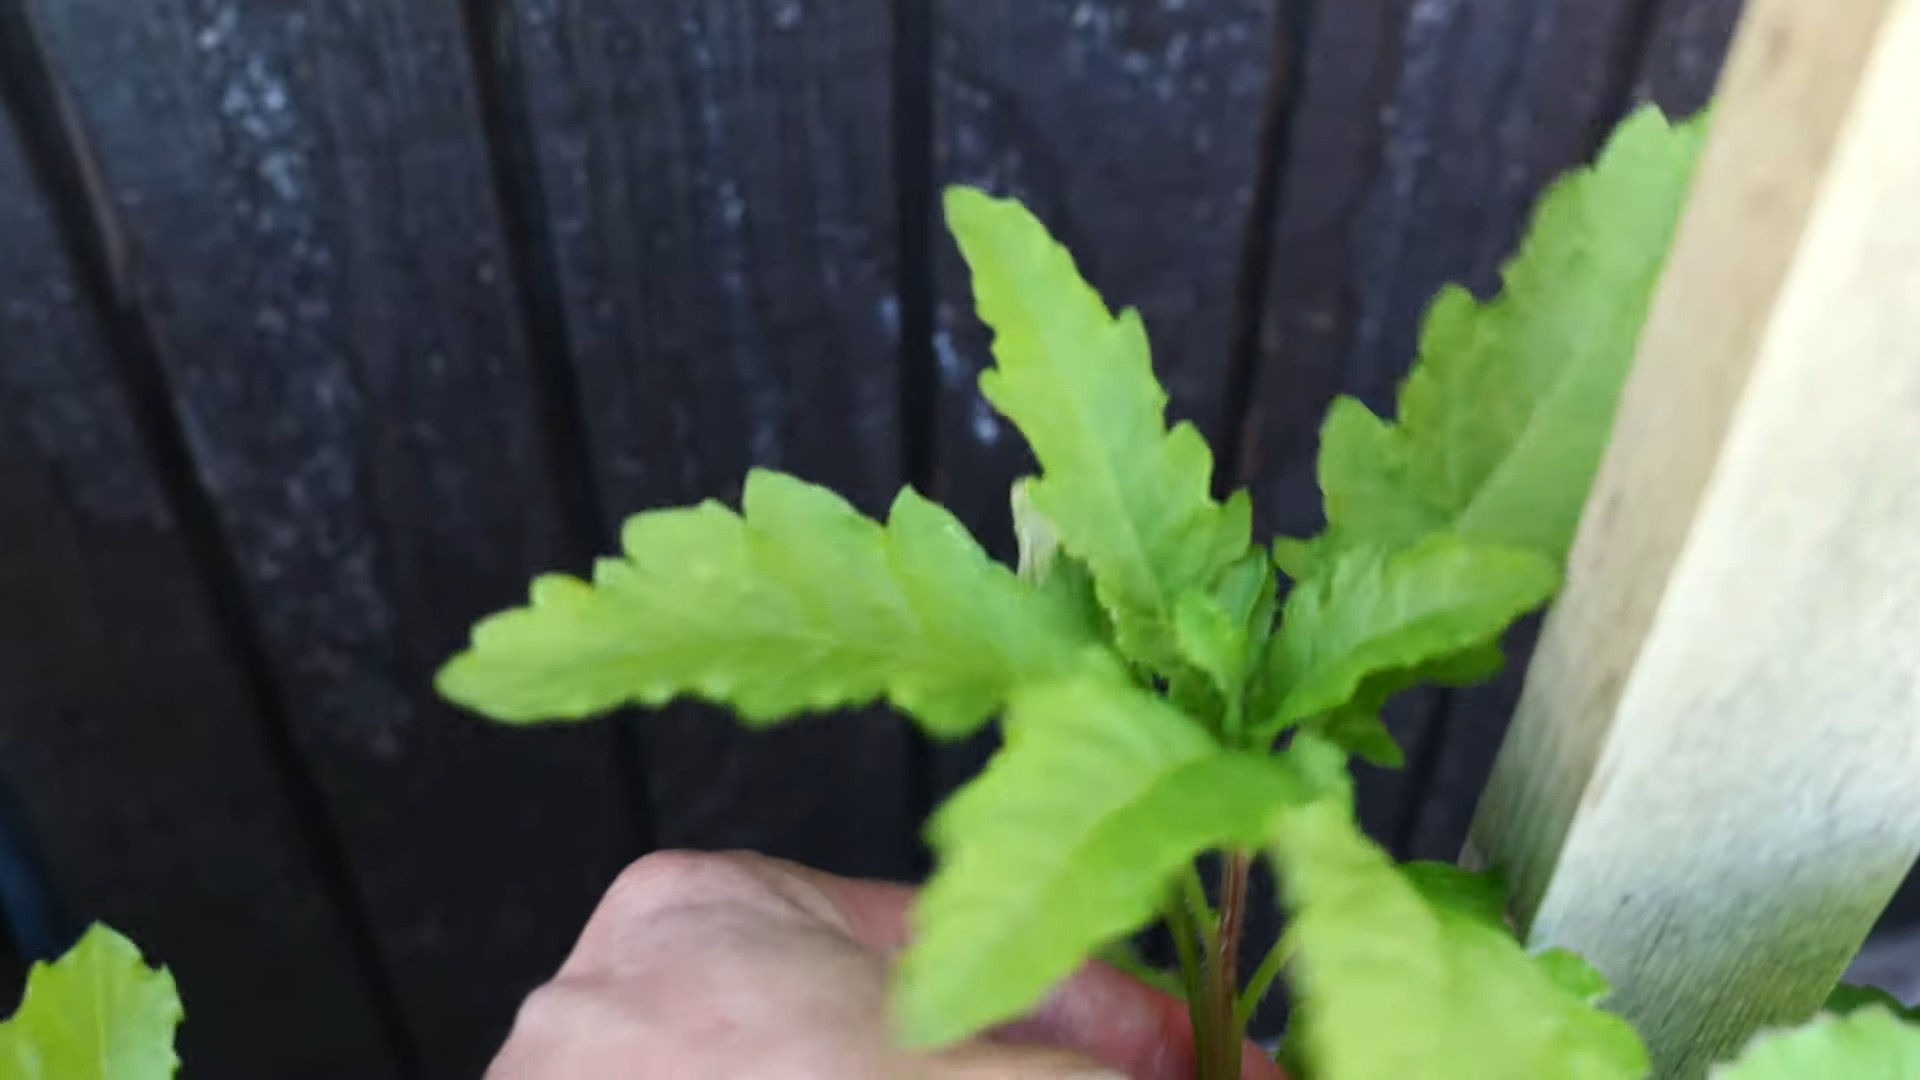
Harvesting Your Epazote
The best part! You can start harvesting epazote leaves once the plant is about 6-8 inches tall.
1. **Harvesting Technique:** Use scissors or your fingers to snip off the leaves. You can harvest individual leaves or entire stems.
2. **Harvest Regularly:** Harvesting regularly will encourage the plant to produce more leaves.
3. **Best Time to Harvest:** The best time to harvest epazote is in the morning, after the dew has dried.
4. **Using Your Harvest:** Use your fresh epazote leaves in your favorite recipes. You can also dry the leaves for later use.
Drying Epazote
If you have more epazote than you can use fresh, you can dry it for later use.
1. **Harvest the Leaves:** Harvest the leaves as described above.
2. **Wash and Dry:** Wash the leaves thoroughly and pat them dry with a paper towel.
3. **Hang to Dry:** Tie the stems together and hang them upside down in a cool, dry, and well-ventilated place.
4. **Dry in the Oven (Optional):** You can also dry the leaves in the oven on a very low temperature (around 170°F or 77°C) for a few hours.
5. **Store the Dried Leaves:** Once the leaves are completely dry, crumble them and store them in an airtight container in a cool, dark place.
Troubleshooting
Even with the best care, you might encounter a few problems. Here are some common issues and how to address them:
* **Leggy Seedlings:** This means your seedlings aren’t getting enough light. Move them to a sunnier location or use a grow light.
* **Yellowing Leaves:** This could be caused by overwatering, underwatering, or nutrient deficiencies. Check the soil moisture and adjust your watering accordingly. If you suspect a nutrient deficiency, fertilize with a diluted liquid fertilizer.
* **Pests:** Epazote is relatively pest-resistant, but you may occasionally encounter aphids or spider mites. You can control these pests by spraying the plants with insecticidal soap or neem oil.
* **Fungal Diseases:** Fungal diseases can be caused by poor air circulation or overwatering. Make sure your plants have enough space around them and avoid overwatering. If you notice any signs of fungal disease, such as powdery mildew, remove the affected leaves and spray the plants with a fungicide.
Tips for Success
Here are a few extra tips to help you grow healthy and productive epazote plants:
* Use well-draining potting mix. This is crucial for preventing root rot.
* Provide plenty of light. Epazote needs at least 6 hours of sunlight per day.
* Water regularly, but don’t overwater. The soil should be moist, but not soggy.
* Harvest regularly to encourage growth.
* Consider using a grow light if you don’t have enough natural light.
* Don’t be afraid to experiment! Every growing environment is different, so you may need to adjust your care routine to suit your specific conditions.
Enjoy Your Homegrown Epazote!
Growing epazote in your kitchen is a rewarding experience. Not only will you have a fresh supply of this delicious herb, but you’ll also enjoy the satisfaction of growing your own food. So, get started today and enjoy the flavors of Mexico right from your own kitchen! I hope you found this guide helpful, and happy gardening!
Conclusion
So, there you have it! Growing your own epazote in your kitchen isn’t just a fun project; it’s a gateway to fresher, more flavorful Mexican and Central American cuisine. Forget relying on wilted, overpriced bunches from the grocery store. With a little effort, you can have a constant supply of this unique herb right at your fingertips.
Why is this DIY trick a must-try? Because it empowers you to control the quality and freshness of your ingredients. Store-bought herbs often travel long distances, losing their potency and vibrancy along the way. By cultivating your own epazote, you’re guaranteeing a burst of authentic flavor in every dish. Plus, it’s incredibly rewarding to nurture a plant from seed (or cutting!) to harvest. There’s a certain satisfaction that comes from knowing you grew the very ingredient that elevates your meal.
But the benefits don’t stop there. Growing epazote indoors extends its growing season, allowing you to enjoy its distinctive taste year-round, regardless of your climate. It’s also a sustainable choice, reducing your reliance on commercially grown herbs and minimizing your carbon footprint. Think of all the delicious possibilities: quesadillas, black beans, soups, stews, and so much more, all enhanced by the fresh, pungent aroma of your homegrown epazote.
Looking for variations? Consider experimenting with different containers. While a standard pot works perfectly well, you could also try using a repurposed container like an old bucket or even a hanging basket for a decorative touch. You can also explore different soil mixes to see what works best for your growing conditions. Some gardeners swear by adding a bit of compost to their potting mix for extra nutrients. And don’t be afraid to experiment with different lighting conditions. While epazote thrives in bright sunlight, it can also tolerate partial shade. Observe how your plant responds and adjust accordingly.
Another fun variation is to try propagating epazote from cuttings. This is a quick and easy way to create new plants from an existing one. Simply snip off a healthy stem, remove the lower leaves, and place it in a glass of water. Within a few weeks, roots will begin to form, and you can then transplant the cutting into a pot of soil. This is a great way to expand your epazote collection and share it with friends and family.
We wholeheartedly encourage you to give this DIY trick a try. It’s a simple, affordable, and incredibly rewarding way to enhance your culinary adventures. Imagine the pride you’ll feel when you tell your guests that the secret ingredient in your delicious black bean soup is homegrown epazote!
So, grab a pot, some soil, and some epazote seeds (or a cutting!), and get ready to embark on a flavorful journey. And most importantly, don’t forget to share your experience with us! We’d love to hear about your successes, your challenges, and your favorite ways to use your homegrown epazote. Share your photos, tips, and recipes in the comments below. Let’s create a community of epazote enthusiasts and inspire others to discover the joys of growing their own herbs. Happy gardening!
FAQ
What exactly is epazote and what does it taste like?
Epazote (Dysphania ambrosioides) is a leafy herb native to Mexico and Central America. It’s a staple ingredient in many traditional dishes, particularly those featuring beans. The flavor is quite distinctive and often described as a combination of anise, citrus, and mint, with a slightly pungent, almost medicinal undertone. Some people also detect hints of petroleum or camphor. The taste can be quite strong, so it’s best to use it sparingly at first until you get a feel for its potency. The flavor profile of epazote is complex and adds a unique depth to dishes that’s hard to replicate with other herbs.
Where can I find epazote seeds or plants?
Epazote seeds can be found at many online seed retailers specializing in herbs or Mexican and Central American ingredients. Local nurseries may also carry epazote plants, especially if they have a diverse selection of herbs. If you have access to a Latin American grocery store, they might sell fresh epazote, and you could try propagating it from a cutting. When purchasing seeds, make sure they are from a reputable source to ensure you’re getting true epazote and not a similar-looking herb.
How much sunlight does epazote need when grown indoors?
Epazote thrives in bright sunlight, so aim to provide it with at least 6-8 hours of direct sunlight per day. If you don’t have a sunny windowsill, you can supplement with a grow light. Place the grow light about 6-12 inches above the plant and keep it on for 12-14 hours per day. Insufficient sunlight can lead to leggy growth and a less flavorful herb. Rotate the plant regularly to ensure all sides receive adequate light.
What kind of soil is best for growing epazote in a pot?
Epazote prefers well-draining soil that is rich in organic matter. A good potting mix for epazote would be a combination of equal parts potting soil, compost, and perlite or vermiculite. The compost provides nutrients, while the perlite or vermiculite improves drainage and aeration. Avoid using heavy clay soil, as it can become waterlogged and lead to root rot.
How often should I water my epazote plant?
Water your epazote plant when the top inch of soil feels dry to the touch. Avoid overwatering, as this can also lead to root rot. Water thoroughly until water drains out of the bottom of the pot. During the warmer months, you may need to water more frequently than during the cooler months. Check the soil moisture regularly and adjust your watering schedule accordingly.
Does epazote need fertilizer?
Epazote is not a heavy feeder, but it can benefit from occasional fertilization. Use a balanced liquid fertilizer diluted to half strength every 4-6 weeks during the growing season. Avoid over-fertilizing, as this can lead to excessive foliage growth at the expense of flavor. You can also amend the soil with compost or worm castings to provide a slow-release source of nutrients.
How do I harvest epazote?
You can start harvesting epazote leaves once the plant is about 6-8 inches tall. Simply snip off the leaves with scissors or your fingers. Harvest the leaves as needed, but avoid removing more than one-third of the plant at a time. Regular harvesting encourages the plant to produce more leaves. The flavor of epazote is strongest just before the plant flowers.
Can I dry or freeze epazote for later use?
Yes, you can dry or freeze epazote to preserve it for later use. To dry epazote, hang the stems upside down in a cool, dark, and well-ventilated place until the leaves are completely dry. You can also use a dehydrator. Once dry, store the leaves in an airtight container. To freeze epazote, chop the leaves and place them in ice cube trays with water or olive oil. Once frozen, transfer the cubes to a freezer bag.
Is epazote safe to consume? Are there any precautions?
Epazote is generally safe to consume in moderation. However, pregnant women and individuals with certain medical conditions should avoid consuming large quantities of epazote. The plant contains a compound called ascaridole, which can be toxic in high doses. It’s always best to consult with a healthcare professional if you have any concerns. When using epazote in cooking, start with a small amount and adjust to taste.
My epazote plant is attracting pests. What should I do?
Epazote can be susceptible to pests such as aphids, spider mites, and whiteflies. If you notice any pests on your plant, try spraying it with a strong stream of water to dislodge them. You can also use insecticidal soap or neem oil to control pests. Be sure to follow the instructions on the product label carefully. Regularly inspect your plant for pests and take action promptly to prevent infestations from becoming severe.


Leave a Comment