
Growing Sweet Potatoes for Beginners can seem daunting, but trust me, it’s one of the most rewarding experiences a home gardener can have! Imagine harvesting your own vibrant, nutrient-packed sweet potatoes, knowing you nurtured them from tiny slips to bountiful treasures. For centuries, sweet potatoes have been a staple in diets across the globe, from their origins in Central and South America to their widespread cultivation in Asia and Africa. They’re not just delicious; they’re packed with vitamins and antioxidants, making them a powerhouse of goodness.
But why should you bother with growing sweet potatoes? Well, store-bought sweet potatoes are fine, but nothing beats the taste of a freshly harvested, homegrown sweet potato. Plus, you have complete control over the growing process, ensuring they’re free from harmful chemicals and pesticides. In this DIY guide, I’m going to share my favorite tricks and hacks for growing sweet potatoes for beginners, even if you have limited space or experience. We’ll cover everything from sprouting slips to harvesting your delicious crop, making the process simple, fun, and incredibly satisfying. Get ready to dig in and discover the joy of growing your own sweet potatoes!
Growing Sweet Potatoes: A Beginner’s Guide to Bountiful Harvests
Okay, so you want to grow sweet potatoes? Awesome! They’re delicious, nutritious, and surprisingly easy to cultivate once you get the hang of it. I’m going to walk you through everything you need to know, from sprouting slips to harvesting your own sweet potato bounty. Let’s get started!
What You’ll Need
Before we dive into the nitty-gritty, let’s gather our supplies. This will make the whole process smoother and less stressful.
* Sweet Potato “Seed” Potatoes: Choose organic sweet potatoes from a grocery store or order certified disease-free seed potatoes online. Organic is best to avoid any sprout inhibitors.
* Containers: You’ll need containers to sprout your slips. Glass jars, plastic tubs, or even repurposed containers will work.
* Water: Clean, fresh water is essential for sprouting and growing.
* Potting Mix: A well-draining potting mix is crucial for planting your slips.
* Garden Space: Choose a sunny spot in your garden with well-drained soil. Sweet potatoes need at least 6-8 hours of sunlight per day.
* Fertilizer (Optional): A balanced fertilizer can help boost growth, but it’s not strictly necessary.
* Gardening Tools: Shovel, trowel, gardening gloves, and watering can.
* Mulch: Straw, hay, or wood chips to help retain moisture and suppress weeds.
Sprouting Sweet Potato Slips: The First Step to Success
Sweet potato slips are the leafy sprouts that grow from the sweet potato itself. These are what you’ll actually plant in your garden. This is probably the most crucial part of the whole process, so pay close attention!
1. Prepare Your Sweet Potatoes: Wash your sweet potatoes thoroughly to remove any dirt or debris.
2. Choose Your Sprouting Method: There are two main methods for sprouting slips:
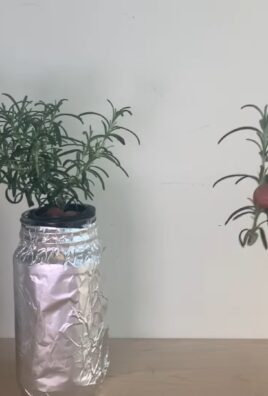
* Water Method: Suspend the sweet potato in a jar or container of water, with the bottom half submerged. You can use toothpicks to hold it in place.
* Soil Method: Bury the sweet potato horizontally in a container filled with moist potting mix, leaving the top slightly exposed.
3. Provide Warmth and Light: Place your container in a warm, sunny location. A windowsill or a spot near a heat source works well. The ideal temperature is between 75-85°F (24-29°C).
4. Maintain Moisture: For the water method, change the water every few days to prevent algae growth. For the soil method, keep the potting mix consistently moist but not soggy.
5. Wait Patiently: It can take several weeks for slips to start sprouting. Be patient and continue to provide warmth, light, and moisture. You should start seeing little sprouts emerging from the sweet potato.
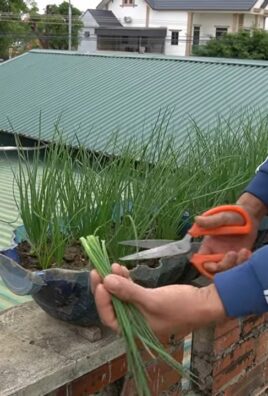
6. Harvesting Your Slips: Once the slips are 6-8 inches long, they’re ready to be harvested. Gently twist or cut them off the sweet potato. Don’t worry if they don’t have roots yet; they’ll develop roots quickly once planted.
7. Rooting the Slips (Optional but Recommended): Place the harvested slips in a glass of water, with the bottom inch or two submerged. In a few days, roots will start to form. This step isn’t strictly necessary, but it gives your slips a head start and increases their chances of survival.
Preparing Your Garden Bed: Setting the Stage for Growth
Sweet potatoes thrive in warm, well-drained soil. Proper soil preparation is key to a successful harvest.
1. Choose a Sunny Location: Select a spot in your garden that receives at least 6-8 hours of direct sunlight per day.
2. Test Your Soil: Ideally, your soil should have a pH between 6.0 and 6.5. You can purchase a soil testing kit at your local garden center.
3. Amend Your Soil: Sweet potatoes prefer loose, well-drained soil. If your soil is heavy clay, amend it with compost, aged manure, or other organic matter to improve drainage and fertility.
4. Create Raised Beds (Optional): Raised beds can improve drainage and warm up the soil more quickly, which is beneficial for sweet potatoes.
5. Till or Dig the Soil: Loosen the soil to a depth of at least 12 inches. This will allow the sweet potato roots to grow easily.
6. Add Fertilizer (Optional): If your soil is lacking in nutrients, you can add a balanced fertilizer before planting. Follow the instructions on the fertilizer package.
Planting Your Sweet Potato Slips: Getting Them in the Ground
Now for the fun part – planting your slips!
1. Wait for Warm Weather: Sweet potatoes are sensitive to frost. Wait until the soil has warmed up to at least 60°F (16°C) before planting. This is usually a few weeks after the last frost.
2. Water Your Slips: Before planting, water your slips thoroughly to hydrate them.
3. Dig Holes: Dig holes that are about 4-6 inches deep and spaced 12-18 inches apart. Rows should be spaced 3-4 feet apart.
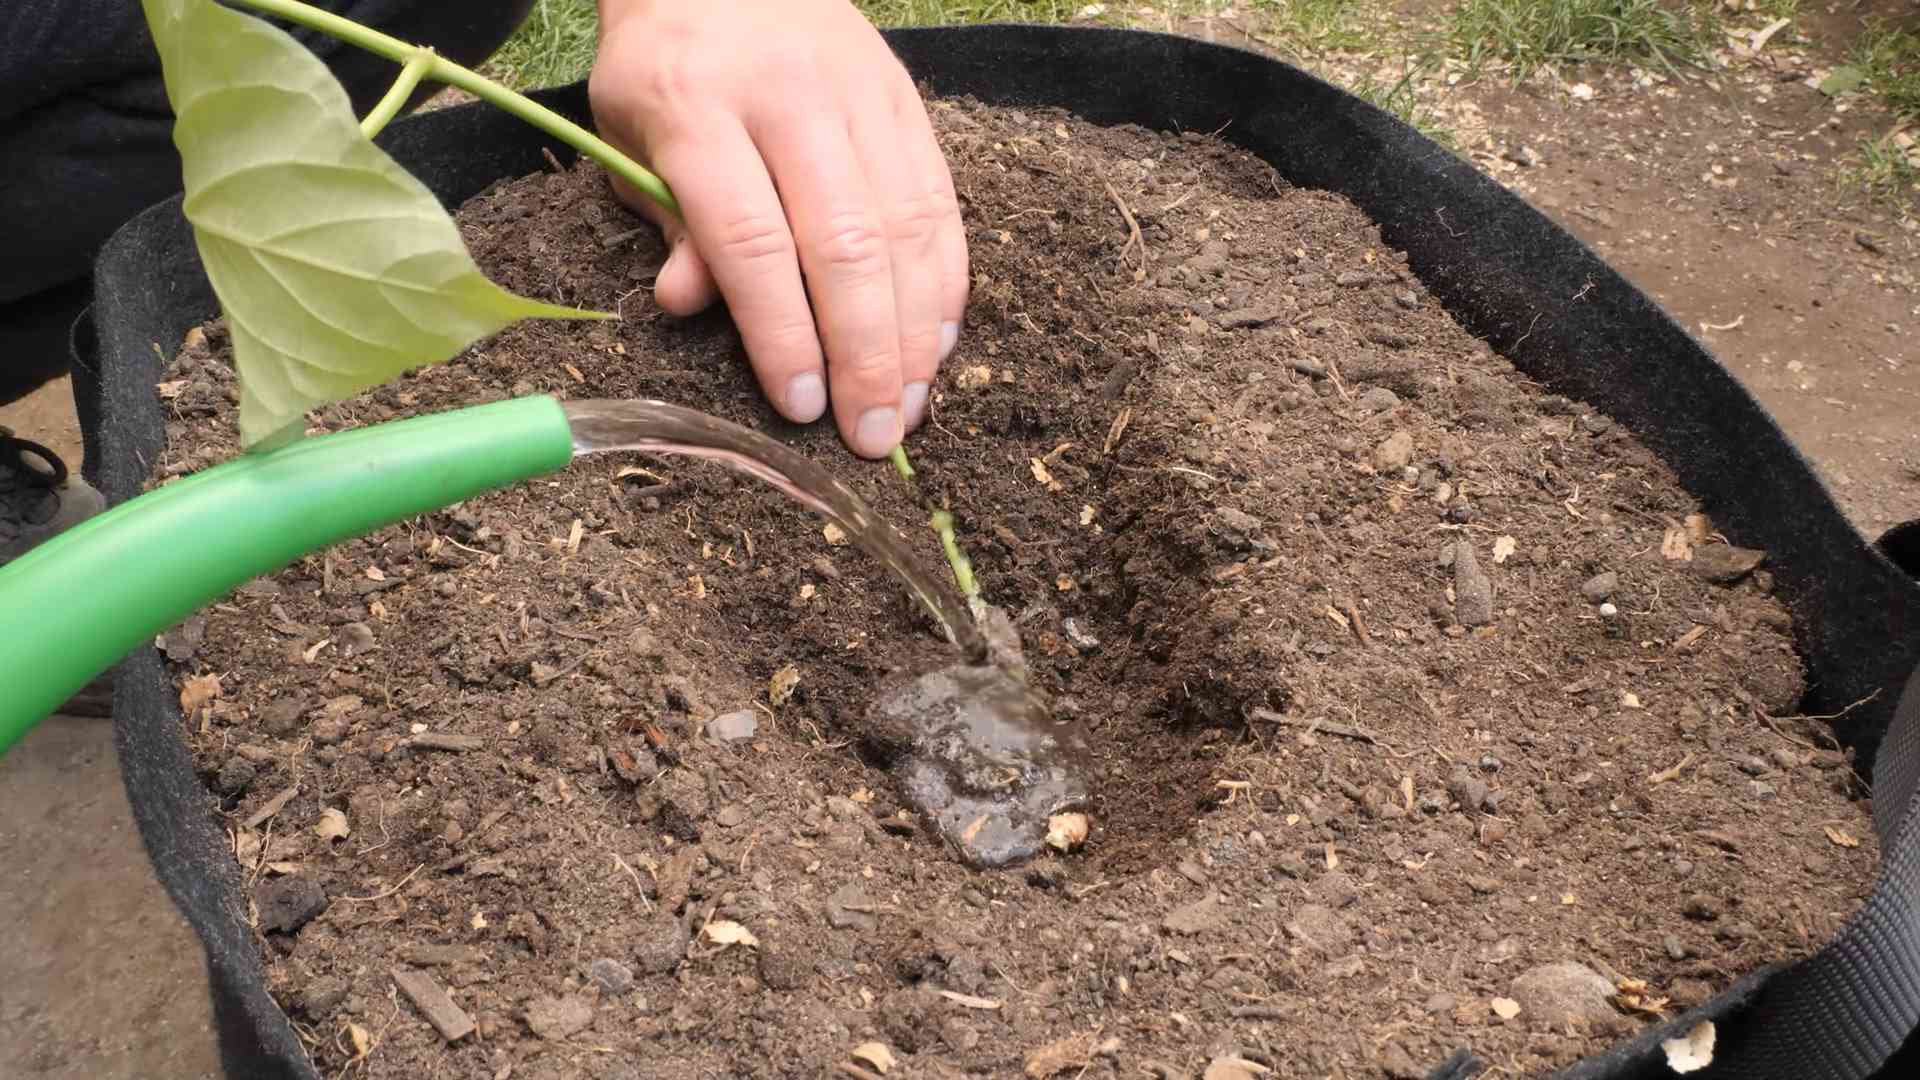
4. Plant the Slips: Place each slip in a hole, burying the stem up to the first set of leaves.
5. Water Thoroughly: Water the newly planted slips thoroughly to help them settle in.
6. Mulch: Apply a layer of mulch around the plants to help retain moisture, suppress weeds, and regulate soil temperature. Straw, hay, or wood chips work well.
Caring for Your Sweet Potato Plants: Nurturing Their Growth
Once your slips are planted, it’s important to provide them with the care they need to thrive.
1. Water Regularly: Sweet potatoes need consistent moisture, especially during the first few weeks after planting. Water deeply whenever the soil feels dry to the touch.
2. Weed Regularly: Keep your garden bed free of weeds, which can compete with your sweet potato plants for nutrients and water.
3. Fertilize (Optional): If your plants are growing slowly, you can apply a balanced fertilizer every few weeks. Follow the instructions on the fertilizer package.
4. Control Pests and Diseases: Sweet potatoes are generally resistant to pests and diseases, but it’s still important to monitor your plants regularly. If you notice any problems, take action promptly. Common pests include flea beetles and sweet potato weevils. Common diseases include stem rot and black rot.
5. Vine Management: Sweet potato vines can spread rapidly. You can prune them back to keep them under control, but be careful not to remove too much foliage, as this can reduce your yield.
Harvesting Your Sweet Potatoes: The Sweet Reward
After months of care and patience, it’s finally time to harvest your sweet potatoes!
1. Timing is Key: Sweet potatoes are typically ready to harvest about 90-120 days after planting. The leaves will start to turn yellow and the vines will begin to die back.
2. Choose a Dry Day: Harvest your sweet potatoes on a dry day to prevent rot.
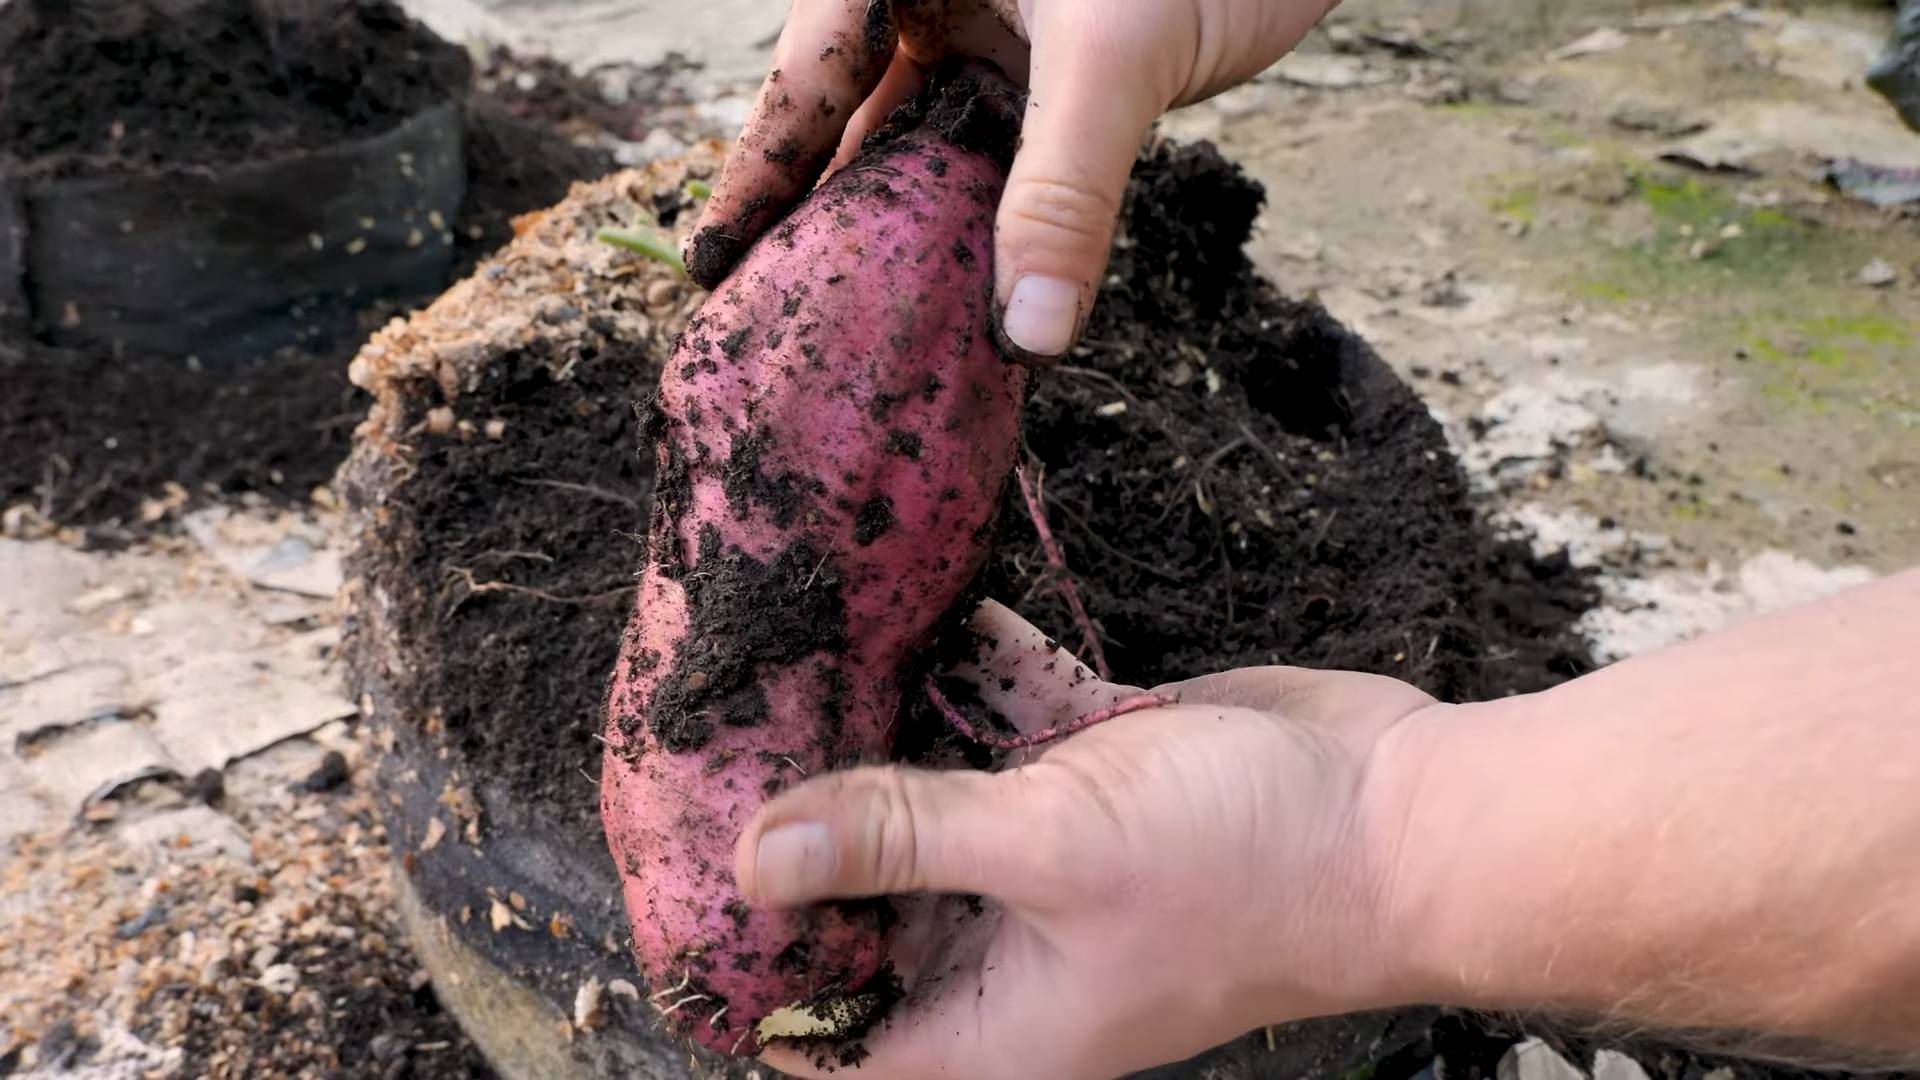
3. Dig Carefully: Use a garden fork or shovel to carefully dig around the plants, being careful not to damage the sweet potatoes.
4. Lift the Plants: Gently lift the plants from the ground, being careful not to pull on the vines.
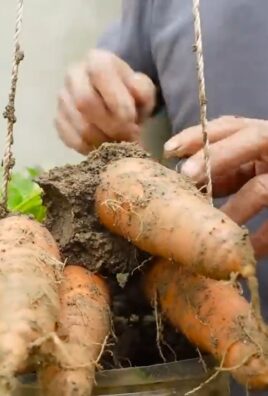
5. Brush Off the Dirt: Brush off any excess dirt from the sweet potatoes.
6. Curing Your Sweet Potatoes: Curing is an essential step in the sweet potato harvesting process. It allows the skins to harden and the starches to convert to sugars, resulting in a sweeter, more flavorful potato.
* Gather Your Harvest: Carefully collect all the harvested sweet potatoes, handling them gently to avoid bruising.
* Prepare the Curing Area: Find a warm, humid, and well-ventilated space. Ideal conditions are around 80-85°F (27-29°C) with 85-90% humidity. A greenhouse, shed, or even a spare room can work.
* Arrange the Sweet Potatoes: Place the sweet potatoes in a single layer in crates, boxes, or on shelves. Avoid stacking them to ensure proper air circulation.
* Maintain Warmth and Humidity: Use a humidifier or place pans of water in the curing area to maintain the desired humidity level. A space heater can help maintain the temperature if needed.
* Cure for 7-10 Days: Allow the sweet potatoes to cure for 7-10 days. Monitor the temperature and humidity levels regularly.
* Check for Damage: During the curing process, inspect the sweet potatoes for any signs of damage or rot. Remove any damaged potatoes to prevent
Conclusion
So, there you have it! Growing sweet potatoes, even for beginners, is not only achievable but also incredibly rewarding. This DIY trick, focusing on [specific trick mentioned throughout the article, e.g., sprouting slips in water or creating a raised bed], is a game-changer because it significantly increases your chances of a bountiful harvest. Think about it: fresh, homegrown sweet potatoes, bursting with flavor and packed with nutrients, right from your own backyard. You’ll know exactly where they came from and what went into growing them – no pesticides, no questionable practices, just pure, delicious goodness.
This method bypasses many of the common pitfalls that beginners face. By [mention the benefit of the specific trick, e.g., starting slips indoors], you’re giving your sweet potatoes a head start, protecting them from early-season pests and diseases, and ensuring they have a strong root system before being transplanted into the garden. The result? Healthier plants, bigger yields, and a much higher success rate, even if you’ve never grown sweet potatoes before.
But don’t just take our word for it! The beauty of growing your own food is the opportunity to experiment and tailor the process to your specific environment and preferences.
Variations and Suggestions:
* Soil Amendments: While we’ve covered the basics, consider enriching your soil with compost or well-rotted manure before planting. Sweet potatoes thrive in nutrient-rich soil.
* Container Gardening: If you’re short on space, you can even grow sweet potatoes in large containers. Just make sure they have adequate drainage and plenty of room for the tubers to develop. Choose a container that is at least 20 gallons in size.
* Different Varieties: Explore different varieties of sweet potatoes to find your favorite. Beauregard is a classic choice, but there are also Japanese sweet potatoes, purple sweet potatoes, and many others, each with its unique flavor and texture.
* Companion Planting: Consider planting companion plants alongside your sweet potatoes to deter pests and attract beneficial insects. Marigolds, nasturtiums, and basil are all good options.
* Harvesting: Don’t be afraid to dig around a bit before the first frost to check on the size of your sweet potatoes. You can harvest them as soon as they reach a size you’re happy with.
We are confident that this DIY trick will transform your sweet potato growing experience. It’s simple, effective, and accessible to everyone, regardless of their gardening experience. So, grab your sweet potatoes, gather your supplies, and get ready to embark on a rewarding journey of growing your own delicious and nutritious food.
We encourage you to try this method and share your results with us! Post pictures of your sweet potato slips, your growing plants, and your final harvest on social media using [Your Hashtag]. We can’t wait to see your success stories and learn from your experiences. Happy growing!
Frequently Asked Questions (FAQ)
Q: How long does it take to grow sweet potatoes?
A: Sweet potatoes typically take between 90 and 120 days to mature, depending on the variety and growing conditions. Starting with slips, as described in this DIY trick, can help shorten the overall growing time. Keep a close eye on the foliage; when it starts to yellow, it’s a good indication that your sweet potatoes are ready to harvest. Remember, patience is key! Don’t be tempted to harvest too early, as the sweet potatoes will continue to grow and develop their flavor as they mature.
Q: What kind of soil is best for growing sweet potatoes?
A: Sweet potatoes prefer well-drained, sandy loam soil. Heavy clay soil can restrict root growth and lead to misshapen tubers. If you have clay soil, amend it with plenty of organic matter, such as compost or well-rotted manure, to improve drainage and aeration. A slightly acidic soil pH of around 6.0 to 6.5 is ideal. You can test your soil pH with a simple soil testing kit available at most garden centers.
Q: How much sun do sweet potatoes need?
A: Sweet potatoes need at least 6-8 hours of direct sunlight per day to thrive. Choose a planting location that receives full sun throughout the growing season. Insufficient sunlight can result in smaller yields and less flavorful sweet potatoes. If you’re growing sweet potatoes in containers, make sure to move them to a sunny location as needed.
Q: How often should I water sweet potatoes?
A: Sweet potatoes need consistent moisture, especially during the first few weeks after transplanting. Water deeply whenever the top inch of soil feels dry to the touch. Once the plants are established, you can reduce watering frequency, but be sure to provide adequate moisture during periods of drought. Avoid overwatering, as this can lead to root rot. Using a soaker hose or drip irrigation can help deliver water directly to the roots and minimize water loss through evaporation.
Q: What are sweet potato slips, and why are they important?
A: Sweet potato slips are sprouts that grow from the sweet potato itself. They are essentially baby sweet potato plants. Starting with slips is a crucial step in growing sweet potatoes because it allows you to bypass the seed stage and get a head start on the growing season. This DIY trick focuses on how to easily create your own slips, saving you money and ensuring you have healthy, vigorous plants.
Q: How do I know when to harvest my sweet potatoes?
A: The best time to harvest sweet potatoes is just before the first frost in your area. The foliage will start to yellow and die back, indicating that the tubers are mature. You can also dig around a bit to check the size of the sweet potatoes. Use a garden fork to gently lift the plants from the ground, being careful not to damage the tubers.
Q: How do I cure sweet potatoes after harvesting?
A: Curing sweet potatoes is essential for developing their sweetness and improving their storage life. After harvesting, gently brush off any excess soil and allow the sweet potatoes to dry in a warm, humid place (around 80-85°F and 85-90% humidity) for 7-10 days. This process allows the skins to harden and any minor cuts or bruises to heal. After curing, store the sweet potatoes in a cool, dry, and well-ventilated place (around 55-60°F) for several months.
Q: What are some common pests and diseases that affect sweet potatoes?
A: Some common pests that affect sweet potatoes include sweet potato weevils, flea beetles, and wireworms. Diseases include stem rot, black rot, and scurf. Practicing crop rotation, using disease-resistant varieties, and maintaining good soil health can help prevent these problems. Regularly inspect your plants for signs of pests or diseases and take appropriate action if necessary. Organic pest control methods, such as using insecticidal soap or neem oil, can be effective for controlling many common pests.
Q: Can I grow sweet potatoes in containers?
A: Yes, you can absolutely grow sweet potatoes in containers! Choose a large container (at least 20 gallons) with good drainage. Fill the container with a well-draining potting mix and plant your sweet potato slips. Provide plenty of sunlight and water regularly. Container-grown sweet potatoes may not produce as many tubers as those grown in the ground, but they can still provide a satisfying harvest.
Q: What are some good companion plants for sweet potatoes?
A: Good companion plants for sweet potatoes include marigolds, nasturtiums, basil, and thyme. Marigolds and nasturtiums deter pests, while basil and thyme attract beneficial insects. Planting these companions alongside your sweet potatoes can help create a healthier and more productive garden.
Q: What if my sweet potato plants produce a lot of foliage but few sweet potatoes?
A: This can be due to several factors, including excessive nitrogen in the soil, insufficient sunlight, or overwatering. Avoid using high-nitrogen fertilizers, ensure your plants are getting at least 6-8 hours of direct sunlight per day, and water only when the top inch of soil feels dry. You can also try pinching off some of the foliage to encourage the plants to focus their energy on producing tubers.
Q: Is it possible to grow sweet potatoes from store-bought sweet potatoes?
A: Yes, it is possible to grow sweet potatoes from store-bought sweet potatoes, but it’s not always guaranteed to be successful. Some commercially grown sweet potatoes are treated to prevent sprouting. However, you can try suspending a sweet potato in a jar of water, as described in this DIY trick, and see if it sprouts. Choose organic sweet potatoes whenever possible, as they are less likely to be treated with sprout inhibitors.
Leave a Comment