
Grow Crunchy Celery Backyard: Dreaming of crisp, refreshing celery straight from your garden? I know I am! Forget the limp, flavorless stalks from the grocery store. This isn’t just about growing vegetables; it’s about experiencing the vibrant taste of homegrown goodness. For centuries, celery has been cultivated, not just for its culinary uses, but also for its medicinal properties. From ancient Greece, where it was used to crown victors, to modern-day kitchens, celery has a rich history.
But let’s be honest, achieving that perfect crunch can be tricky. That’s why I’ve put together this guide packed with DIY tricks and hacks to help you grow crunchy celery backyard, even if you’re a beginner gardener. We’ll explore everything from soil preparation and watering techniques to pest control and harvesting tips. Imagine the satisfaction of serving a salad with celery you nurtured from seed to stalk! This guide will give you the knowledge and confidence to cultivate a thriving celery patch, adding a healthy and delicious element to your meals. Let’s get started and unlock the secrets to growing the crunchiest celery you’ve ever tasted!
Grow the Crunchiest Celery You’ve Ever Tasted: A DIY Guide
Hey there, fellow garden enthusiasts! Are you tired of limp, stringy celery from the grocery store? I know I was! That’s why I decided to take matters into my own hands and grow my own super-crunchy celery right in my backyard. And guess what? It’s totally doable, even if you don’t have a green thumb (yet!). This guide will walk you through every step, from choosing the right seeds to harvesting your delicious, homegrown celery. Let’s get started!
Choosing the Right Celery Variety
Before we dive into the nitty-gritty, let’s talk about celery varieties. Not all celery is created equal! Some are more heat-tolerant, some are more disease-resistant, and some are just plain crunchier. Here are a few of my favorites:
* ‘Utah Improved’: This is a classic, reliable variety that’s known for its excellent flavor and crisp stalks. It’s also relatively easy to grow, making it a great choice for beginners.
* ‘Conquistador’: If you live in a warmer climate, ‘Conquistador’ is a fantastic option. It’s heat-tolerant and resistant to bolting (going to seed prematurely).
* ‘Giant Red’: Want to add a pop of color to your garden? ‘Giant Red’ celery has beautiful reddish-pink stalks and a slightly sweeter flavor.
* ‘Golden Self-Blanching’: This heirloom variety is unique because it doesn’t require blanching (more on that later!). It has a mild flavor and tender stalks.
Starting Celery Seeds Indoors
Celery seeds are tiny and can be a bit finicky to germinate, so I highly recommend starting them indoors about 10-12 weeks before the last expected frost. This gives them a head start and ensures you’ll have strong, healthy seedlings ready to transplant when the weather warms up.
1. Gather Your Supplies:
* Seed starting trays or small pots
* Seed starting mix (a light, well-draining mix is essential)
* Celery seeds
* Spray bottle filled with water
* Heat mat (optional, but helpful)
* Grow lights (optional, but recommended)
2. Sow the Seeds:
* Moisten the seed starting mix thoroughly.
* Sprinkle the celery seeds thinly over the surface of the soil. Remember, they are tiny, so don’t bury them too deep.
* Gently press the seeds into the soil.
* Lightly mist the surface with water.
3. Create a Humid Environment:
* Cover the seed starting trays with a clear plastic dome or plastic wrap to create a humid environment. This helps the seeds germinate.
* Place the trays on a heat mat (if using) and under grow lights (if using).
4. Maintain Consistent Moisture and Temperature:
* Keep the soil consistently moist, but not soggy. Mist the surface with water as needed.
* Maintain a temperature of around 70-75°F (21-24°C). The heat mat can help with this.
5. Provide Light:
* If you’re using grow lights, keep them on for 14-16 hours per day.
* If you’re not using grow lights, place the trays in a bright, sunny location.
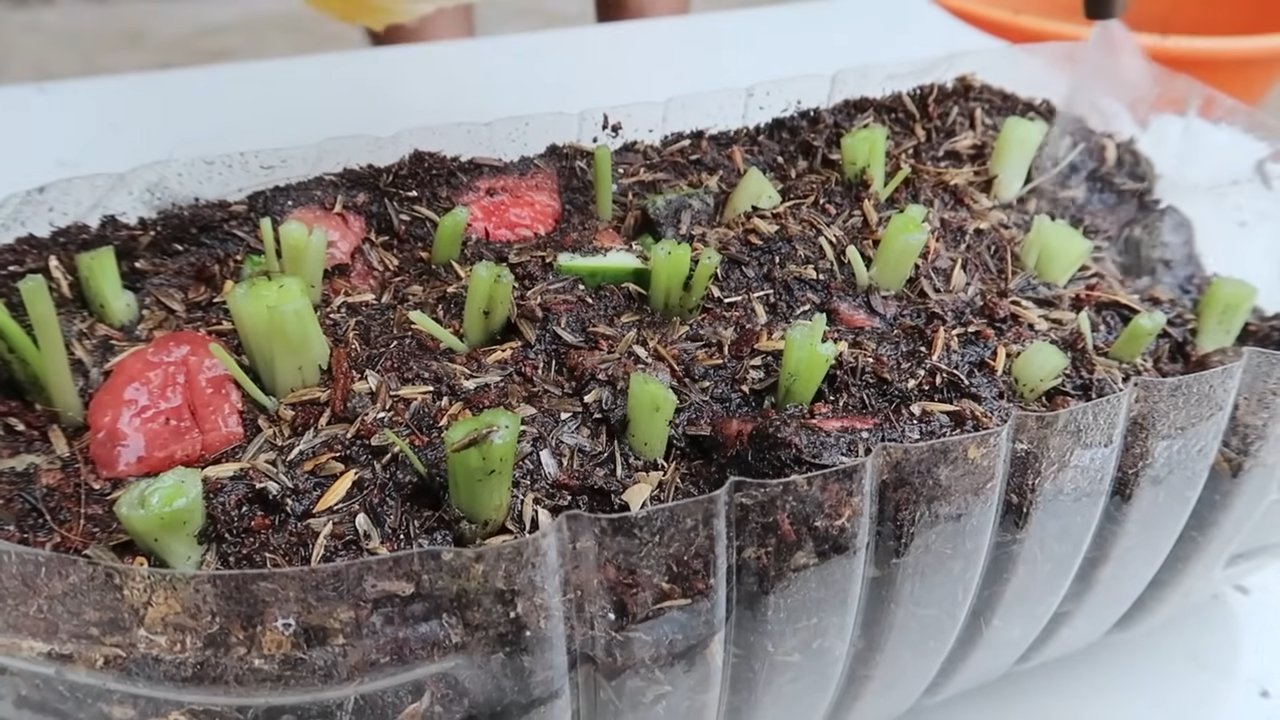
6. Germination:
* Celery seeds can take anywhere from 14 to 21 days to germinate, so be patient!
* Once the seedlings emerge, remove the plastic dome or plastic wrap.
7. Thin the Seedlings:
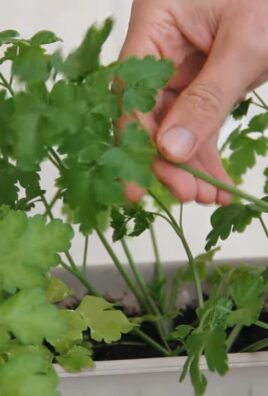
* Once the seedlings have their first true leaves (the second set of leaves), thin them out so that there’s only one seedling per cell or pot. Use small scissors to snip off the weaker seedlings at the soil line.
Hardening Off the Seedlings
Before transplanting your celery seedlings outdoors, you need to “harden them off.” This process gradually acclimates them to the outdoor environment, making them less susceptible to shock.
1. Start Slowly:
* About a week before you plan to transplant, start taking the seedlings outdoors for a few hours each day.
* Place them in a sheltered location, away from direct sunlight and strong winds.
2. Gradually Increase Exposure:
* Each day, gradually increase the amount of time the seedlings spend outdoors.
* Also, gradually expose them to more sunlight and wind.
3. Monitor the Seedlings:
* Keep a close eye on the seedlings for any signs of stress, such as wilting or sunburn.
* If they show signs of stress, bring them back indoors and reduce their exposure to the elements.
Preparing the Garden Bed
Celery needs rich, well-drained soil that’s high in organic matter. It also prefers a sunny location with at least 6 hours of sunlight per day.
1. Choose a Sunny Location:
* Select a spot in your garden that receives at least 6 hours of sunlight per day.
2. Amend the Soil:
* Dig in plenty of compost or well-rotted manure to improve the soil’s fertility and drainage.
* Celery is a heavy feeder, so adding a slow-release fertilizer at this stage can also be beneficial. I like to use an organic fertilizer specifically formulated for vegetables.
3. Ensure Good Drainage:
* Celery needs consistent moisture, but it doesn’t like to sit in soggy soil. Make sure your garden bed has good drainage. If your soil is heavy clay, consider adding sand or perlite to improve drainage.
4. Check the Soil pH:
* Celery prefers a soil pH of between 6.0 and 6.8. You can test your soil pH with a soil testing kit. If your soil is too acidic, add lime to raise the pH. If it’s too alkaline, add sulfur to lower the pH.
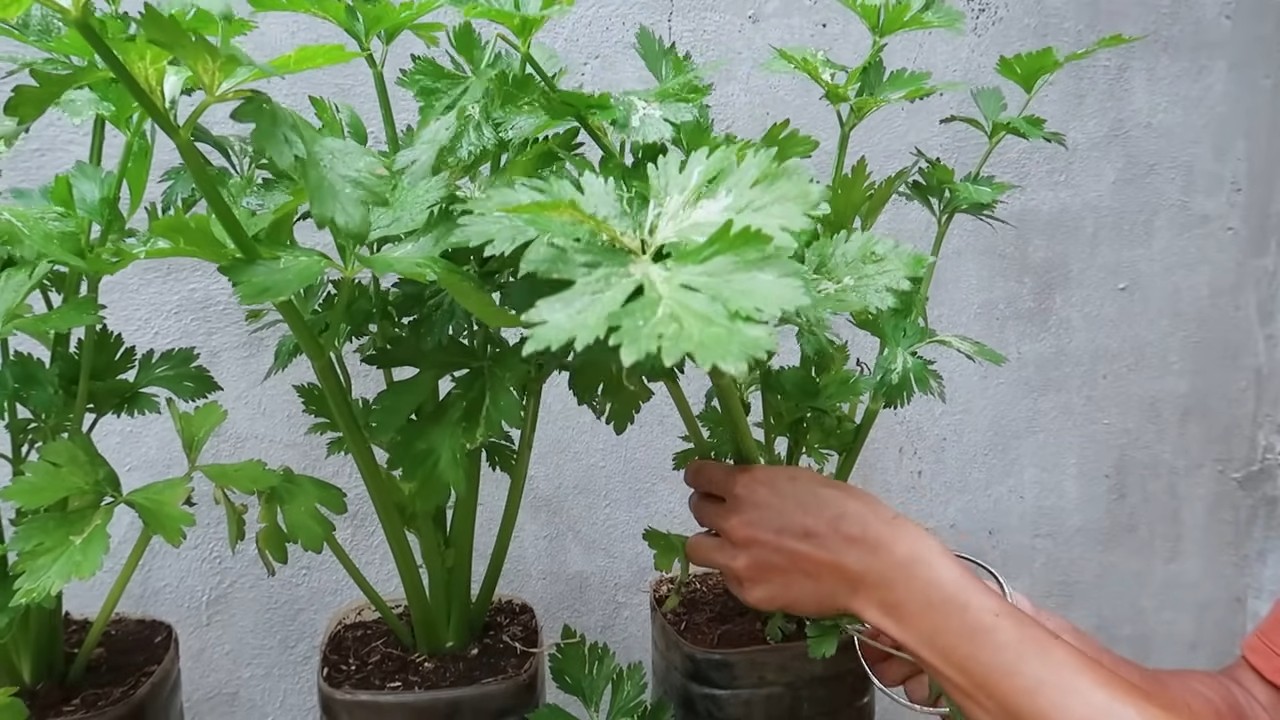
Transplanting the Celery Seedlings
Once your seedlings are hardened off and your garden bed is prepared, it’s time to transplant!
1. Choose a Cloudy Day:
* Transplant on a cloudy day or in the late afternoon to minimize stress on the seedlings.
2. Dig Holes:
* Dig holes that are slightly larger than the root balls of the seedlings. Space the holes about 8-10 inches apart.
3. Gently Remove Seedlings:
* Carefully remove the seedlings from their trays or pots, being careful not to damage the roots.
4. Plant the Seedlings:
* Place the seedlings in the holes and gently backfill with soil.
* Make sure the top of the root ball is level with the surrounding soil.
5. Water Thoroughly:
* Water the seedlings thoroughly after transplanting.
6. Mulch:
* Apply a layer of mulch around the seedlings to help retain moisture, suppress weeds, and regulate soil temperature. I like to use straw or shredded leaves.
Caring for Your Celery Plants
Celery requires consistent moisture and regular feeding to thrive.
1. Water Regularly:
* Celery needs consistent moisture, especially during hot, dry weather. Water deeply and regularly, aiming to keep the soil consistently moist but not soggy.
* A soaker hose or drip irrigation system can be very helpful for providing consistent moisture.
2. Fertilize Regularly:
* Celery is a heavy feeder, so it needs regular fertilization.
* Side-dress the plants with a balanced fertilizer every 2-3 weeks. You can also use a liquid fertilizer, such as fish emulsion or compost tea.
3. Weed Regularly:
* Keep the garden bed free of weeds, which can compete with the celery plants for nutrients and water.
* Hand-pull weeds regularly or use a hoe to cultivate the soil.
4. Blanching (Optional):
* Blanching celery stalks makes them more tender and less bitter.
* About 2-3 weeks before harvest, you can blanch the stalks by wrapping them with newspaper, cardboard, or soil. Leave the tops of the stalks exposed to sunlight.
* However, some varieties, like ‘Golden Self-Blanching,’ don’t require blanching.
Dealing with Pests and Diseases
Celery can be susceptible to a few pests and diseases, but with proper care, you can minimize problems.
* Celery Leaf Tier: These caterpillars feed on celery leaves, causing damage. Handpick them off the plants or use an organic insecticide, such as Bacillus thuringiensis (Bt).
* Aphids: These tiny insects suck sap from celery
Conclusion
So, there you have it! Growing crunchy celery in your backyard isn’t just a pipe dream; it’s an achievable reality with a little know-how and dedication. We’ve walked you through the process, highlighting the key steps to ensure your success, from selecting the right seeds or seedlings to providing the optimal growing conditions and blanching techniques. But why should you bother with all this effort when you can simply buy celery at the store? The answer lies in the unparalleled freshness, flavor, and satisfaction that comes from harvesting your own homegrown produce.
Imagine the crisp, clean taste of celery, bursting with flavor, straight from your garden to your table. Think of the pride you’ll feel knowing you nurtured this vegetable from seed to stalk. And consider the health benefits of consuming celery that hasn’t been sitting on a grocery store shelf for days, losing its vital nutrients. This isn’t just about growing celery; it’s about embracing a more sustainable, healthy, and rewarding lifestyle.
This method of growing crunchy celery is a must-try for any gardener, regardless of experience level. Even if you’re a complete beginner, the steps are straightforward and easy to follow. And for seasoned gardeners, this guide offers valuable insights and techniques to enhance your existing celery-growing practices.
Don’t be afraid to experiment and personalize the process to suit your specific needs and preferences. For example, if you live in a particularly hot climate, you might consider providing extra shade during the hottest part of the day. Or, if you prefer a sweeter celery, you could try adding a small amount of molasses to the soil. You can also explore different varieties of celery, each with its own unique flavor and texture. Some popular options include ‘Utah Tall Green,’ ‘Golden Self-Blanching,’ and ‘Giant Red.’
Consider companion planting to further enhance your celery’s growth and deter pests. Marigolds, onions, and garlic are all excellent companions for celery. They help to repel insects and improve the overall health of the soil.
We encourage you to take the plunge and embark on your own celery-growing adventure. The rewards are well worth the effort. And once you’ve harvested your first batch of crunchy, homegrown celery, we’d love to hear about your experience! Share your tips, tricks, and photos with us in the comments section below. Let’s build a community of celery enthusiasts and learn from each other’s successes and challenges.
Growing your own food is a powerful and empowering experience. It connects you to nature, provides you with fresh, healthy produce, and reduces your reliance on the industrial food system. So, grab your seeds, get your hands dirty, and start growing crunchy celery today! You won’t regret it.
Frequently Asked Questions (FAQ)
What is the best time of year to plant celery?
Celery is a cool-season crop, so the best time to plant it depends on your climate. In regions with mild winters, you can start seeds indoors in late winter or early spring and transplant them outdoors after the last frost. In areas with colder winters, it’s best to start seeds indoors in early spring and transplant them outdoors after the danger of frost has passed. Celery requires a long growing season (around 100-120 days), so starting seeds indoors is generally recommended to give them a head start.
How much sunlight does celery need?
Celery needs at least six hours of sunlight per day to thrive. However, in hot climates, it can benefit from some afternoon shade to prevent the leaves from scorching. Choose a location in your garden that receives plenty of morning sun and some protection from the intense afternoon heat.
What type of soil is best for growing celery?
Celery prefers rich, well-drained soil with a high organic matter content. Amend your soil with compost or well-rotted manure before planting to improve its fertility and drainage. Celery also prefers a slightly acidic soil pH, ideally between 6.0 and 6.8. You can test your soil pH with a soil testing kit and adjust it accordingly.
How often should I water celery?
Celery needs consistent moisture to grow properly. Water deeply and regularly, especially during hot, dry weather. Aim to keep the soil consistently moist but not waterlogged. Mulching around the plants can help to retain moisture and suppress weeds. A good rule of thumb is to water when the top inch of soil feels dry to the touch.
How do I blanch celery?
Blanching is the process of excluding light from the celery stalks to make them more tender and less bitter. There are several ways to blanch celery. One method is to mound soil around the stalks, leaving only the top leaves exposed. Another method is to wrap the stalks with newspaper, cardboard, or fabric. Blanching typically takes about two to three weeks before harvest. Self-blanching varieties are available that require less intervention.
What are some common pests and diseases that affect celery?
Celery can be susceptible to several pests and diseases, including aphids, celery leaf miners, celery blight, and pink rot. Regularly inspect your plants for signs of pests or diseases and take appropriate action. Organic pest control methods, such as insecticidal soap or neem oil, can be effective for controlling aphids and leaf miners. Proper sanitation and good air circulation can help to prevent celery blight and pink rot.
How do I harvest celery?
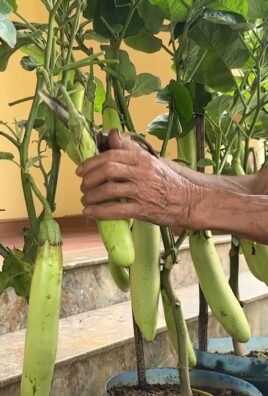
Celery is ready to harvest when the stalks are at least 6-8 inches long and have reached the desired thickness. You can harvest individual stalks as needed or harvest the entire plant at once. To harvest, simply cut the stalks at the base of the plant with a sharp knife.
Can I grow celery in containers?
Yes, you can grow celery in containers, but you’ll need to choose a large container (at least 12 inches in diameter) to accommodate the plant’s root system. Use a high-quality potting mix and provide regular watering and fertilization. Container-grown celery may require more frequent watering than celery grown in the ground.
How do I store celery after harvesting?
After harvesting, store celery in the refrigerator to keep it fresh. Wrap the stalks in a damp paper towel or place them in a plastic bag. Celery can typically be stored in the refrigerator for up to two weeks.
Why is my celery bitter?
Celery can become bitter if it’s not properly blanched or if it’s exposed to too much heat or stress. Ensure that you blanch your celery properly and provide adequate watering and shade during hot weather. Choosing the right variety can also help. Some varieties are naturally less bitter than others.
Leave a Comment