
Microwave cleaner vinegar steam – sounds like a science experiment, right? Well, it’s actually your secret weapon for a sparkling clean microwave without harsh chemicals! I know, I know, cleaning the microwave is probably on everyone’s list of least favorite chores. It’s a sticky, splattered mess that seems to defy all attempts at scrubbing. But what if I told you there’s a ridiculously easy, almost magical way to banish those baked-on food particles with just two ingredients you probably already have in your kitchen?
Believe it or not, using steam to clean has been around for ages! Think about ancient Roman bathhouses or even just your grandma’s pressure cooker. Harnessing the power of steam is a time-tested method for loosening grime and dirt. And when you combine it with the natural cleaning power of vinegar, you’ve got a dynamic duo ready to tackle even the most stubborn microwave messes.
Let’s face it, a dirty microwave isn’t just unsightly; it can also affect the taste of your food and even harbor bacteria. Nobody wants that! This microwave cleaner vinegar steam trick is a game-changer because it’s quick, effective, eco-friendly, and saves you money on expensive cleaning products. Plus, it’s so simple, even the most reluctant cleaner (like me, sometimes!) will find it manageable. So, ditch the elbow grease and get ready to discover the easiest way to a spotless microwave!
DIY Microwave Cleaning with Vinegar Steam: A Sparkling Clean in Minutes!
Okay, let’s face it, cleaning the microwave is one of those chores we all dread. Burnt-on food splatters, mysterious stains, and that lingering odor… ugh! But fear not, my friends! I’m going to show you a super easy, all-natural way to get your microwave sparkling clean using just vinegar and water. This method uses the power of steam to loosen all that gunk, making it a breeze to wipe away. Trust me, you’ll be amazed at how effective this is!
What You’ll Need
Before we dive in, let’s gather our supplies. This is a pretty minimal list, which is always a win in my book!
* Microwave-safe bowl or measuring cup (glass or ceramic works best)
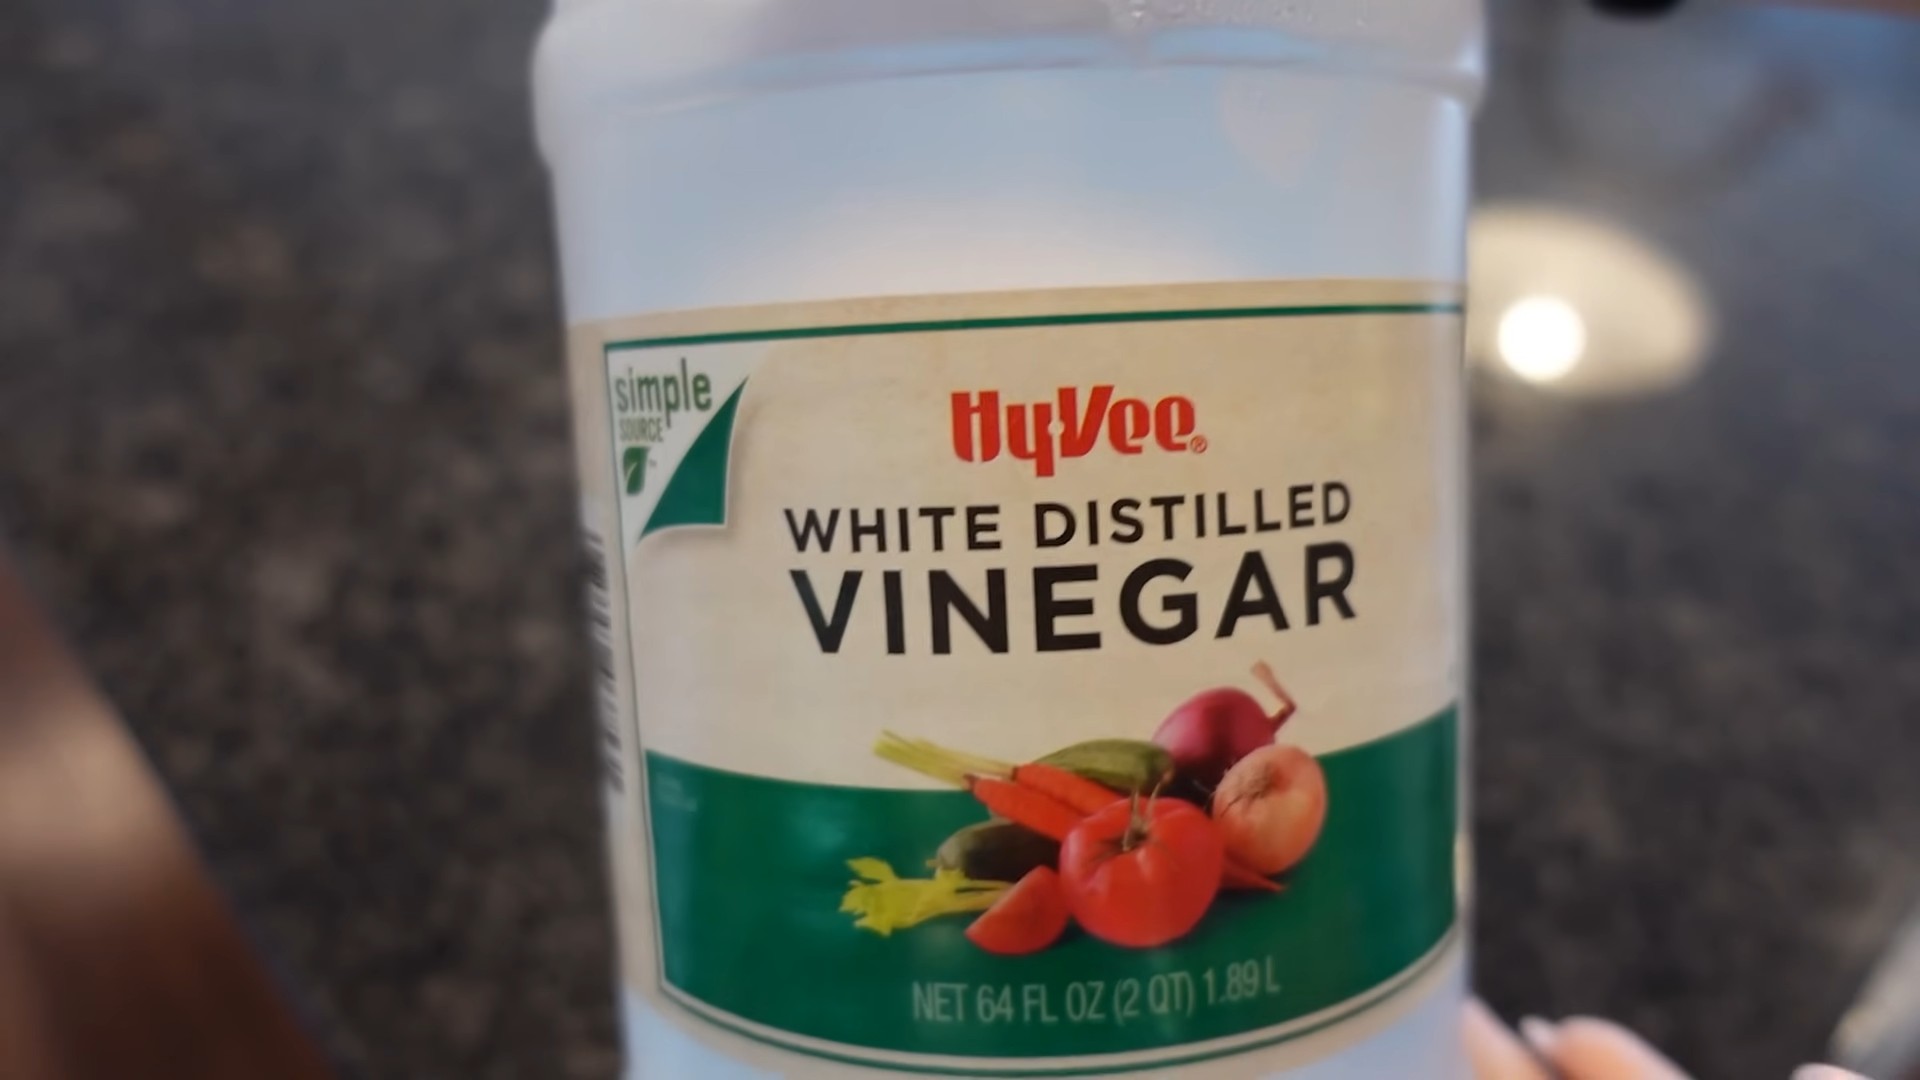
* White vinegar (the star of the show!)
* Water (tap water is perfectly fine)
* Clean sponge or cloth (microfiber cloths are great for this)
* Oven mitts or pot holders (safety first!)
The Magic of Vinegar Steam: Why It Works
So, why does this vinegar steam trick work so well? Well, the vinegar, when heated, releases acetic acid. This acid vaporizes into steam, which then condenses on the inside surfaces of your microwave. This condensation loosens the dried-on food particles, making them much easier to wipe away. Plus, vinegar is a natural deodorizer, so it helps to get rid of any lingering smells. It’s a win-win!
Step-by-Step Instructions: Getting Your Microwave Sparkling
Alright, let’s get down to business! Follow these simple steps, and you’ll have a clean microwave in no time.
1. Prepare the Vinegar Solution: Grab your microwave-safe bowl or measuring cup. Pour in 1 cup of water and 1-2 tablespoons of white vinegar. I usually start with 1 tablespoon, and if my microwave is particularly gross, I’ll bump it up to 2. You can always add more later if needed.
2. Microwave the Solution: Place the bowl or cup with the vinegar solution inside your microwave. Now, here’s the important part: microwave it on high for 3-5 minutes. You want the solution to come to a rolling boil and create plenty of steam. Keep an eye on it, and if it starts to bubble over, stop the microwave and reduce the cooking time slightly next time. The goal is to create steam, not a vinegar explosion!
3. Let the Steam Work Its Magic: Once the microwave has finished, DO NOT open the door immediately! This is crucial. Let the steam sit inside the microwave for another 3-5 minutes. This allows the steam to really penetrate and loosen all the grime. The longer you let it sit, the easier the next step will be.
4. Carefully Remove the Bowl: After the steaming period, carefully remove the bowl or cup from the microwave using oven mitts or pot holders. Remember, it will be hot! Set it aside on a heat-resistant surface to cool down.
5. Wipe Down the Interior: Now comes the satisfying part! Take your clean sponge or cloth and start wiping down the interior of the microwave. You should find that the loosened food particles wipe away with minimal effort. Pay special attention to the top, sides, and bottom of the microwave, as well as the turntable and any other removable parts.
6. Clean the Turntable and Other Removable Parts: If your microwave has a turntable or other removable parts, take them out and wash them separately with warm, soapy water. Rinse them thoroughly and dry them before putting them back in the microwave.
7. Tackle Stubborn Spots (If Necessary): If you encounter any particularly stubborn spots that don’t come off easily with the initial wipe-down, don’t fret! You can try a few things:
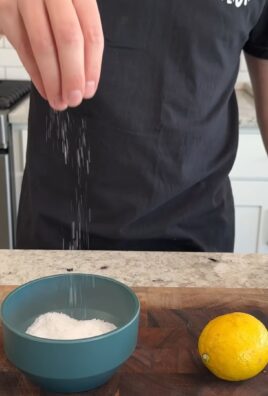
* Vinegar Paste: Make a paste of baking soda and vinegar. Apply it to the stubborn spot, let it sit for a few minutes, and then scrub gently with a sponge or cloth.
* Lemon Juice: Cut a lemon in half and rub it directly onto the stubborn spot. The citric acid in the lemon juice can help to break down the grime.
* Repeat the Steaming Process: If all else fails, you can always repeat the steaming process with a fresh batch of vinegar and water.
8. Dry the Interior: Once you’ve wiped down the entire interior of the microwave, use a clean, dry cloth to dry it thoroughly. This will help to prevent water spots and keep your microwave looking its best.
9. Reassemble and Enjoy: Put the turntable and any other removable parts back into the microwave. Step back and admire your sparkling clean microwave!
Dealing with Specific Microwave Cleaning Challenges
Sometimes, you might encounter specific cleaning challenges in your microwave. Here are a few tips for dealing with them:
* Burnt Popcorn Smell: If your microwave smells like burnt popcorn (we’ve all been there!), try placing a bowl of baking soda inside the microwave overnight. Baking soda is a natural odor absorber and can help to neutralize the smell. You can also try microwaving a cup of water with a few drops of lemon extract for a fresh, clean scent.
* Grease Splatters: Grease splatters can be particularly stubborn to remove. For these, I recommend using a degreasing dish soap along with the vinegar steam method. After steaming, spray the interior of the microwave with the degreasing soap, let it sit for a few minutes, and then wipe it down with a sponge or cloth.
* Hardened Food Splatters: If you have hardened food splatters that are really stuck on, try using a plastic scraper to gently scrape them off before wiping down the interior. Be careful not to scratch the surface of the microwave.
Maintaining a Clean Microwave: Prevention is Key!
Of course, the best way to keep your microwave clean is to prevent it from getting dirty in the first place! Here are a few tips for maintaining a clean microwave:
* Cover Your Food: Always cover your food when microwaving it. This will help to prevent splatters and keep the interior of your microwave clean. You can use a microwave-safe lid, plastic wrap, or even a paper towel.
* Wipe Up Spills Immediately: If you do happen to spill something in the microwave, wipe it up immediately. The longer you wait, the harder it will be to remove.
* Regular Cleaning: Make it a habit to clean your microwave regularly, even if it doesn’t look particularly dirty. A quick wipe-down once a week can go a long way in preventing build-up.
Safety First! Important Precautions
Before you start cleaning your microwave, it’s important to take a few safety precautions:
* Unplug the Microwave: For extra safety, unplug the microwave before cleaning it. This will prevent any accidental shocks.
* Use Oven Mitts or Pot Holders: Always use oven mitts or pot holders when handling hot bowls or cups.
* Be Careful with Steam: Be careful when opening the microwave door after steaming. The steam can be hot and can cause burns.
* Avoid Abrasive Cleaners: Avoid using abrasive cleaners or scouring pads, as these can scratch the surface of the microwave.
Alternative Cleaning Solutions (If You’re Not a Vinegar Fan)
While I’m a big fan of the vinegar steam method, I understand that some people might not like the smell of vinegar. If that’s the case, here are a few alternative cleaning solutions you can try:
* Lemon Juice: As mentioned earlier, lemon juice is a great natural cleaner and deodorizer. You can microwave a cup of water with a few tablespoons of lemon juice for a similar steaming effect.
* Baking Soda: Baking soda is another great natural cleaner and deodorizer. You can make a paste of baking soda and water and use it to scrub the interior of the microwave.
* Dish Soap: A mild dish soap can also be used to clean the microwave. Just be sure to rinse thoroughly to remove any soap residue.
Troubleshooting: Common Issues and Solutions
Sometimes, even with the best instructions, things don’t go exactly as planned. Here are a few common issues you might encounter and how to solve them:
* Not Enough Steam: If you’re not getting enough steam, try adding more water to the bowl or cup. You can also try increasing the microwaving time.
* Vinegar Smell Lingering: If the vinegar smell is lingering after cleaning, try placing a bowl of baking soda inside the microwave overnight. You can also try microwaving a cup of water with a few drops of lemon extract.
* Food Splatters Still Stuck: If you’re still having trouble removing food splatters, try using a plastic scraper to gently scrape them off before wiping down the interior.
Final Thoughts: A Clean Microwave is a Happy Microwave!
So there you have it! A simple, effective, and all-natural way to clean your microwave using just

Conclusion
So, there you have it! This simple, yet incredibly effective, DIY microwave cleaner vinegar steam method is a game-changer for anyone who wants a sparkling clean microwave without harsh chemicals or endless scrubbing. We’ve all been there – staring into a microwave splattered with remnants of countless meals, dreading the task of cleaning it. But with just vinegar, water, and a few minutes of your time, you can transform that daunting chore into a breeze.
Why is this a must-try? Because it’s not just about cleanliness; it’s about convenience, cost-effectiveness, and peace of mind. Forget expensive, chemically laden cleaners that leave behind lingering odors. This method harnesses the natural power of vinegar to loosen grime and grease, making it incredibly easy to wipe away. Plus, you likely already have vinegar in your pantry, making it an incredibly accessible solution.
Beyond the basic method, there are several variations you can explore to customize your cleaning experience. For a more fragrant clean, add a few drops of your favorite essential oil, like lemon or orange, to the water-vinegar mixture. This will not only help to deodorize your microwave but also leave it smelling fresh and inviting. Another variation involves using lemon juice instead of vinegar for a slightly milder scent and cleaning power. Experiment and find what works best for you and your microwave!
This DIY microwave cleaner vinegar steam trick is a true time-saver and a budget-friendly alternative to commercial cleaners. It’s a win-win for your kitchen and your wallet.
We’re confident that once you try this method, you’ll be amazed by the results. The steam effectively softens even the most stubborn splatters, making them easy to wipe away with a simple cloth or sponge. No more endless scrubbing or harsh chemicals needed!
But don’t just take our word for it. We encourage you to give this DIY microwave cleaner vinegar steam method a try and see the difference for yourself. We’re eager to hear about your experiences and any variations you discover along the way. Share your before-and-after photos, tips, and tricks in the comments below. Let’s create a community of sparkling clean microwaves!
So, ditch the harsh chemicals and embrace the power of vinegar steam. Your microwave (and your nose) will thank you!
Frequently Asked Questions (FAQs)
Q: What kind of vinegar should I use?
A: White vinegar is generally recommended for cleaning due to its high acidity and lack of color, which prevents staining. However, apple cider vinegar can also be used as a substitute, although it may leave a slightly different scent. Avoid using flavored vinegars, as they may leave unwanted residue or odors in your microwave. The key is to use a vinegar with a good level of acidity to effectively loosen the grime. Distilled white vinegar is the most readily available and cost-effective option for this purpose.
Q: How much vinegar and water should I use?
A: A good starting point is a 1:1 ratio of vinegar to water. For example, you can use 1 cup of vinegar and 1 cup of water. If your microwave is particularly dirty, you can increase the amount of vinegar slightly, but avoid using pure vinegar, as it can be too harsh and may damage the microwave. The steam is the key, so ensuring there’s enough liquid to create steam is important. Adjust the quantities based on the size of your microwave and the level of cleaning required.
Q: How long should I microwave the vinegar and water mixture?
A: Typically, microwaving the mixture for 3-5 minutes is sufficient. The goal is to bring the mixture to a boil and allow the steam to circulate throughout the microwave. If your microwave is heavily soiled, you may need to microwave it for a longer period, up to 7-10 minutes. Keep a close eye on the mixture while it’s microwaving to prevent it from boiling over. After microwaving, let the mixture sit inside the microwave for another 2-3 minutes to allow the steam to further loosen the grime before wiping it clean.
Q: Is it safe to use vinegar in the microwave?
A: Yes, it is generally safe to use vinegar in the microwave. Vinegar is a natural and non-toxic cleaning agent. However, it’s important to use it in a well-ventilated area, as the steam can have a strong odor. Also, ensure that your microwave is microwave-safe and that the container you’re using is also microwave-safe. Never use metal containers in the microwave. If you have any concerns about using vinegar in your specific microwave model, consult the manufacturer’s instructions.
Q: What if the grime is still difficult to remove after steaming?
A: If some grime remains stubborn after steaming, don’t worry! Simply dip a sponge or cloth in the warm vinegar water and gently scrub the affected areas. The steam should have already loosened the grime, making it easier to remove. For particularly tough spots, you can create a paste of baking soda and water and apply it to the area before scrubbing. Remember to always use a non-abrasive sponge or cloth to avoid scratching the interior of your microwave.
Q: Can I use this method to clean the outside of my microwave?
A: While this method is primarily designed for cleaning the inside of the microwave, you can certainly use the vinegar water to clean the outside as well. Simply dip a cloth in the warm vinegar water and wipe down the exterior surfaces. Be sure to wring out the cloth well to avoid getting water inside the microwave’s electronic components. For stubborn stains on the outside, you can use the baking soda paste mentioned earlier.
Q: How often should I clean my microwave using this method?
A: The frequency of cleaning depends on how often you use your microwave and how messy it gets. As a general guideline, cleaning your microwave every 1-2 weeks is a good practice to prevent grime from building up. If you frequently reheat messy foods, you may need to clean it more often. Regular cleaning will not only keep your microwave looking its best but also prevent odors from lingering.
Q: What if I don’t like the smell of vinegar?
A: If you find the smell of vinegar unpleasant, you can add a few drops of your favorite essential oil to the water-vinegar mixture. Lemon, orange, or lavender essential oils are popular choices that can help to mask the vinegar smell and leave your microwave smelling fresh. Alternatively, you can use lemon juice instead of vinegar for a milder scent. Ensure that the essential oils you use are safe for use in a microwave.
Q: Can I use this method on all types of microwaves?
A: This method is generally safe for most types of microwaves. However, it’s always a good idea to consult your microwave’s user manual to ensure that there are no specific cleaning instructions or warnings. If you have a stainless steel microwave, be sure to use a non-abrasive cloth to avoid scratching the surface. If you’re unsure, test the method on a small, inconspicuous area first.
Q: What are the benefits of using this DIY microwave cleaner vinegar steam method compared to commercial cleaners?
A: The benefits are numerous! This DIY method is cost-effective, environmentally friendly, and non-toxic. It avoids the use of harsh chemicals that can be harmful to your health and the environment. It’s also incredibly convenient, as you likely already have the necessary ingredients in your pantry. Furthermore, it’s a gentle yet effective way to clean your microwave without damaging its interior. By using this method, you’re not only cleaning your microwave but also contributing to a healthier and more sustainable lifestyle.
Leave a Comment