
Baking Soda Mattress Cleaner: Is your mattress feeling a little less than fresh? Don’t worry, you’re not alone! We’ve all been there. Before you resign yourself to sleeping on a less-than-sparkling surface or, worse, shelling out for a brand new mattress, let me share a simple, effective, and surprisingly affordable DIY trick that will breathe new life into your bed.
For centuries, cultures around the world have relied on natural remedies for cleaning and freshening their homes. Baking soda, in particular, has a long history as a versatile cleaning agent, prized for its deodorizing and mild abrasive properties. Think of your grandmother’s cleaning cupboard – chances are, baking soda was a staple! This isn’t just some trendy new hack; it’s a time-tested solution passed down through generations.
Why is this baking soda mattress cleaner trick so essential? Well, our mattresses are havens for dust mites, dead skin cells, and lingering odors. Regular cleaning is crucial for maintaining a healthy sleep environment and preventing allergies. But who has the time (or the budget) for professional cleaning services? That’s where this DIY method comes in. I’m going to show you how to easily and naturally refresh your mattress using baking soda and a few other common household items. Get ready to say goodbye to stale smells and hello to a cleaner, more inviting bed!
DIY Baking Soda Mattress Cleaner: A Fresh Start for Your Sleep Sanctuary
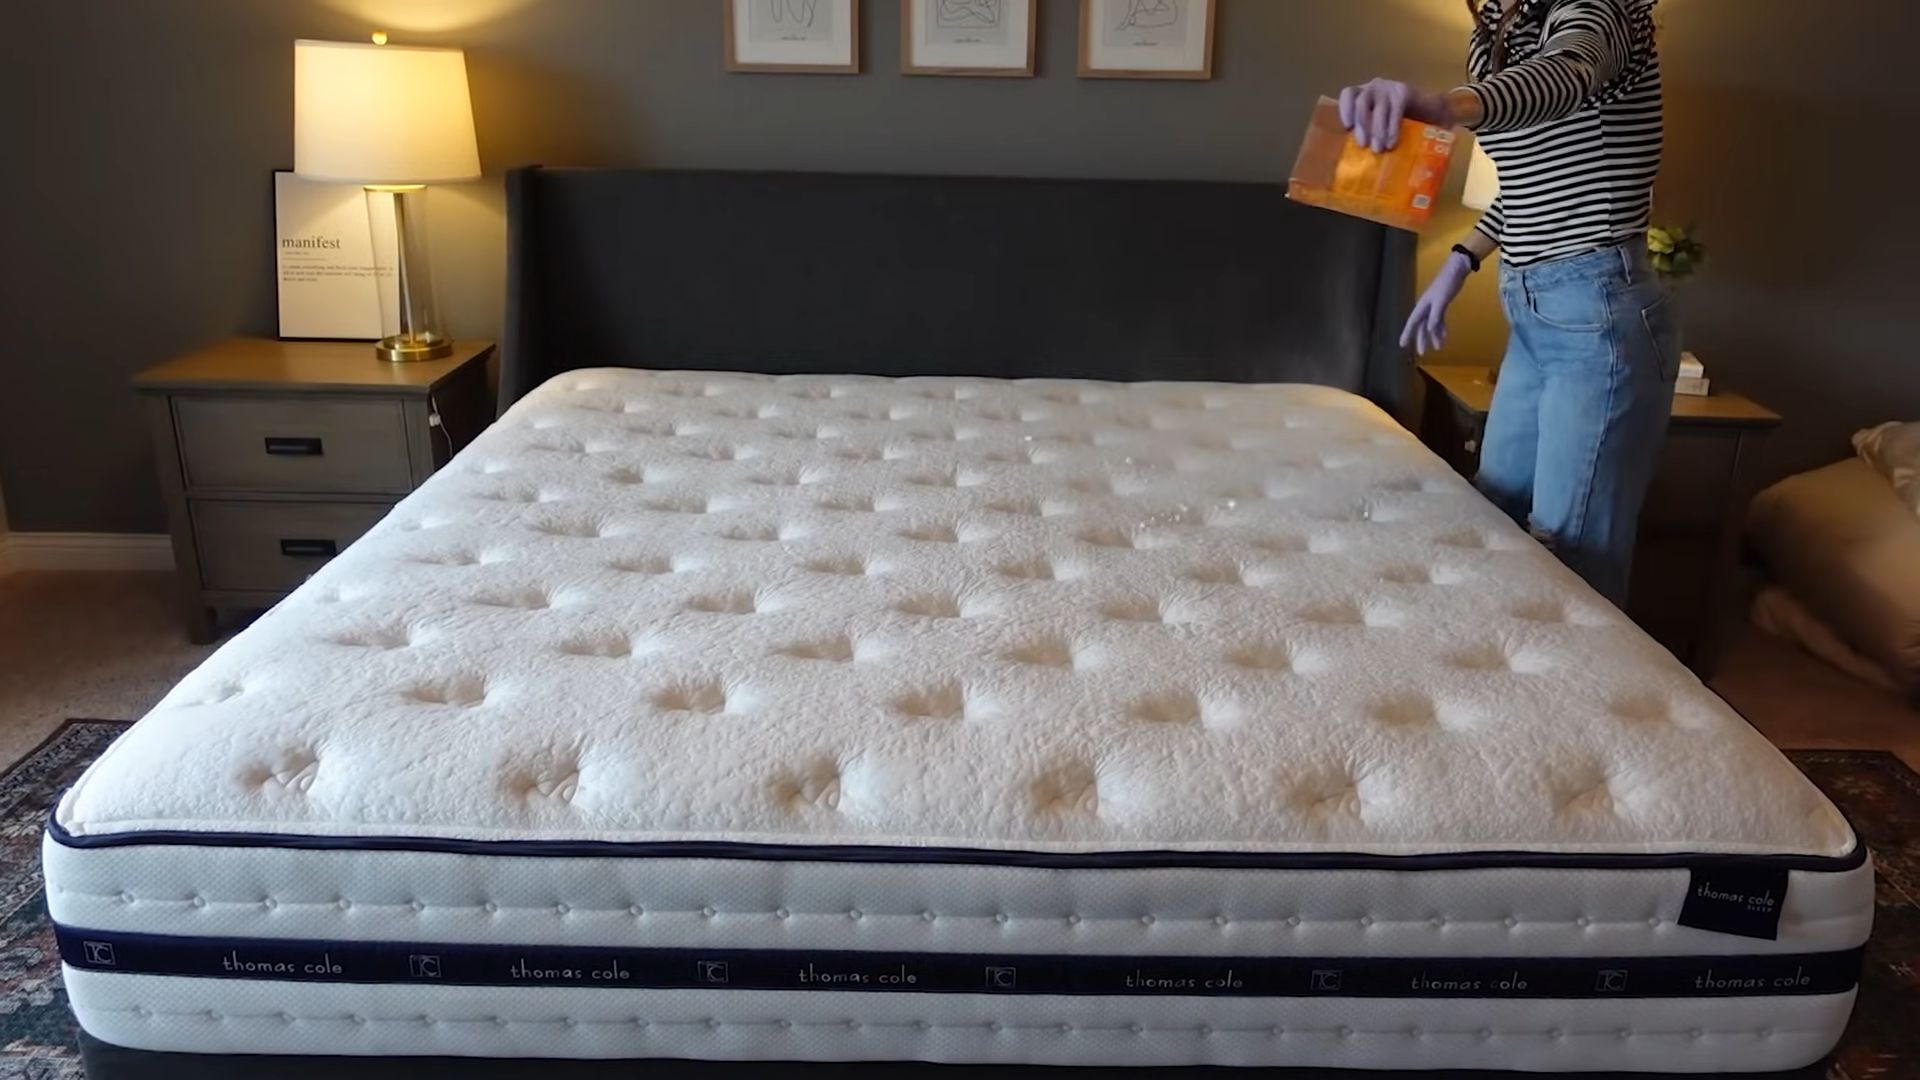
Okay, let’s face it, our mattresses are havens for dust mites, dead skin cells (gross, I know!), and all sorts of unseen nasties. We spend a third of our lives on them, so giving them a good cleaning is essential for a healthy and restful sleep. Forget expensive professional cleaning services; I’m going to show you how to whip up a powerful and effective mattress cleaner using the humble baking soda! This DIY method is not only budget-friendly but also uses natural ingredients, making it safe for you, your family, and even your pets.
What You’ll Need: Your Cleaning Arsenal
Before we dive in, let’s gather our supplies. This is a pretty straightforward project, so you probably already have most of these items at home.
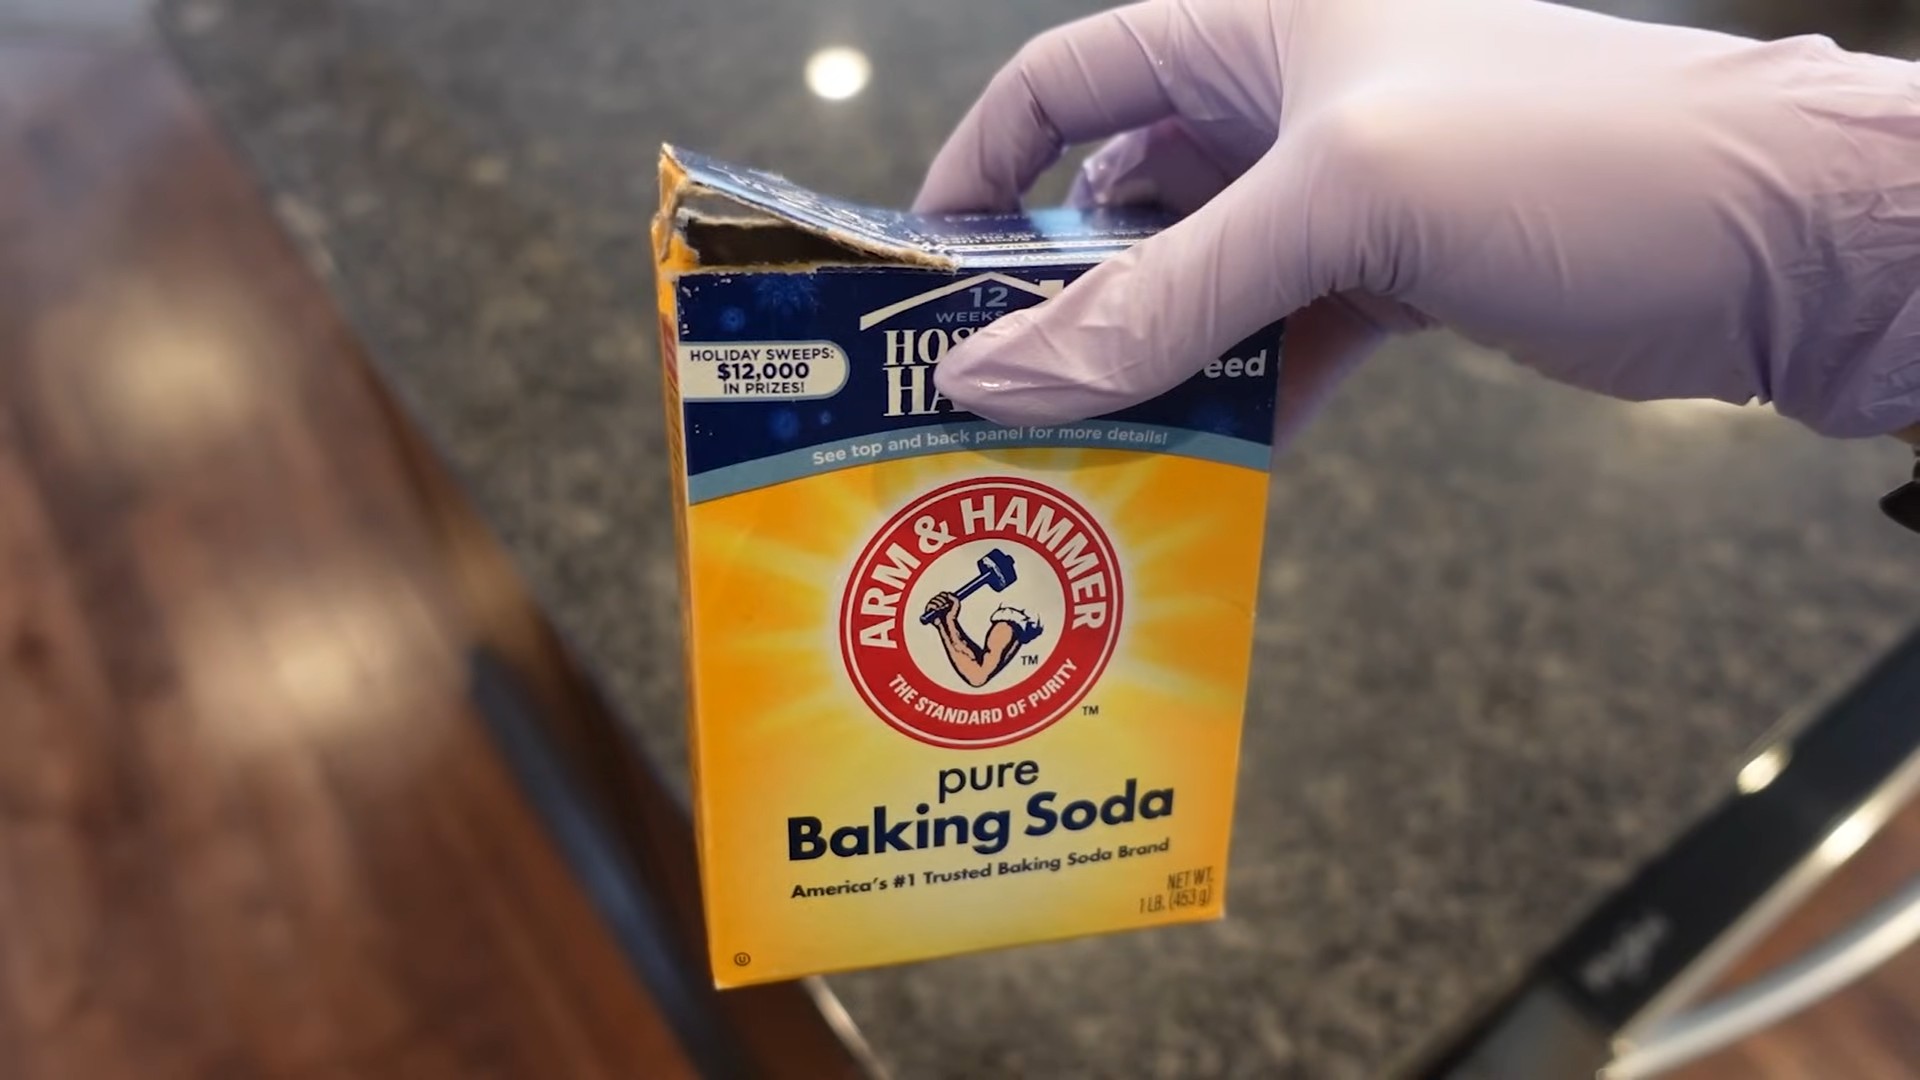
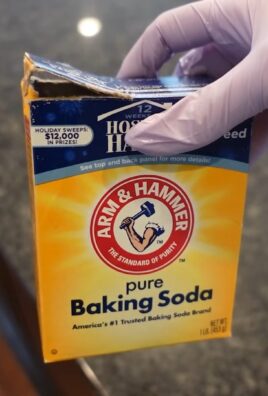
* Baking Soda: The star of the show! Baking soda is a natural deodorizer and absorbent, perfect for drawing out moisture and odors from your mattress.
* Essential Oil (Optional): Lavender, eucalyptus, or tea tree oil are great choices for adding a fresh scent and providing some antimicrobial benefits. I personally love lavender for its calming properties.
* Sieve or Flour Sifter: This helps distribute the baking soda evenly over the mattress surface. Trust me, it makes a difference!
* Vacuum Cleaner with Upholstery Attachment: A good vacuum is crucial for removing the baking soda and all the gunk it has absorbed.
* Spray Bottle (Optional): If you want to tackle stains, you might need a spray bottle filled with a cleaning solution (more on that later).
* Clean Cloths or Sponges: For spot cleaning any stubborn stains.
* Rubber Gloves (Optional): If you have sensitive skin, gloves are always a good idea.
Step-by-Step Guide: Revitalizing Your Mattress
Here’s the breakdown of how to clean your mattress using baking soda. I’ve made it super easy to follow, so you can get your mattress sparkling clean in no time!
1. Strip the Bed: Remove all bedding, including sheets, blankets, pillows, and mattress protectors. Wash all of these items according to their care instructions. This is a great opportunity to give your bedding a thorough cleaning as well.
2. Vacuum the Mattress: Before applying any cleaning solutions, thoroughly vacuum the entire mattress surface. Use the upholstery attachment to get into all the nooks and crannies, paying special attention to seams and edges where dust and debris tend to accumulate. Vacuum the sides of the mattress as well. This initial vacuuming step removes loose dirt, dust, and other particles, allowing the baking soda to work more effectively.
3. Prepare the Baking Soda Mixture: In a bowl, combine the baking soda with your essential oil (if using). I usually add about 10-20 drops of essential oil per cup of baking soda. Mix well with a spoon or fork until the essential oil is evenly distributed throughout the baking soda. This step is optional, but it adds a lovely fresh scent to your mattress. If you’re sensitive to smells, you can skip the essential oil altogether.
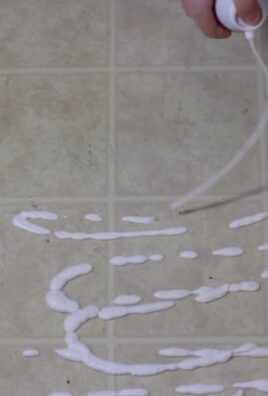
4. Apply the Baking Soda: Using the sieve or flour sifter, evenly sprinkle the baking soda mixture over the entire mattress surface. Make sure to cover every inch of the mattress, including the edges and corners. The goal is to create a thin, even layer of baking soda. If you don’t have a sieve, you can sprinkle the baking soda by hand, but be careful not to clump it in certain areas.
5. Let it Sit: The Waiting Game This is the most crucial step! Allow the baking soda to sit on the mattress for at least 4-8 hours, or even better, overnight. The longer it sits, the more time it has to absorb odors, moisture, and other impurities. I usually do this in the morning and let it sit all day while I’m at work. If you have pets or small children, you might want to cover the mattress with a sheet to prevent them from disturbing the baking soda.
6. Vacuum Again: The Grand Finale After the baking soda has had ample time to work its magic, thoroughly vacuum the entire mattress surface again. Use the upholstery attachment to remove all traces of baking soda. Make sure to go over the mattress several times to ensure that you’ve removed all the baking soda residue. If you notice any lingering baking soda, use a damp cloth to gently wipe it away.
7. Air it Out: Fresh Air is Key Once you’ve finished vacuuming, open the windows and let the mattress air out for a few hours. This will help to remove any remaining odors and ensure that the mattress is completely dry. If possible, place the mattress in direct sunlight, as sunlight has natural disinfecting properties.
8. Flip and Repeat (Optional): If you want to give your mattress an even more thorough cleaning, flip it over and repeat steps 2-7 on the other side. This is especially helpful if you have a double-sided mattress.
9. Make the Bed: Enjoy Your Fresh Mattress Once the mattress is completely dry and aired out, you can make the bed with fresh, clean sheets and bedding. Enjoy your freshly cleaned and revitalized mattress!
Tackling Stains: Spot Cleaning Strategies
Sometimes, baking soda alone isn’t enough to remove stubborn stains. Here are a few stain-removal strategies you can try:
* For Urine Stains: Mix equal parts white vinegar and water in a spray bottle. Spray the solution onto the stain and let it sit for 10-15 minutes. Blot the stain with a clean cloth until it’s gone. Then, sprinkle baking soda over the area and let it dry completely before vacuuming.
* For Blood Stains: Mix cold water with a small amount of hydrogen peroxide. Gently dab the stain with a clean cloth soaked in the solution. Avoid rubbing, as this can spread the stain. Blot the stain until it’s gone. Then, sprinkle baking soda over the area and let it dry completely before vacuuming.
* For Vomit Stains: Remove any solid material with a spoon or spatula. Mix equal parts white vinegar and water in a spray bottle. Spray the solution onto the stain and let it sit for 10-15 minutes. Blot the stain with a clean cloth until it’s gone. Then, sprinkle baking soda over the area and let it dry completely before vacuuming.
Important Note: Always test any cleaning solution on a small, inconspicuous area of the mattress before applying it to the entire stain. This will help to ensure that the solution doesn’t damage or discolor the mattress fabric.
Maintaining Your Mattress: Prevention is Key
Cleaning your mattress regularly is important, but preventing stains and odors in the first place is even better. Here are a few tips for maintaining your mattress:
* Use a Mattress Protector: A mattress protector is a waterproof and breathable barrier that protects your mattress from spills, stains, and allergens. I highly recommend investing in a good quality mattress protector.
* Wash Your Bedding Regularly: Wash your sheets, blankets, and pillowcases at least once a week to remove dust, dirt, and sweat.
* Air Out Your Mattress Regularly: Open the windows and let your mattress air out for a few hours every few months. This will help to remove any lingering odors and moisture.
* Avoid Eating or Drinking in Bed: This is a tough one, I know! But eating or drinking in bed increases the risk of spills and stains.
* Vacuum Your Mattress Regularly: Vacuum your mattress every few months to remove dust, dirt, and allergens.
Why Baking Soda Works: The Science Behind the Magic
You might be wondering why baking soda is such an effective mattress cleaner. Well, it all comes down to its chemical properties. Baking soda, also known as sodium bicarbonate, is a mild alkali that can neutralize acids and absorb odors. It also has a slightly abrasive texture, which helps to loosen dirt and grime.
When you sprinkle baking soda on your mattress, it absorbs moisture, odors, and other impurities. As it sits, it breaks down these substances and neutralizes their odors. When you vacuum up the baking soda, you’re removing all the gunk it has absorbed, leaving your mattress fresh and clean.
Troubleshooting: Common Issues and Solutions
* Baking Soda Residue: If you’re having trouble removing all the baking soda residue, try using a damp cloth to gently wipe it away. You can also try using a stronger vacuum cleaner or vacuuming the mattress multiple times.
* Lingering Odors: If you’re still noticing odors after cleaning your mattress, try repeating the baking soda treatment. You can also try using a stronger essential oil or adding a few drops of vinegar to the baking soda mixture.
* Stain Won’t Come Out: If a stain is particularly stubborn, you may need to try a stronger stain remover or consult a professional cleaning service.
Final Thoughts: A Cleaner Mattress, A Better Sleep
Cleaning your mattress with baking soda is a simple, affordable, and effective way to keep your sleep sanctuary fresh and healthy. By following these steps and tips, you can enjoy a cleaner
Conclusion
So, there you have it! A simple, effective, and budget-friendly way to refresh your mattress using the power of baking soda. This isn’t just about cleaning; it’s about creating a healthier and more inviting sleep environment for you and your family. Think about it: we spend a significant portion of our lives in bed, and our mattresses can accumulate dust mites, allergens, and odors over time. Investing a little time and effort into this baking soda mattress cleaner method can make a world of difference in your sleep quality and overall well-being.
Why is this DIY trick a must-try? Because it’s a natural alternative to harsh chemical cleaners. You’re avoiding potentially irritating ingredients and opting for a solution that’s gentle on your mattress and safe for your home. Plus, it’s incredibly cost-effective. You likely already have baking soda in your pantry, making this a readily available and inexpensive cleaning solution.
But the benefits don’t stop there. This method is also incredibly versatile. Feel free to experiment with different essential oils to create a custom scent that promotes relaxation and sleep. Lavender, chamomile, and eucalyptus are all excellent choices. You could also add a few drops of tea tree oil for its antibacterial properties, especially if you’re dealing with stubborn odors or stains.
Consider these variations to tailor the cleaning process to your specific needs:
* For Deeper Stains: Create a paste of baking soda and water (or hydrogen peroxide for tougher stains) and apply it directly to the affected area. Let it sit for a few hours before vacuuming.
* For Allergy Sufferers: Add a few drops of eucalyptus essential oil to the baking soda mixture to help clear nasal passages and promote easier breathing.
* For Pet Owners: Sprinkle a generous amount of baking soda over the mattress, focusing on areas where your pet sleeps. Let it sit overnight before vacuuming to eliminate pet odors.
* For a Refreshing Boost: Mix baking soda with a small amount of cornstarch for added odor absorption and a smoother texture.
We’re confident that you’ll be amazed by the results of this simple yet powerful cleaning method. A clean mattress translates to a cleaner sleep, and a cleaner sleep translates to a healthier you.
Don’t just take our word for it – give it a try! We encourage you to experiment with different variations and find what works best for you. And most importantly, we want to hear about your experience. Share your before-and-after photos, your favorite essential oil combinations, and any tips or tricks you discover along the way. Let’s create a community of clean-sleeping enthusiasts! Leave a comment below and let us know how this baking soda mattress cleaner transformed your sleep sanctuary. Your feedback will not only help us improve this guide but also inspire others to take control of their sleep hygiene. So, grab that box of baking soda and get ready to experience the joy of a freshly cleaned mattress!
Frequently Asked Questions (FAQ)
1. How often should I clean my mattress with baking soda?
Ideally, you should aim to clean your mattress with baking soda every 2-3 months. This helps to prevent the buildup of dust mites, allergens, and odors. However, if you have pets, allergies, or tend to sweat a lot during the night, you may want to clean it more frequently, perhaps once a month. Regular cleaning will not only keep your mattress fresh but also extend its lifespan. Consider adding it to your seasonal cleaning schedule.
2. Can I use this baking soda mattress cleaner method on all types of mattresses?
Yes, this method is generally safe for most types of mattresses, including innerspring, memory foam, latex, and hybrid mattresses. However, it’s always a good idea to check the manufacturer’s instructions or warranty information before using any cleaning product on your mattress. For memory foam mattresses, be extra careful not to oversaturate the surface with any liquid, as this can damage the foam. If you’re unsure, test a small, inconspicuous area first.
3. What kind of vacuum cleaner should I use?
A vacuum cleaner with a strong suction and a clean upholstery attachment is ideal for removing the baking soda from your mattress. A HEPA filter vacuum is especially beneficial for allergy sufferers, as it will trap dust mites and allergens more effectively. If you don’t have an upholstery attachment, you can use the hose attachment with a brush nozzle. Make sure to vacuum thoroughly in all directions to remove all traces of baking soda.
4. How long should I leave the baking soda on the mattress?
For general cleaning and deodorizing, leaving the baking soda on the mattress for at least 30 minutes is recommended. However, for deeper cleaning or to address stubborn odors, you can leave it on for several hours or even overnight. The longer the baking soda sits, the more effectively it will absorb moisture, odors, and allergens. Just be sure to vacuum it up thoroughly afterward.
5. What if I don’t have essential oils? Can I still use the baking soda mattress cleaner?
Absolutely! Essential oils are optional and are primarily used for adding a pleasant scent. The baking soda itself is the main cleaning and deodorizing agent. If you don’t have essential oils, simply sprinkle the baking soda directly onto your mattress and follow the rest of the instructions. You’ll still achieve a significant improvement in cleanliness and freshness.
6. How do I get rid of tough stains on my mattress?
For tough stains, create a paste of baking soda and water (or hydrogen peroxide for lighter-colored mattresses). Apply the paste directly to the stain and let it sit for several hours or even overnight. Then, blot the area with a clean, damp cloth and vacuum up any remaining residue. For stubborn stains, you may need to repeat the process. Always test the paste on a small, inconspicuous area first to ensure it doesn’t discolor the fabric.
7. My mattress smells musty. Will this baking soda mattress cleaner help?
Yes, baking soda is excellent at absorbing odors, including musty smells. Sprinkle a generous amount of baking soda over the entire mattress surface and let it sit for at least 6-8 hours, or even overnight. The baking soda will draw out the moisture and odors that are causing the musty smell. Vacuum thoroughly afterward. You can also add a few drops of tea tree oil to the baking soda for its antibacterial and antifungal properties, which can help eliminate the source of the odor.
8. Is this method safe for children and pets?
Yes, baking soda is a natural and non-toxic cleaning agent, making it safe for use around children and pets. However, it’s always a good idea to keep children and pets away from the mattress while you’re cleaning it and until all the baking soda has been thoroughly vacuumed up. If you’re using essential oils, be sure to choose pet-safe options and use them sparingly. Some essential oils can be harmful to pets if ingested or inhaled in large quantities.
9. Can I use this method on other upholstered furniture?
Yes, the baking soda cleaning method can also be used on other upholstered furniture, such as sofas, chairs, and ottomans. Simply follow the same steps as you would for cleaning a mattress. Sprinkle baking soda over the surface, let it sit for at least 30 minutes, and then vacuum thoroughly. This is a great way to freshen up your furniture and remove odors.
10. What if I accidentally get baking soda in my eyes?
Baking soda can be irritating to the eyes. If you accidentally get baking soda in your eyes, flush them immediately with plenty of cool water for at least 15 minutes. If irritation persists, seek medical attention. It’s always a good idea to wear eye protection when working with any cleaning product, even natural ones.
Leave a Comment