
Clean kitchen cabinets can feel like a Herculean task, right? I get it! You’re staring at those sticky fingerprints, splattered sauces, and mysterious grime, wondering how it all accumulated and, more importantly, how to banish it for good. But fear not, my friend, because this isn’t just another cleaning article – it’s your ultimate DIY guide to sparkling, like-new cabinets!
For generations, a clean and organized kitchen has been the heart of the home. Think about it: from grandma’s meticulously kept pantry to the modern minimalist kitchens we see today, the desire for a tidy and inviting space where we prepare our meals is deeply ingrained. And central to that is maintaining our kitchen cabinets.
Let’s face it, nobody enjoys spending hours scrubbing away at stubborn stains. That’s why I’m sharing these simple, effective, and budget-friendly DIY tricks to clean kitchen cabinets. These aren’t just quick fixes; they’re sustainable solutions that will help you keep your cabinets looking their best with minimal effort. Imagine the satisfaction of opening your cabinets to reveal a spotless interior and a gleaming exterior. No more cringing at sticky surfaces! This guide will empower you to reclaim your kitchen and enjoy a cleaner, happier cooking space. So, grab your supplies, and let’s get started!
DIY Kitchen Cabinet Cleaning: A Deep Dive for Sparkling Results
Okay, let’s face it, kitchen cabinets are magnets for grease, grime, and sticky fingerprints. It’s just a fact of life. But don’t despair! With a little elbow grease and the right techniques, you can bring your cabinets back to their former glory. I’m going to walk you through a comprehensive guide to cleaning your kitchen cabinets, covering everything from gentle dusting to tackling stubborn stains.
Gathering Your Supplies
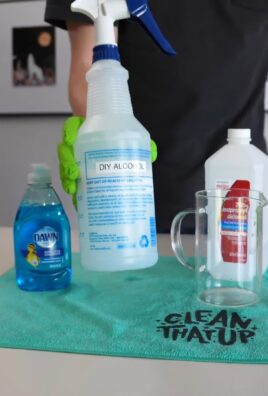
Before we dive in, let’s make sure we have everything we need. This will save you time and frustration later on. Here’s my go-to list:
* Microfiber cloths: These are essential! They’re gentle, absorbent, and won’t leave lint behind. Get a bunch!
* Soft sponges: Avoid abrasive scrubbers, especially on painted or delicate finishes.
* Warm water: The foundation of any good cleaning solution.
* Dish soap: A mild dish soap is perfect for cutting through grease.
* Baking soda: A natural abrasive that’s great for tackling stubborn stains.
* White vinegar: A fantastic degreaser and disinfectant.
* Spray bottle: For easy application of cleaning solutions.
* Old toothbrush: Perfect for getting into those hard-to-reach corners and crevices.
* Bucket: For holding your cleaning solution.
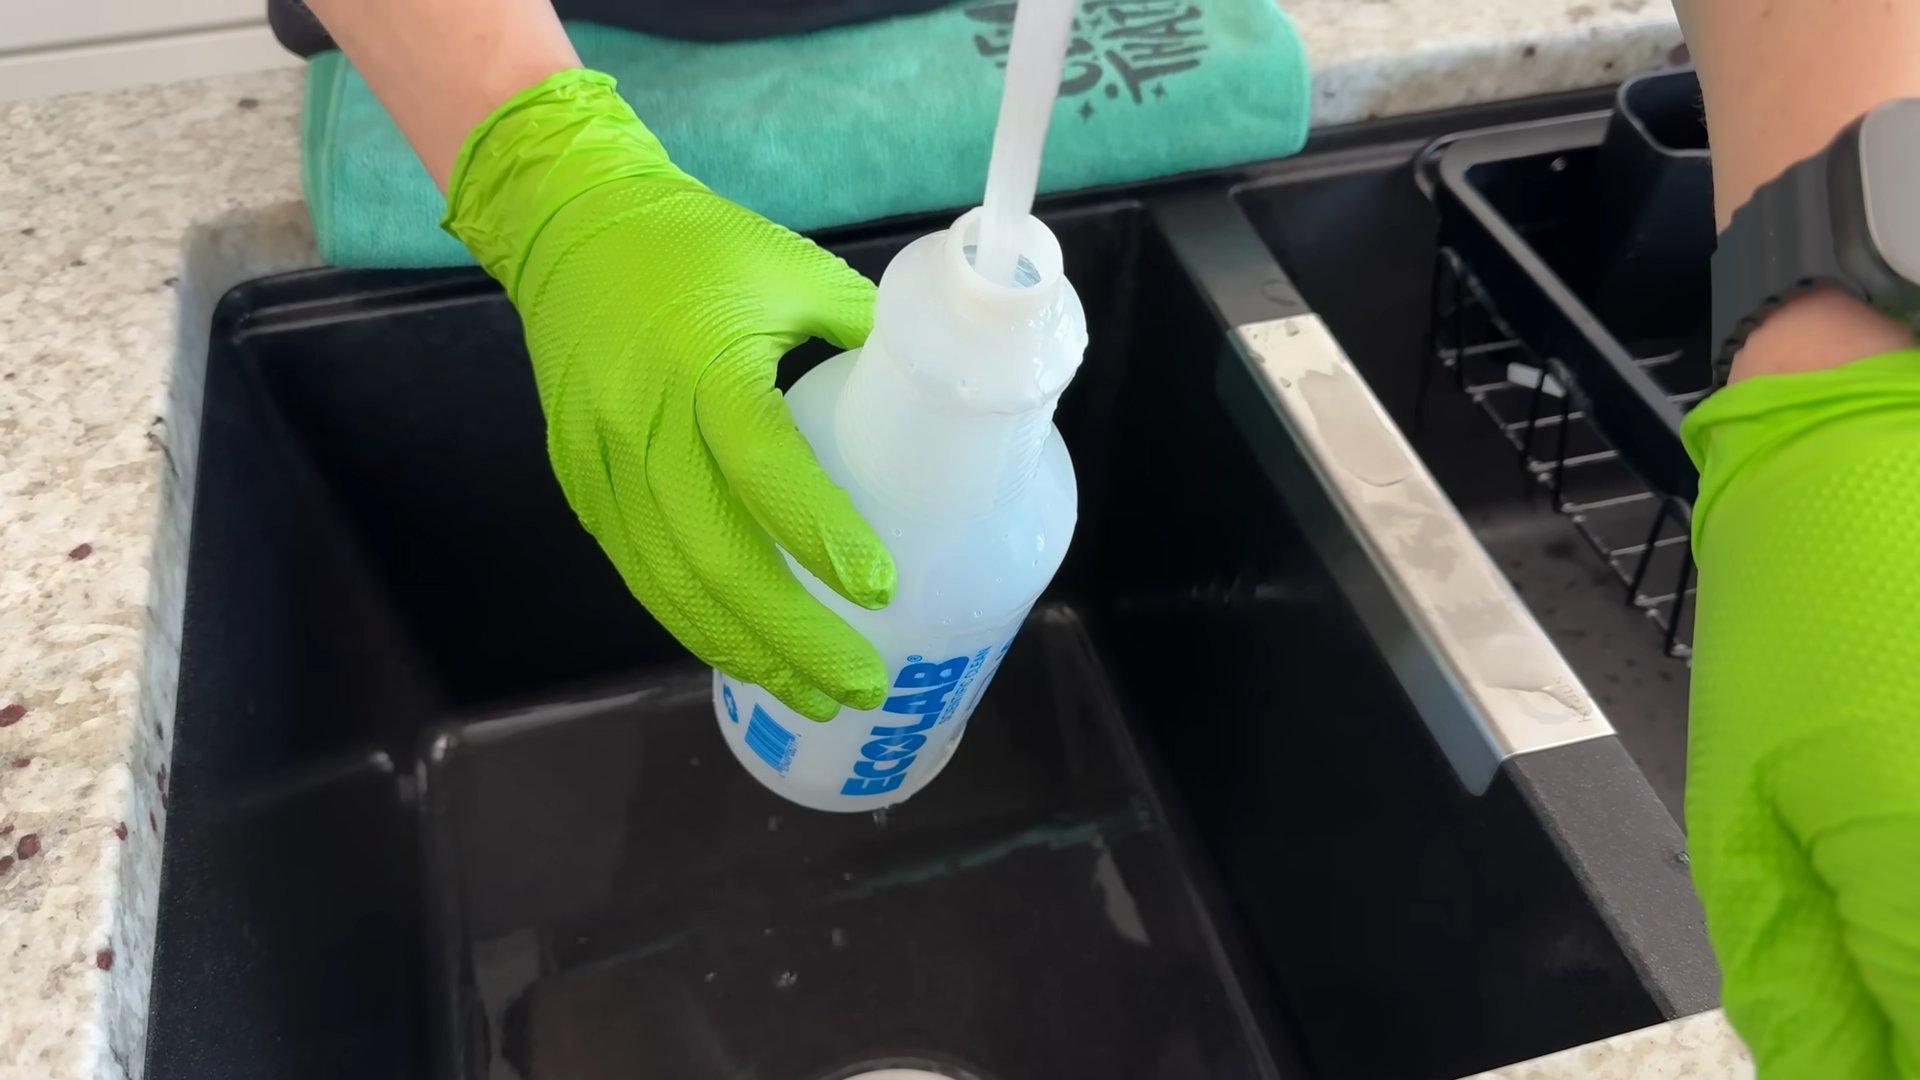
* Rubber gloves: To protect your hands from harsh chemicals and hot water.
* Furniture polish (optional): For adding a shine to wood cabinets after cleaning.
* Magic Eraser (optional): For scuff marks, but use with caution! Test in an inconspicuous area first.
* Mineral spirits (for grease): For really stubborn grease, but use with extreme caution and proper ventilation.
General Cleaning: A Step-by-Step Guide
This method is perfect for regular maintenance and removing everyday grime.
1. Empty the Cabinets: This might seem obvious, but it’s crucial. Remove everything from inside the cabinets. This gives you a clear workspace and prevents anything from getting accidentally splashed or damaged.
2. Dusting: Start by dusting the cabinets, both inside and out. Use a dry microfiber cloth to remove loose dirt and debris. Pay attention to the tops of the cabinets, as they tend to accumulate dust.
3. Prepare Your Cleaning Solution: In your bucket, mix warm water with a few drops of mild dish soap. You don’t need a lot of soap; just enough to create a slightly sudsy solution.
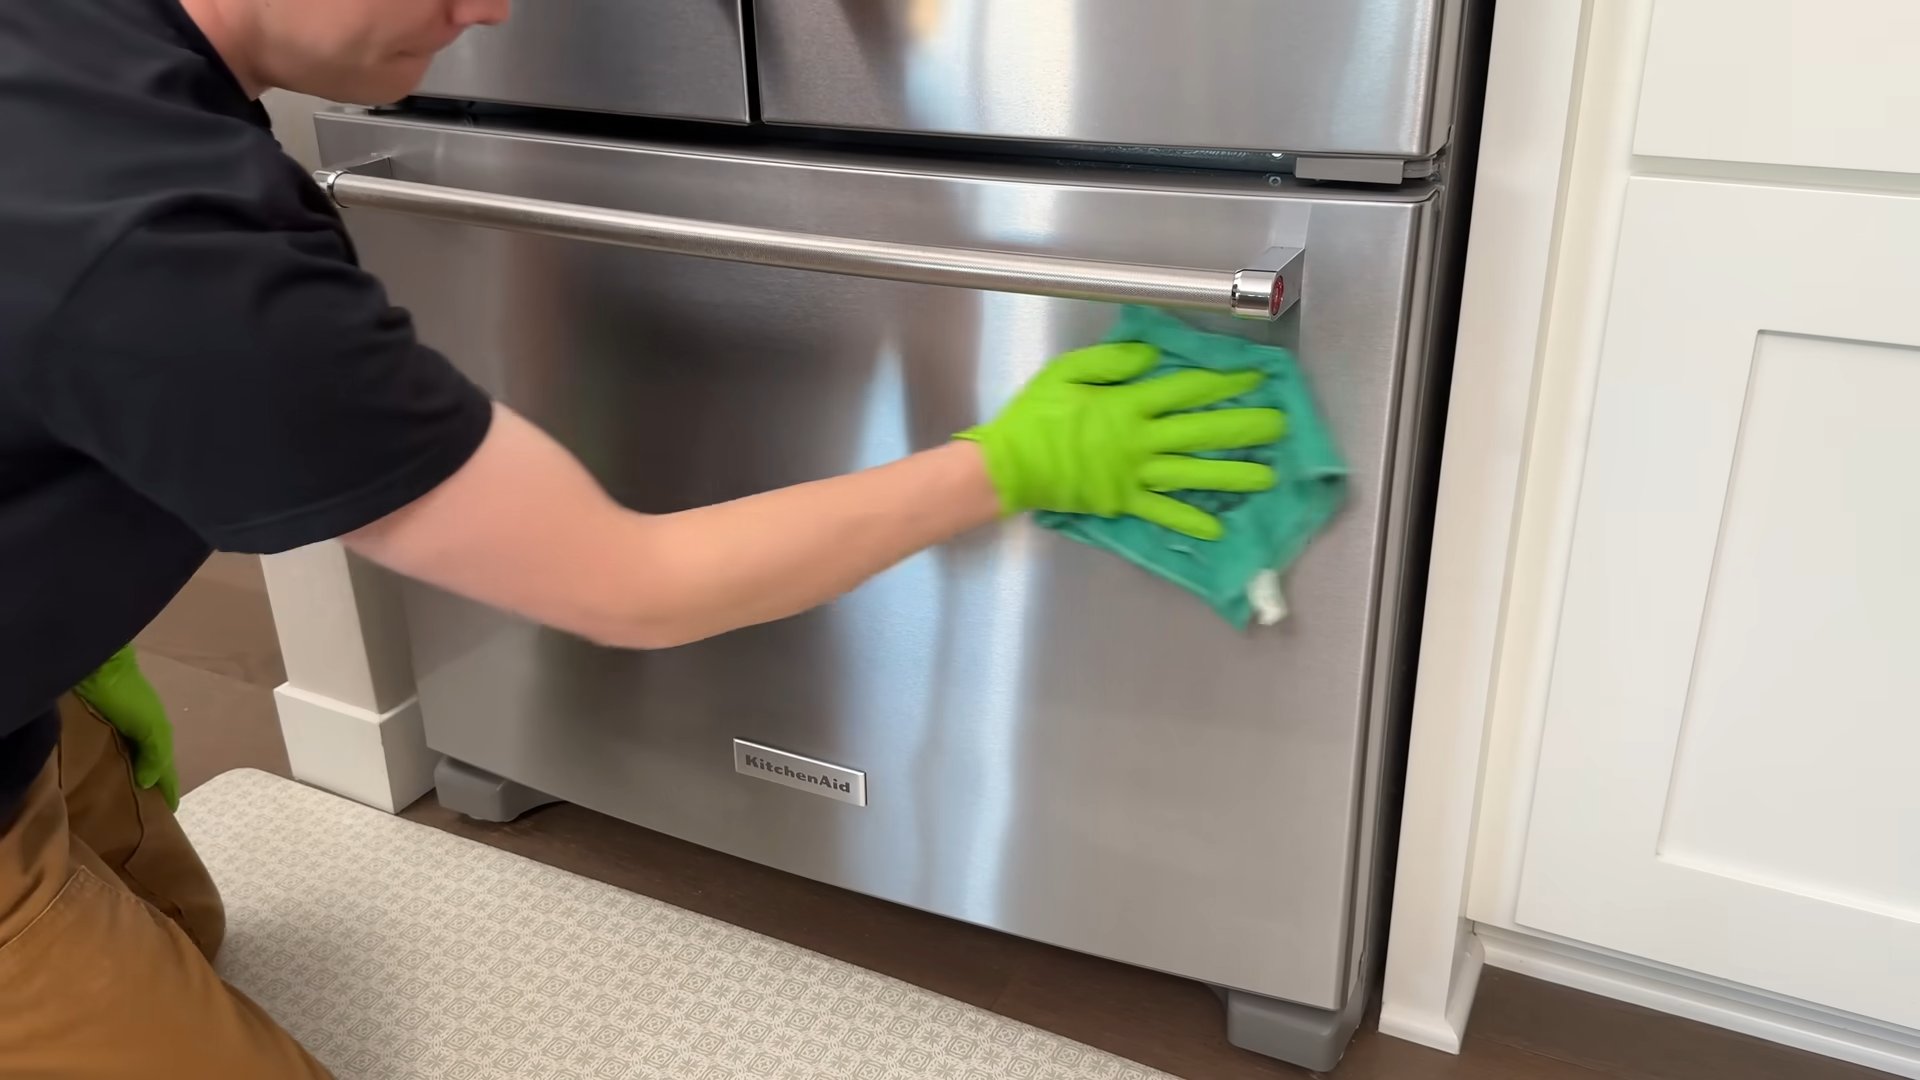
4. Wipe Down the Cabinets: Dip a clean microfiber cloth into the soapy water, wring it out well (you don’t want the cabinets to be soaking wet), and wipe down the exterior of the cabinets. Work in sections, starting from the top and working your way down.
5. Rinse with Clean Water: After wiping with the soapy solution, use a clean, damp microfiber cloth to rinse the cabinets with plain water. This removes any soap residue.
6. Dry Thoroughly: Use a clean, dry microfiber cloth to dry the cabinets completely. This prevents water spots and helps to maintain the finish.
7. Clean the Hardware: Don’t forget the knobs and pulls! Wipe them down with the same soapy water solution, rinse, and dry. For heavily tarnished hardware, you might need to use a specialized metal cleaner.
8. Clean the Inside: Wipe down the inside of the cabinets with the same soapy water solution, rinse, and dry. If you have any shelf liners, remove them and wash them separately.
9. Replace Items: Once everything is dry, you can put your dishes and other items back into the cabinets.
Tackling Stubborn Stains and Grease
Sometimes, a simple soapy water solution just isn’t enough. Here’s how to deal with those tougher stains and greasy messes.
1. Baking Soda Paste: For stubborn stains, make a paste of baking soda and water. Apply the paste to the stain, let it sit for a few minutes, and then gently scrub with a soft sponge or old toothbrush. Rinse thoroughly with clean water and dry.
2. Vinegar Solution: For greasy cabinets, mix equal parts white vinegar and water in a spray bottle. Spray the solution onto the greasy areas, let it sit for a few minutes, and then wipe clean with a microfiber cloth. Rinse with clean water and dry.
3. Magic Eraser: Magic Erasers can be effective for removing scuff marks and other blemishes, but use them with caution, especially on painted cabinets. Test in an inconspicuous area first to make sure it doesn’t damage the finish. Gently rub the Magic Eraser over the stain, and then wipe clean with a damp cloth.
4. Mineral Spirits (Use with Extreme Caution): For extremely stubborn grease, mineral spirits can be used. However, this is a strong solvent, so use it sparingly and with proper ventilation. Wear gloves and eye protection. Apply a small amount of mineral spirits to a clean cloth and gently rub the greasy area. Wipe clean with a damp cloth and then dry thoroughly. **Important: Always test mineral spirits in an inconspicuous area first to ensure it doesn’t damage the finish.**
Specific Cabinet Types: A Tailored Approach
The best cleaning method depends on the type of cabinets you have. Here’s a breakdown for different materials:
Wood Cabinets
* Solid Wood: Solid wood cabinets are generally durable and can withstand a variety of cleaning methods. However, avoid using excessive water, as it can damage the wood. Always dry thoroughly after cleaning.
* Wood Veneer: Wood veneer cabinets are more delicate than solid wood and can be easily damaged by excessive water or harsh chemicals. Use a gentle cleaning solution and avoid scrubbing too hard.
* Laminate: Laminate cabinets are relatively easy to clean and maintain. Use a mild dish soap solution and avoid abrasive cleaners.
Painted Cabinets
Painted cabinets can be tricky because the paint can chip or peel if you’re not careful.
* Use a gentle cleaning solution: Avoid harsh chemicals or abrasive cleaners.
* Don’t scrub too hard: Gently wipe the cabinets with a soft cloth or sponge.
* Test in an inconspicuous area first: Before cleaning the entire cabinet, test your cleaning solution in a hidden area to make sure it doesn’t damage the paint.
Glass-Front Cabinets
Glass-front cabinets require special attention to avoid streaks and smudges.
* Use a glass cleaner: Spray a glass cleaner onto a microfiber cloth and wipe down the glass.
* Dry with a clean cloth: Use a clean, dry microfiber cloth to dry the glass and prevent streaks.
* Clean the frames: Wipe down the frames with a mild dish soap solution.
Preventative Measures: Keeping Your Cabinets Clean Longer
The best way to keep your cabinets clean is to prevent them from getting dirty in the first place. Here are a few tips:
* Wipe up spills immediately: Don’t let spills sit on your cabinets, as they can stain or damage the finish.
* Use your range hood: When cooking, use your range hood to vent steam and grease away from your cabinets.
* Regularly dust your cabinets: Dusting your cabinets regularly will prevent dirt and grime from building up.
* Consider shelf liners: Shelf liners can protect the inside of your cabinets from spills and stains.
Extra Tips and Tricks
* Use an old toothbrush for hard-to-reach areas: An old toothbrush is perfect for cleaning around knobs, pulls, and other tight spaces.
* Steam cleaning: A handheld steam cleaner can be a great way to loosen dirt and grime on your cabinets. However, be careful not to use too much steam, as it can damage the finish.
* Lemon oil: Lemon oil can be used to polish wood cabinets and give them a nice shine. Apply a small amount of lemon oil to a clean cloth and rub it into the wood.
* Always test your cleaning solution in an inconspicuous area first: This is especially important for painted or delicate finishes.
Dealing with Specific Issues: A Troubleshooting Guide
* Sticky Residue: For sticky residue, try using a mixture of warm water and a few drops of dish soap. If that doesn’t work, try using a citrus-based cleaner.
* Water Stains: For water stains, try using a mixture of equal parts white vinegar and water. Apply the solution to the stain, let it sit for a few minutes, and then wipe clean with a damp cloth.
* Mold and Mildew: For mold and mildew, mix equal parts bleach and water in a spray bottle. Spray the solution onto the affected area, let it sit for a few minutes, and then wipe clean with a damp cloth. **Important: Always wear gloves and eye protection when working with bleach.**
* Permanent Marker: Believe it or not, hairspray can sometimes remove permanent marker! Spray hair
Conclusion
So, there you have it! This simple yet incredibly effective DIY trick for cleaning kitchen cabinets is more than just a cleaning hack; it’s a game-changer for maintaining a sparkling, inviting kitchen. We’ve shown you how to banish grease, grime, and everyday messes with minimal effort and maximum impact. Forget spending a fortune on expensive, chemical-laden cleaners that often leave behind a residue or unpleasant odor. This method utilizes readily available ingredients, making it both budget-friendly and environmentally conscious.
Why is this a must-try? Because it works! It’s gentle enough for delicate cabinet finishes yet powerful enough to tackle even the most stubborn stains. Imagine the satisfaction of running your hand across a smooth, clean cabinet door, knowing you achieved that pristine finish with your own two hands and a few simple ingredients. This isn’t just about cleaning; it’s about taking pride in your home and creating a space you truly love.
But the beauty of this DIY approach lies in its adaptability. Feel free to experiment with variations to suit your specific needs and preferences. For instance, if you’re dealing with particularly stubborn grease buildup, consider adding a tablespoon of white vinegar to your cleaning solution. The vinegar’s acidity will help break down the grease, making it easier to wipe away. If you prefer a more fragrant cleaning experience, a few drops of your favorite essential oil, such as lemon or lavender, can be added to the solution. Just be sure to test the solution on an inconspicuous area first to ensure it doesn’t damage the finish.
For painted cabinets, be extra cautious and avoid using abrasive scrubbers. A soft cloth or sponge is all you need to gently lift away dirt and grime. For wood cabinets, consider using a wood-specific cleaner after the initial cleaning to nourish the wood and protect it from drying out. Remember, the key is to be gentle and patient, allowing the cleaning solution to do its work.
We are confident that once you try this DIY trick for cleaning kitchen cabinets, you’ll be amazed by the results. It’s a simple, effective, and affordable way to keep your kitchen looking its best. So, ditch the harsh chemicals and embrace the power of natural cleaning.
Now, we want to hear from you! We encourage you to try this DIY method and share your experience with us. Did it work wonders on your cabinets? Did you try any variations? What were your results? Share your tips, tricks, and photos in the comments below. Let’s create a community of clean cabinet enthusiasts and help each other maintain sparkling kitchens! Your feedback is invaluable and will help us refine and improve this DIY trick for everyone. Don’t hesitate to ask any questions you may have – we’re here to help! Let’s get those cabinets shining!
Frequently Asked Questions (FAQ)
What type of cabinets is this DIY cleaning solution suitable for?
This DIY cleaning solution is generally safe for most types of kitchen cabinets, including wood, laminate, painted, and even some types of veneer. However, it’s always crucial to test the solution on an inconspicuous area of your cabinet before applying it to the entire surface. This will help you ensure that the solution doesn’t damage the finish or cause any discoloration. Pay special attention to cabinets with a high-gloss finish, as they may be more susceptible to scratching. If you’re unsure about the type of finish on your cabinets, consult the manufacturer’s instructions or contact a professional cleaner for advice.
How often should I clean my kitchen cabinets using this method?
The frequency of cleaning your kitchen cabinets depends on how often you cook and the amount of grease and grime that accumulates. As a general rule, it’s a good idea to wipe down your cabinets with a damp cloth after each use to remove any spills or splatters. For a more thorough cleaning, aim to clean your cabinets every one to two weeks. If you cook frequently or have a lot of grease buildup, you may need to clean them more often. Regular cleaning will prevent grime from hardening and becoming more difficult to remove.
Can I use this solution on other surfaces in my kitchen?
While this DIY cleaning solution is primarily designed for kitchen cabinets, it can also be used on other surfaces in your kitchen, such as countertops, backsplashes, and even appliances. However, it’s important to exercise caution and test the solution on an inconspicuous area first to ensure it doesn’t damage the surface. Avoid using the solution on porous surfaces like marble or granite, as it may stain or etch the stone. For appliances, be sure to unplug them before cleaning and avoid getting any liquid inside the electrical components.
What if I have stubborn stains or grease buildup on my cabinets?
If you’re dealing with stubborn stains or grease buildup on your cabinets, you may need to take a more aggressive approach. One option is to add a tablespoon of white vinegar to your cleaning solution. The vinegar’s acidity will help break down the grease and make it easier to wipe away. Another option is to create a paste of baking soda and water and apply it to the stain. Let the paste sit for a few minutes before gently scrubbing it away with a soft cloth. For particularly stubborn stains, you may need to repeat the process several times.
What are some alternative ingredients I can use in this DIY cleaning solution?
While the basic recipe for this DIY cleaning solution calls for dish soap and water, you can experiment with other ingredients to customize it to your liking. For example, you can add a few drops of your favorite essential oil for a more fragrant cleaning experience. Lemon, lavender, and tea tree oil are all popular choices. You can also substitute the dish soap with castile soap, which is a natural and gentle cleanser. If you’re looking for a more eco-friendly option, you can use a plant-based dish soap. Just be sure to test any new ingredients on an inconspicuous area of your cabinet before applying them to the entire surface.
How do I prevent my kitchen cabinets from getting dirty in the first place?
Prevention is always better than cure, so here are a few tips to help you keep your kitchen cabinets clean and prevent them from getting dirty in the first place:
* Wipe up spills and splatters immediately.
* Use a range hood or exhaust fan when cooking to vent steam and grease.
* Avoid placing hot pots and pans directly on your cabinets.
* Use placemats and coasters to protect your countertops from spills and stains.
* Regularly dust your cabinets to prevent dust and grime from building up.
* Consider using a cabinet liner to protect the inside of your cabinets from spills and stains.
By following these simple tips, you can keep your kitchen cabinets looking clean and beautiful for years to come. And remember, a little bit of regular maintenance is always easier than tackling a big cleaning job later on.

Leave a Comment