
Clean oven baking soda vinegar – sounds like a science experiment, right? Well, in a way, it is! But trust me, it’s a science experiment that will leave you with a sparkling clean oven and a huge sense of accomplishment. Forget those harsh chemical cleaners that fill your kitchen with fumes; we’re going natural, baby!
For generations, resourceful homemakers have relied on the power of simple ingredients like baking soda and vinegar to tackle tough cleaning jobs. Think about it – our grandmothers didn’t have access to the plethora of cleaning products we have today. They had to get creative, and their wisdom has been passed down through the years. This method isn’t just effective; it’s a nod to a simpler, more sustainable way of life.
Let’s be honest, cleaning the oven is probably on everyone’s list of least favorite chores. It’s messy, time-consuming, and often requires a lot of elbow grease. But what if I told you there’s a way to make the process easier, cheaper, and healthier? That’s where this clean oven baking soda vinegar DIY trick comes in. I’m going to walk you through a step-by-step guide that will have your oven looking brand new in no time. Say goodbye to baked-on grime and hello to a sparkling clean cooking space! You’ll be amazed at how effective this simple solution is, and you’ll wonder why you didn’t try it sooner.
DIY Oven Cleaning with Baking Soda and Vinegar: A Sparkling Clean Oven Awaits!
Okay, let’s face it: cleaning the oven is probably on everyone’s list of least favorite chores. But a sparkling clean oven makes cooking so much more enjoyable (and maybe even improves the taste of your food – just kidding… mostly!). I’m going to walk you through my favorite, super-effective, and totally natural method for cleaning your oven using just baking soda and vinegar. No harsh chemicals, no overwhelming fumes, just simple ingredients and a little elbow grease. Trust me, you’ll be amazed at the results!
What You’ll Need:
* Baking soda (the star of the show!)
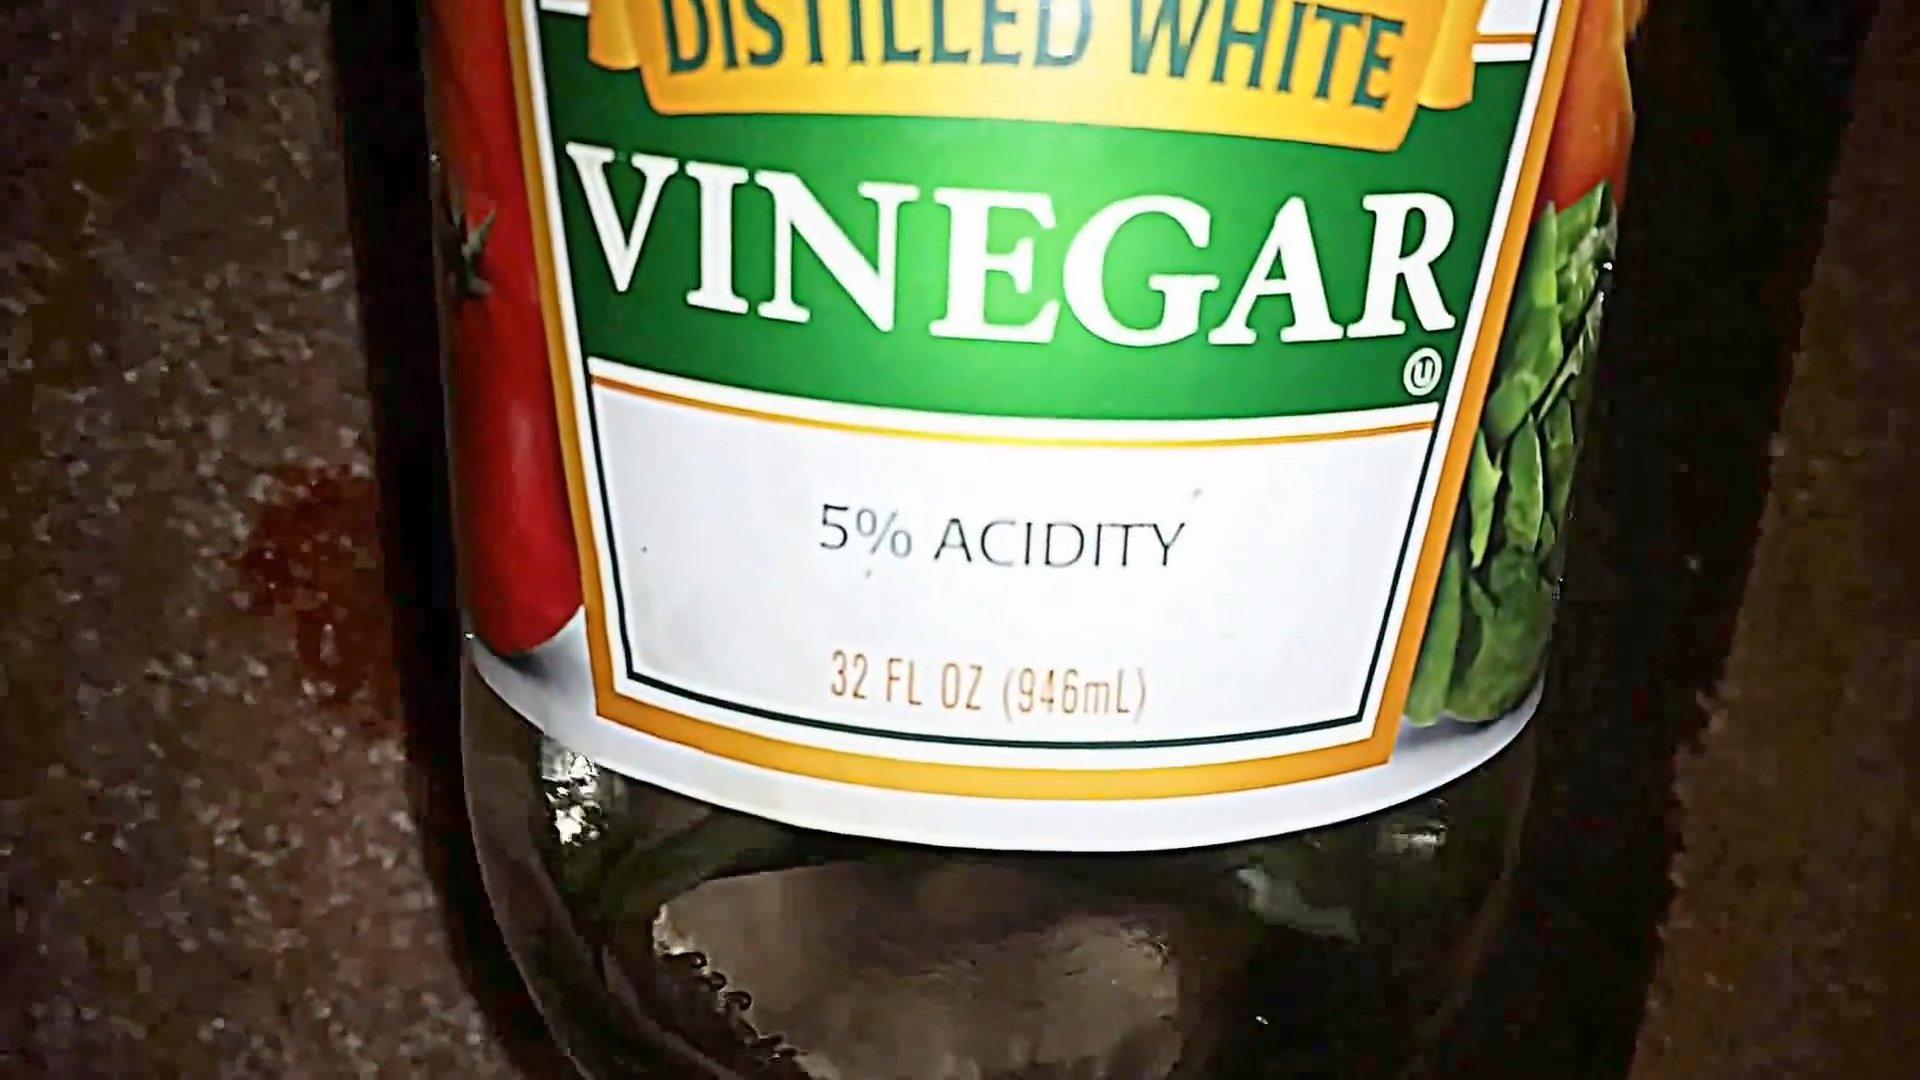
* White vinegar (the supporting actor!)
* Water
* Spray bottle
* Rubber gloves (protect those hands!)
* Sponge or scrubbing brush (I prefer a non-scratch scrubbing brush)
* Plastic scraper or spatula (for stubborn spots)
* Paper towels or a clean cloth
* Old towel or newspaper (to protect your floor)
Getting Started: Prep Work is Key!
Before we dive into the cleaning process, let’s get everything prepped and ready to go. This will make the whole process smoother and more efficient.
1. Safety First: Make sure your oven is completely cool. Seriously, don’t even think about starting if it’s still warm. Unplug the oven or turn off the breaker for extra safety.
2. Clear the Decks: Remove the oven racks, baking stones, thermometers, and anything else that’s hanging out inside. We want a clear workspace.
3. Protect Your Floor: Lay down an old towel or newspaper in front of the oven to catch any drips or spills. Cleaning is messy enough without adding floor cleaning to the list!
4. Rack Attack: Soak your oven racks in hot, soapy water. You can do this in your sink, bathtub, or even outside in a large container. Let them soak while we tackle the inside of the oven. This will loosen up all the baked-on grime.
Making the Baking Soda Paste: The Magic Ingredient
Now for the fun part: creating our cleaning paste! This is where the baking soda really shines.
1. Mix it Up: In a bowl, mix together ½ cup of baking soda and a few tablespoons of water. Add the water gradually until you form a thick, spreadable paste. You want it to be like a frosting consistency – not too runny, not too stiff.
2. Adjust as Needed: If your paste is too thick, add a little more water. If it’s too thin, add a little more baking soda. It’s all about finding the right balance.
Applying the Baking Soda Paste: Time to Get Messy!
Alright, gloves on! It’s time to get down and dirty with the baking soda paste.
1. Spread it On: Using your hands (with gloves, of course!) or a spatula, spread the baking soda paste all over the inside surfaces of your oven. This includes the back, sides, top, bottom, and even the door.
2. Avoid the Heating Elements: Be careful to avoid the heating elements. You don’t want to get the paste on them.
3. Thick Coverage: Make sure you apply a thick, even layer of paste. Don’t be shy! The more paste you use, the better it will work.
4. Tackle Stubborn Spots: For really stubborn, baked-on messes, apply an extra thick layer of paste.
5. Let it Sit: Now, the most important part: let the baking soda paste sit for at least 12 hours, or even overnight. This gives the baking soda time to work its magic and loosen up all the grime. I usually do this before I go to bed so it can work its magic while I sleep.
The Vinegar Spray: The Activation Step
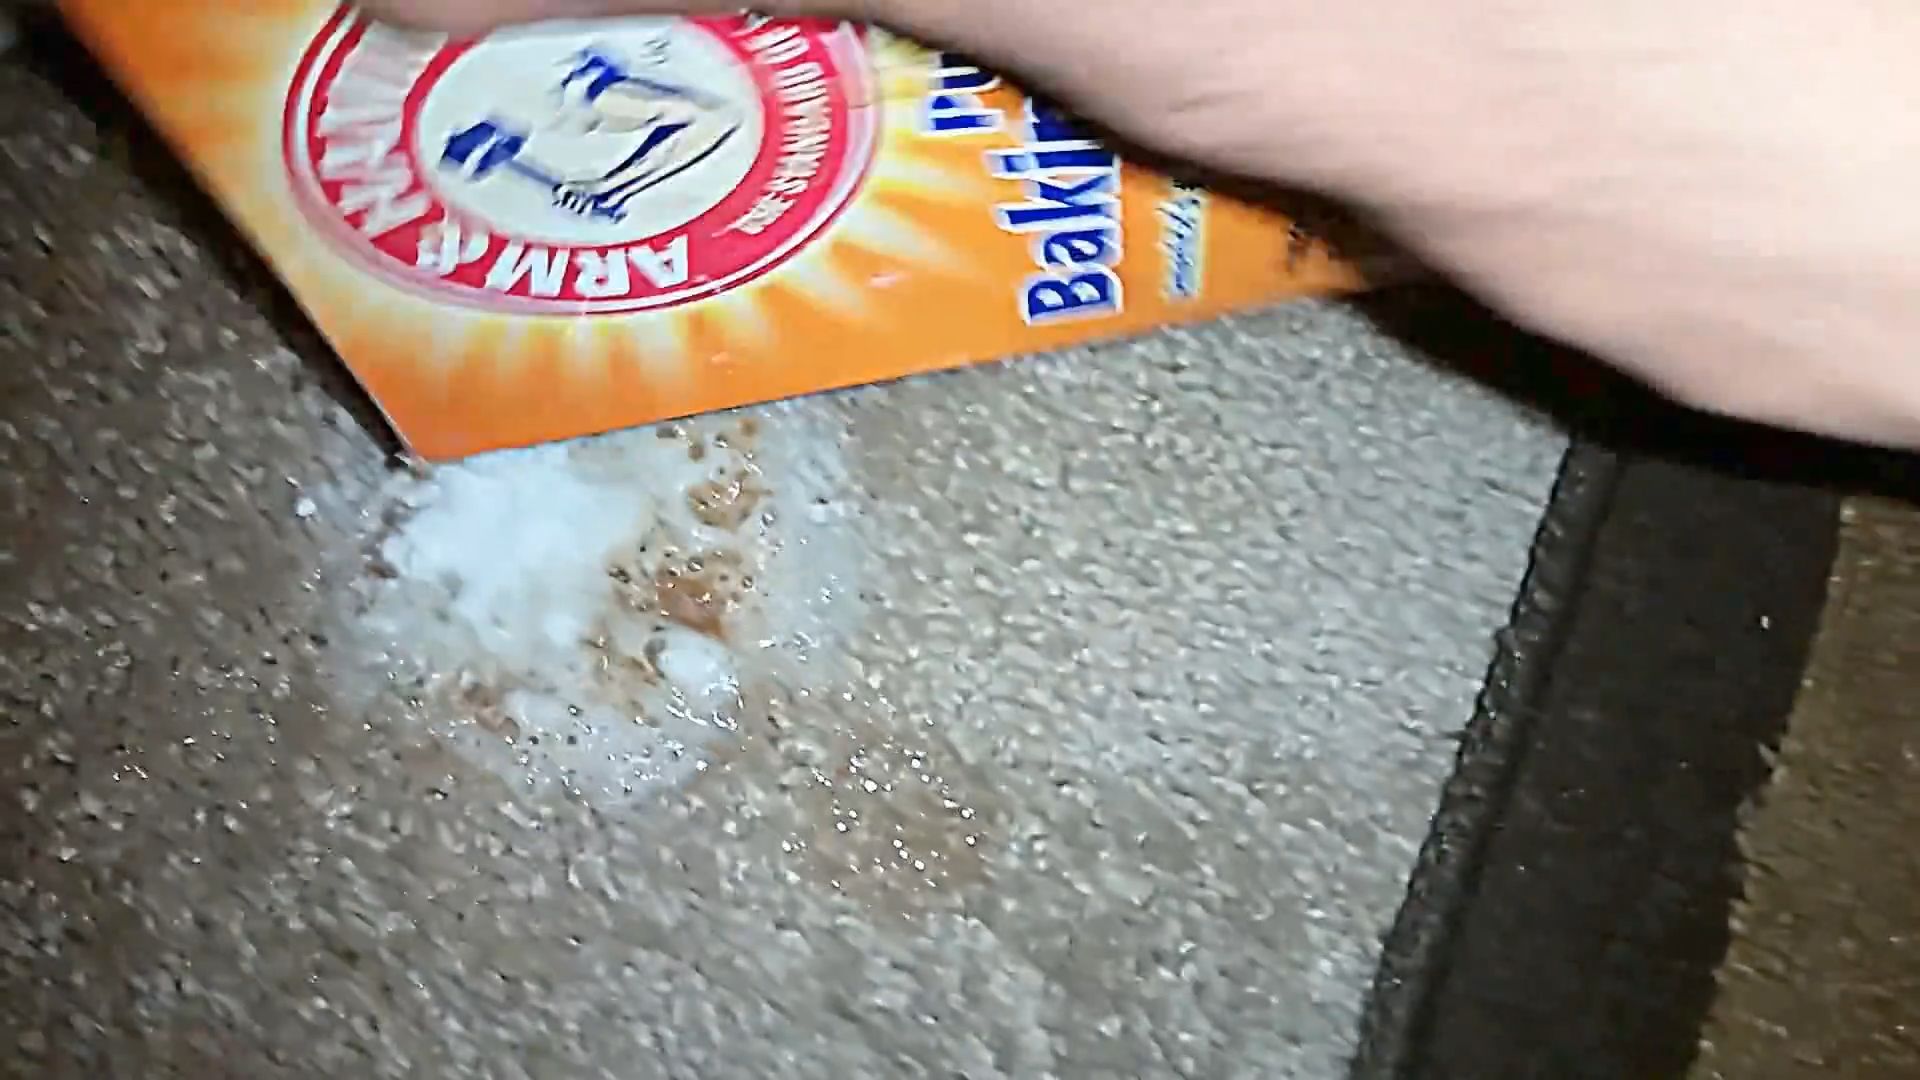
After the baking soda paste has had its beauty sleep, it’s time to activate it with vinegar! This is where the fizzing action happens, and it’s so satisfying to watch.
1. Fill the Spray Bottle: Pour white vinegar into your spray bottle.
2. Spray it Down: Generously spray the baking soda paste with vinegar. You’ll see it start to fizz and bubble – that’s a good thing! That means the vinegar is reacting with the baking soda and loosening up the grime.
3. Let it Fizz: Let the vinegar and baking soda fizz for a few minutes. This will help to further break down the baked-on messes.
Scrubbing and Cleaning: The Final Push
Now it’s time to put in a little elbow grease and scrub away all that loosened grime.
1. Scrub-a-dub-dub: Using your sponge or scrubbing brush, scrub all the inside surfaces of the oven. Pay extra attention to those stubborn spots.
2. Plastic Scraper Power: For really tough spots, use your plastic scraper or spatula to gently scrape away the grime. Be careful not to scratch the oven surface.
3. Wipe it Clean: Once you’ve scrubbed everything, use paper towels or a clean cloth to wipe away the baking soda and vinegar mixture. You may need to rinse your cloth or paper towels frequently.
4. Rinse and Repeat: You might need to rinse and repeat this process a few times to get rid of all the residue. Don’t worry, it’s worth it!
5. Inspect and Spot Clean: Once you’ve wiped everything down, inspect the oven for any remaining spots. If you find any, just repeat the baking soda paste and vinegar process on those areas.
Cleaning the Oven Racks: From Grimy to Gleaming
Remember those oven racks we soaked earlier? Now it’s time to give them some attention.
1. Scrub Those Racks: Using a sponge or scrubbing brush, scrub the oven racks to remove any remaining grime.
2. Rinse Thoroughly: Rinse the racks thoroughly with clean water.
3. Dry and Shine: Dry the racks with a clean towel.
Final Touches: Putting it All Back Together
Almost there! Just a few more steps and you’ll have a sparkling clean oven.
1. Wipe Down the Door: Don’t forget to wipe down the outside of the oven door with a damp cloth.
2. Replace the Racks: Put the clean oven racks back into the oven.
3. Admire Your Work: Step back and admire your sparkling clean oven! You did it!
Tips and Tricks for a Super Clean Oven:
* Regular Cleaning is Key: The more often you clean your oven, the easier it will be to keep it clean. Try to do a quick wipe-down after each use to prevent messes from building up.
* Self-Cleaning Cycle (Use with Caution): If your oven has a self-cleaning cycle, you can use it occasionally, but be aware that it can produce strong fumes and use a lot of energy. I prefer the baking soda and vinegar method because it’s more natural and doesn’t produce any harmful fumes.
* Oven Liners: Consider using oven liners to catch drips and spills. This can help to prevent messes from building up on the bottom of your oven.
* Baking Stone Care: If you use a baking stone, be sure to clean it properly. Avoid using soap or detergents, as they can be absorbed by the stone. Instead, scrape off any food residue and wipe it down with a damp cloth.
* Ventilation is Important: When cleaning your oven, make sure to open a window or turn on the exhaust fan to ventilate the area.
* Don’t Forget the Glass Door: For the glass door, you can use a glass cleaner or a mixture of vinegar and water to remove streaks and smudges.
* Stubborn Grease Stains: For really stubborn grease stains, try using a paste of baking soda and dish soap. Apply the paste to the stain, let it sit for a few minutes, and then scrub it away.
* Prevention is Better Than Cure: Try to prevent spills and splatters in the first place by using oven-safe dishes with lids or by covering your food with foil.
Important Note: Always test any cleaning solution in an inconspicuous area first to make sure it doesn’t damage the surface. While baking soda and vinegar are generally safe for most ovens, it’s always better to be safe than sorry.
So there you have it! My tried-and-true method for cleaning your oven with baking soda and vinegar. It might take a little time and effort, but the results are well worth it. Plus, you can feel good knowing that you’re using a natural and safe cleaning solution. Happy cleaning!
Conclusion
So, there you have it! Growing strawberries at home, especially using our simple and effective DIY trick, is not just a fun project; it’s a gateway to enjoying the freshest, most flavorful berries you’ve ever tasted. Forget the bland, often overpriced strawberries from the grocery store. Imagine plucking sun-ripened, juicy red gems straight from your own garden, knowing exactly where they came from and how they were grown.
This method, focusing on maximizing space and minimizing effort, is a game-changer for anyone, regardless of their gardening experience. Whether you have a sprawling backyard or a tiny balcony, you can successfully cultivate your own strawberry patch. The satisfaction of nurturing these plants from tiny seedlings to bountiful producers is incredibly rewarding.
But the benefits extend beyond just taste and convenience. Growing your own strawberries is also an environmentally conscious choice. You’re reducing your carbon footprint by eliminating the need for transportation and packaging associated with store-bought berries. Plus, you have complete control over the growing process, ensuring that your strawberries are free from harmful pesticides and chemicals.
Don’t be afraid to experiment! Try different varieties of strawberries to find your favorites. Some are sweeter, some are larger, and some are more resistant to certain pests or diseases. Consider adding companion plants like basil or marigolds to deter pests naturally and enhance the flavor of your strawberries. You can also adjust the soil composition to suit the specific needs of your chosen variety.
For those with limited sunlight, consider using grow lights to supplement natural light. This is particularly helpful for indoor strawberry gardens or during the winter months. And if you’re feeling adventurous, try propagating new strawberry plants from runners to expand your patch even further.
We’ve shown you how to grow strawberries at home, now it’s your turn to get your hands dirty! We are confident that you will be amazed by the results. The process is easier than you think, and the rewards are immeasurable.
We encourage you to give this DIY trick a try and share your experience with us. Post pictures of your strawberry patch, tell us about your favorite varieties, and let us know if you have any questions or tips of your own. Let’s create a community of home strawberry growers and inspire others to embrace the joy of homegrown goodness. Happy gardening!
Frequently Asked Questions (FAQ)
What are the best strawberry varieties to grow at home?
The best strawberry variety depends on your climate and personal preferences. Everbearing varieties like Albion and Seascape produce fruit throughout the growing season, while June-bearing varieties like Chandler and Honeoye produce a large crop in early summer. Day-neutral varieties like Tristar are also a good option for continuous fruiting. Consider your local climate and choose varieties that are known to thrive in your area. Local nurseries can provide valuable advice on the best choices for your region.
How much sunlight do strawberries need?
Strawberries need at least 6-8 hours of direct sunlight per day to produce abundant fruit. If you don’t have enough sunlight, consider using grow lights to supplement natural light. Place your strawberry plants in the sunniest spot in your garden or on your balcony. Insufficient sunlight can lead to smaller berries and reduced yields.
What kind of soil is best for growing strawberries?
Strawberries prefer well-drained, slightly acidic soil with a pH of 5.5 to 6.5. Amend your soil with compost or other organic matter to improve drainage and fertility. Avoid heavy clay soils, as they can retain too much moisture and lead to root rot. You can also use raised beds or containers filled with a suitable potting mix.
How often should I water my strawberry plants?
Water your strawberry plants regularly, especially during dry periods. Keep the soil consistently moist but not waterlogged. Water deeply at the base of the plants to avoid wetting the foliage, which can promote fungal diseases. Check the soil moisture regularly and adjust your watering schedule accordingly.
How do I fertilize my strawberry plants?
Fertilize your strawberry plants in early spring and again after the first harvest. Use a balanced fertilizer specifically formulated for berries, following the instructions on the package. Avoid over-fertilizing, as this can lead to excessive foliage growth and reduced fruit production. Organic fertilizers like compost tea or fish emulsion are also excellent options.
How do I protect my strawberries from pests and diseases?
Monitor your strawberry plants regularly for signs of pests and diseases. Common pests include aphids, slugs, and spider mites. Use organic pest control methods like insecticidal soap or neem oil to control infestations. Prevent fungal diseases by providing good air circulation and avoiding overhead watering. Consider using row covers to protect your plants from birds and other animals.
How do I propagate new strawberry plants?
Strawberries produce runners, which are horizontal stems that develop new plantlets. To propagate new plants, simply pin the runners to the soil and allow them to root. Once the new plantlets have developed roots, you can cut them from the mother plant and transplant them to new locations. This is a simple and effective way to expand your strawberry patch.
When is the best time to harvest strawberries?
Harvest strawberries when they are fully ripe and have a deep red color. Gently twist the berries from the stem, being careful not to damage the plant. Harvest in the morning when the berries are cool and firm. Ripe strawberries are best eaten fresh, but they can also be frozen, canned, or made into jam.
Can I grow strawberries in containers?
Yes, strawberries grow well in containers. Choose containers that are at least 12 inches deep and wide to provide enough room for the roots to grow. Use a well-draining potting mix and water regularly. Container-grown strawberries may need to be fertilized more frequently than those grown in the ground.
What do I do with my strawberry plants in the winter?
In colder climates, protect your strawberry plants from freezing temperatures by covering them with a layer of straw or mulch. This will help insulate the roots and prevent them from being damaged by frost. In milder climates, you may not need to provide any winter protection. Remove the mulch in the spring when the weather warms up.


Leave a Comment