
Clean oven Mr Muscle – sounds like a superhero’s catchphrase, doesn’t it? But let’s be honest, tackling a grimy oven is anything but heroic. It’s more like a dreaded chore we put off until the smoke alarm starts sounding every time we preheat! I get it; I’ve been there. We all have. But what if I told you there’s a way to make this task less of a Herculean effort and more of a manageable afternoon project?
For generations, keeping a clean oven was a symbol of a well-maintained home, a reflection of care and attention to detail. While the methods have evolved from wood ash and elbow grease to modern cleaning solutions, the desire for a sparkling clean oven remains the same. And with good reason! A clean oven not only looks better, but it also cooks more efficiently and prevents those unpleasant burnt food smells from lingering in your kitchen.
This DIY guide is your secret weapon in the battle against baked-on grease and grime. I’m going to share some simple, effective tricks and hacks that will help you achieve a clean oven Mr Muscle would be proud of, without spending hours scrubbing or resorting to harsh chemicals. Say goodbye to oven-cleaning dread and hello to a sparkling clean oven that’s ready to bake up delicious treats!
DIY Oven Cleaning Hack: Mr. Muscle & Ammonia Power!
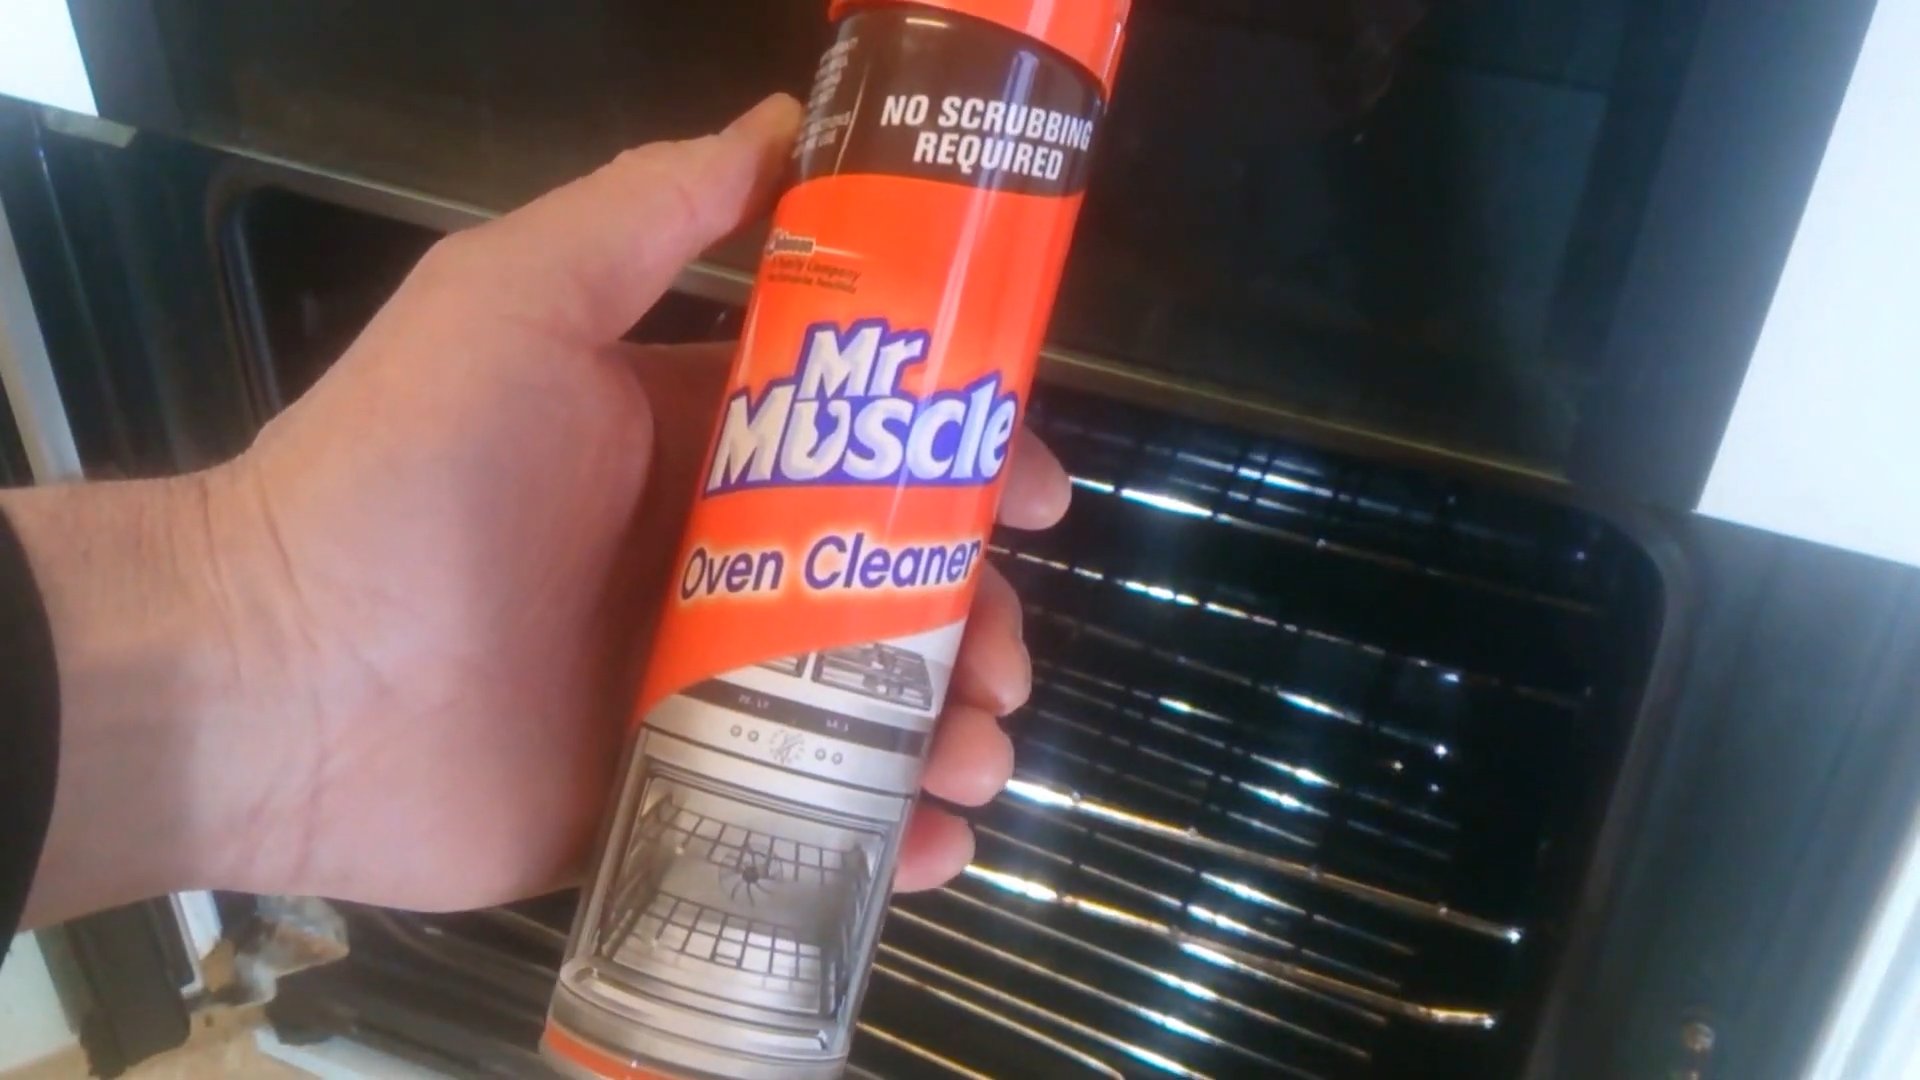
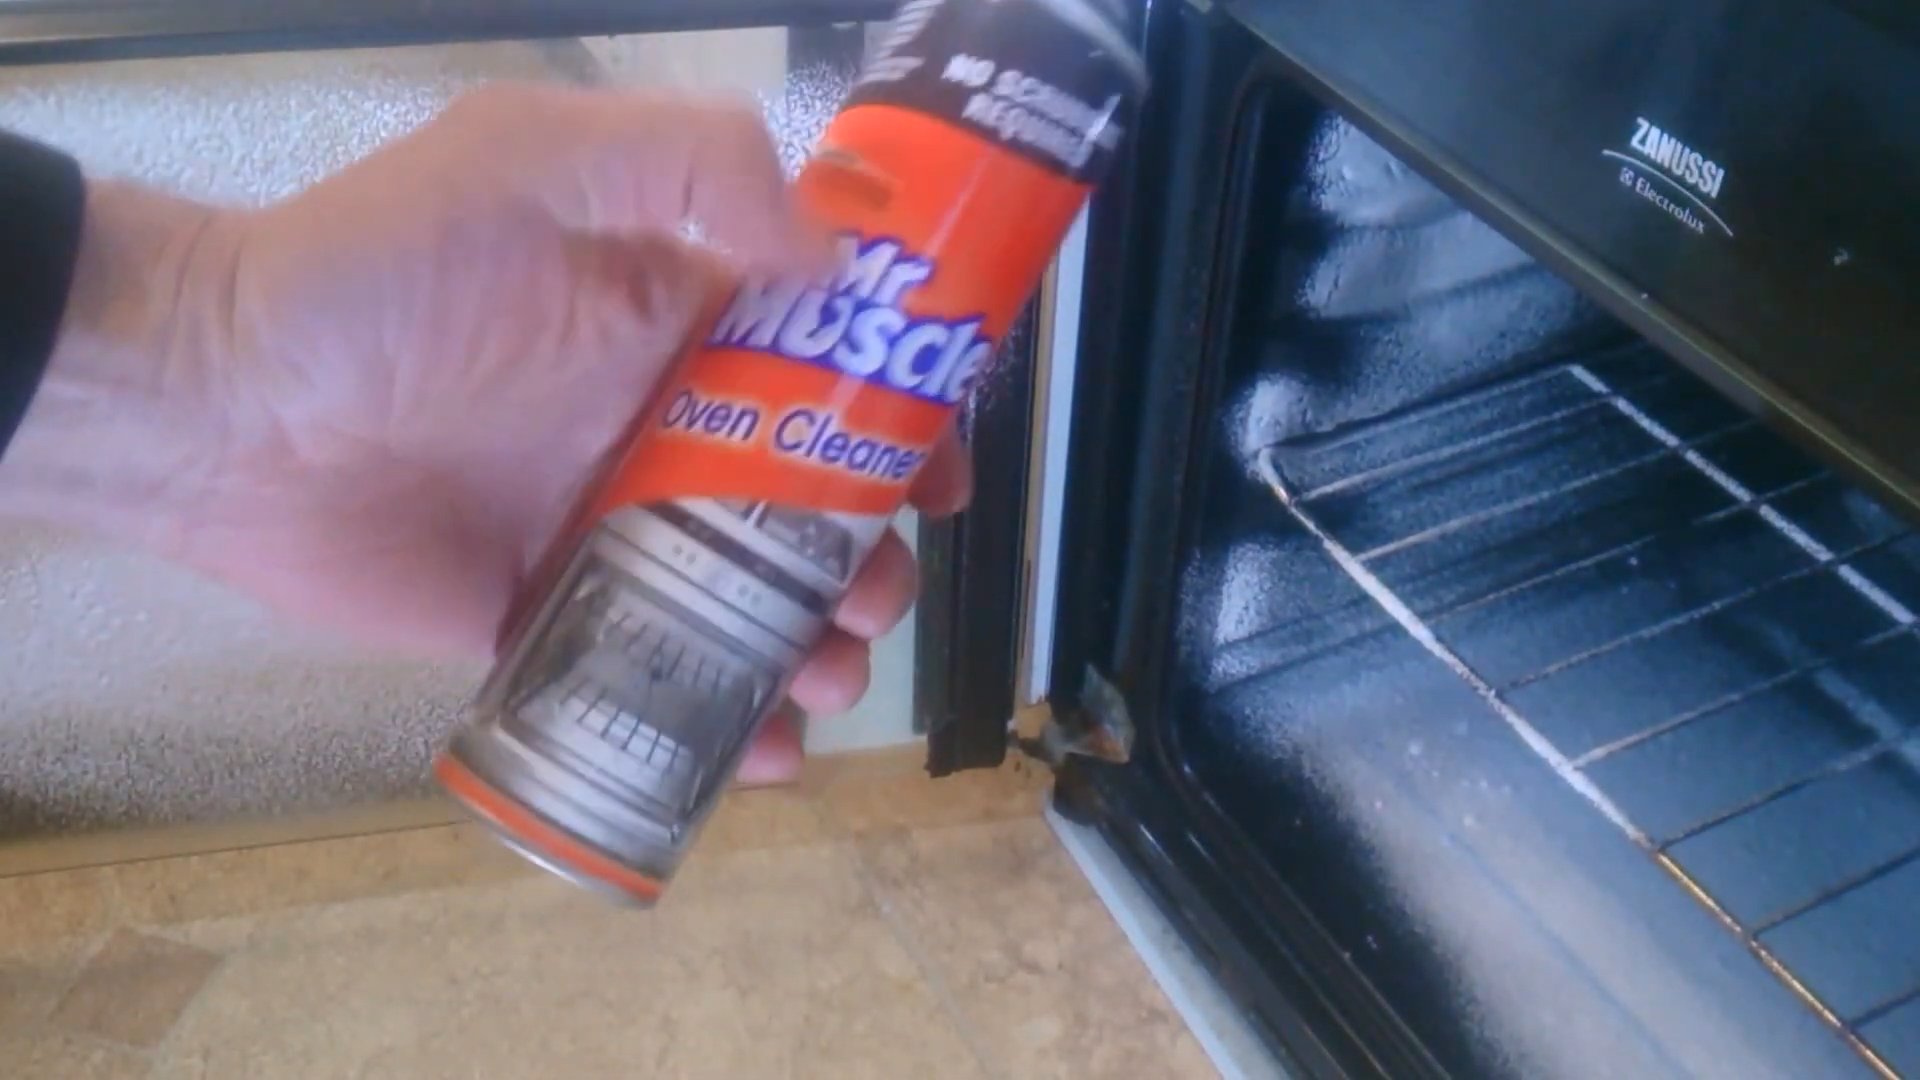
Okay, so you’re staring at your oven, right? And it’s… well, let’s just say it’s seen better days. Burnt-on food, grease splatters, the whole shebang. You’re dreading the thought of scrubbing for hours, and those commercial oven cleaners are harsh and smell awful. I get it! I’ve been there. That’s why I’m going to share my secret weapon: a DIY oven cleaning hack using Mr. Muscle (the original, not the oven cleaner version!) and a little bit of ammonia. Trust me, it works wonders!
What You’ll Need:
* Mr. Muscle (original multi-purpose cleaner)
* Ammonia (clear, unscented)
* Large bowl or bucket
* Spray bottle
* Rubber gloves (essential!)
* Safety glasses (also essential!)
* Sponge or scrub brush
* Paper towels or cleaning cloths
* Trash bags or old newspapers (for protecting surfaces)
* Water
* Old towel or rags
* Ventilation (open windows and doors!)
Safety First!
Before we dive in, let’s talk safety. Ammonia and Mr. Muscle can be irritating, so it’s crucial to protect yourself.
* Always wear rubber gloves and safety glasses. This will prevent skin and eye irritation.
* Work in a well-ventilated area. Open windows and doors to allow fresh air to circulate.
* Never mix ammonia with bleach! This creates toxic fumes.
* Keep children and pets away from the area.
* If you experience any irritation, stop immediately and rinse the affected area with water.
Preparing Your Oven
Before we unleash the cleaning power, we need to prep the oven.
* Remove oven racks and any loose debris. Take out the racks, baking stones, pizza pans, or anything else that’s inside the oven.
* Protect the surrounding area. Lay down trash bags or old newspapers around the oven to catch any drips or spills.
* Wipe up any loose crumbs or spills. Use a damp cloth or paper towel to remove any loose debris from the bottom of the oven.
Mixing the Cleaning Solution
This is where the magic happens! We’re going to create a powerful cleaning solution that will loosen even the most stubborn baked-on grime.
1. In a large bowl or bucket, combine equal parts Mr. Muscle and ammonia. I usually start with about 1 cup of each, but you can adjust the amount depending on the size of your oven.
2. Gently stir the mixture. Be careful not to splash it.
3. Pour some of the solution into a spray bottle. This will make it easier to apply to the oven walls and door.
Cleaning the Oven Interior
Now for the fun part – applying the cleaning solution!
1. Spray the interior of the oven with the cleaning solution. Be generous, but avoid spraying the heating elements directly. Focus on the areas with the most baked-on grime.
2. Close the oven door and let the solution sit for at least 2 hours, or preferably overnight. The longer it sits, the better it will work. This gives the solution time to penetrate and loosen the grime. I usually do this before I go to bed so it can work its magic while I sleep.
3. After the soaking time, put on your gloves and safety glasses again.
4. Wipe down the oven interior with a damp sponge or scrub brush. You’ll be amazed at how easily the grime comes off. For stubborn spots, you may need to scrub a little harder.
5. Rinse the oven interior thoroughly with clean water. Use a damp sponge or cloth to remove any remaining cleaning solution. You may need to rinse several times to ensure all the residue is gone.
6. Dry the oven interior with paper towels or cleaning cloths. Make sure it’s completely dry before using it again.
Cleaning the Oven Door
The oven door can be just as grimy as the interior, so let’s give it some attention.
1. Spray the oven door with the cleaning solution. Be sure to cover all the glass and any other surfaces that are dirty.
2. Let the solution sit for at least 30 minutes. This will give it time to loosen the grime.
3. Wipe down the oven door with a damp sponge or scrub brush. Again, you’ll be surprised at how easily the grime comes off.
4. Rinse the oven door thoroughly with clean water.
5. Dry the oven door with paper towels or cleaning cloths.
Cleaning the Oven Racks
Don’t forget about the oven racks! They can be a real pain to clean, but this method makes it much easier.
1. Place the oven racks in a large trash bag.
2. Pour the remaining cleaning solution into the trash bag.
3. Seal the trash bag tightly and let it sit for at least 2 hours, or preferably overnight. This will allow the cleaning solution to soak into the racks and loosen the grime.
4. After the soaking time, put on your gloves and safety glasses.
5. Remove the oven racks from the trash bag and rinse them thoroughly with clean water.
6. Scrub the racks with a scrub brush to remove any remaining grime.
7. Dry the oven racks with paper towels or cleaning cloths.
Final Touches
Almost there! Just a few more steps to ensure your oven is sparkling clean.
1. Wipe down the exterior of the oven with a damp cloth.
2. Replace the oven racks.
3. Run the oven on a low temperature (around 200 degrees Fahrenheit) for about 15-20 minutes to burn off any remaining residue. This will also help to eliminate any lingering odors. Make sure you have good ventilation during this step!
4. Let the oven cool completely before using it.
Tips and Tricks
* For extra stubborn grime, try using a paste of baking soda and water. Apply the paste to the affected area, let it sit for a few minutes, and then scrub it off.
* If you have a self-cleaning oven, you can use this method as a pre-treatment. After cleaning the oven with the Mr. Muscle and ammonia solution, run the self-cleaning cycle to remove any remaining residue. However, be aware that the fumes from the self-cleaning cycle can be strong, so make sure you have good ventilation.
* To prevent future build-up, wipe down your oven after each use. This will help to keep it clean and prevent grime from accumulating.
* Consider using oven liners to catch spills and drips. This will make it much easier to clean your oven in the future.
* If you’re sensitive to smells, add a few drops of essential oil (like lemon or lavender) to the cleaning solution. This will help to mask the ammonia odor.
* Always test the cleaning solution on a small, inconspicuous area of your oven before applying it to the entire surface. This will help to ensure that it doesn’t damage the finish.
Troubleshooting
* If the grime is not coming off easily, try letting the cleaning solution sit for a longer period of time. You can also try using a more abrasive scrub brush.
* If you’re having trouble removing the cleaning solution residue, try rinsing the oven with a solution of vinegar and water. This will help to neutralize the ammonia and remove any remaining residue.
* If you’re still experiencing odors after cleaning the oven, try placing a bowl of baking soda inside the oven overnight. This will help to absorb any lingering odors.
Why This Works
You might be wondering why this combination of Mr. Muscle and ammonia is so effective. Well, Mr. Muscle is a powerful degreaser, and ammonia is a strong alkaline cleaner. Together, they work to break down the baked-on food and grease, making it much easier to remove. The Mr. Muscle helps to emulsify the grease, while the ammonia helps to dissolve the burnt-on food. It’s a winning combination!
Important Considerations
While this method is effective, it’s important to be aware of a few potential drawbacks:
* The fumes can be strong. Make sure you have good ventilation and wear a mask if you’re sensitive to smells.
* Ammonia can be corrosive. Avoid getting it on your skin or in your eyes.
* This method may not be suitable for all ovens. Always test the cleaning solution on a small, inconspicuous area first.
Alternative Cleaning Solutions
If you’re not comfortable using ammonia, there are other DIY oven cleaning solutions you can try:
* Baking soda and vinegar paste: Mix
Conclusion
So, there you have it! This simple, yet incredibly effective, DIY oven cleaning trick using readily available ingredients offers a powerful alternative to harsh chemicals like Mr Muscle. Not only is it gentler on your oven and the environment, but it’s also significantly more budget-friendly. We’ve shown you how to achieve a sparkling clean oven without the fumes and potential health concerns associated with commercial oven cleaners.
This method isn’t just about saving money; it’s about taking control of the cleaning products you use in your home and opting for a healthier, more sustainable approach. Think about it: no more holding your breath while spraying toxic chemicals, no more worrying about lingering residue affecting the taste of your food. Just a clean, fresh oven ready to bake up delicious meals.
Why is this DIY trick a must-try? Because it works! It effectively tackles grease, grime, and baked-on food residue, leaving your oven looking and smelling like new. Plus, it’s incredibly easy to do, requiring minimal effort and readily available ingredients. You’re essentially harnessing the power of natural cleaning agents to achieve professional-level results.
But the beauty of this DIY approach lies in its adaptability. Feel free to experiment with variations to suit your specific needs and preferences. For instance:
* For extra stubborn stains: Create a paste of baking soda and water, apply it directly to the affected areas, and let it sit overnight before scrubbing.
* To add a fresh scent: Infuse your cleaning solution with a few drops of your favorite essential oil, such as lemon or lavender.
* For a deeper clean: After scrubbing, place a bowl of boiling water in the oven and let it steam for 30 minutes to loosen any remaining residue.
Ultimately, the goal is to find a cleaning routine that works best for you and your oven. This DIY method provides a solid foundation, allowing you to customize it to your liking.
We are confident that once you try this DIY oven cleaning trick, you’ll never go back to using harsh chemicals again. It’s a game-changer for anyone looking for a safer, more effective, and more affordable way to keep their oven sparkling clean.
So, ditch the Mr Muscle and embrace the power of natural cleaning! We encourage you to give this DIY method a try and share your experience with us in the comments below. Let us know what variations you tried, what worked best for you, and any tips you have to share with fellow readers. Together, we can create a community of eco-conscious cleaners who are passionate about keeping their homes clean and healthy. We can’t wait to hear your success stories!
Frequently Asked Questions (FAQ)
1. Is this DIY oven cleaning method safe for all types of ovens?
Generally, yes, this DIY method is safe for most types of ovens, including electric, gas, and convection ovens. However, it’s always a good idea to consult your oven’s manual for specific cleaning recommendations. Avoid using abrasive scrubbers on self-cleaning ovens, as they can damage the coating. For self-cleaning ovens, it’s best to stick to the self-cleaning cycle or use a gentle sponge with the DIY cleaning solution. If you have any doubts, test the solution on a small, inconspicuous area of your oven first.
2. How often should I clean my oven using this DIY method?
The frequency of cleaning depends on how often you use your oven and how much food spills inside. As a general rule, cleaning your oven every 3-6 months is a good practice. However, if you notice excessive grease buildup or food splatters, you may need to clean it more frequently. Regular spot cleaning of spills as they occur can also help prevent the need for deep cleaning.
3. What if I have a self-cleaning oven? Should I still use this DIY method?
While self-cleaning ovens are convenient, they often produce unpleasant odors and consume a lot of energy. This DIY method can be a great alternative for maintaining your oven between self-cleaning cycles or for avoiding the self-cleaning cycle altogether. If you choose to use the self-cleaning cycle, be sure to ventilate your kitchen well and remove any oven racks or accessories beforehand.
4. Can I use vinegar instead of lemon juice in this DIY cleaning solution?
Yes, vinegar is a great alternative to lemon juice. Both are acidic and help to break down grease and grime. You can substitute vinegar for lemon juice in a 1:1 ratio. Some people prefer the smell of lemon juice, while others find vinegar more effective. Experiment to see which one works best for you. You can also combine vinegar and lemon juice for a more potent cleaning solution.
5. How do I clean the oven racks using this DIY method?
Cleaning oven racks can be a bit challenging, but this DIY method can help. Soak the racks in a solution of hot water and baking soda for several hours or overnight. This will help to loosen the baked-on grease and grime. You can also add some dish soap to the soaking solution for extra cleaning power. After soaking, scrub the racks with a brush or sponge and rinse thoroughly with water. For stubborn stains, you can use a paste of baking soda and water to scrub the affected areas.
6. What if the baking soda paste dries out and becomes difficult to remove?
If the baking soda paste dries out and becomes difficult to remove, simply dampen it with a wet sponge or cloth. Let the water soak into the paste for a few minutes to soften it, then scrub it away with a sponge or brush. You can also use a spray bottle filled with water to rehydrate the paste. Avoid using excessive force when scrubbing, as this can damage the oven surface.
7. Is this DIY cleaning method effective for removing burnt-on sugar or caramel?
Burnt-on sugar or caramel can be particularly difficult to remove. For these types of stains, it’s best to act quickly while the residue is still warm. Scrape off as much of the burnt sugar as possible with a spatula or scraper. Then, apply a thick paste of baking soda and water to the affected area and let it sit for several hours or overnight. The baking soda will help to soften the sugar and make it easier to remove. You may need to scrub vigorously to remove the remaining residue.
8. Can I use this DIY method to clean the glass door of my oven?
Yes, this DIY method is safe and effective for cleaning the glass door of your oven. Apply the baking soda paste to the glass door and let it sit for 15-30 minutes. Then, scrub the door with a sponge or cloth and rinse thoroughly with water. For stubborn stains, you can use a razor blade scraper to carefully remove the residue. Be sure to hold the scraper at a shallow angle to avoid scratching the glass.
9. How can I prevent my oven from getting so dirty in the first place?
Prevention is key to keeping your oven clean and reducing the need for frequent deep cleaning. Here are a few tips:
* Use oven liners or baking sheets to catch spills and drips.
* Clean up spills as soon as they occur.
* Avoid overfilling baking dishes, as this can lead to spills.
* Consider using a splatter guard when cooking messy foods.
* Wipe down the interior of your oven regularly with a damp cloth.
10. What are the benefits of using a DIY oven cleaner compared to commercial cleaners like Mr Muscle?
There are several benefits to using a DIY oven cleaner compared to commercial cleaners like Mr Muscle:
* Safer for your health: DIY cleaners are made with natural ingredients that are less likely to cause respiratory irritation or skin allergies.
* Environmentally friendly: DIY cleaners are biodegradable and do not contain harsh chemicals that can pollute the environment.
* Cost-effective: DIY cleaners are typically much cheaper than commercial cleaners.
* Effective cleaning: DIY cleaners can be just as effective as commercial cleaners at removing grease and grime.
* Customizable: You can customize DIY cleaners to suit your specific needs and preferences.
By choosing a DIY oven cleaner, you can protect your health, the environment, and your wallet.


Leave a Comment