
Clean Wood Cutting Board: Is your trusty wooden cutting board starting to look a little… less than appetizing? Don’t worry, you’re not alone! We’ve all been there, staring down a stained, scratched, and potentially bacteria-laden surface, wondering if it’s time to toss it and buy a new one. But hold on! Before you reach for your wallet, I’m here to tell you that you can revive your beloved board with a few simple DIY tricks.
Wood cutting boards have been kitchen staples for centuries, dating back to a time when they were essential for preparing meals from scratch. They represent a connection to traditional cooking methods and a simpler way of life. But unlike their modern plastic counterparts, wood cutting boards require a little extra TLC to keep them in tip-top shape.
Why is it so important to clean wood cutting board properly? Well, beyond the obvious aesthetic reasons, a clean cutting board is crucial for food safety. Wood, being a porous material, can harbor bacteria if not properly maintained. This DIY guide will provide you with easy, effective, and natural methods to disinfect, deodorize, and restore your wood cutting board, ensuring it’s safe and ready for your next culinary adventure. I’ll show you how to keep your cutting board looking great and protecting your family’s health. Let’s get started!
DIY Wood Cutting Board Cleaning and Restoration
Hey there, fellow DIY enthusiasts! I’m excited to share my tried-and-true method for cleaning and restoring wood cutting boards. Let’s face it, our beloved cutting boards take a beating. They’re constantly exposed to moisture, food particles, and knife marks. Over time, they can become stained, smelly, and even harbor bacteria. But don’t despair! With a little elbow grease and the right techniques, you can bring your wood cutting board back to life.
What You’ll Need
Before we dive in, let’s gather our supplies. This is what I usually use:
* Coarse Salt: Acts as a gentle abrasive to scrub away stains and debris.
* Lemon: The acidity helps to disinfect and deodorize the wood.
* White Vinegar: Another excellent disinfectant and cleaner.
* Baking Soda: Helps to neutralize odors and lift stains.
* Food-Grade Mineral Oil: To rehydrate and protect the wood.
* Beeswax (Optional): To create a protective barrier and add a nice sheen.
* Clean Cloths or Paper Towels: For wiping and cleaning.
* Scrub Brush or Sponge: For scrubbing the board.
* Sandpaper (Various Grits – 120, 220, 320): For smoothing out scratches and imperfections.
* Palm Sander (Optional): Speeds up the sanding process.
* Small Bowl: For mixing cleaning solutions.
* Gloves (Optional): To protect your hands.
Phase 1: Deep Cleaning and Disinfecting
This is the most crucial step in removing surface grime and bacteria. I usually start with this method:
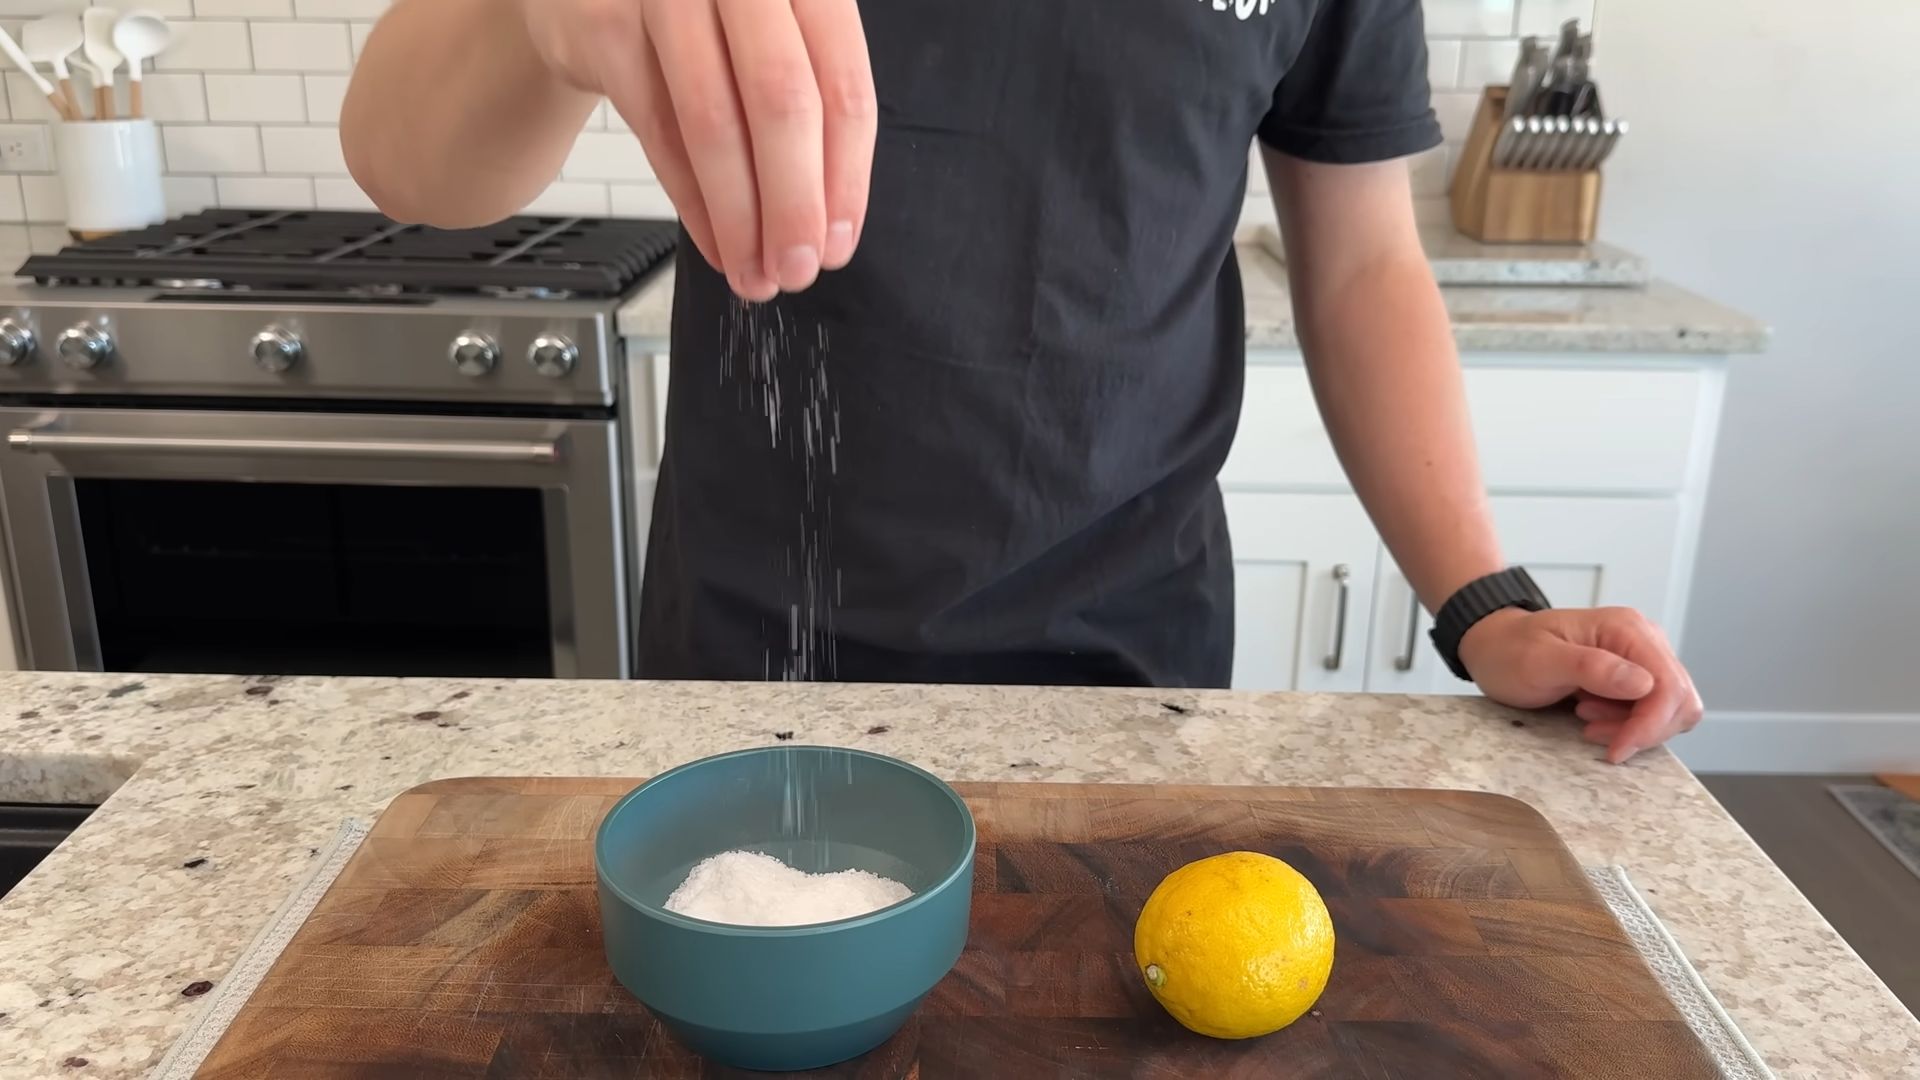
1. Rinse the Cutting Board: Begin by rinsing the cutting board under warm water to remove any loose food particles.
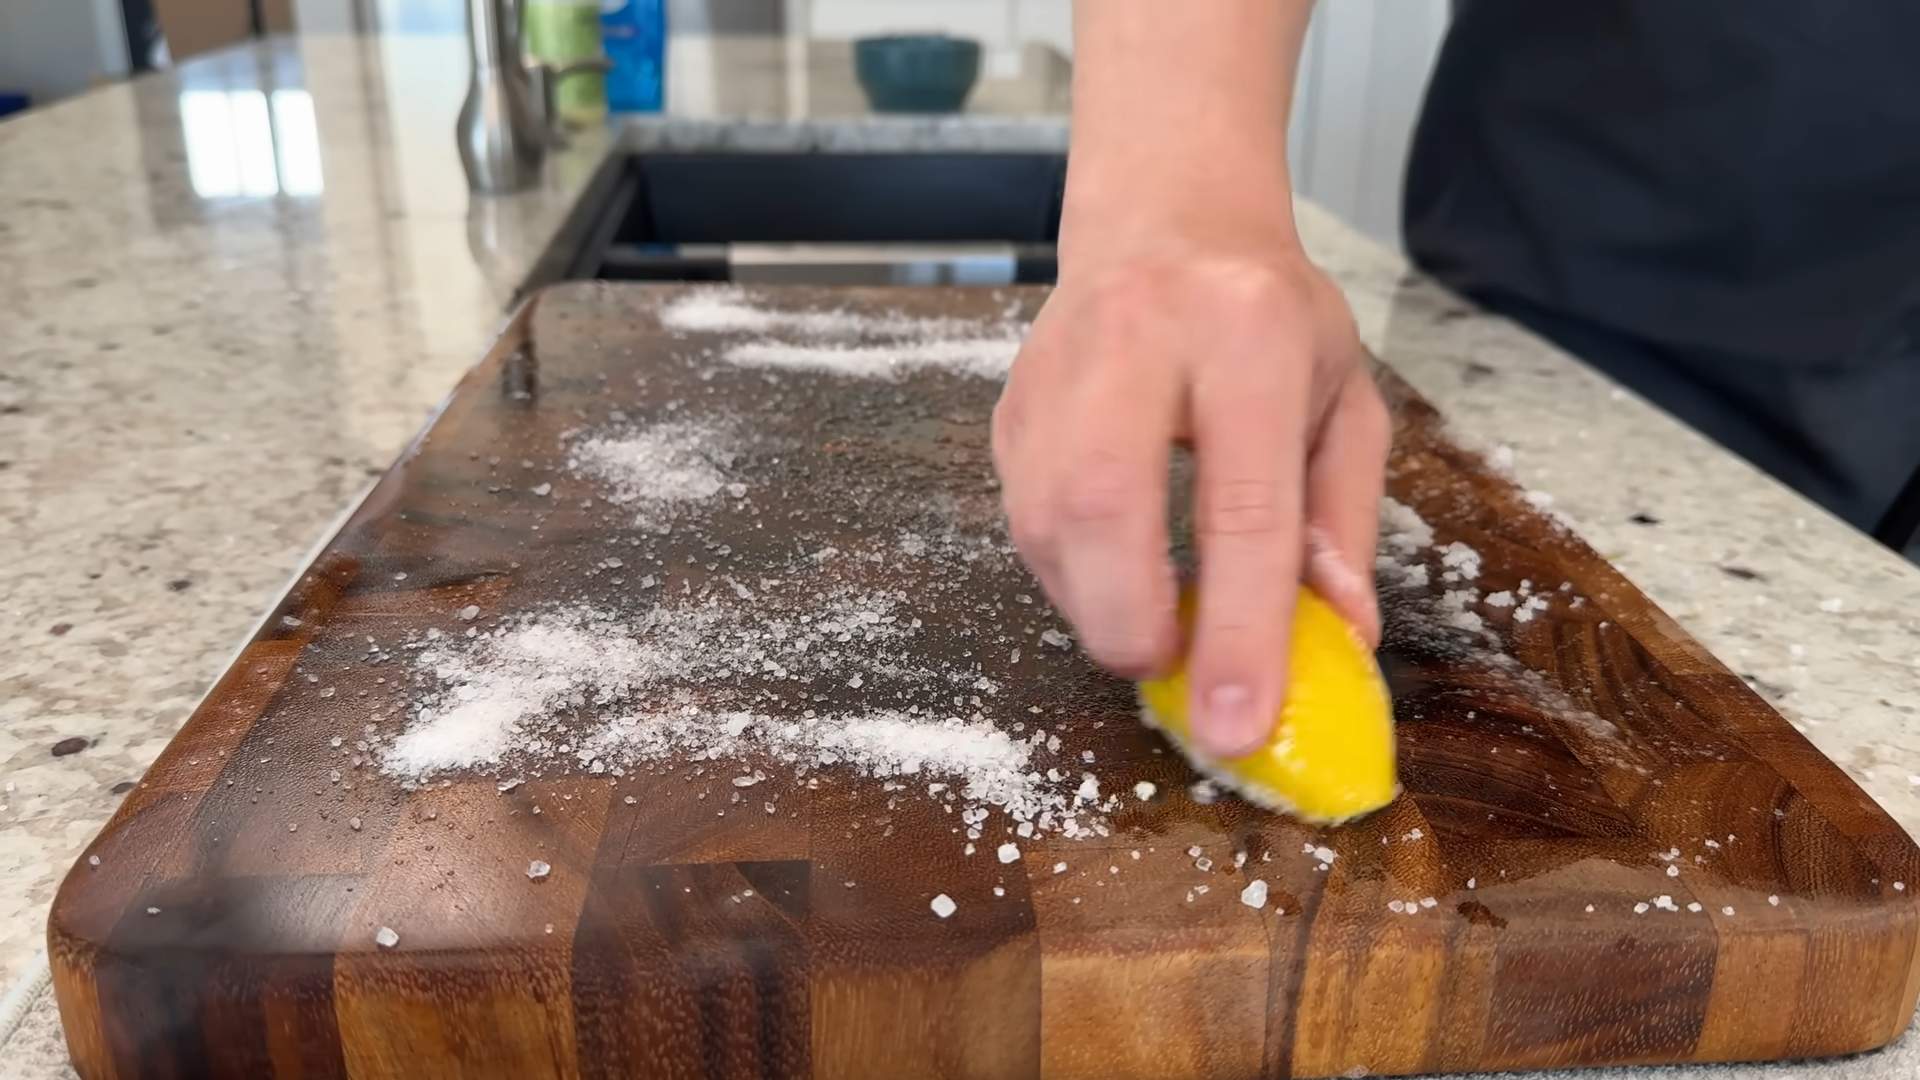
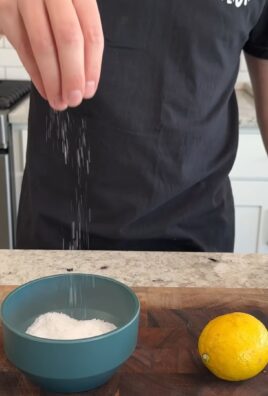
2. Salt and Lemon Scrub: Sprinkle a generous amount of coarse salt over the entire surface of the cutting board. Cut a lemon in half and use it to scrub the salt into the wood. The salt acts as a gentle abrasive, while the lemon’s acidity helps to disinfect and deodorize. Scrub vigorously, paying attention to any stained or heavily used areas.
3. Let it Sit: Allow the salt and lemon mixture to sit on the cutting board for about 5-10 minutes. This gives the lemon juice time to work its magic.
4. Rinse Again: Rinse the cutting board thoroughly with warm water, making sure to remove all traces of salt and lemon.
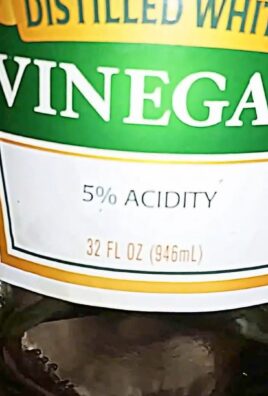
5. Vinegar Rinse (Optional): For extra disinfecting power, you can rinse the cutting board with a solution of equal parts white vinegar and water. This will help to kill any remaining bacteria.
6. Baking Soda Paste (For Stubborn Stains): If you have stubborn stains that won’t budge, make a paste of baking soda and water. Apply the paste to the stained areas and let it sit for about 15-20 minutes before scrubbing and rinsing.
7. Dry Thoroughly: Pat the cutting board dry with a clean cloth or paper towel. It’s essential to dry the board completely to prevent warping or cracking. I usually let it air dry for a few hours, propped up on its side to allow for maximum airflow.
Phase 2: Sanding and Smoothing
If your cutting board has deep scratches, knife marks, or a rough surface, sanding is necessary to restore its smoothness.
1. Assess the Damage: Examine the cutting board to determine the extent of the damage. If there are deep scratches, you’ll need to start with a coarser grit sandpaper (like 120). For minor imperfections, you can start with a finer grit (like 220).
2. Start with Coarse Grit (If Needed): If you’re starting with a coarse grit sandpaper (120), sand the cutting board in the direction of the wood grain. Apply even pressure and avoid sanding in circles, as this can create unevenness. I prefer using a palm sander for this step, but you can also sand by hand.
3. Move to Medium Grit (220): Once you’ve removed the deep scratches with the coarse grit sandpaper, switch to a medium grit (220). Sand the cutting board again, following the same technique as before. This will help to smooth out the surface and remove any remaining imperfections.
4. Finish with Fine Grit (320): Finally, use a fine grit sandpaper (320) to give the cutting board a smooth, polished finish. Sand lightly, following the grain of the wood.
5. Clean the Dust: After sanding, use a clean cloth or vacuum to remove all the sanding dust from the cutting board. This is crucial for ensuring proper oil absorption in the next step. I sometimes use a slightly damp cloth to wipe away the dust, but make sure to dry the board thoroughly afterward.
Phase 3: Oiling and Protecting
Oiling is essential for rehydrating the wood and protecting it from moisture and bacteria.
1. Apply Mineral Oil: Pour a generous amount of food-grade mineral oil onto the cutting board. Use a clean cloth or paper towel to spread the oil evenly over the entire surface, including the edges and sides.
2. Let it Soak: Allow the mineral oil to soak into the wood for at least 2-4 hours, or even overnight. The longer the oil soaks, the better protected the cutting board will be. You’ll notice the wood absorbing the oil, becoming darker and richer in color.
3. Apply More Oil (If Needed): After the initial soaking period, check the cutting board to see if there are any dry spots. If so, apply more mineral oil to those areas and let it soak in for another hour or two.
4. Wipe Off Excess Oil: Use a clean cloth or paper towel to wipe off any excess mineral oil from the surface of the cutting board. You want the wood to be saturated with oil, but not greasy.
5. Beeswax Finish (Optional): For added protection and a nice sheen, you can apply a beeswax finish to the cutting board. You can purchase a pre-made beeswax finish or make your own by melting beeswax and mineral oil together in a double boiler. Apply the beeswax finish to the cutting board with a clean cloth, rubbing it in well. Let it sit for a few minutes, then buff it with a clean cloth to create a smooth, protective layer.
Maintaining Your Cutting Board
Once you’ve restored your cutting board, it’s important to maintain it properly to keep it in good condition.
* Wash After Each Use: Wash your cutting board with warm, soapy water after each use. Avoid using harsh detergents or placing the cutting board in the dishwasher, as this can damage the wood.
* Dry Thoroughly: Always dry your cutting board thoroughly after washing. This will help to prevent warping and cracking.
* Oil Regularly: Reapply mineral oil to your cutting board every few weeks, or whenever it starts to look dry. This will help to keep the wood hydrated and protected.
* Avoid Cutting Raw Meat on Wood: While wood has natural antibacterial properties, it’s best to avoid cutting raw meat on your wood cutting board. If you do, be sure to clean and disinfect the board thoroughly afterward. Consider using a separate cutting board specifically for raw meat.
* Store Properly: Store your cutting board in a dry, well-ventilated area. Avoid storing it in a damp or humid environment, as this can promote mold growth.
By following these simple steps, you can keep your wood cutting board clean, healthy, and looking its best for years to come. Happy chopping!
Conclusion
So, there you have it! A simple, effective, and surprisingly satisfying method for keeping your wood cutting boards pristine. We’ve walked through the process of cleaning your wood cutting board, and hopefully, you now understand why this isn’t just another cleaning chore, but an essential practice for any home cook.
Why is this a must-try? Because a clean cutting board is more than just aesthetically pleasing; it’s a cornerstone of food safety. Wood, while beautiful and durable, can harbor bacteria if not properly cared for. Our DIY cleaning method, using readily available ingredients like lemon and salt, tackles this issue head-on, naturally disinfecting and deodorizing your board without harsh chemicals. This means you can confidently prepare your meals, knowing that your cutting board isn’t contributing to potential foodborne illnesses.
Beyond the health benefits, this method also extends the life of your wood cutting board. Regular cleaning prevents the buildup of food particles and stains, keeping your board looking its best for years to come. Think of it as an investment in your kitchen tools!
But don’t just take our word for it. We encourage you to try this DIY cleaning trick yourself. The process is quick, easy, and the results are immediately noticeable. You’ll be amazed at how fresh and revitalized your cutting board looks and smells.
Looking for variations? Absolutely!
* For extra stubborn stains: Create a paste of baking soda and water and apply it to the stain before scrubbing with lemon and salt. Let it sit for a few minutes before rinsing.
* Infuse with scent: After cleaning, rub the board with a halved orange or grapefruit for a different citrusy aroma.
* Deep conditioning: Once your board is clean and dry, apply a food-grade mineral oil or beeswax conditioner to keep the wood hydrated and prevent cracking. This is especially important for boards that are frequently used.
* Garlic or Onion Odors: If you’ve been chopping garlic or onions, use white vinegar instead of lemon juice. Vinegar is excellent at neutralizing strong odors.
We’re confident that once you experience the difference a properly cleaned wood cutting board makes, you’ll never go back to simply wiping it down. It’s a small effort that yields significant rewards in terms of food safety, board longevity, and overall kitchen hygiene.
Now, it’s your turn! Give this DIY cleaning method a try and share your experience with us. Did you find it effective? Did you try any variations? We’d love to hear your tips and tricks in the comments below. Let’s build a community of clean cutting board enthusiasts! Your feedback will not only help other readers but also inspire us to create more helpful and informative content. So, grab your lemon, salt, and wood cutting board, and let’s get cleaning!
Frequently Asked Questions (FAQ)
1. How often should I clean my wood cutting board using this method?
The frequency depends on how often you use your cutting board. For daily use, we recommend cleaning it with soap and water after each use and performing this deep cleaning method at least once a week. If you only use your cutting board occasionally, cleaning it every two weeks should suffice. However, if you’ve been cutting raw meat, poultry, or fish, it’s crucial to clean it immediately after use, regardless of your regular cleaning schedule.
2. Can I use other types of salt besides coarse salt?
While coarse salt is ideal for its abrasive texture, you can use other types of salt if that’s what you have on hand. Table salt will work, but it may not provide as much scrubbing power. Sea salt is another good option. Just be mindful of the grain size and adjust your scrubbing technique accordingly. Avoid using iodized salt, as it can sometimes leave a slight metallic taste.
3. What if I don’t have a lemon? Can I use something else?
Lemon is preferred for its acidity and pleasant scent, but you can substitute it with white vinegar or lime juice. White vinegar is a great alternative for its disinfecting properties and is particularly effective at removing strong odors, like garlic or onion. Lime juice offers a similar acidity and citrusy aroma to lemon.
4. Is it safe to use bleach on a wood cutting board?
While bleach is a powerful disinfectant, we generally advise against using it on wood cutting boards. Bleach can be absorbed into the wood, potentially leaching into your food later on. It can also damage the wood fibers, leading to cracking and warping. Our DIY cleaning method provides a safer and more natural alternative for disinfecting your cutting board. If you absolutely must use bleach, dilute it heavily with water (1 tablespoon of bleach per gallon of water) and rinse the board thoroughly afterwards. However, we still recommend sticking to natural cleaning methods whenever possible.
5. How do I properly dry my wood cutting board after cleaning?
Proper drying is crucial to prevent bacteria growth. After rinsing your cutting board, pat it dry with a clean towel. Then, stand it upright on its side to allow air to circulate around it. Avoid laying it flat on the counter, as this can trap moisture and create a breeding ground for bacteria. Ensure the board is completely dry before storing it.
6. How do I prevent my wood cutting board from cracking?
Cracking is a common issue with wood cutting boards, but it can be prevented with proper care. The key is to keep the wood hydrated. After cleaning and drying your board, apply a food-grade mineral oil or beeswax conditioner. This will help to seal the wood and prevent it from drying out and cracking. Apply the oil generously and let it soak in for several hours or overnight before wiping off any excess. Repeat this process regularly, especially after washing.
7. Can I put my wood cutting board in the dishwasher?
No, never put your wood cutting board in the dishwasher. The high heat and harsh detergents can severely damage the wood, causing it to crack, warp, and lose its natural oils. Always hand wash your wood cutting board with mild soap and water.
8. My wood cutting board has deep knife marks. Is it still safe to use?
Deep knife marks can harbor bacteria, even after cleaning. If your cutting board has significant knife marks, it’s time to resurface it. You can do this yourself with sandpaper or take it to a professional woodworker. Sanding down the surface will remove the knife marks and create a fresh, clean surface. After sanding, be sure to re-oil the board to protect it.
9. What type of wood is best for a cutting board?
Hardwoods like maple, cherry, and walnut are generally considered the best choices for cutting boards. These woods are durable, resistant to bacteria, and less likely to splinter. Avoid using softwoods like pine or cedar, as they are more porous and can absorb bacteria more easily. Bamboo is also a popular option, as it’s a sustainable and durable material.
10. How do I store my wood cutting board?
Store your wood cutting board in a dry, well-ventilated area. Avoid storing it in a damp cabinet or drawer, as this can promote bacteria growth. Stand the board upright on its side to allow air to circulate around it. You can also hang it on a hook or store it on a cutting board rack.

Leave a Comment