
DIY bathroom cleaner – those three little words can unlock a world of savings, eco-friendliness, and a sparkling clean bathroom, all without harsh chemicals! Let’s be honest, nobody *loves* cleaning the bathroom. It’s a chore we all dread, often reaching for those brightly colored bottles promising miraculous results. But what if I told you that the secret to a gleaming bathroom is probably already hiding in your pantry?
For generations, resourceful homemakers have relied on simple, natural ingredients to keep their homes clean. Think back to your grandmother’s cleaning rituals – vinegar, baking soda, maybe even a lemon or two. These weren’t just old wives’ tales; they were effective, sustainable solutions passed down through families. In a time when commercially produced cleaners were either unavailable or too expensive, these DIY methods were essential.
Today, we’re rediscovering the power of these time-tested techniques. Why? Because many of us are becoming increasingly aware of the potential health risks associated with the harsh chemicals found in conventional cleaners. Plus, let’s face it, those store-bought options can be expensive! This DIY bathroom cleaner guide will show you how to create powerful, effective cleaning solutions using ingredients you likely already have on hand. You’ll save money, reduce your exposure to harmful chemicals, and feel good about creating a healthier home for yourself and your family. So, ditch the harsh chemicals and let’s get started on making your bathroom sparkle, naturally!
DIY Bathroom Cleaner: Sparkling Clean Without the Harsh Chemicals!
Hey everyone! I’m so excited to share my go-to recipe for a DIY bathroom cleaner. I’ve been using this for years, and honestly, my bathroom has never looked better. Plus, I love knowing exactly what’s going into my cleaning products – no more mystery chemicals! This cleaner is effective, affordable, and smells amazing (you can customize the scent!). Let’s get started!
What You’ll Need: The Ingredients
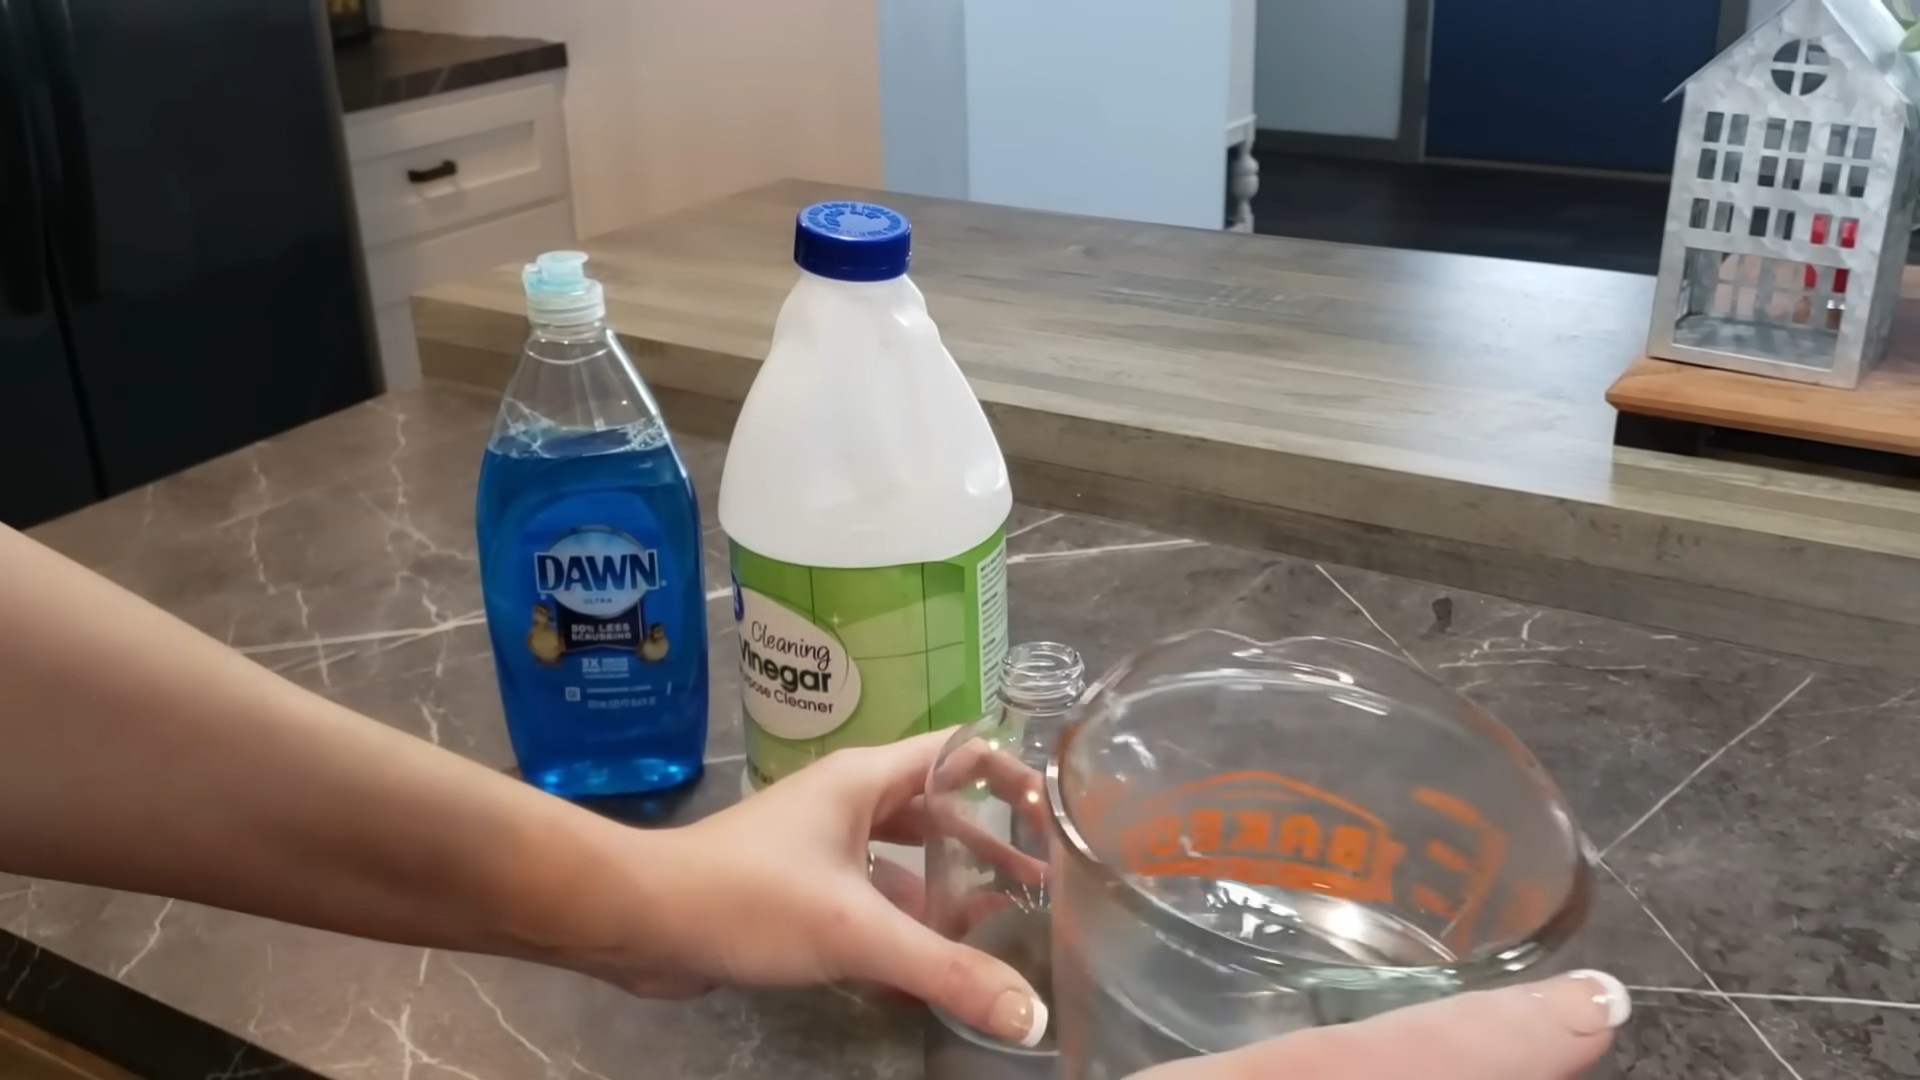
Before we dive in, let’s gather our supplies. This recipe is super simple, and you probably already have most of these ingredients in your pantry!
* **Spray Bottle:** An empty spray bottle is essential. I prefer a sturdy one that can handle a little wear and tear. Make sure it’s clean!
* **White Vinegar:** This is our powerhouse ingredient! Vinegar is a natural disinfectant and deodorizer.
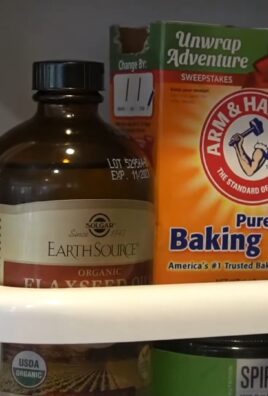
* **Baking Soda:** Baking soda is a mild abrasive that helps scrub away grime and soap scum.
* **Dish Soap:** Just a little bit of dish soap helps cut through grease and adds some extra cleaning power. I recommend using a natural dish soap if you’re concerned about harsh chemicals.
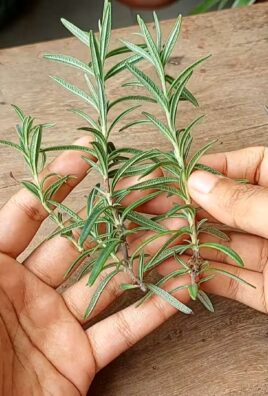
* **Essential Oils (Optional):** This is where you can get creative! I love using tea tree oil for its antibacterial properties, and lavender or lemon for a fresh scent.
* **Water:** Distilled water is best to avoid mineral buildup in your spray bottle, but tap water works just fine too.
* **Measuring Cups and Spoons:** For accurate measurements.
* **Funnel (Optional):** Makes pouring ingredients into the spray bottle much easier.
Step-by-Step Instructions: Mixing Your Magic Potion
Alright, let’s get down to business! Follow these steps carefully, and you’ll have a sparkling bathroom in no time.
1. **Prepare Your Spray Bottle:** Make sure your spray bottle is clean and dry. This will prevent any unwanted reactions or contamination.
2. **Add Baking Soda:** Pour 1/4 cup of baking soda into the spray bottle. A funnel can be really helpful here to avoid making a mess.
3. **Slowly Add Vinegar:** This is where things get a little fizzy! Slowly pour 1/2 cup of white vinegar into the spray bottle. The baking soda and vinegar will react, creating a bubbly mixture. Don’t worry, this is normal! Add the vinegar slowly to prevent it from overflowing.
4. **Add Dish Soap:** Add 1 teaspoon of dish soap to the mixture. Again, go for a natural option if you prefer.
5. **Add Essential Oils (Optional):** If you’re using essential oils, now’s the time to add them! I usually add about 10-15 drops of my favorite blend. Some great options include:
* Tea Tree Oil (antibacterial)
* Lavender Oil (relaxing and smells great)
* Lemon Oil (fresh and uplifting)
* Eucalyptus Oil (great for clearing sinuses)
* Peppermint Oil (invigorating)
6. **Top with Water:** Fill the rest of the spray bottle with water, leaving a little bit of space at the top.
7. **Shake Well:** Secure the spray nozzle and shake the bottle gently to combine all the ingredients.
Using Your DIY Bathroom Cleaner: Time to Shine!
Now that you’ve created your amazing bathroom cleaner, let’s put it to work!
1. **Spray the Surface:** Spray the cleaner liberally onto the surfaces you want to clean, such as your shower, tub, sink, toilet, and countertops.
2. **Let it Sit:** Allow the cleaner to sit for a few minutes (5-10 minutes is usually good) to allow the vinegar and baking soda to work their magic. This is especially important for tackling tough soap scum or mildew.
3. **Scrub (If Necessary):** For stubborn stains or buildup, use a scrub brush, sponge, or even an old toothbrush to scrub the surface. I find that a grout brush works wonders for cleaning tile grout.
4. **Rinse Thoroughly:** Rinse the cleaned surfaces thoroughly with water. Make sure to remove all traces of the cleaner.
5. **Wipe Dry:** Use a clean cloth or towel to wipe the surfaces dry. This will prevent water spots and leave your bathroom sparkling clean!
Tackling Specific Bathroom Areas: Pro Tips!
Here are some specific tips for using your DIY cleaner in different areas of your bathroom:
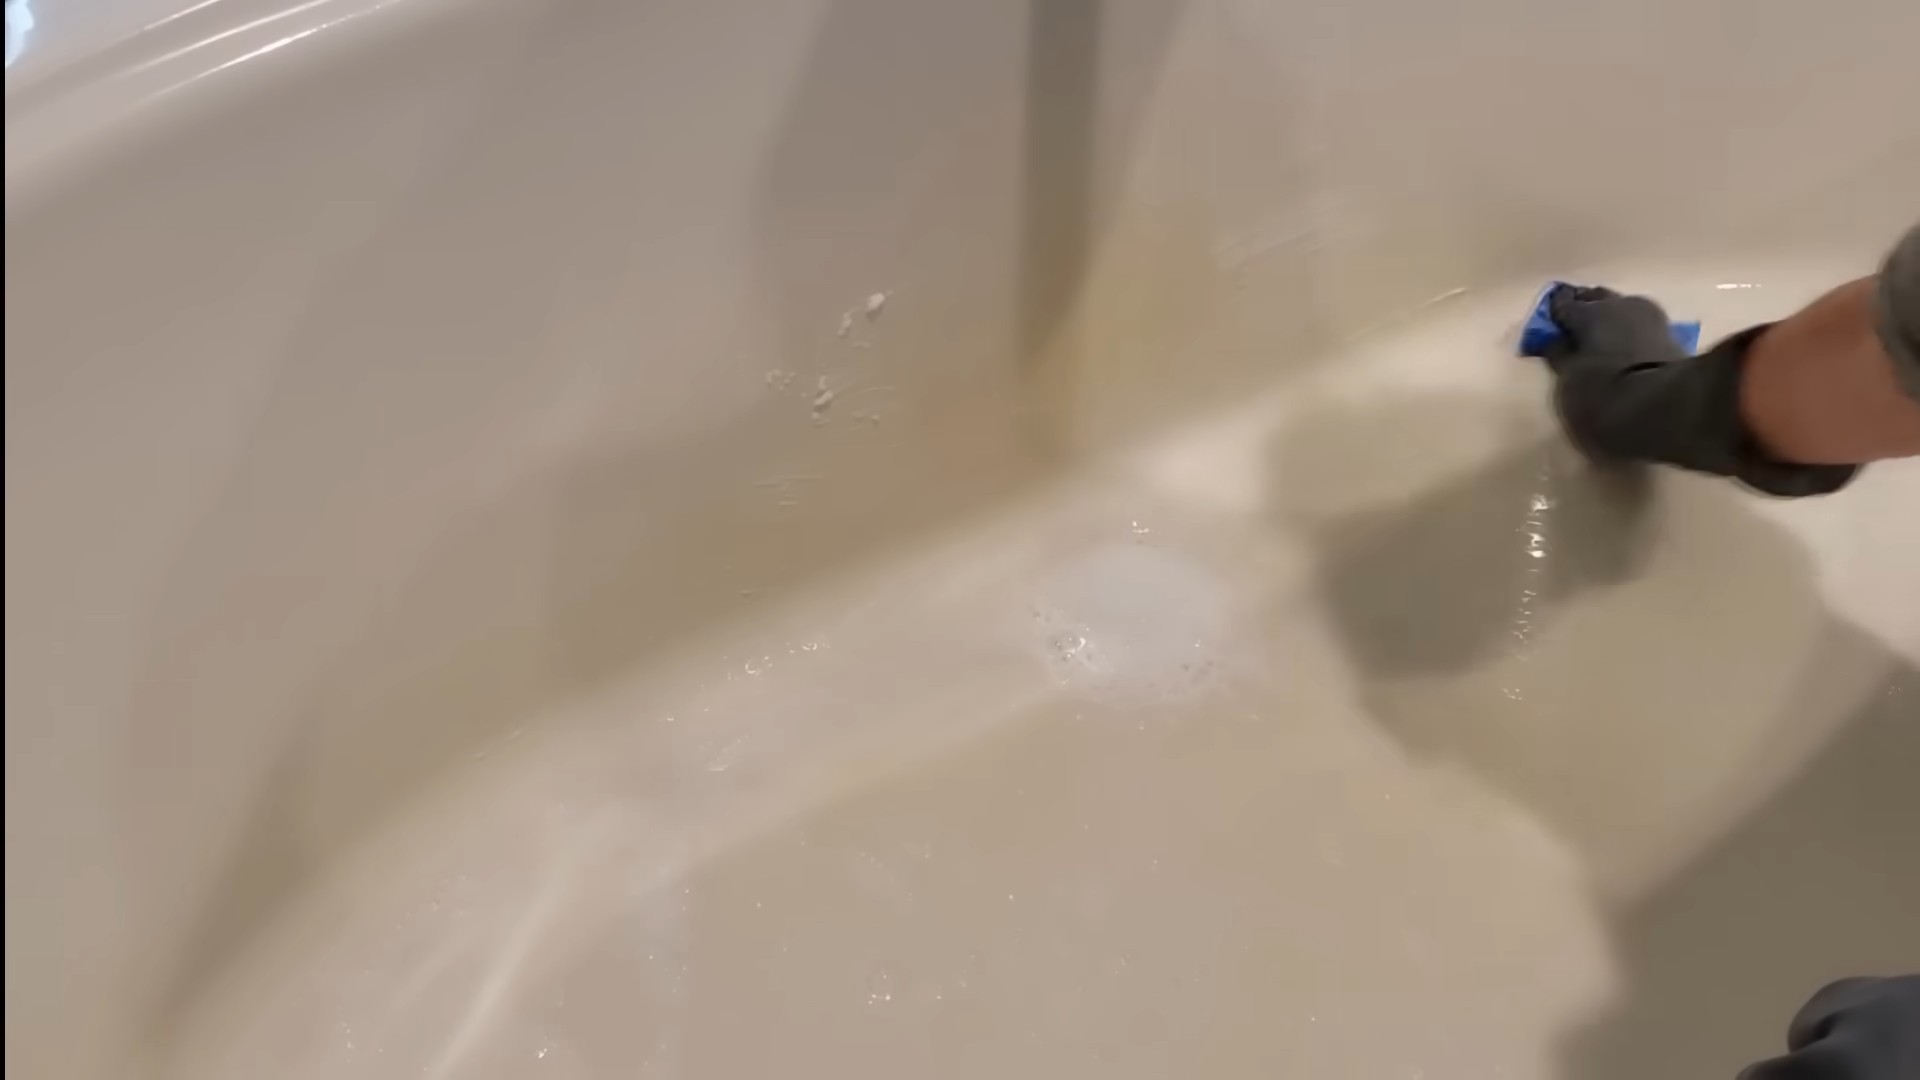
Shower and Tub
* **Soap Scum:** For heavy soap scum buildup, you might need to let the cleaner sit for a longer period of time (up to 30 minutes) before scrubbing.
* **Mildew:** If you have mildew, tea tree oil is your best friend! Spray the affected area thoroughly and let it sit for at least 15 minutes before scrubbing.
* **Shower Doors:** This cleaner works great on shower doors! Just spray, let it sit, scrub (if needed), rinse, and wipe dry.
Toilet
* **Toilet Bowl:** Spray the cleaner inside the toilet bowl and let it sit for a few minutes before scrubbing with a toilet brush.
* **Toilet Exterior:** Spray the cleaner on the exterior of the toilet and wipe clean with a cloth.
Sink and Countertops
* **Everyday Cleaning:** This cleaner is perfect for everyday cleaning of your sink and countertops. Just spray, wipe, and rinse.
* **Hard Water Stains:** If you have hard water stains, you might need to use a little extra vinegar. You can also try soaking a cloth in vinegar and placing it over the stain for a few minutes before scrubbing.
Mirrors
* **Streak-Free Shine:** For streak-free mirrors, spray the cleaner lightly onto the mirror and wipe clean with a microfiber cloth.
Customizing Your Cleaner: Make it Your Own!
The best part about making your own cleaner is that you can customize it to your liking! Here are some ideas:
* **Scent:** Experiment with different essential oil blends to find your favorite scent.
* **Strength:** If you find that the cleaner isn’t strong enough, you can increase the amount of vinegar.
* **Texture:** If you prefer a thicker cleaner, you can add a little bit of cornstarch to the mixture. Just be sure to shake it well before each use.
Important Considerations: Safety First!
While this DIY cleaner is generally safe, it’s important to keep a few things in mind:
* **Test in an Inconspicuous Area:** Before using the cleaner on a large surface, test it in a small, inconspicuous area to make sure it doesn’t damage the finish.
* **Don’t Mix with Bleach:** Never mix this cleaner with bleach, as it can create harmful fumes.
* **Keep Out of Reach of Children and Pets:** As with all cleaning products, keep this cleaner out of reach of children and pets.
* **Ventilation:** Ensure proper ventilation when using the cleaner, especially in enclosed spaces like the shower.
Troubleshooting: Common Issues and Solutions
Sometimes, things don’t go exactly as planned. Here are some common issues you might encounter and how to fix them:
* **Cleaner is Too Weak:** If the cleaner isn’t strong enough, try adding more vinegar or dish soap.
* **Cleaner Leaves a Residue:** If the cleaner leaves a residue, try rinsing the surface more thoroughly with water. You might also be using too much dish soap.
* **Spray Bottle Clogs:** If your spray bottle clogs, try rinsing it with warm water. You might also need to strain the cleaner through a cheesecloth to remove any undissolved baking soda.
* **Vinegar Smell is Too Strong:** If you don’t like the smell of vinegar, try adding more essential oils or using a scented vinegar.
Storage: Keeping Your Cleaner Fresh
Store your DIY bathroom cleaner in a cool, dark place. It should last for several months. Over time, the essential oils may lose their potency, but the cleaner will still be effective. I usually make a fresh batch every few months to ensure the best results.
Why I Love This DIY Cleaner: My Personal Experience
I’ve been using this DIY bathroom cleaner for years, and I absolutely love it! Not only is it effective and affordable, but it’s also much better for the environment than conventional cleaning products. I feel good knowing that I’m not exposing my family to harsh chemicals. Plus, I love the fresh, clean scent that it leaves behind. I highly recommend giving this recipe a try! You won’t be disappointed.
I hope you found this guide helpful! Happy cleaning!
Conclusion
So, there you have it! Ditching the harsh chemicals and embracing this simple, effective, and budget-friendly DIY bathroom cleaner is more than just a trend; it’s a smart choice for your health, your wallet, and the environment. We’ve walked you through the easy steps, highlighting how just a few common household ingredients can create a powerful cleaning solution that tackles grime, soap scum, and hard water stains with surprising efficiency.
But why is this DIY trick a must-try? Beyond the obvious benefits of cost savings and reduced exposure to harmful chemicals, this cleaner offers a level of control you simply don’t get with store-bought products. You know exactly what’s going into your cleaner, allowing you to tailor it to your specific needs and preferences. Are you particularly sensitive to strong scents? Reduce the amount of essential oil or opt for a milder fragrance like lavender or chamomile. Do you have stubborn hard water stains? Increase the proportion of vinegar in your solution. The possibilities are endless!
Speaking of variations, don’t be afraid to experiment! For a boost of disinfecting power, consider adding a few drops of tea tree oil, known for its antibacterial and antifungal properties. If you prefer a creamier consistency, a tablespoon of baking soda can be added to the spray bottle. Just be sure to add it slowly to avoid any fizzing over! Another great addition is a citrus infusion. Save your lemon, orange, or grapefruit peels and steep them in the vinegar for a week or two before making the cleaner. This will not only add a pleasant scent but also boost the cleaning power with the natural acids found in citrus fruits.
This DIY bathroom cleaner is not just about cleaning; it’s about creating a healthier and more sustainable home. It’s about taking control of the products you use and making informed choices that benefit you and the planet. It’s about simplifying your cleaning routine without sacrificing effectiveness.
We are confident that once you try this DIY bathroom cleaner, you’ll be amazed by the results. The satisfaction of creating your own effective cleaning solution, knowing exactly what’s in it, is truly rewarding. Plus, you’ll be contributing to a cleaner, greener planet, one sparkling bathroom at a time.
So, what are you waiting for? Gather your ingredients, follow the simple steps, and prepare to be amazed. We encourage you to try this DIY bathroom cleaner and share your experience with us! Let us know what variations you tried, what scents you loved, and how it worked for you. Share your before-and-after photos, your tips and tricks, and your overall thoughts. Your feedback is invaluable and helps us create even better DIY solutions for our community. Let’s ditch the harsh chemicals and embrace the power of natural cleaning, together! We can’t wait to hear your success stories!
Frequently Asked Questions (FAQs)
Is this DIY bathroom cleaner safe for all surfaces?
While this DIY bathroom cleaner is generally safe for most bathroom surfaces, it’s always a good idea to test it in an inconspicuous area first, especially on delicate surfaces like natural stone (marble, granite) or certain types of tile. The acidity of vinegar can etch or dull some surfaces over time. Avoid using it on surfaces that are known to be sensitive to acids. For natural stone, a milder solution of baking soda and water is generally recommended. Always check the manufacturer’s recommendations for your specific surfaces before using any cleaning product, DIY or store-bought.
How long will this DIY bathroom cleaner last?
This DIY bathroom cleaner typically lasts for several weeks when stored properly in a cool, dark place. The essential oils may degrade over time, so it’s best to use it within a month or two for optimal fragrance and effectiveness. Be sure to label the bottle with the date you made it so you can keep track of its freshness. If you notice any changes in color, smell, or consistency, it’s best to discard the cleaner and make a fresh batch.
Can I use a different type of vinegar?
Yes, you can use different types of vinegar, but white vinegar is generally recommended for cleaning due to its higher acidity and lack of color, which minimizes the risk of staining. Apple cider vinegar can also be used, but it may leave a slight residue and has a stronger odor. Balsamic vinegar is not recommended due to its dark color and sugar content.
What essential oils are best to use in this DIY bathroom cleaner?
The best essential oils to use in this DIY bathroom cleaner are those with antibacterial, antifungal, and antiviral properties, as well as pleasant scents. Popular choices include tea tree oil, eucalyptus oil, lavender oil, lemon oil, and peppermint oil. Tea tree oil is a powerful disinfectant, while eucalyptus oil helps to clear congestion. Lavender oil provides a calming scent, and lemon and peppermint oils offer a refreshing and invigorating aroma. You can also create your own custom blend of essential oils to suit your preferences.
Can I use this DIY bathroom cleaner on mold and mildew?
While this DIY bathroom cleaner can help to prevent mold and mildew growth, it may not be strong enough to remove existing mold and mildew stains. For stubborn mold and mildew, a stronger solution of hydrogen peroxide or bleach may be necessary. However, always exercise caution when using bleach and ensure proper ventilation. For a more natural approach to mold removal, try a paste of baking soda and water, or a solution of tea tree oil and water.
Is this DIY bathroom cleaner safe to use around children and pets?
While this DIY bathroom cleaner is generally safer than commercial cleaners, it’s still important to exercise caution when using it around children and pets. Keep the cleaner out of reach of children and pets, and avoid spraying it directly on them. If your pet ingests the cleaner, contact your veterinarian immediately. Essential oils can also be toxic to pets, so be sure to research the safety of specific essential oils before using them in your cleaner.
How do I clean a shower with this DIY bathroom cleaner?
To clean a shower with this DIY bathroom cleaner, simply spray the cleaner onto all surfaces, including the walls, floor, and shower door. Let it sit for a few minutes to allow the cleaner to penetrate the grime and soap scum. Then, scrub the surfaces with a sponge or brush, paying particular attention to areas with stubborn stains. Rinse thoroughly with water. For best results, use a squeegee to remove excess water and prevent water spots.
Can I use this DIY bathroom cleaner to clean my toilet?
Yes, you can use this DIY bathroom cleaner to clean your toilet. Spray the cleaner inside the bowl and around the rim. Let it sit for a few minutes, then scrub with a toilet brush. Flush the toilet to rinse. For stubborn stains, you can sprinkle baking soda into the bowl before spraying with the cleaner.
What if I don’t have essential oils? Can I still make this cleaner?
Yes, you can still make this cleaner without essential oils. The vinegar and water mixture is still effective at cleaning and disinfecting. The essential oils primarily add fragrance and some additional antibacterial properties, but they are not essential for the cleaner to work. You can also add a few drops of lemon juice for a fresh scent.
How often should I use this DIY bathroom cleaner?
The frequency of cleaning depends on how often your bathroom is used and how quickly it gets dirty. A general guideline is to clean your bathroom at least once a week. However, you may need to clean more frequently if you have a large family or if your bathroom is prone to mold and mildew growth. Regular cleaning with this DIY bathroom cleaner will help to prevent the buildup of grime and soap scum, making it easier to maintain a clean and healthy bathroom.
Leave a Comment