
DIY grime removal paste – sounds like something your grandma used, right? Well, maybe! But trust me, this isn’t your average cleaning concoction. For generations, resourceful folks have been whipping up homemade solutions to tackle tough messes, long before fancy store-bought cleaners lined the shelves. Think about it: our ancestors relied on simple, readily available ingredients to keep their homes sparkling. This tradition of resourcefulness is something I truly admire, and it’s what inspired me to share this incredible DIY grime removal paste recipe with you.
Let’s face it, life gets messy! Whether it’s stubborn grease in the kitchen, scuff marks on your walls, or just general grime buildup, we all encounter those cleaning challenges that seem impossible to conquer. You could spend a fortune on specialized cleaners, but why would you when you can create a powerful and effective DIY grime removal paste with ingredients you probably already have in your pantry? This isn’t just about saving money; it’s about knowing exactly what’s going into your cleaning products and creating a safer, healthier home for you and your family. So, ditch the harsh chemicals and get ready to unleash the cleaning power of this simple, yet amazing, DIY solution!
DIY Grime-Busting Paste: Say Goodbye to Stubborn Dirt!
Okay, friends, let’s talk grime. That sticky, stubborn layer of dirt, grease, and who-knows-what that clings to everything from your stovetop to your shower tiles. Store-bought cleaners can be harsh and expensive, so I’m going to share my secret weapon: a homemade grime-busting paste that’s both effective and gentle on your wallet (and the environment!).
This paste is seriously versatile. I use it on everything from baked-on food splatters in my oven to scuff marks on my walls. It’s even great for cleaning grout! The best part? You probably already have all the ingredients in your pantry.
What You’ll Need: The Grime-Fighting Arsenal
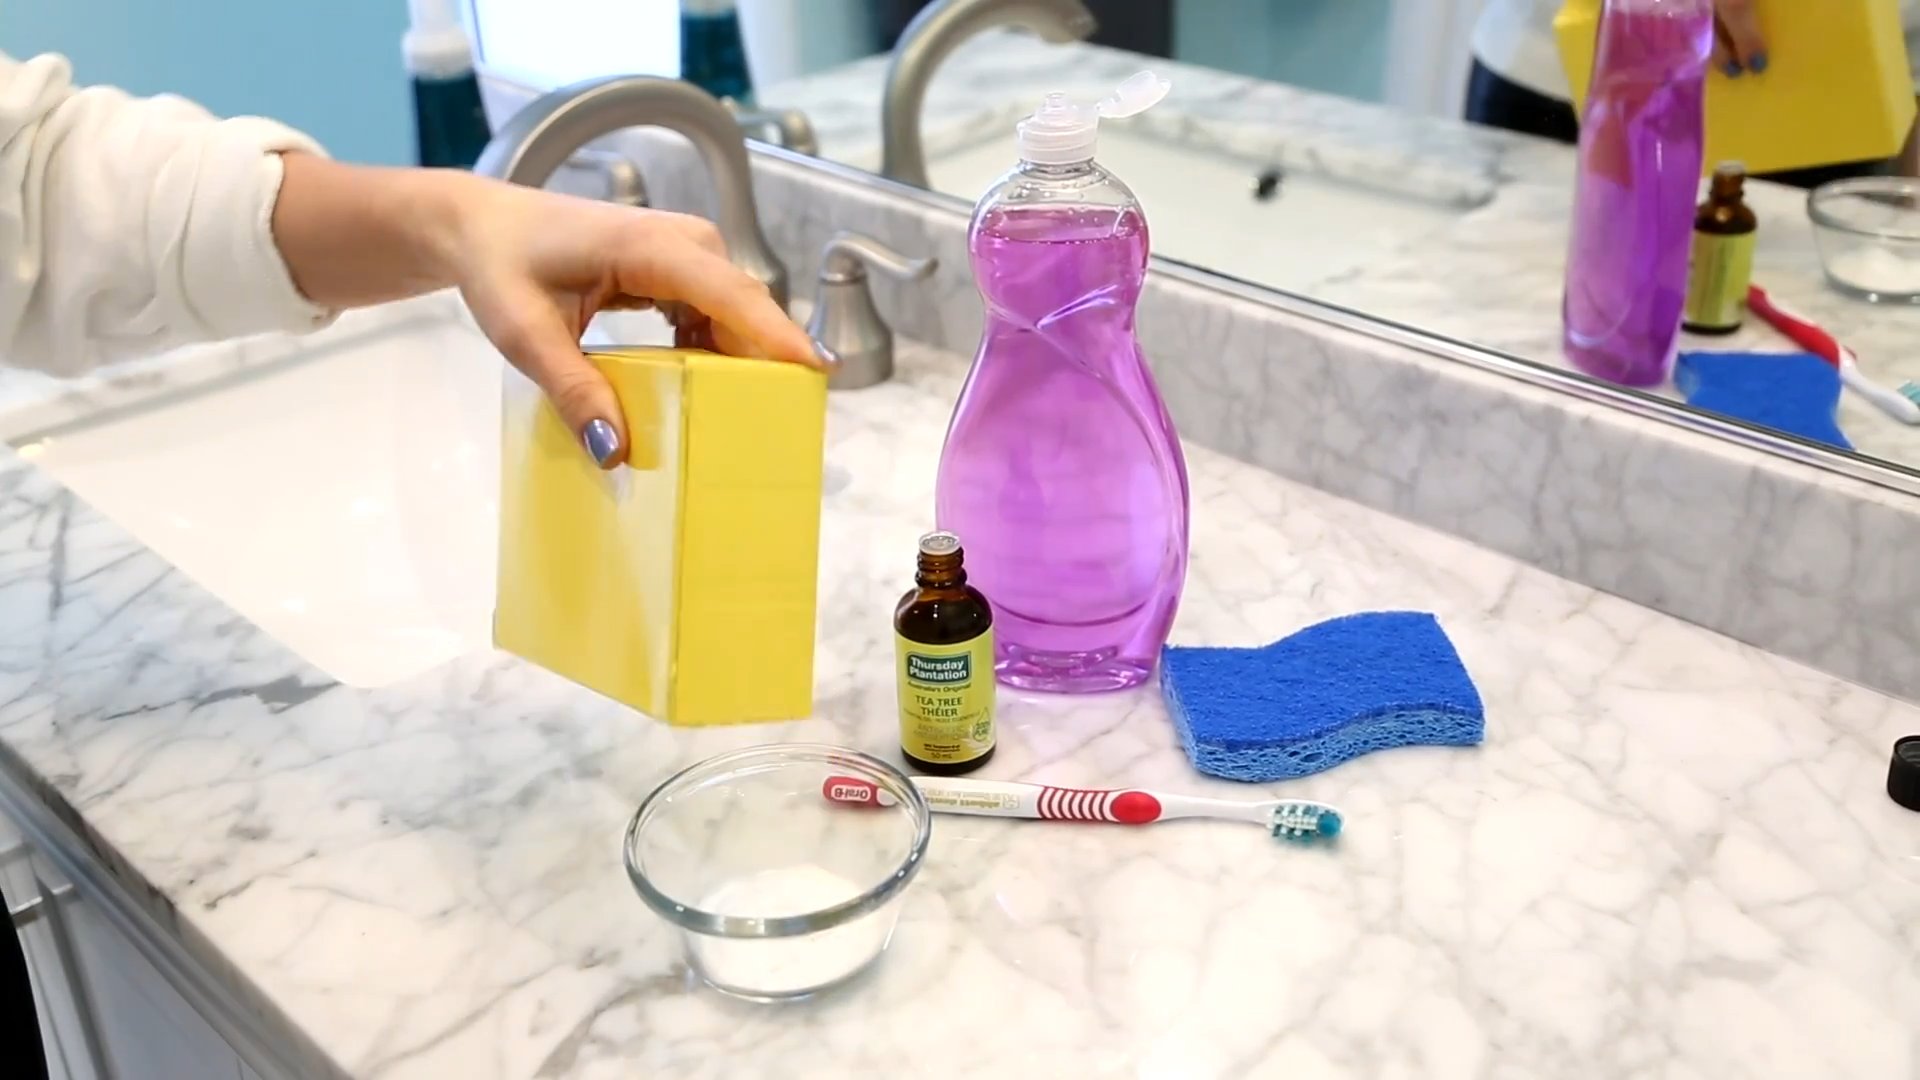
Before we dive in, let’s gather our supplies. Here’s what you’ll need to create this miracle paste:
* Baking Soda: The star of the show! Baking soda is a mild abrasive that gently scrubs away grime without scratching surfaces.
* Dish Soap: A degreasing powerhouse. Choose a dish soap that cuts through grease effectively. I prefer a natural, unscented option, but any dish soap will work.
* Water: To bring it all together and create the perfect paste consistency.
* Essential Oil (Optional): For a fresh, clean scent. Lemon, tea tree, or lavender are all great choices.
* Mixing Bowl: To combine the ingredients.
* Spoon or Spatula: For mixing.
* Airtight Container: To store your grime-busting paste. A small jar or plastic container works perfectly.
* Cleaning Cloths or Sponges: For applying and wiping away the paste.
* Old Toothbrush (Optional): For scrubbing hard-to-reach areas like grout.
* Gloves (Optional): If you have sensitive skin, gloves are always a good idea.
Mixing the Magic: Step-by-Step Instructions
Now for the fun part! Let’s get mixing.
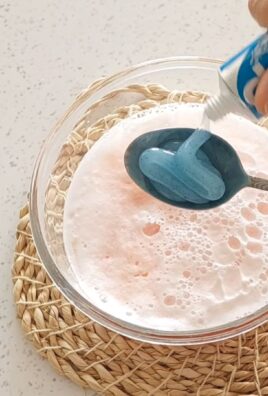
1. Combine the Baking Soda and Dish Soap: In your mixing bowl, add 1 cup of baking soda. Then, slowly pour in about 1/4 cup of dish soap. I like to add the dish soap gradually to avoid making the mixture too runny.
2. Mix, Mix, Mix!: Using your spoon or spatula, gently mix the baking soda and dish soap together. You’ll notice it starts to form a thick paste. Keep mixing until the ingredients are well combined and there are no lumps of baking soda.
3. Add Water (If Needed): If your paste is too thick, add a teaspoon of water at a time until you reach your desired consistency. You want it to be thick enough to cling to surfaces but still spreadable. I usually end up adding about 1-2 teaspoons of water.
4. Scent It Up (Optional): If you’re using essential oils, now’s the time to add them! I usually add about 5-10 drops of my favorite essential oil. Lemon is my go-to for its fresh, clean scent and degreasing properties.
5. Give It One Last Mix: Give the paste one final mix to ensure all the ingredients are evenly distributed.
6. Transfer to Storage Container: Carefully transfer your grime-busting paste to your airtight container. Make sure to seal it tightly to prevent it from drying out.
Putting It to the Test: Cleaning with Your DIY Paste
Alright, the paste is ready! Now let’s put it to work. Here’s how I use my grime-busting paste to tackle various cleaning challenges:
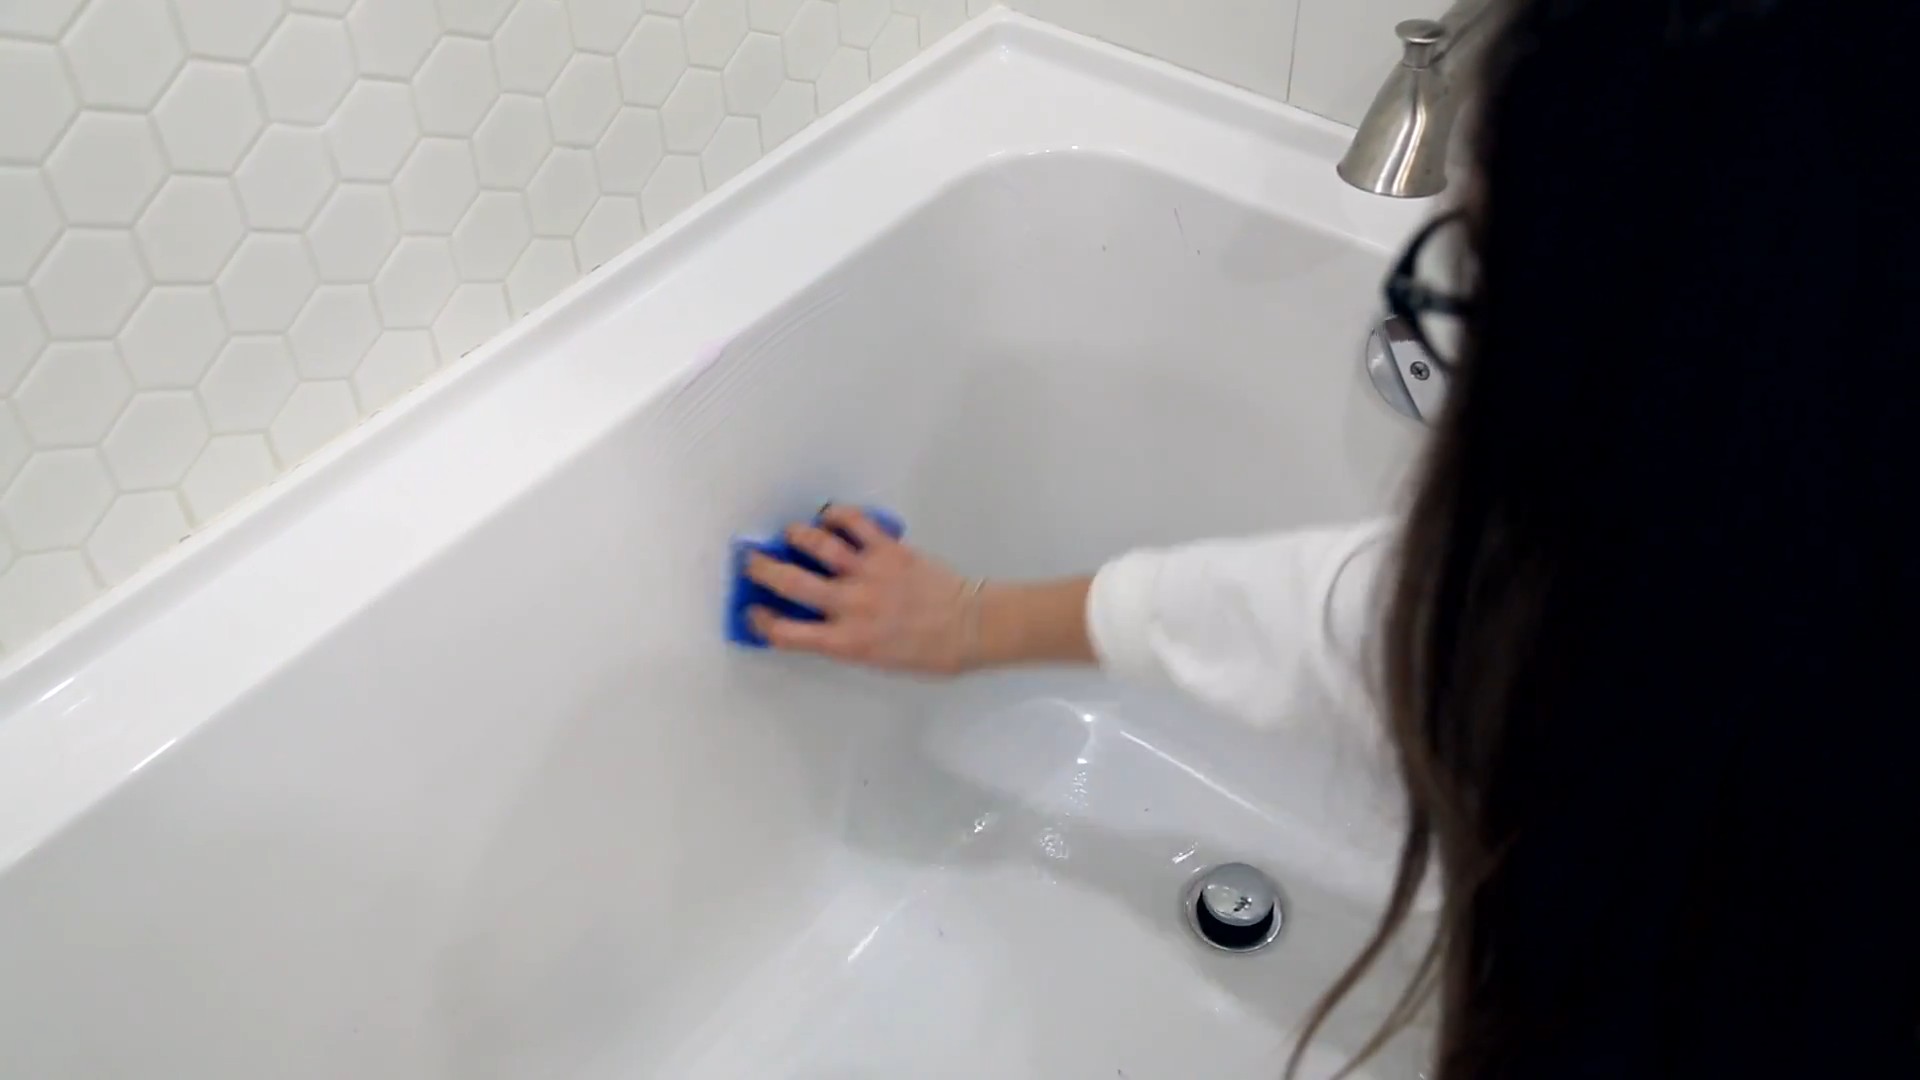
1. Apply the Paste: Using a clean cloth or sponge, apply a generous amount of the paste to the grimy surface. For tough stains, I like to let the paste sit for a few minutes to allow it to penetrate the grime.
2. Scrub-a-dub-dub: Gently scrub the surface with your cloth or sponge. For stubborn areas, use an old toothbrush to get into those hard-to-reach nooks and crannies. Remember, baking soda is a mild abrasive, so you don’t need to scrub too hard.
3. Rinse and Wipe: Once you’ve scrubbed away the grime, rinse the surface with clean water. Then, wipe it dry with a clean cloth.
4. Admire Your Sparkling Clean Surface!: Step back and admire your handiwork! You’ll be amazed at how easily this simple paste removes even the toughest grime.
Specific Cleaning Applications: Where to Use Your Grime-Busting Paste
This paste is incredibly versatile, but here are some of my favorite ways to use it:
Cleaning the Oven: Baked-On Food Be Gone!
My oven is a magnet for splatters and spills, and baked-on food can be a real pain to remove. Here’s how I use the grime-busting paste to clean my oven:
1. Prep the Oven: Make sure your oven is cool. Remove any loose debris or crumbs.
2. Apply the Paste: Apply a thick layer of the paste to the interior of the oven, focusing on areas with baked-on food.
3. Let It Sit: Let the paste sit for at least 30 minutes, or even overnight for really stubborn messes.
4. Scrub and Wipe: Using a damp sponge or cloth, scrub the oven interior. You may need to use a little elbow grease for those really tough spots.
5. Rinse Thoroughly: Rinse the oven thoroughly with clean water to remove all traces of the paste.
6. Dry It Off: Wipe the oven dry with a clean cloth.
Tackling Grout: Brighten Up Those Lines!
Dirty grout can make your entire bathroom or kitchen look dingy. This paste is a fantastic grout cleaner:
1. Apply the Paste: Apply the paste directly to the grout lines.
2. Scrub with a Toothbrush: Use an old toothbrush to scrub the grout lines. The bristles will help to loosen the dirt and grime.
3. Rinse and Wipe: Rinse the grout lines with clean water and wipe away any excess paste.
Removing Scuff Marks: Walls Like New!
Scuff marks on walls are inevitable, especially if you have kids or pets. This paste can help you remove them without damaging the paint:
1. Apply the Paste: Apply a small amount of the paste to a clean, damp cloth.
2. Gently Rub: Gently rub the scuff mark in a circular motion. Be careful not to rub too hard, as you could damage the paint.
3. Wipe Clean: Wipe the area with a clean, damp cloth to remove any residue.
Cleaning Stovetops: Grease and Grime No More!
Stovetops can quickly become covered in grease and food splatters. This paste is perfect for cleaning them:
1. Apply the Paste: Apply the paste to the stovetop, focusing on areas with grease and grime.
2. Let It Sit: Let the paste sit for a few minutes to loosen the grime.
3. Scrub and Wipe: Scrub the stovetop with a sponge or cloth.
4. Rinse and Dry: Rinse the stovetop with clean water and dry it with a clean cloth.
Important Considerations: A Few Words of Caution
While this grime-busting paste is generally safe and effective, here are a few things to keep in mind:
* Test in an Inconspicuous Area: Before using the paste on a large or delicate surface, test it in a small, inconspicuous area to make sure it doesn’t damage the material.
* Avoid Abrasive Surfaces: While baking soda is a mild abrasive, it can still scratch delicate surfaces like polished marble or stainless steel. Use caution when cleaning these materials.
* Don’t Mix with Other Cleaners: Never mix this paste with other cleaning products, especially bleach. Mixing cleaning products can create dangerous fumes.
* Store Properly: Store the paste in an airtight container in a cool, dry place. It should last for several months.
* Keep Out of Reach of Children and Pets: As with all cleaning products, keep this paste out of reach of children and pets.
Troubleshooting: What to Do If Things Go Wrong
Sometimes, even with the best intentions, things don’t go exactly as planned. Here are a few common issues and how to fix them:
* Paste is Too Runny: If your paste is too runny, add a little more baking soda until it reaches the desired consistency.
* Paste is Too Thick: If your paste is too thick, add a teaspoon of water at a time until it becomes more spreadable.
* Paste is Not Removing Grime: If the paste isn’t removing grime effectively, try letting it sit on the
Conclusion
So, there you have it! This DIY grime removal paste isn’t just another cleaning hack; it’s a game-changer for tackling stubborn dirt and grime throughout your home. We’ve all been there, staring down a grimy stovetop, a stained bathtub, or grout lines that have seen better days. Commercial cleaners often promise the world but fall short, leaving you with lingering residue and a hefty price tag. This homemade solution, however, delivers powerful cleaning action using ingredients you likely already have in your pantry.
Why is this DIY grime removal paste a must-try? Firstly, it’s incredibly effective. The combination of baking soda’s gentle abrasive power, dish soap’s degreasing properties, and the optional boost from essential oils creates a synergistic effect that lifts grime without harsh chemicals. Secondly, it’s cost-effective. Forget spending a fortune on specialized cleaners; this recipe utilizes affordable ingredients, saving you money in the long run. Thirdly, it’s environmentally friendly. By making your own cleaning products, you reduce your reliance on plastic packaging and potentially harmful chemicals that can pollute our waterways. Finally, it’s customizable. You can adjust the consistency and add essential oils to create a paste that perfectly suits your needs and preferences.
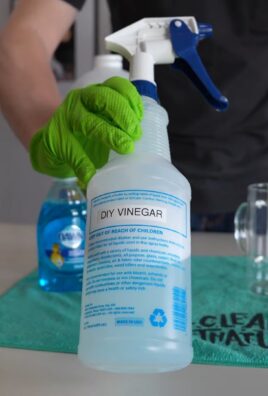
Looking for variations? Consider adding a tablespoon of white vinegar for extra cleaning power, especially on hard water stains. For a pleasant scent, try incorporating a few drops of lemon, lavender, or tea tree essential oil. If you’re dealing with particularly stubborn grime, let the paste sit for a longer period before scrubbing. Remember to always test the paste on an inconspicuous area first, especially on delicate surfaces. You can also experiment with different ratios of ingredients to find the perfect balance for your specific cleaning challenges. For example, if you’re cleaning a heavily soiled area, you might want to increase the amount of baking soda for extra scrubbing power. Conversely, if you’re cleaning a more delicate surface, you might want to reduce the amount of baking soda and increase the amount of dish soap.
We’re confident that this DIY grime removal paste will become your go-to solution for tackling tough cleaning tasks. It’s simple to make, effective, and environmentally conscious. But don’t just take our word for it – try it yourself! We encourage you to experiment with the recipe, adapt it to your specific needs, and share your experiences with us. Let us know what surfaces you’ve cleaned, what variations you’ve tried, and what results you’ve achieved. Your feedback will help us refine the recipe and provide even better cleaning solutions for our community. Share your before-and-after photos on social media using #DIYGrimeRemoval and inspire others to ditch the harsh chemicals and embrace the power of homemade cleaning. We can’t wait to see your sparkling clean results! This DIY grime removal paste is a simple, effective, and eco-friendly way to keep your home clean and fresh.
Frequently Asked Questions (FAQ)
What types of grime is this DIY grime removal paste effective against?
This paste is effective against a wide range of grime, including:
* Baked-on food residue on stovetops and ovens
* Soap scum and hard water stains in bathrooms
* Grime and dirt on tile and grout
* Grease and oil stains in kitchens and garages
* Mildew and mold stains (in conjunction with proper ventilation and other mold-killing methods)
* General dirt and grime on various surfaces
However, it’s important to note that the effectiveness may vary depending on the severity and type of grime. For extremely stubborn stains, multiple applications or a longer soaking time may be necessary.
Can I use this paste on all surfaces?
No, it’s crucial to test the paste on an inconspicuous area before applying it to the entire surface. While the ingredients are generally gentle, some surfaces may be more sensitive than others. Avoid using this paste on:
* Delicate or polished surfaces (e.g., marble, granite) without testing first. The baking soda can scratch these surfaces.
* Painted surfaces, especially if the paint is old or chipping. The paste may lift or damage the paint.
* Certain types of plastic, as it may cause discoloration.
* Electronics or electrical appliances.
Always err on the side of caution and test before applying liberally.
How long should I let the paste sit on the surface before scrubbing?
The ideal soaking time depends on the severity of the grime. For light grime, a few minutes may be sufficient. For more stubborn grime, let the paste sit for 15-30 minutes, or even longer. You can even let it sit overnight for extremely difficult stains, but be sure to keep the area moist by covering it with plastic wrap.
What kind of scrubbing tool should I use?
The best scrubbing tool depends on the surface you’re cleaning. For delicate surfaces, use a soft cloth or sponge. For tougher surfaces, use a scrub brush or scouring pad. An old toothbrush is great for cleaning grout lines. Avoid using abrasive scrubbers on surfaces that are easily scratched.
Can I add essential oils to the paste? What are the benefits?
Yes, adding essential oils is a great way to customize the paste and add a pleasant scent. Some essential oils also have antibacterial and antifungal properties. Good options include:
* Lemon: Degreasing and disinfecting
* Lavender: Calming and antibacterial
* Tea tree: Antifungal and antibacterial
* Eucalyptus: Deodorizing and disinfecting
* Peppermint: Refreshing and invigorating
Add a few drops of your favorite essential oil to the paste and mix well.
How should I store the leftover paste?
Store the leftover paste in an airtight container in a cool, dry place. It should last for several weeks. If the paste dries out, simply add a little water to restore its consistency.
Is this paste safe for septic systems?
Yes, the ingredients in this paste are generally considered safe for septic systems. Baking soda is a natural deodorizer and pH regulator, and dish soap is biodegradable. However, it’s always a good idea to use cleaning products sparingly to avoid overloading your septic system.
Can I use this paste to clean my oven?
Yes, this paste is effective for cleaning ovens. Apply the paste to the interior of the oven, avoiding the heating elements. Let it sit for several hours or overnight, then scrub and wipe clean. For baked-on food residue, you may need to use a scraper.
Is this DIY grime removal paste safe for children and pets?
While the ingredients are generally considered safe, it’s important to keep the paste out of reach of children and pets. Avoid ingestion and contact with eyes. If contact occurs, rinse thoroughly with water. As with any cleaning product, it’s best to supervise children and pets during cleaning.
What if the grime is still there after using the paste?
For extremely stubborn grime, you may need to repeat the application process. You can also try using a stronger scrubbing tool or letting the paste sit for a longer period. In some cases, you may need to resort to a commercial cleaner, but this DIY grime removal paste should be your first line of defense.
Leave a Comment