
Dollar Tree rack uses are about to revolutionize your home gardening game! Are you tired of cluttered countertops and overflowing seed packets? Do you dream of a beautifully organized and thriving indoor garden without breaking the bank? Well, you’re in the right place! For centuries, humans have cultivated plants indoors, from the hanging gardens of Babylon to the Victorian-era conservatories. But let’s face it, modern living often means limited space and a tight budget.
That’s where the magic of Dollar Tree comes in. I’m going to show you how to transform simple, inexpensive racks from Dollar Tree into ingenious solutions for seed starting, vertical gardening, and general plant organization. These aren’t just hacks; they’re game-changers that will save you space, money, and a whole lot of frustration. Imagine having a dedicated space for your seedlings to flourish, or a stunning vertical herb garden adorning your kitchen wall, all thanks to clever Dollar Tree rack uses.
This DIY guide is perfect for anyone who wants to maximize their gardening potential without emptying their wallet. Whether you’re a seasoned green thumb or just starting out, these simple and effective tricks will help you create the indoor garden of your dreams. So, grab your keys, head to Dollar Tree, and let’s get started!
Transform a Dollar Tree Dish Rack into a Stylish Entryway Organizer
Hey there, fellow DIY enthusiasts! Are you tired of the clutter near your entryway? Keys, mail, sunglasses – they all seem to pile up in a chaotic mess, right? Well, I have a super simple and budget-friendly solution for you: turning a basic Dollar Tree dish rack into a chic and functional entryway organizer! Trust me, this project is so easy, even if you’re a complete beginner, you can totally nail it. Plus, it’s a fantastic way to upcycle something ordinary into something extraordinary. Let’s get started!
Materials You’ll Need
Before we dive in, let’s gather our supplies. The best part? Most of these you probably already have lying around!
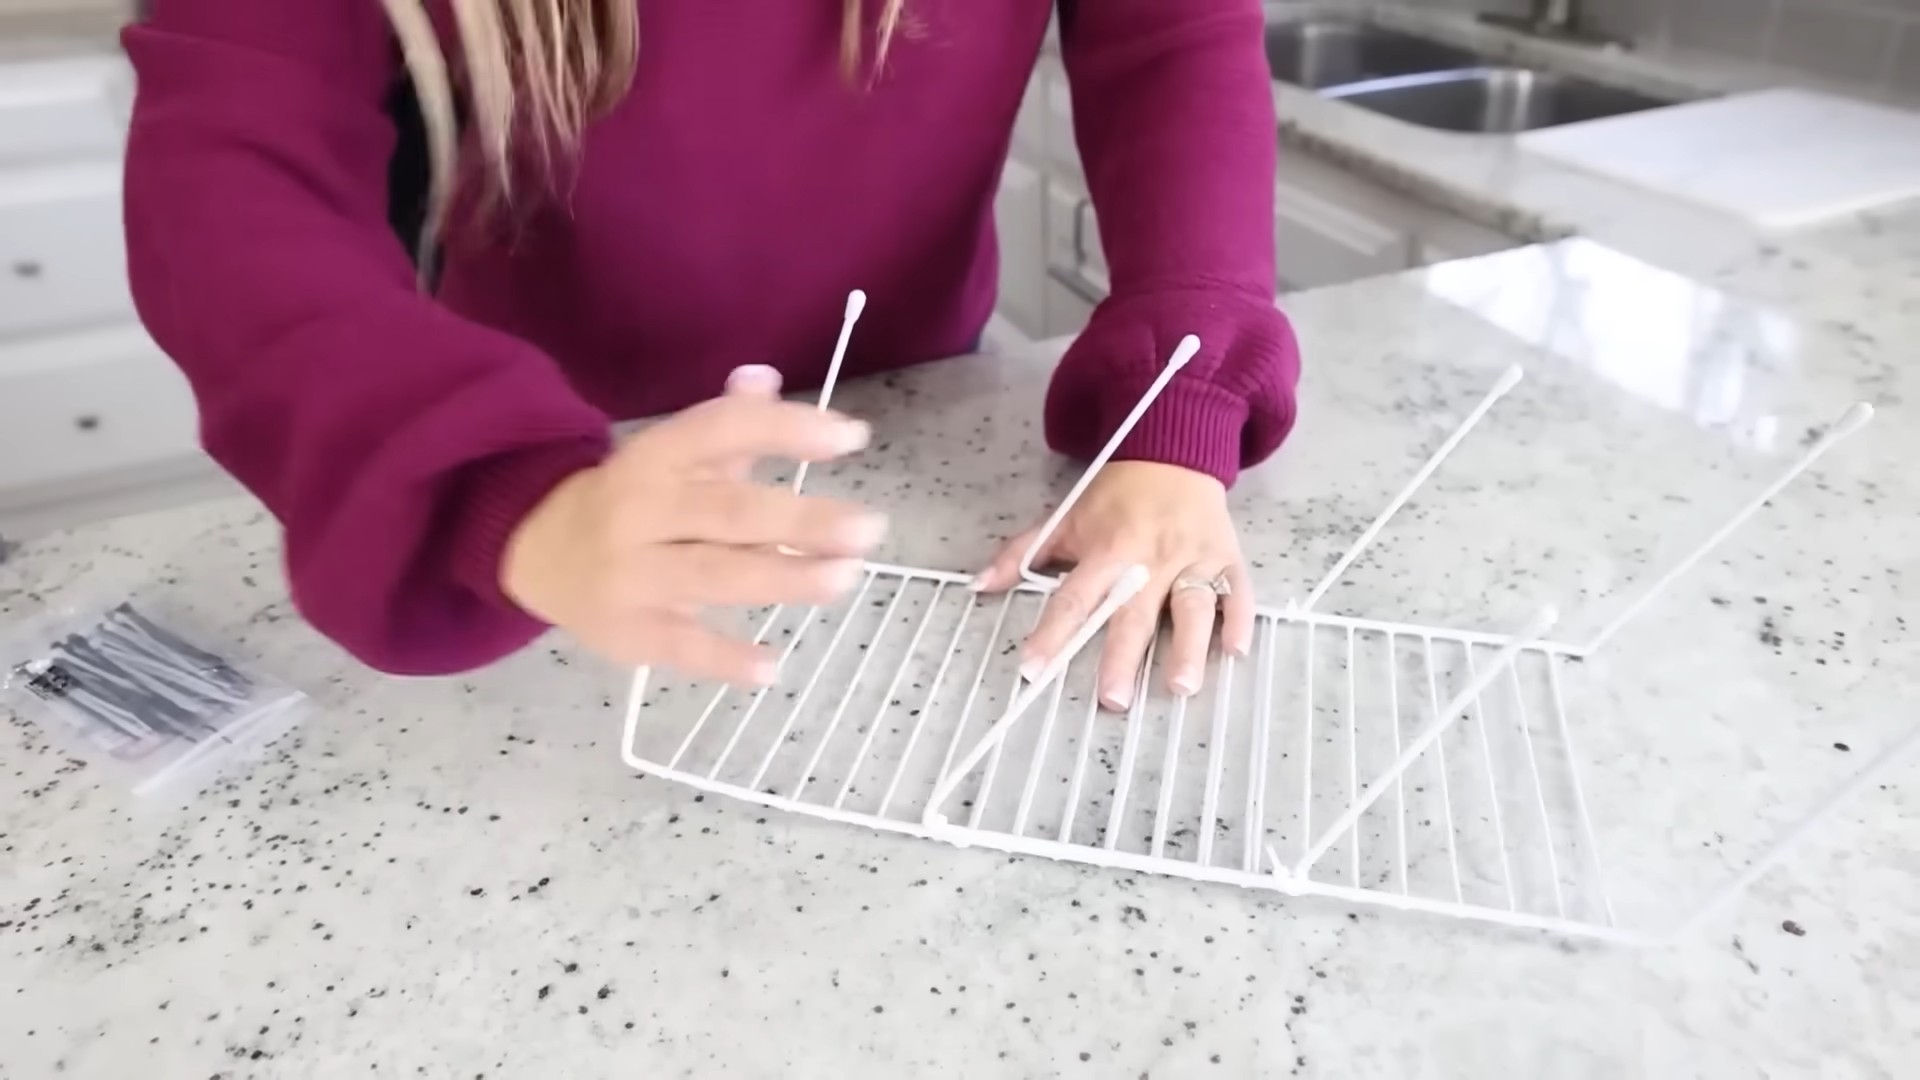
* **Dollar Tree Dish Rack:** Obviously, you’ll need at least one. I recommend getting two if you have a lot of stuff to organize or a larger entryway.
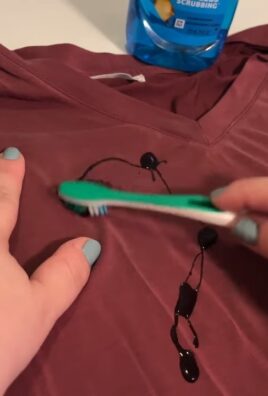
* **Spray Paint:** Choose a color that complements your existing decor. I went with a matte black for a modern look, but feel free to get creative!
* **Sandpaper (Medium Grit):** This will help the paint adhere better to the rack.
* **Painter’s Tape:** For masking off areas you don’t want to paint.
* **Drop Cloth or Newspaper:** To protect your work surface.
* **Hooks (Optional):** Small adhesive hooks or S-hooks can be added for hanging keys, dog leashes, or small bags.
* **Small Baskets or Containers (Optional):** These are great for holding mail, sunglasses, or other small items.
* **Drill (Optional):** If you want to mount the rack to the wall more securely.
* **Screws and Anchors (Optional):** For wall mounting.
Preparing the Dish Rack
This step is crucial for ensuring a smooth and long-lasting paint job. Don’t skip it!
1. **Clean the Dish Rack:** Use soap and water to thoroughly clean the dish rack. Remove any dust, dirt, or grease. This will help the paint adhere properly. Let it dry completely.
2. **Lightly Sand the Surface:** Using your medium-grit sandpaper, lightly sand the entire surface of the dish rack. You don’t need to remove all the original finish, just rough it up a bit. This creates a better surface for the paint to grip onto.
3. **Wipe Away Dust:** After sanding, use a damp cloth to wipe away any sanding dust. Make sure the rack is completely clean and dry before moving on to the next step.
4. **Mask Off Areas (Optional):** If you want to create a two-toned look or leave some areas unpainted, use painter’s tape to carefully mask off those sections. Press the tape down firmly to prevent paint from bleeding underneath.
Painting the Dish Rack
Now for the fun part! This is where you can really personalize your organizer.
1. **Set Up Your Work Area:** Place your drop cloth or newspaper in a well-ventilated area. This will protect your surroundings from overspray.
2. **Apply the First Coat of Paint:** Hold the spray paint can about 8-10 inches away from the dish rack and apply a light, even coat of paint. Avoid spraying too much paint in one area, as this can cause drips and runs.
3. **Let the First Coat Dry:** Allow the first coat of paint to dry completely according to the manufacturer’s instructions on the spray paint can. This usually takes about 30 minutes to an hour.
4. **Apply a Second Coat of Paint:** Once the first coat is dry, apply a second light, even coat of paint. This will ensure full coverage and a more durable finish.
5. **Let the Second Coat Dry Completely:** Again, allow the second coat of paint to dry completely. Patience is key!
6. **Remove Painter’s Tape (If Used):** If you used painter’s tape, carefully remove it while the paint is still slightly tacky. This will help prevent the paint from chipping.
Adding Hooks and Baskets (Optional)
This is where you can customize your organizer to perfectly suit your needs.
1. **Attach Hooks:** If you’re using adhesive hooks, simply peel off the backing and stick them to the desired locations on the dish rack. Make sure the surface is clean and dry before applying the hooks. If you’re using S-hooks, simply hang them over the bars of the dish rack.
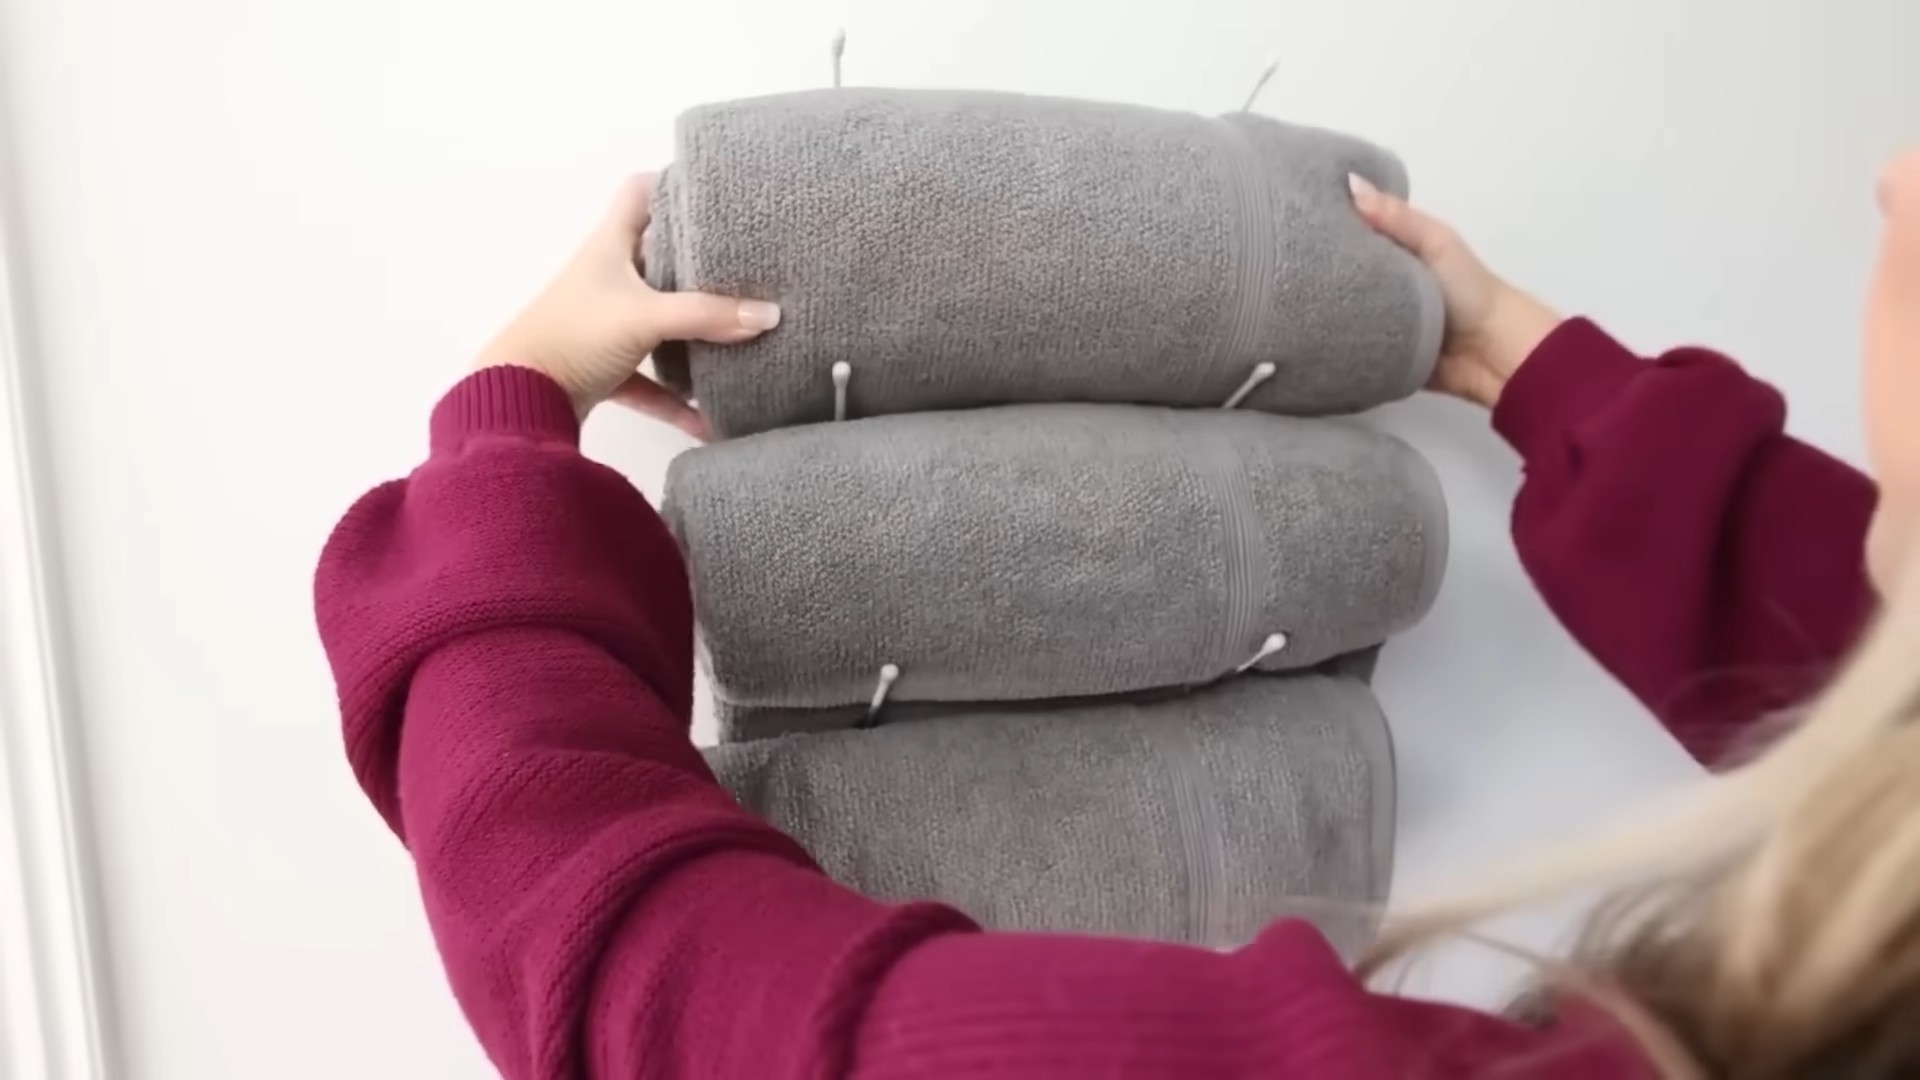
2. **Place Baskets or Containers:** Arrange your baskets or containers on the shelves of the dish rack. Experiment with different placements to find what works best for you.
Mounting the Organizer (Optional)
If you want to mount your organizer to the wall for added stability, follow these steps.
1. **Determine Placement:** Decide where you want to mount the organizer on the wall. Use a level to ensure it’s straight.
2. **Mark Screw Locations:** Use a pencil to mark the locations for the screws on the wall.
3. **Drill Pilot Holes:** If you’re drilling into drywall, use a drill to create pilot holes at the marked locations. This will make it easier to insert the screws.
4. **Insert Anchors:** If you’re drilling into drywall, insert wall anchors into the pilot holes. This will provide extra support for the screws.
5. **Attach the Organizer:** Align the dish rack with the screw locations and use screws to attach it to the wall. Make sure the screws are long enough to go through the dish rack and into the wall anchors.
Styling Your Entryway Organizer
Now for the final touch – making it look pretty!
1. **Add Your Essentials:** Place your keys, mail, sunglasses, and other essentials in the baskets or on the shelves of the organizer.
2. **Hang Your Items:** Hang your keys, dog leashes, or small bags on the hooks.
3. **Personalize with Decor:** Add a small plant, a picture frame, or other decorative items to personalize your organizer and make it feel more like home.
Tips and Tricks for Success
* Ventilation is Key: Always spray paint in a well-ventilated area to avoid inhaling harmful fumes.
* Thin Coats are Better: Applying multiple thin coats of paint is better than applying one thick coat, as it will prevent drips and runs.
* Let it Dry Completely: Make sure the paint is completely dry before handling the dish rack or adding any items to it.
* Get Creative with Color: Don’t be afraid to experiment with different colors and finishes. You can even use stencils to create a unique design.
* Consider the Weight: If you’re planning to store heavy items in the organizer, make sure to mount it securely to the wall.
* Double Dish Rack Power: Use two dish racks side-by-side for a larger entryway organization solution. You can even paint them different colors for a fun, eclectic look!
* Think Beyond the Entryway: This organizer isn’t just for entryways! Use it in your bathroom for toiletries, in your kitchen for spices, or in your office for supplies. The possibilities are endless!
* Customize the Hooks: Instead of adhesive hooks, consider using decorative knobs or even repurposed drawer pulls for a more unique look.
* Add a Chalkboard: Attach a small chalkboard to the side of the dish rack for writing notes or leaving messages.
* Fabric Liners for Baskets: Line your baskets with fabric scraps for a pop of color and added protection for your items.
Troubleshooting
* **Paint Dripping:** If you experience paint drips, use a clean cloth to wipe them away immediately. If the paint has already dried, you can lightly sand the area and apply another coat of paint.
* **Uneven Coverage:** If the paint coverage is uneven, apply another coat of paint to the areas that need it.
* **Paint Chipping:** If the paint chips easily, make sure you sanded the surface properly before painting and that you used a good quality primer.
And there you have it! A stylish and functional entryway organizer made from a simple Dollar Tree dish rack. I hope you enjoyed this DIY project as much as I did. Now go forth and conquer that entryway clutter! Happy crafting!
Conclusion
So, there you have it! Growing carrots at home isn’t some mystical gardening feat reserved for green-thumbed gurus. It’s a surprisingly accessible and rewarding experience that anyone can undertake, even with limited space or prior gardening knowledge. We’ve walked you through the simple steps, from selecting the right carrot variety to nurturing your seedlings and finally harvesting those vibrant, homegrown delights.
Why is this DIY trick a must-try? Because the taste of a freshly harvested, homegrown carrot is simply unparalleled. The sweetness is more pronounced, the texture is crisper, and the satisfaction of knowing you nurtured it from seed to table is immeasurable. Plus, you have complete control over the growing process, ensuring your carrots are free from harmful pesticides and chemicals. You’re not just growing carrots; you’re growing healthy, delicious food for yourself and your family.
Beyond the basic method, there’s plenty of room for experimentation. Consider planting companion herbs like rosemary or sage near your carrots to deter pests naturally. You could also try succession planting, sowing seeds every few weeks to ensure a continuous harvest throughout the growing season. For those with limited space, container gardening is an excellent option. Choose a deep container (at least 12 inches) and use a well-draining potting mix. Dwarf carrot varieties are particularly well-suited for container growing. You can even get creative with your container choices – old buckets, repurposed crates, or even grow bags can work wonders.
Another exciting variation is exploring different carrot varieties. While orange carrots are the most common, you can find purple, yellow, white, and even red carrots. Each variety offers a unique flavor profile and visual appeal, adding a touch of whimsy to your garden and your plate. Imagine a colorful carrot salad featuring a rainbow of homegrown goodness!
Growing carrots at home easily is more than just a gardening project; it’s a connection to nature, a source of fresh, healthy food, and a rewarding hobby that can bring joy to your life. Don’t be intimidated by the prospect of gardening. Start small, follow our simple guide, and be patient. The rewards are well worth the effort.
We wholeheartedly encourage you to give this DIY trick a try. Plant those seeds, nurture those seedlings, and watch your own little carrot patch flourish. And most importantly, share your experience with us! We’d love to hear about your successes, your challenges, and any tips or tricks you discover along the way. Post photos of your homegrown carrots on social media using #HomegrownCarrots and tag us so we can celebrate your gardening achievements. Let’s inspire others to embrace the joy of growing their own food and discover the deliciousness of homegrown carrots. Happy gardening!
Frequently Asked Questions (FAQ)
What is the best time of year to plant carrots?
The best time to plant carrots depends on your climate. In general, carrots are a cool-season crop, meaning they thrive in cooler temperatures. For most regions, the ideal planting times are:
* **Spring Planting:** Plant carrot seeds 2-3 weeks before the last expected frost. This allows the carrots to mature before the heat of summer sets in.
* **Fall Planting:** Plant carrot seeds 10-12 weeks before the first expected frost. This allows the carrots to mature during the cooler fall months and even overwinter in some milder climates.
If you live in a region with mild winters, you may be able to plant carrots throughout the year. However, avoid planting during the hottest months of summer, as high temperatures can inhibit germination and growth.
How deep should I plant carrot seeds?
Carrot seeds are very small, so they should be planted shallowly. Aim for a planting depth of about ¼ to ½ inch. Cover the seeds with a thin layer of soil or fine compost and gently water them in. Be careful not to bury the seeds too deeply, as this can prevent them from germinating.
How long does it take for carrots to germinate?
Carrot seeds can be slow to germinate, typically taking 1-3 weeks to sprout. Several factors can influence germination time, including soil temperature, moisture levels, and seed quality. To speed up germination, keep the soil consistently moist but not waterlogged. You can also cover the planting area with a piece of burlap or shade cloth to help retain moisture. Once the seedlings emerge, remove the covering.
What kind of soil is best for growing carrots?
Carrots need loose, well-drained soil to grow properly. Rocky or compacted soil can cause the roots to become stunted or misshapen. The ideal soil for carrots is sandy loam, which is a mixture of sand, silt, and clay. This type of soil provides good drainage while still retaining enough moisture for the plants to thrive. Before planting, amend the soil with compost or other organic matter to improve its fertility and drainage. Avoid using fresh manure, as it can cause the roots to fork.
How often should I water carrots?
Carrots need consistent moisture to grow properly, especially during germination and early growth. Water deeply and regularly, aiming to keep the soil consistently moist but not waterlogged. The frequency of watering will depend on the weather conditions and the type of soil. In general, water carrots every 2-3 days during dry periods. Use a soaker hose or drip irrigation to deliver water directly to the roots, avoiding wetting the foliage, which can increase the risk of fungal diseases.
Why are my carrots forking or splitting?
Forking or splitting carrots can be caused by several factors, including:
* **Rocky or compacted soil:** As mentioned earlier, carrots need loose, well-drained soil to grow properly. Rocks or compacted soil can obstruct the roots, causing them to fork or split.
* **Inconsistent watering:** Fluctuations in soil moisture can also cause carrots to split. Make sure to water regularly and consistently, especially during dry periods.
* **Excess nitrogen:** Too much nitrogen in the soil can promote excessive foliage growth at the expense of root development, leading to forking or splitting. Avoid using fertilizers that are high in nitrogen.
* **Root-knot nematodes:** These microscopic pests can attack the roots of carrots, causing them to become gnarled and misshapen.
How do I prevent pests from attacking my carrots?
Several pests can attack carrots, including carrot rust flies, aphids, and nematodes. Here are some tips for preventing pest problems:
* **Crop rotation:** Avoid planting carrots in the same location year after year, as this can allow pests to build up in the soil.
* **Companion planting:** Plant companion herbs like rosemary or sage near your carrots to deter pests naturally.
* **Row covers:** Use row covers to protect your carrots from flying insects like carrot rust flies.
* **Nematode-resistant varieties:** If you have problems with nematodes, choose carrot varieties that are resistant to these pests.
* **Beneficial insects:** Encourage beneficial insects like ladybugs and lacewings in your garden, as they can help control aphids and other pests.
When are carrots ready to harvest?
Carrots are typically ready to harvest 60-80 days after planting, depending on the variety. You can check the size of the carrots by gently pulling back the soil around the tops. If they are the desired size, you can harvest them. To harvest carrots, loosen the soil around the roots with a garden fork and gently pull them out of the ground.
Can I store carrots after harvesting them?
Yes, carrots can be stored for several months if stored properly. To store carrots, remove the tops and gently brush off any excess soil. Do not wash the carrots until you are ready to use them. Store the carrots in a cool, dark, and humid place, such as a root cellar or refrigerator. You can also store carrots in a container filled with moist sand or sawdust.
What are some creative ways to use homegrown carrots?
Beyond the usual salads and snacks, homegrown carrots can be used in a variety of creative ways:
* **Roasted Carrots with Herbs:** Toss carrots with olive oil, herbs, and spices, and roast them until tender and caramelized.
* **Carrot Cake:** Use freshly grated carrots to make a moist and delicious carrot cake.
* **Carrot Soup:** Blend cooked carrots with broth and spices to make a creamy and flavorful soup.
* **Carrot Juice:** Juice your homegrown carrots for a healthy and refreshing drink.
* **Pickled Carrots:** Preserve your carrots by pickling them in vinegar, sugar, and spices.
* **Carrot Top Pesto:** Don’t throw away the carrot tops! Use them to make a flavorful pesto.
Enjoy the fruits (or rather, vegetables) of your labor!

Leave a Comment