
Foil hacks DIY – ever heard of them? Probably not, but trust me, you’re about to! For centuries, resourceful folks have been finding clever ways to repurpose everyday items, and aluminum foil is no exception. Think of it as the duct tape of the kitchen, but with a shiny, space-age upgrade!
From ancient civilizations using rudimentary metal sheets for cooking to modern-day chefs employing foil for perfect baking, the concept of utilizing metal for household tasks has deep roots. But it’s the recent surge in DIY culture that’s truly unlocked the potential of foil. We’re not just talking about wrapping leftovers anymore!
Let’s face it, life can get expensive, and who doesn’t love a good shortcut? That’s where these foil hacks DIY come in. I’m going to show you how to save money, time, and effort with these simple yet brilliant tricks. Whether you’re battling stubborn stains, sharpening dull scissors, or even boosting your Wi-Fi signal (yes, really!), foil can be your secret weapon. Get ready to be amazed by the versatility of this humble kitchen staple!
DIY Foil Hacks: Unleash the Unexpected Power of Aluminum Foil!
Hey there, fellow DIY enthusiasts! Get ready to be amazed because today, we’re diving deep into the wonderful world of aluminum foil hacks. Forget just wrapping leftovers; this versatile kitchen staple can do so much more! I’m going to show you some clever and unexpected ways to use foil around your house, saving you time, money, and maybe even a trip to the store. Let’s get started!
Sharpening Scissors with Foil
Dull scissors driving you crazy? Don’t rush out to buy a new pair just yet! Foil can bring them back to life. This is one of my favorite quick fixes.
What you’ll need:
* A sheet of aluminum foil
Step-by-step instructions:
1. Fold the Foil: Take a standard sheet of aluminum foil and fold it over several times. I usually go for about 6-8 layers to create a thick, dense strip. The thicker the foil, the better the sharpening effect.
2. Cut, Cut, Cut!: Now, grab your dull scissors and start cutting through the folded foil strip. Make several long, deliberate cuts, using the entire length of the scissor blades. I recommend doing at least 10-20 cuts.
3. Test and Repeat: After a good round of cutting, test your scissors on a piece of paper. Are they sharper? If not, repeat the process with a fresh strip of folded foil. Sometimes, you might need to do this a few times, especially for really dull scissors.
4. Clean the Blades: After sharpening, wipe the scissor blades with a clean cloth to remove any tiny foil particles that might be clinging to them.
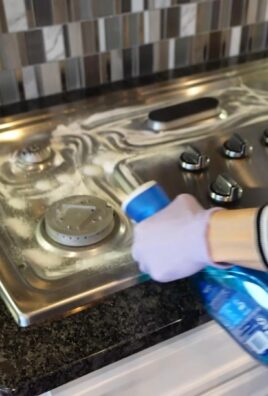
Cleaning Rusty Chrome with Foil
Got some rusty chrome fixtures in your bathroom or kitchen? Foil to the rescue! This is a surprisingly effective and gentle way to remove rust without harsh chemicals.
What you’ll need:
* Aluminum foil
* Water (or white vinegar for tougher rust)
Step-by-step instructions:
1. Prepare the Foil: Tear off a sheet of aluminum foil and crumple it into a ball. The crumpled shape will help you get into all the nooks and crannies of the rusty surface.
2. Wet the Foil: Dip the crumpled foil ball into water. You want it to be damp, not soaking wet. For more stubborn rust, try using white vinegar instead of water. The acidity of the vinegar will help break down the rust.
3. Scrub Gently: Gently rub the damp foil ball over the rusty chrome surface. Use a circular motion and apply light pressure. You’ll be amazed at how the rust starts to lift off. The aluminum is softer than the chrome, so it won’t scratch the surface.
4. Rinse and Dry: Once you’ve removed the rust, rinse the area with water and dry it thoroughly with a clean cloth. This will prevent new rust from forming.
5. Repeat if Necessary: For heavily rusted areas, you might need to repeat the process with a fresh piece of foil.
Boosting Wi-Fi Signal with a Foil Reflector
Is your Wi-Fi signal weak in certain areas of your house? A simple foil reflector can help boost the signal and improve your internet speed. This is a fun and easy project that can make a noticeable difference.
What you’ll need:
* Aluminum foil
* Cardboard (a cereal box works great)
* Scissors
* Glue or tape
Step-by-step instructions:
1. Cut the Cardboard: Cut a piece of cardboard into a curved shape, like a half-circle or a parabola. The size will depend on the size of your router, but a good starting point is about 8-10 inches wide and 4-6 inches tall. This will be the reflector’s base.
2. Cover with Foil: Cover the curved side of the cardboard with aluminum foil. Use glue or tape to secure the foil in place, making sure the foil is as smooth as possible. Wrinkles in the foil can reduce its effectiveness.
3. Position the Reflector: Place the foil reflector behind your router, with the curved side facing the direction where you want to boost the signal. Experiment with different angles and positions to find the optimal placement. I usually find that placing it slightly angled towards the area where I need the signal boost works best.
4. Test the Signal: Use a Wi-Fi analyzer app on your phone or computer to measure the signal strength in the area where you were experiencing weak signal. You should notice an improvement after positioning the foil reflector.
5. Fine-Tune: Adjust the position of the reflector until you achieve the best possible signal strength. You might need to experiment with different angles and distances to find the sweet spot.
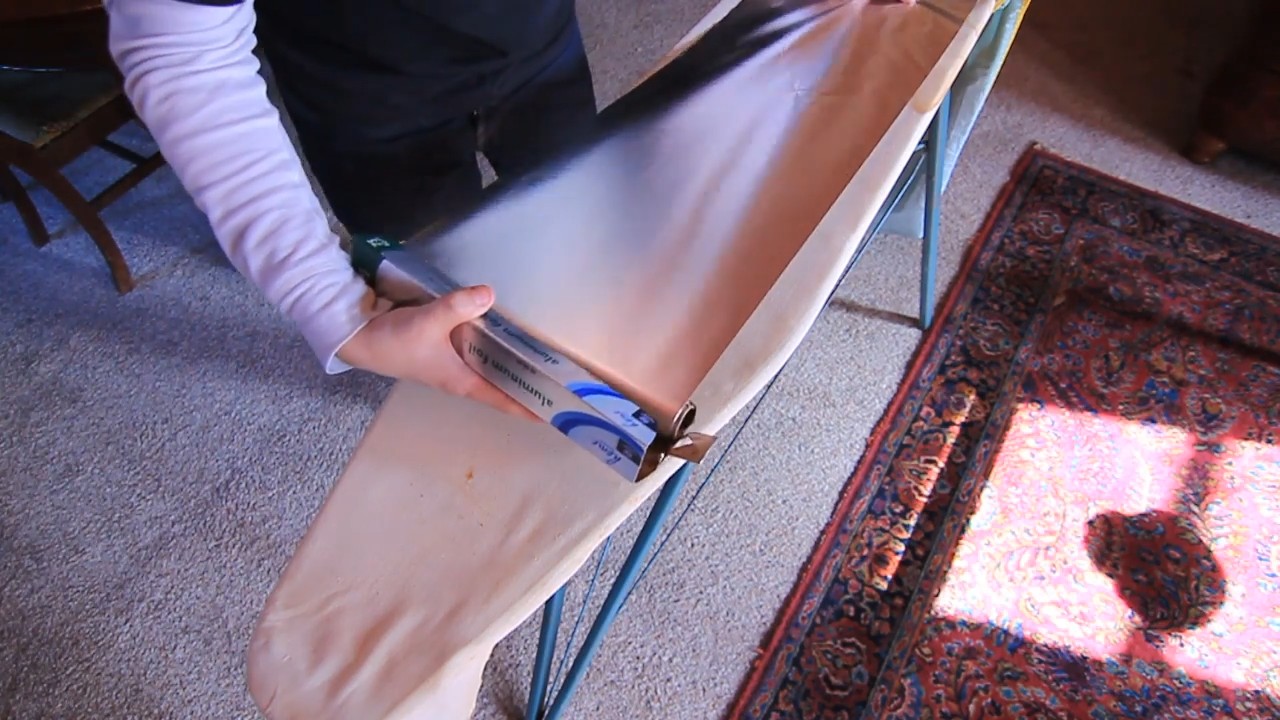
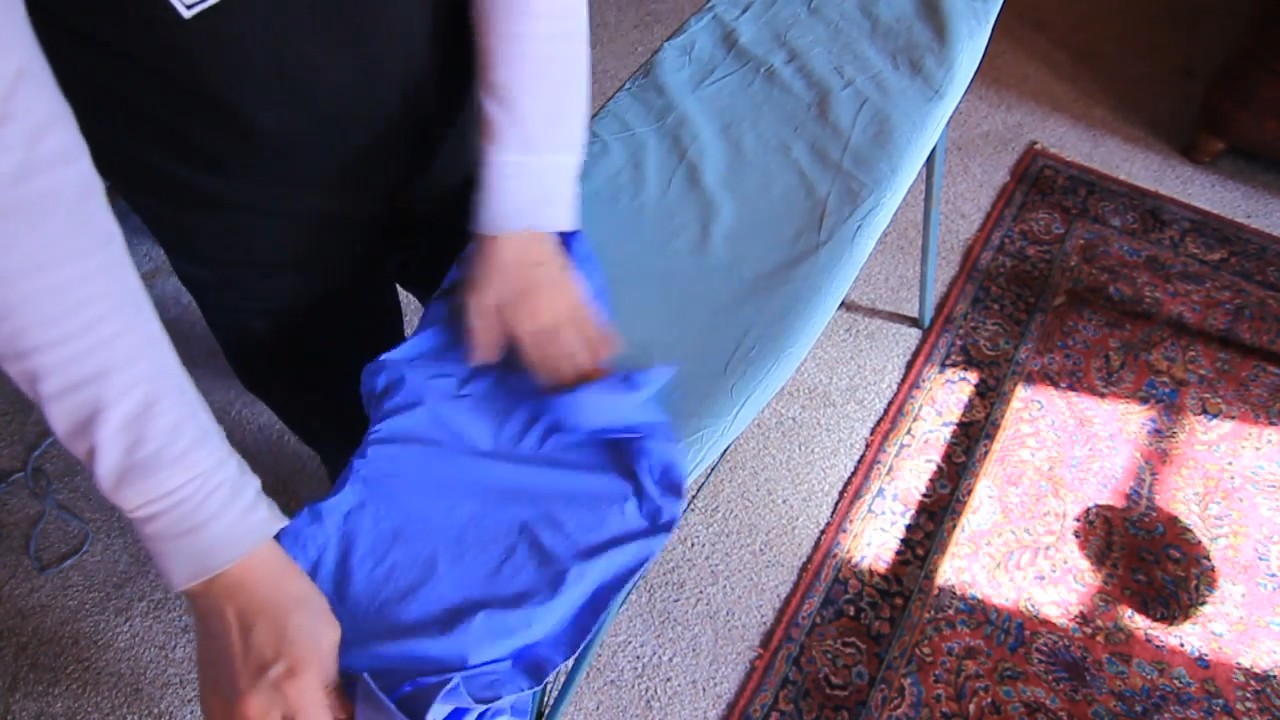
Cleaning Your Iron with Foil
A dirty iron can leave marks on your clothes and make ironing a real chore. Foil can help you clean the soleplate of your iron quickly and easily.
What you’ll need:
* Aluminum foil
* An iron
* An ironing board or heat-resistant surface
* A clean cloth
Step-by-step instructions:
1. Prepare the Foil: Place a sheet of aluminum foil on your ironing board or heat-resistant surface. Make sure the foil is smooth and wrinkle-free.
2. Sprinkle with Salt (Optional): For extra cleaning power, you can sprinkle a thin layer of salt on the foil. The salt acts as a mild abrasive to help remove stubborn residue.
3. Heat the Iron: Turn on your iron to a medium heat setting. Make sure the steam function is turned off.
4. Iron the Foil: Gently iron the foil (or the salt-covered foil) with your iron. Use a back-and-forth motion, as if you were ironing a piece of clothing. The heat and friction will help loosen and remove any residue from the soleplate of the iron.
5. Clean the Soleplate: After ironing the foil for a few minutes, turn off the iron and let it cool slightly. Then, use a clean cloth to wipe the soleplate and remove any remaining residue.
6. Repeat if Necessary: If the soleplate is still dirty, repeat the process with a fresh sheet of foil.
Making a Makeshift Funnel with Foil
Need a funnel but don’t have one handy? Foil to the rescue! This is a great trick for pouring liquids or powders into small containers.
What you’ll need:
* Aluminum foil
* Scissors (optional)
Step-by-step instructions:
1. Shape the Foil: Take a sheet of aluminum foil and shape it into a cone. Start by folding the foil in half diagonally, then roll it into a cone shape.
2. Adjust the Opening: Adjust the size of the opening at the bottom of the cone to fit the container you’re pouring into. You can use scissors to trim the opening if necessary.
3. Secure the Shape: Fold over the edges of the foil to secure the cone shape and prevent it from unraveling.
4. Use the Funnel: Place the makeshift foil funnel into the opening of the container you’re pouring into and carefully pour the liquid or powder through the funnel.
Protecting Pie Crusts from Burning with Foil
We’ve all been there – a beautifully baked pie with a burnt crust. Foil can help prevent this common baking mishap.
What you’ll need:
* Aluminum foil
* Scissors
Step-by-step instructions:
1. Cut Foil Strips: Cut several strips of aluminum foil that are wide enough to cover the edge of your pie crust.
2. Cover the Crust: Once the pie crust starts to brown too quickly in the oven, carefully place the foil strips around the edge of the crust, covering the browned areas.
3. Continue Baking: Continue baking the pie according to the recipe instructions. The foil will protect the crust from burning while the filling continues to cook.
4. Remove Foil (Optional): If you want the crust to brown slightly more towards the end of baking, you can remove the foil strips for the last few minutes.
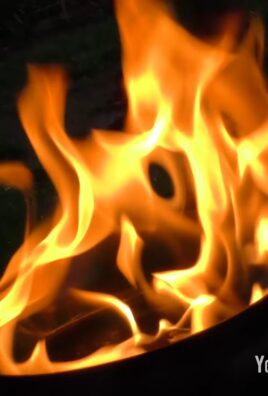
Cleaning Grill Grates with Foil
Cleaning a grill grate can be a messy and time-consuming task. Foil can make it much easier.
What you’ll need:
* Aluminum foil
* Grill brush (optional)
Step-by-step instructions:
1. Heat the Grill: Turn on your grill to a high heat setting and let it heat up for about 10-15 minutes. This will help loosen any baked-on food particles.
2. Crumple the Foil: Crumple a sheet of aluminum foil into a ball.
3. Scrub the Grates: Use the crumpled foil ball to scrub the grill grates. The foil will act as an abrasive to remove any
Conclusion
So, there you have it! This simple yet incredibly effective foil hacks DIY is a game-changer for anyone looking to streamline their household tasks and elevate their cooking game. We’ve explored how aluminum foil, that humble kitchen staple, can be transformed into a multi-purpose tool, saving you time, money, and a whole lot of frustration.
Why is this a must-try? Because it’s practical, accessible, and yields impressive results. Forget struggling with stubborn messes, dull scissors, or unevenly cooked food. With these foil hacks, you’ll be amazed at how easily you can tackle these everyday challenges. Think about the satisfaction of effortlessly cleaning your grill grates, sharpening your scissors in seconds, or creating perfectly steamed vegetables with minimal effort. This isn’t just about convenience; it’s about reclaiming your time and enjoying the process.
But the possibilities don’t stop there! Feel free to experiment and adapt these techniques to suit your specific needs. For instance, if you’re using the foil ball to clean rust, try adding a bit of baking soda to the water for extra cleaning power. When sharpening scissors, vary the number of cuts you make into the foil until you achieve the desired sharpness. For steaming, consider adding herbs or spices to the foil packet for infused flavor. You can even use heavy-duty foil to create custom baking molds for unique desserts. The only limit is your imagination!
We’re confident that once you try these foil hacks, you’ll wonder how you ever lived without them. They’re simple, effective, and incredibly versatile. So, ditch the expensive cleaning products, forget the dull scissors, and embrace the power of aluminum foil.
We highly encourage you to give these foil hacks DIY a try. We’re eager to hear about your experiences and any variations you discover. Share your tips, tricks, and photos in the comments below. Let’s build a community of foil-hacking enthusiasts and unlock even more creative uses for this amazing material! Don’t forget to share this article with your friends and family so they can benefit from these time-saving tips as well. Happy hacking!
Frequently Asked Questions (FAQ)
What kind of aluminum foil should I use for these hacks?
The type of aluminum foil you use will depend on the specific hack. For most cleaning and sharpening tasks, standard-weight aluminum foil will suffice. However, for tasks that require more durability, such as grilling or creating baking molds, heavy-duty aluminum foil is recommended. Heavy-duty foil is thicker and more resistant to tearing, making it ideal for high-heat applications and tasks that involve sharp objects. Using the appropriate type of foil will ensure the best results and prevent any unwanted tears or punctures.
Is it safe to use aluminum foil for cooking?
Yes, it is generally safe to use aluminum foil for cooking, but there are a few things to keep in mind. While small amounts of aluminum can leach into food during cooking, the levels are typically considered safe by health organizations. To minimize aluminum leaching, avoid using foil with highly acidic foods like tomatoes or citrus fruits. You can also line the foil with parchment paper to create a barrier between the food and the aluminum. Additionally, avoid using foil in the microwave unless specifically designed for microwave use, as it can cause sparks and potentially damage your appliance.
How do I clean a grill with aluminum foil?
Cleaning a grill with aluminum foil is a simple and effective way to remove stubborn grease and food residue. First, crumple a large sheet of aluminum foil into a ball. Make sure the grill is still warm (but not scorching hot) after cooking. Using tongs or a grill brush, scrub the grill grates with the foil ball. The abrasive texture of the foil will help to loosen and remove the debris. For particularly stubborn messes, you can dip the foil ball in water or vinegar for added cleaning power. Once you’ve scrubbed the grates, simply discard the foil ball.
Can I really sharpen scissors with aluminum foil?
Yes, you can absolutely sharpen scissors with aluminum foil! This is a quick and easy way to restore the sharpness of dull scissors. Simply fold a sheet of aluminum foil several times to create a thicker strip. Then, using the scissors, cut into the foil strip multiple times. The friction between the foil and the scissor blades will help to realign the edges and sharpen them. The number of cuts you need to make will depend on the dullness of the scissors. Test the scissors on a piece of paper to check their sharpness. Repeat the process if necessary.
Are there any safety precautions I should take when using these foil hacks?
Yes, it’s important to take a few safety precautions when using these foil hacks. When cleaning a hot grill with aluminum foil, always use tongs or a grill brush to protect your hands from the heat. Be careful when handling sharp scissors, especially when sharpening them with foil. Avoid using excessive force, and always keep your fingers away from the blades. When cooking with aluminum foil, be mindful of potential aluminum leaching, especially with acidic foods. And as mentioned earlier, never use aluminum foil in the microwave unless it’s specifically designed for microwave use.
Can I reuse aluminum foil?
Whether or not you can reuse aluminum foil depends on how it was used. If the foil was used for baking or wrapping food and is relatively clean, you can often reuse it. However, if the foil was used for cleaning or grilling and is covered in grease or food residue, it’s best to discard it. Reusing foil that is heavily soiled can be unsanitary and may not be effective.
What are some other uses for aluminum foil in the kitchen?
Aluminum foil is incredibly versatile and has many other uses in the kitchen beyond these hacks. You can use it to line baking sheets for easy cleanup, cover leftovers to keep them fresh, create makeshift piping bags for decorating cakes, and even polish silverware. It’s also great for wrapping delicate foods like fish or vegetables for baking or grilling, helping to retain moisture and flavor.
How does the foil ball work for cleaning rust?
The aluminum foil ball works for cleaning rust due to a chemical reaction. When aluminum foil is rubbed against a rusty surface in the presence of water, the aluminum oxidizes (loses electrons) more readily than the iron in the rust. This process transfers the oxidation from the iron oxide (rust) to the aluminum, effectively removing the rust. The crumpled shape of the foil provides an abrasive surface to help scrub away the loosened rust particles. Adding a bit of baking soda to the water can enhance the cleaning power by creating a mild abrasive paste.
Leave a Comment