
Fresh Herbs at Home: Imagine stepping into your kitchen, not to a barren spice rack, but to a vibrant, fragrant oasis where you can snip the perfect sprig of basil for your pasta or pluck a handful of mint for a refreshing mojito. Sounds dreamy, right? Well, it doesn’t have to be just a dream! This article is your ultimate guide to transforming even the smallest space into a thriving herb garden.
For centuries, cultivating herbs has been more than just a culinary practice; it’s been a connection to nature, a source of healing, and a way to infuse our lives with flavor and well-being. From ancient Egyptians using herbs for medicinal purposes to medieval monks tending their monastery gardens, the history of herbs is deeply intertwined with human civilization. Today, we’re rediscovering the joy and benefits of growing our own, and I’m here to show you how easy and rewarding it can be.
In today’s busy world, convenience often trumps freshness. But what if you could have both? Growing fresh herbs at home not only elevates your cooking with unparalleled flavor, but it also offers a therapeutic escape from the daily grind. Plus, you’ll save money, reduce your carbon footprint, and have the satisfaction of nurturing something beautiful and useful. Whether you’re a seasoned gardener or a complete beginner, these DIY tricks and hacks will empower you to create a flourishing herb garden that will delight your senses and nourish your soul. Let’s get started!
Frische Kräuter zu Hause ziehen: Mein DIY-Garten für die Fensterbank
Ich liebe frische Kräuter! Nichts ist besser, als ein Gericht mit frisch geerntetem Basilikum, Thymian oder Rosmarin zu verfeinern. Aber Kräuter im Supermarkt zu kaufen, kann teuer sein, und oft sind sie nicht so frisch, wie ich sie gerne hätte. Deshalb habe ich beschlossen, meinen eigenen kleinen Kräutergarten auf der Fensterbank anzulegen. Und ich kann dir sagen, es ist einfacher, als du denkst! Hier zeige ich dir, wie du das auch schaffen kannst.
Was du brauchst: Die Materialliste
Bevor wir loslegen, solltest du sicherstellen, dass du alles beisammen hast. Hier ist eine Liste der Dinge, die du für deinen Kräutergarten brauchst:
* Kräutersamen oder Jungpflanzen: Wähle Kräuter, die du gerne verwendest und die gut in Innenräumen wachsen. Basilikum, Petersilie, Schnittlauch, Thymian, Rosmarin, Minze und Oregano sind gute Optionen. Ich persönlich starte gerne mit Jungpflanzen, weil es schneller geht, aber Samen sind natürlich günstiger.
* Töpfe: Du brauchst Töpfe mit Drainagelöchern, damit das Wasser ablaufen kann. Die Größe der Töpfe hängt von der Art der Kräuter ab, die du anpflanzen möchtest. Für kleinere Kräuter wie Schnittlauch reichen kleinere Töpfe (ca. 10-15 cm Durchmesser), während größere Kräuter wie Rosmarin etwas mehr Platz benötigen (ca. 20-25 cm Durchmesser).
* Pflanzerde: Verwende hochwertige Pflanzerde, die speziell für Kräuter oder Gemüse geeignet ist. Normale Blumenerde kann zu schwer sein und die Wurzeln ersticken. Ich bevorzuge Bio-Pflanzerde, um sicherzustellen, dass meine Kräuter ohne schädliche Chemikalien wachsen.
* Drainagematerial: Eine Schicht Drainagematerial am Boden der Töpfe hilft, Staunässe zu vermeiden. Du kannst Blähtonkugeln, Kies oder Tonscherben verwenden.
* Untersetzer: Untersetzer fangen überschüssiges Wasser auf und schützen deine Fensterbank.
* Gießkanne oder Sprühflasche: Zum Bewässern deiner Kräuter.
* Pflanzschilder: Um den Überblick zu behalten, welche Kräuter in welchem Topf wachsen.
* (Optional) Anzuchtkasten oder Mini-Gewächshaus: Wenn du mit Samen beginnst, kann ein Anzuchtkasten oder Mini-Gewächshaus helfen, die Keimung zu beschleunigen.
* (Optional) Pflanzenlampe: Wenn deine Fensterbank nicht genügend Sonnenlicht bekommt, kann eine Pflanzenlampe helfen.
Schritt-für-Schritt-Anleitung: So legst du deinen Kräutergarten an
Jetzt, wo du alles hast, können wir loslegen! Hier ist eine detaillierte Anleitung, wie du deinen eigenen Kräutergarten auf der Fensterbank anlegst:
1. Töpfe vorbereiten: Reinige die Töpfe gründlich mit warmem Wasser und Seife. Lege dann eine Schicht Drainagematerial auf den Boden jedes Topfes. Das verhindert, dass die Wurzeln im Wasser stehen und faulen.
2. Töpfe befüllen: Fülle die Töpfe mit Pflanzerde. Lass oben etwa 2-3 cm Platz. Drücke die Erde leicht an.
3. Kräuter pflanzen:
* Jungpflanzen: Nimm die Jungpflanzen vorsichtig aus ihren Töpfen. Lockere die Wurzeln leicht auf, bevor du sie in die neuen Töpfe pflanzt. Setze die Pflanzen so tief ein, wie sie zuvor im Topf waren. Fülle die Töpfe mit Erde auf und drücke sie leicht an.
* Samen: Befolge die Anweisungen auf der Samenpackung. In der Regel säst du die Samen in kleinen Vertiefungen in der Erde und bedeckst sie leicht mit Erde. Befeuchte die Erde vorsichtig mit einer Sprühflasche.
4. Bewässern: Gieße die Kräuter nach dem Pflanzen gründlich. Achte darauf, dass das Wasser aus den Drainagelöchern abläuft. Vermeide Staunässe.
5. Standort wählen: Stelle die Töpfe an einen sonnigen Standort. Die meisten Kräuter benötigen mindestens 6 Stunden Sonnenlicht pro Tag. Eine Fensterbank nach Süden oder Westen ist ideal. Wenn deine Fensterbank nicht genügend Sonnenlicht bekommt, kannst du eine Pflanzenlampe verwenden.
6. Beschriften: Beschrifte die Töpfe mit Pflanzschildern, damit du weißt, welche Kräuter wo wachsen.
Die richtige Pflege: So bleiben deine Kräuter gesund und glücklich
Ein Kräutergarten ist nicht nur angelegt, er braucht auch regelmäßige Pflege, damit die Kräuter gut wachsen und du lange Freude daran hast. Hier sind ein paar Tipps:
* Bewässerung: Gieße deine Kräuter regelmäßig, aber nicht zu viel. Die Erde sollte feucht, aber nicht nass sein. Überprüfe die Feuchtigkeit der Erde, indem du deinen Finger etwa 2 cm tief in die Erde steckst. Wenn sich die Erde trocken anfühlt, ist es Zeit zum Gießen. Vermeide es, die Blätter direkt zu gießen, da dies zu Pilzbefall führen kann. Gieße stattdessen direkt auf die Erde.
* Düngung: Dünge deine Kräuter alle paar Wochen mit einem organischen Flüssigdünger. Befolge die Anweisungen auf der Düngerpackung. Zu viel Dünger kann schädlich sein, also sei sparsam.
* Schneiden: Schneide deine Kräuter regelmäßig, um das Wachstum anzuregen. Schneide die Spitzen der Triebe ab, um buschigere Pflanzen zu erhalten. Entferne auch regelmäßig abgestorbene oder gelbe Blätter.
* Umpflanzen: Wenn deine Kräuter zu groß für ihre Töpfe werden, musst du sie umtopfen. Wähle einen Topf, der etwas größer ist als der vorherige. Lockere die Wurzeln vorsichtig auf, bevor du die Pflanze in den neuen Topf setzt.
* Schädlinge und Krankheiten: Überprüfe deine Kräuter regelmäßig auf Schädlinge und Krankheiten. Wenn du Schädlinge entdeckst, kannst du sie mit einem natürlichen Insektizid bekämpfen. Bei Pilzbefall solltest du die befallenen Blätter entfernen und die Pflanze an einen besser belüfteten Standort stellen.
Spezielle Tipps für bestimmte Kräuter
Jede Kräutersorte hat ihre eigenen Bedürfnisse. Hier sind ein paar spezielle Tipps für einige der beliebtesten Kräuter:
* Basilikum: Basilikum liebt Wärme und Sonne. Gieße es regelmäßig, aber vermeide Staunässe. Schneide die Blütenstände ab, um das Wachstum der Blätter zu fördern.
* Petersilie: Petersilie bevorzugt einen halbschattigen Standort. Gieße sie regelmäßig und dünge sie alle paar Wochen.
* Schnittlauch: Schnittlauch ist sehr pflegeleicht. Er bevorzugt einen sonnigen Standort und regelmäßige Bewässerung. Schneide die Halme regelmäßig ab, um das Wachstum anzuregen.
* Thymian: Thymian ist trockenheitsresistent. Gieße ihn nur, wenn die Erde trocken ist. Er bevorzugt einen sonnigen Standort und gut durchlässigen Boden.
* Rosmarin: Rosmarin liebt Sonne und Wärme. Gieße ihn nur, wenn die Erde trocken ist. Er bevorzugt gut durchlässigen Boden.
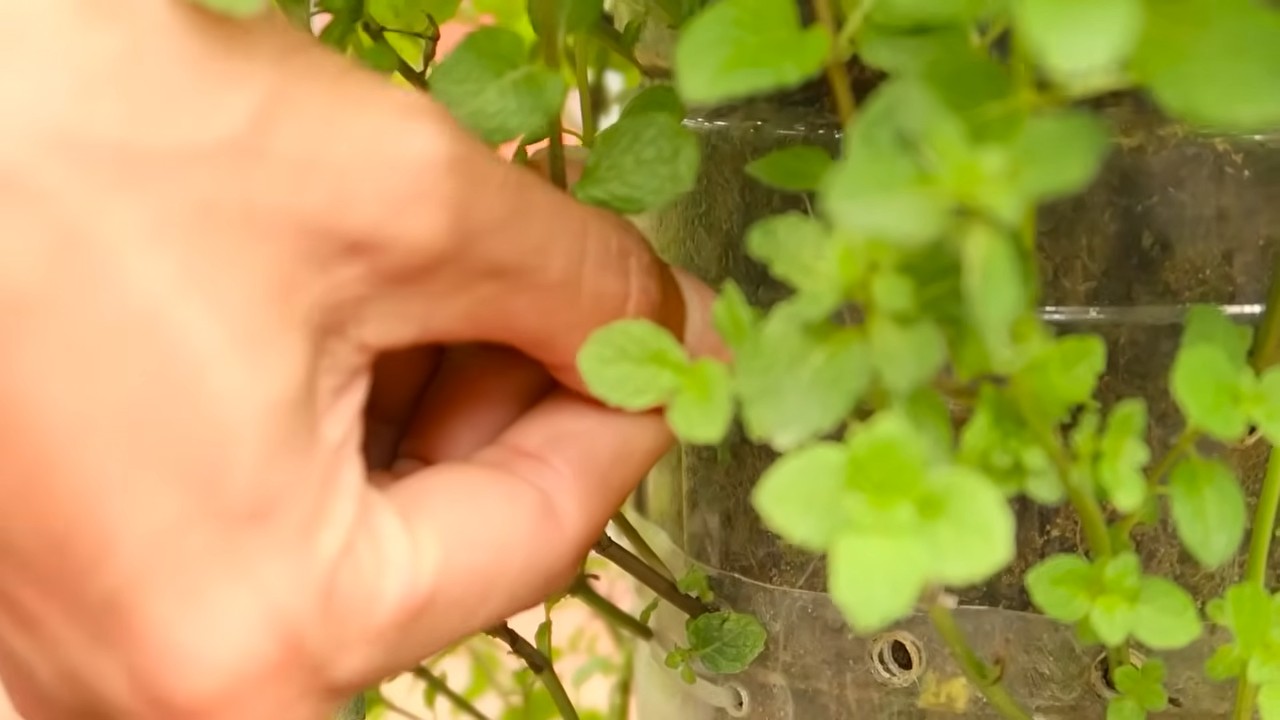
* Minze: Minze ist sehr wuchsfreudig und kann sich schnell ausbreiten. Pflanze sie am besten in einen separaten Topf, um zu verhindern, dass sie andere Kräuter überwuchert. Sie bevorzugt einen halbschattigen Standort und regelmäßige Bewässerung.
* Oregano: Oregano bevorzugt einen sonnigen Standort und gut durchlässigen Boden. Gieße ihn nur, wenn die Erde trocken ist.
Häufige Probleme und Lösungen
Auch wenn du alles richtig machst, können manchmal Probleme auftreten. Hier sind ein paar häufige Probleme und wie du sie lösen kannst:
* Gelbe Blätter: Gelbe Blätter können ein Zeichen für Überwässerung, Unterwässerung, Nährstoffmangel oder Schädlingsbefall sein. Überprüfe die Feuchtigkeit der Erde, dünge die Pflanze und untersuche sie auf Schädlinge.
* Schlaffe Blätter: Schlaffe Blätter können ein Zeichen für Unterwässerung oder zu viel Sonne sein. Gieße
Conclusion
So, there you have it! Bringing the vibrant flavors and aromas of fresh herbs into your home is not only achievable, but surprisingly simple and rewarding. We’ve explored a straightforward method that empowers you to cultivate your own little green oasis, right on your windowsill or balcony. Forget those sad, wilted bunches from the grocery store – imagine the joy of snipping fragrant basil for your pasta, or adding a sprig of mint to your iced tea, all grown with your own two hands.
This DIY approach to growing fresh herbs at home is more than just a cost-effective alternative to buying them. It’s about connecting with nature, even in the smallest of spaces. It’s about knowing exactly where your food comes from and enjoying the unparalleled freshness that only homegrown herbs can provide. It’s also incredibly therapeutic! Tending to your herb garden can be a calming and meditative experience, a welcome respite from the hustle and bustle of daily life.
But the benefits don’t stop there. Think about the environmental impact. By growing your own herbs, you’re reducing your reliance on commercially grown produce, which often involves long-distance transportation and the use of pesticides. You’re contributing to a more sustainable lifestyle, one small herb at a time.
Now, let’s talk about variations. While we’ve focused on a basic method, feel free to experiment! Try different types of containers, from repurposed jars to decorative pots. Explore different soil mixes to see what works best for your chosen herbs. Consider adding a small grow light if you live in a particularly shady area. And don’t be afraid to get creative with your herb selection. While basil, mint, and parsley are popular choices, there’s a whole world of herbs out there waiting to be discovered, from the lemony tang of lemon balm to the savory notes of rosemary.
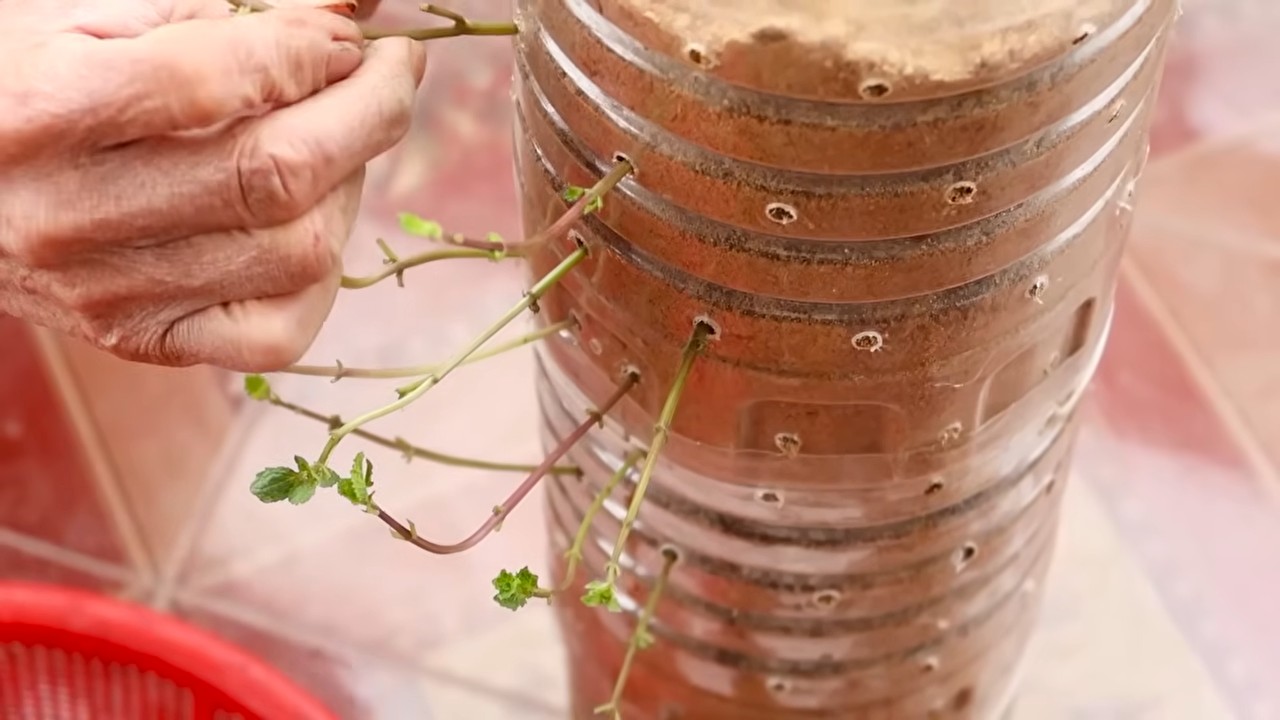
One exciting variation is to create a vertical herb garden. This is a fantastic option if you’re short on space. You can use a tiered planter, a hanging shoe organizer, or even build your own vertical structure from reclaimed wood. Not only is it a space-saver, but it also adds a visually appealing element to your home.
Another idea is to propagate new herbs from cuttings. This is a great way to expand your herb garden without having to buy new seeds or seedlings. Simply take a cutting from a healthy herb plant, remove the lower leaves, and place it in water until roots develop. Then, transplant it into a pot of soil.
We truly believe that anyone can successfully grow fresh herbs at home, regardless of their gardening experience. It’s a simple, rewarding, and sustainable way to enhance your culinary creations and connect with nature.
So, what are you waiting for? Gather your supplies, choose your favorite herbs, and get started today! We’re confident that you’ll be amazed at how easy and enjoyable it is to grow your own fresh herbs.
And most importantly, we want to hear about your experiences! Share your photos, tips, and stories with us in the comments below. Let’s create a community of herb enthusiasts and inspire others to embrace the joy of homegrown flavor. Happy gardening!
Frequently Asked Questions (FAQ)
What are the easiest herbs to grow indoors?
Some of the easiest herbs to grow indoors include basil, mint, chives, parsley, oregano, and thyme. These herbs generally require less sunlight and are more tolerant of indoor conditions. However, providing them with adequate light (at least 6 hours of sunlight or artificial light per day) and well-draining soil is crucial for their success. Mint is particularly easy to grow, but be aware that it can be invasive, so it’s best to keep it in its own container. Basil thrives in warm conditions and needs regular watering. Chives are very low maintenance and can tolerate a bit of neglect.
How much sunlight do my herbs need?
Most herbs need at least 6 hours of sunlight per day to thrive. If you don’t have a sunny windowsill, you can supplement with artificial light, such as a grow light. Place the light about 6-12 inches above the plants. Signs that your herbs aren’t getting enough light include leggy growth (long stems with few leaves) and pale leaves. Rotate your plants regularly to ensure that all sides receive adequate light.
What kind of soil should I use for my herbs?
Use a well-draining potting mix specifically formulated for herbs or vegetables. Avoid using garden soil, as it can be too heavy and may not drain well, leading to root rot. You can also amend your potting mix with perlite or vermiculite to improve drainage. A slightly acidic to neutral pH (around 6.0 to 7.0) is ideal for most herbs.
How often should I water my herbs?
Water your herbs when the top inch of soil feels dry to the touch. Avoid overwatering, as this can lead to root rot. The frequency of watering will depend on factors such as the type of herb, the size of the pot, and the temperature and humidity of your home. In general, you’ll need to water more frequently during the warmer months and less frequently during the cooler months. Make sure your pots have drainage holes to allow excess water to escape.
How do I harvest my herbs?
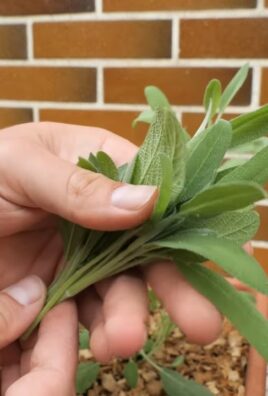
Harvest your herbs regularly to encourage new growth. Pinch or snip off leaves or stems as needed, being careful not to remove more than one-third of the plant at a time. For leafy herbs like basil and mint, pinch off the top leaves to encourage bushier growth. For herbs like rosemary and thyme, snip off stems as needed. The best time to harvest herbs is in the morning, after the dew has dried but before the sun gets too hot.
How do I prevent pests and diseases?
Inspect your herbs regularly for signs of pests or diseases. Common pests include aphids, spider mites, and whiteflies. You can control these pests by spraying your plants with insecticidal soap or neem oil. To prevent diseases, ensure good air circulation around your plants and avoid overwatering. Remove any dead or diseased leaves promptly.
Can I grow herbs from seeds or cuttings?
Yes, you can grow herbs from both seeds and cuttings. Growing from seeds is a great option for herbs like basil, parsley, and chives. Start seeds indoors a few weeks before the last frost and transplant them outdoors once the weather warms up. Growing from cuttings is a faster way to propagate herbs like mint, rosemary, and thyme. Simply take a cutting from a healthy plant, remove the lower leaves, and place it in water until roots develop. Then, transplant it into a pot of soil.
What are some common mistakes to avoid when growing herbs indoors?
Some common mistakes to avoid include:
* Overwatering: This is the most common mistake and can lead to root rot.
* Underwatering: Herbs need consistent moisture, so don’t let the soil dry out completely.
* Insufficient light: Herbs need at least 6 hours of sunlight per day.
* Poor drainage: Use a well-draining potting mix and ensure your pots have drainage holes.
* Not harvesting regularly: Harvesting encourages new growth and prevents your herbs from becoming leggy.
* Using the wrong type of soil: Avoid using garden soil, as it can be too heavy and may not drain well.
Can I grow different herbs together in the same pot?
While it’s possible to grow different herbs together in the same pot, it’s important to choose herbs that have similar growing requirements. For example, herbs that prefer dry conditions, such as rosemary and thyme, can be grown together. Herbs that prefer moist conditions, such as basil and mint, can also be grown together. Avoid planting herbs that have very different needs, such as rosemary and basil, in the same pot. Also, be mindful of the size of the plants and ensure that they have enough space to grow.
How do I store fresh herbs?
There are several ways to store fresh herbs to keep them fresh for longer. One method is to wrap the herbs in a damp paper towel and store them in a plastic bag in the refrigerator. Another method is to place the herbs in a glass of water, like a bouquet of flowers, and store them in the refrigerator. You can also freeze herbs by chopping them up and placing them in ice cube trays filled with water or olive oil. Once frozen, transfer the cubes to a freezer bag. Dried herbs can be stored in an airtight container in a cool, dark place.
Leave a Comment