
Grow Celery at Home: A Beginner’s Guide to Crunchy, Homegrown Goodness
Have you ever dreamt of biting into a crisp, juicy stalk of celery, knowing you grew it yourself, right there in your backyard? Well, that dream can become a reality! This article is your complete guide to Grow Celery at Home, offering simple, effective DIY tricks and techniques to cultivate this versatile vegetable in your own garden, no matter how small your space.
For centuries, celery has held a place of importance in various cultures, used not only as a culinary ingredient but also for its medicinal properties. From ancient Roman times, where it was considered a delicacy, to its modern-day popularity as a healthy snack, celery’s journey is fascinating. But today, we’re focusing on something even more rewarding: growing celery at home.
Why Grow Your Own Celery?
There are so many reasons to embark on this rewarding gardening adventure! Firstly, homegrown celery boasts an unparalleled flavor and freshness that store-bought varieties simply can’t match. Secondly, you’ll have complete control over the growing process, ensuring your celery is free from pesticides and other harmful chemicals. And finally, there’s an immense satisfaction in nurturing a plant from seed to harvest, a truly rewarding experience for both seasoned gardeners and enthusiastic beginners alike. This guide will walk you through every step, from selecting the right seeds to harvesting your delicious, homegrown celery.
So, let’s get started on your journey to grow celery at home and experience the joy of harvesting your own crunchy, flavorful stalks!

Growing Celery from Scraps: A Step-by-Step Guide
I love celery, but buying it regularly can get expensive. So, I decided to try growing my own from scraps! It’s surprisingly easy, and you’ll be amazed at how quickly it grows. Here’s my foolproof method:
Phase 1: Preparing Your Celery Scrap
- Choose the right celery: Select a bunch of celery with firm, healthy stalks. Avoid any that are wilting or showing signs of rot.
- Cut the base: You need about an inch or two of the base of the celery stalk, where the roots would normally be. Make a clean cut, ensuring you get a good section of the root end.
- Remove the outer leaves: Carefully peel off the outer leaves from the base. You want to expose the root section as much as possible. Don’t worry if a few leaves remain; they’ll help with the growing process.
- Rinse thoroughly: Give your celery base a good rinse under cool water to remove any dirt or debris. This helps prevent rot and promotes healthy growth.
Phase 2: Setting Up Your Growing Environment
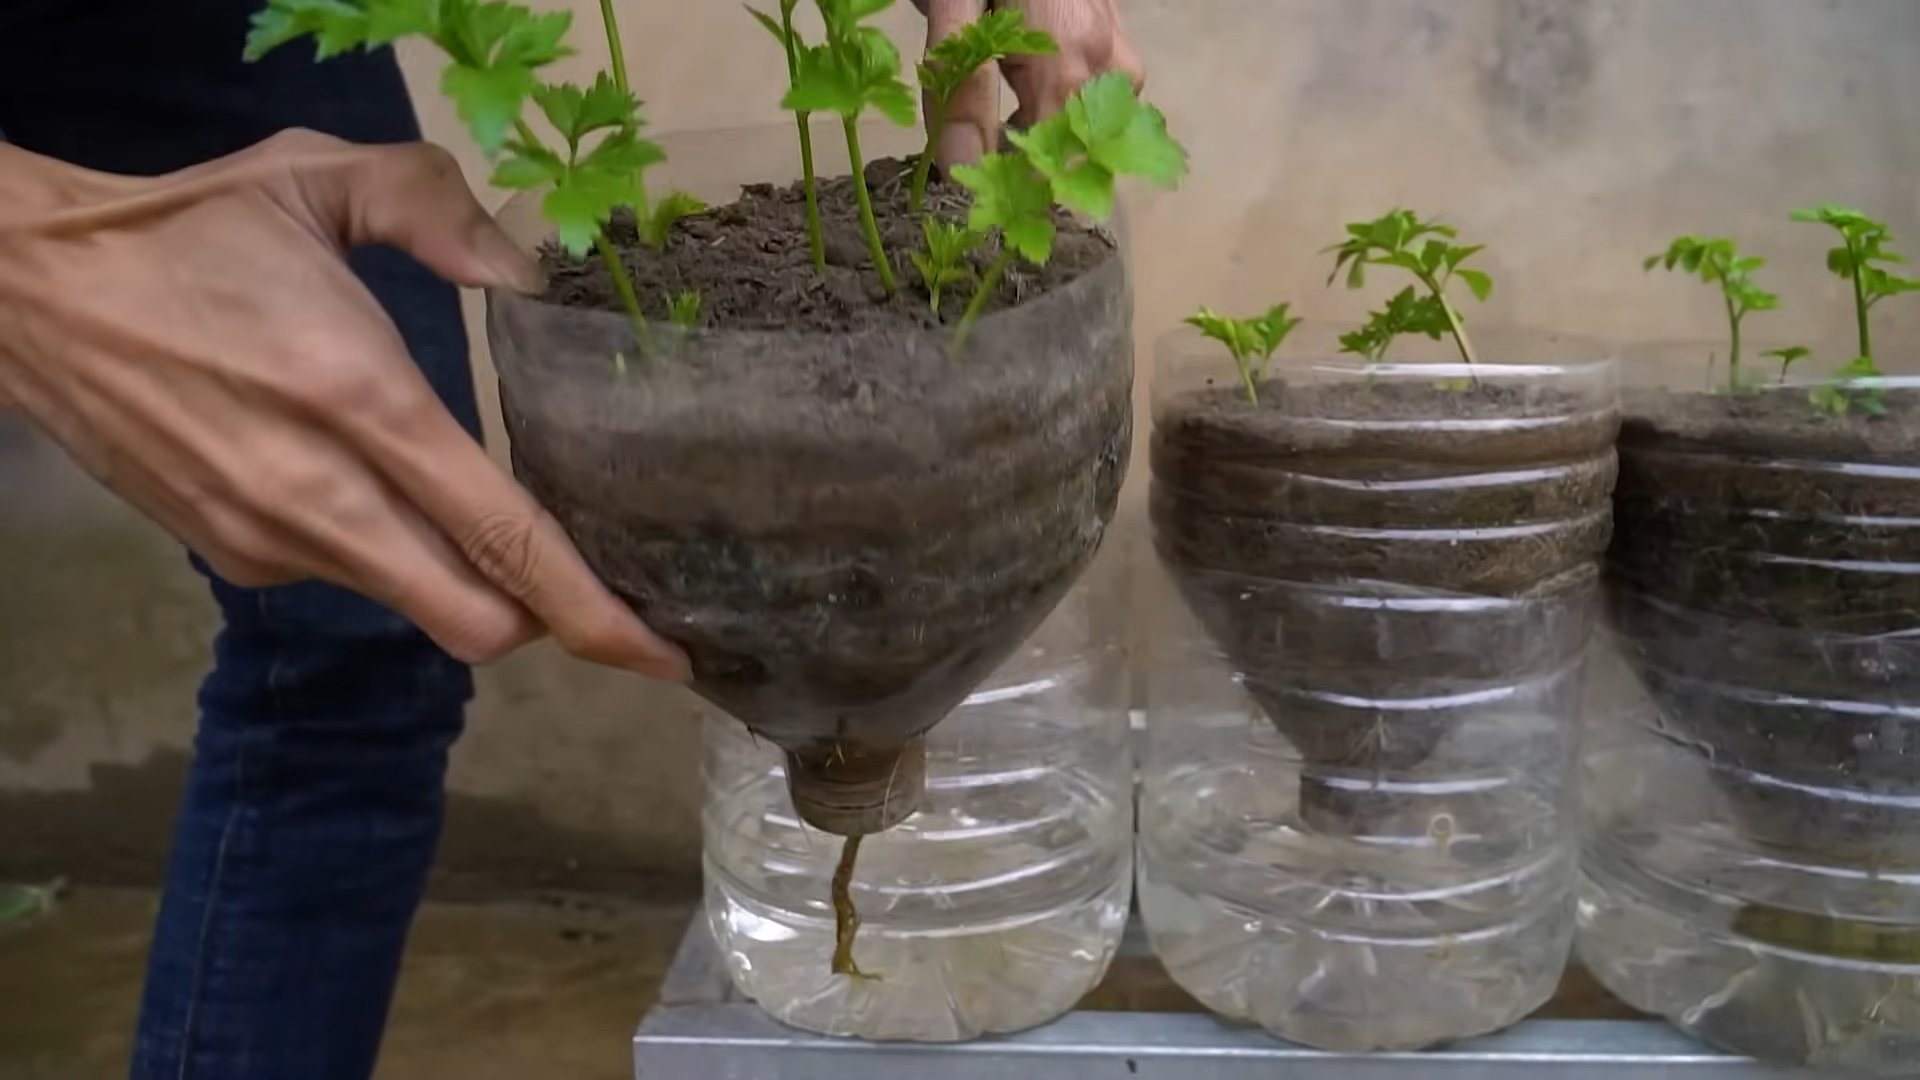
- Choose a container: You can use almost any container, as long as it has drainage holes. A shallow dish, a small pot, or even a repurposed jar will work perfectly. Make sure it’s clean.
- Select your growing medium: I prefer to use a mix of potting soil and perlite. Perlite helps with drainage and aeration, preventing the roots from becoming waterlogged. You can also use just potting soil, but ensure it’s well-draining.
- Fill the container: Fill your chosen container with the growing medium, leaving about half an inch of space at the top. Gently moisten the soil with water, but don’t oversaturate it.
Phase 3: Planting and Caring for Your Celery
- Planting the celery base: Place the prepared celery base into the moistened soil, ensuring the root end is firmly planted. You don’t need to bury it deeply; just enough to keep it stable.
- Watering: Water the celery base gently, making sure the soil is consistently moist but not soggy. Overwatering can lead to root rot. Check the soil moisture daily, and water when the top inch feels dry.
- Sunlight: Place your container in a sunny location. Celery needs at least six hours of sunlight per day to thrive. A south-facing windowsill is ideal, but you can also use grow lights if natural light is limited.
- Monitoring growth: After a few days, you should start to see new growth emerging from the center of the celery base. This is a sign that your celery is taking root and growing.
- Fertilizing: After about a month, you can start fertilizing your celery with a diluted liquid fertilizer. Follow the instructions on the fertilizer packaging carefully, as over-fertilizing can harm your plant.
- Thinning (optional): If multiple shoots emerge, you might need to thin them out to allow the strongest ones to grow. Carefully remove the weaker shoots, leaving space for the remaining ones to develop.
- Pest and disease control: Regularly inspect your celery for any signs of pests or diseases. If you notice any problems, treat them promptly using appropriate organic methods. Good air circulation can help prevent many issues.
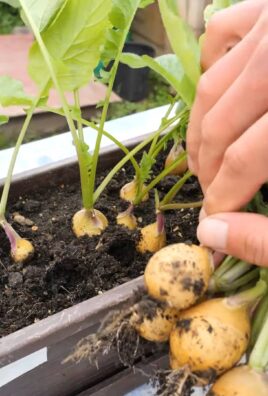
- Harvesting: You can start harvesting your celery after about 8-10 weeks, depending on the variety and growing conditions. Harvest the outer stalks first, leaving the inner ones to continue growing. You can harvest multiple times from the same plant.
Phase 4: Troubleshooting Common Problems
Problem: Yellowing Leaves
Yellowing leaves can indicate several issues, including overwatering, underwatering, or nutrient deficiencies. Check the soil moisture and adjust your watering schedule accordingly. If the problem persists, consider using a balanced liquid fertilizer.
Problem: Slow or Stunted Growth
Slow growth can be due to insufficient sunlight, poor soil drainage, or lack of nutrients. Ensure your celery is receiving enough sunlight and that the soil is well-draining. Fertilizing can also help promote faster growth.
Problem: Root Rot
Root rot is a common problem caused by overwatering. The soil should be moist but not soggy. If you notice signs of root rot (mushy, dark roots), it’s best to start over with a fresh celery base and well-draining soil.
Problem: Pests
Aphids and other pests can sometimes infest celery plants. Inspect your plant regularly and treat any infestations promptly using organic pest control methods, such as insecticidal soap or neem oil. Always follow the instructions on the product label carefully.
Phase 5: Tips for Success
- Use fresh celery: The fresher the celery, the better the chances of success.
- Maintain consistent moisture: Don’t let the soil dry out completely, but avoid overwatering.
- Provide adequate sunlight: Celery needs plenty of sunlight to thrive.
- Be patient: Growing celery takes time, so don’t get discouraged if you don’t see results immediately.
- Experiment: Try different growing methods and techniques to find what works best for you.
Growing your own celery is a rewarding experience. With a little patience and care, you’ll be enjoying fresh, homegrown celery in no time! Remember to always research the specific needs of your celery variety for optimal results.
Conclusion
So there you have it – a simple, yet incredibly rewarding method for growing your own celery at home! This DIY trick isn’t just about saving money on groceries; it’s about connecting with the process of food production, experiencing the satisfaction of nurturing a plant from its base to a crisp, flavorful stalk, and ultimately, enjoying the freshest celery you’ve ever tasted. Growing celery at home is surprisingly easy, requiring minimal space and effort, making it a perfect project for beginner gardeners and seasoned green thumbs alike. The unique satisfaction of harvesting your own homegrown celery, knowing exactly where it came from and how it was grown, is an experience that truly elevates the simple act of cooking. Beyond the incredible taste and freshness, this method also allows you to control the quality and avoid any potential pesticide exposure, ensuring a healthier and more sustainable option for your family. This simple DIY method transforms a seemingly mundane kitchen staple into a rewarding and engaging gardening project.
You can easily adapt this method to suit your needs and preferences. Experiment with different types of celery – some varieties are known for their particularly tender stalks or robust flavor profiles. Consider using different containers – a larger pot might allow for multiple celery stalks to grow simultaneously. You can also try growing celery in a hydroponic system for even faster growth and more consistent results. Don’t be afraid to get creative! Perhaps you could incorporate your homegrown celery into a vibrant homemade soup, a refreshing salad, or even a flavorful celery root puree. The possibilities are endless!
We strongly encourage you to try this simple and effective method of growing celery at home. It’s a fantastic way to introduce yourself to the world of home gardening, even if you have limited space or experience. Share your experience with us! We’d love to see photos of your thriving celery plants and hear about your culinary creations featuring your homegrown harvest. Use the hashtag #HomegrownCelery on social media to connect with other gardening enthusiasts and share your success stories. Let’s build a community of home gardeners, celebrating the joy of growing our own food and enjoying the freshest, most flavorful produce imaginable. Remember, the journey from base to delicious stalk is surprisingly rewarding, and the taste of homegrown celery is an experience you won’t soon forget. So, grab that celery base, find a sunny spot, and embark on your celery-growing adventure today!
Frequently Asked Questions
What type of celery is best for growing at home?
While many celery varieties can be successfully grown from the base, those with shorter, more compact growth habits are often easier to manage in smaller containers. Look for varieties specifically labeled as suitable for home gardens or container growing. Experimenting with different types is part of the fun!
How much sunlight does celery need?
Celery thrives in bright, indirect sunlight. Aim for at least six hours of sunlight per day, but avoid placing it in direct, intense sunlight, which can scorch the leaves. A south-facing window (in the Northern Hemisphere) or a location with filtered sunlight is ideal. If you notice the leaves wilting, it might be a sign of too much sun; adjust its location accordingly.
How often should I water my celery?
Keep the soil consistently moist, but not waterlogged. Water thoroughly when the top inch of soil feels dry. Overwatering can lead to root rot, while underwatering will result in wilting and stunted growth. The frequency of watering will depend on factors like temperature, humidity, and the type of container you’re using. Feel the soil regularly to determine when it needs watering.
What if my celery leaves start to yellow or brown?
Yellowing or browning leaves can indicate several issues, including underwatering, overwatering, nutrient deficiencies, or pest infestations. Check the soil moisture level and adjust your watering schedule accordingly. Ensure the soil is well-draining to prevent root rot. If the problem persists, consider using a balanced liquid fertilizer diluted to half strength. Inspect the plant for any signs of pests and take appropriate action if necessary.
How long does it take to grow celery from a base?
The time it takes to harvest celery from a base varies depending on the variety, growing conditions, and care provided. Generally, you can expect to see harvestable stalks within 8-12 weeks. Be patient and consistent with your care, and you’ll be rewarded with fresh, homegrown celery in no time.
Can I grow celery in any type of container?
Yes, you can grow celery in a variety of containers, as long as they have adequate drainage holes to prevent waterlogging. Shallow, wide containers are often preferred, as celery roots tend to spread horizontally. Consider using pots made of materials that retain moisture, such as terracotta, but ensure they have sufficient drainage. You can even repurpose food containers, as long as they are clean and have drainage holes.
What can I do with my homegrown celery?
The possibilities are endless! Use your homegrown celery in soups, stews, salads, stir-fries, or as a crunchy addition to sandwiches and wraps. You can also juice it for a refreshing and healthy drink. Experiment with different recipes and discover new ways to enjoy the fresh, vibrant flavor of your homegrown celery. The superior taste and freshness will elevate any dish.
What if my celery doesn’t grow?
If your celery isn’t growing, there could be several reasons. Ensure it’s receiving adequate sunlight, water, and nutrients. Check for pests or diseases. If the problem persists, consider repotting it in fresh soil or trying a different growing method. Remember, patience and consistent care are key to successful celery cultivation. Don’t be discouraged if your first attempt isn’t perfect – keep learning and experimenting!


Leave a Comment