
Grow Cherries at Home? Absolutely! Imagine stepping into your backyard and plucking juicy, sun-ripened cherries straight from your own tree. Sounds like a dream, right? Well, it doesn’t have to be! This DIY guide is packed with simple, effective tricks to help you cultivate your own cherry bounty, even if you have limited space or gardening experience.
Cherries have a rich history, enjoyed for centuries across various cultures. From ancient Roman feasts to traditional Japanese cherry blossom festivals, these delightful fruits have always held a special place in our hearts (and stomachs!). But you don’t need a sprawling orchard to partake in this delicious tradition.
Many people shy away from the idea of growing cherries, thinking it’s too complicated or requires expert knowledge. But I’m here to tell you that with a few clever hacks and a little patience, you can successfully grow cherries at home. This article will demystify the process, providing you with easy-to-follow instructions and insider tips to overcome common challenges. Whether you’re dreaming of homemade cherry pies or simply want to enjoy the beauty of a cherry tree in your garden, this DIY guide is your starting point. Let’s get growing!
Grow Your Own Delicious Cherries: A DIY Guide
Okay, so you want to grow cherries at home? Awesome! It’s totally doable, and nothing beats the taste of fresh, homegrown cherries. It might seem a little daunting at first, but trust me, with a little patience and the right know-how, you’ll be enjoying your own cherry harvest before you know it. This guide will walk you through everything you need to know, from choosing the right variety to protecting your precious trees from pests. Let’s get started!
Choosing the Right Cherry Variety
This is probably the most important decision you’ll make. Not all cherry trees are created equal, and some are much better suited for home gardens than others. Here’s what to consider:
* Sweet vs. Sour: Sweet cherries are the ones you typically eat fresh, while sour cherries are better for pies, jams, and preserves. Think about what you want to use your cherries for.
* Self-Pollinating vs. Cross-Pollinating: Some cherry varieties are self-pollinating, meaning they can produce fruit on their own. Others require a second, compatible cherry tree nearby for pollination. If you only have space for one tree, definitely go for a self-pollinating variety.
* Chill Hours: This refers to the number of hours below 45°F (7°C) that a cherry tree needs during the winter to properly set fruit in the spring. Make sure you choose a variety that’s suited to your climate. If you live in a warmer area, you’ll need a low-chill variety.
* Size: Cherry trees can get pretty big! Consider the space you have available. You can also choose dwarf or semi-dwarf varieties, which are smaller and easier to manage.
Some popular self-pollinating sweet cherry varieties include ‘Stella’, ‘Lapins’, and ‘Compact Stella’. For sour cherries, ‘Montmorency’ is a classic and reliable choice.
Preparing the Planting Site
Cherries need a sunny spot with well-drained soil. Here’s how to get your planting site ready:
* Sunlight: Cherry trees need at least 6 hours of direct sunlight per day.
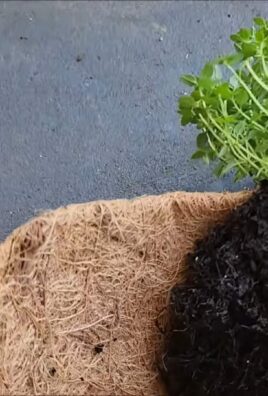
* Soil: Cherries prefer slightly acidic soil with a pH between 6.0 and 7.0. If your soil is heavy clay, amend it with plenty of organic matter, such as compost or well-rotted manure. This will improve drainage and aeration.
* Drainage: Good drainage is crucial. Cherry trees don’t like to have their roots sitting in water. If your soil drains poorly, consider planting your tree on a raised mound.
* Space: Give your cherry tree plenty of room to grow. Dwarf varieties need about 8-10 feet of space, while standard varieties need 20-30 feet.
Planting Your Cherry Tree
Okay, you’ve chosen your variety and prepped your site. Now it’s time to get that tree in the ground!
1. Dig the Hole: Dig a hole that’s twice as wide as the root ball and just as deep.
2. Prepare the Roots: Gently loosen the roots of the cherry tree. If the roots are circling around the pot, carefully cut them to prevent them from girdling the tree.
3. Position the Tree: Place the tree in the hole, making sure the top of the root ball is level with the surrounding soil.
4. Backfill the Hole: Backfill the hole with the soil you removed, gently tamping it down as you go.
5. Water Thoroughly: Water the tree deeply after planting. This will help settle the soil and get the roots off to a good start.
6. Mulch: Apply a layer of mulch around the base of the tree, keeping it a few inches away from the trunk. Mulch helps retain moisture, suppress weeds, and regulate soil temperature. I like to use wood chips or shredded bark.
7. Stake (Optional): If you live in a windy area, you may want to stake your cherry tree for the first year or two to help it establish a strong root system.
Caring for Your Cherry Tree
Once your cherry tree is planted, it’s important to provide it with the care it needs to thrive.
* Watering: Water your cherry tree regularly, especially during dry periods. Young trees need more frequent watering than established trees. Aim for deep, infrequent watering rather than shallow, frequent watering.
* Fertilizing: Fertilize your cherry tree in the spring with a balanced fertilizer. Follow the instructions on the fertilizer package. I usually use a 10-10-10 fertilizer.
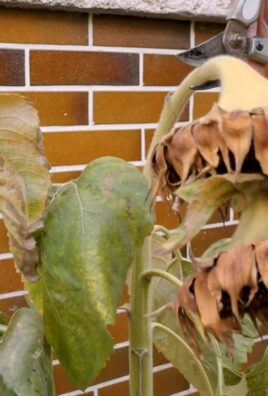
* Pruning: Prune your cherry tree in late winter or early spring to remove dead, damaged, or crossing branches. Pruning helps to improve air circulation and sunlight penetration, which can lead to better fruit production.
* Pest and Disease Control: Keep an eye out for pests and diseases. Common cherry tree pests include aphids, cherry fruit flies, and Japanese beetles. Common diseases include brown rot and leaf spot. There are many organic and conventional methods for controlling these pests and diseases. I prefer to use organic methods whenever possible.
* Protecting from Birds: Birds love cherries just as much as we do! To protect your crop, you may need to cover your tree with netting. This can be a bit of a hassle, but it’s worth it to ensure you get to enjoy your harvest.
Dealing with Common Cherry Tree Problems
Even with the best care, you might encounter some problems along the way. Here are a few common issues and how to deal with them:
* Lack of Fruit: If your cherry tree isn’t producing fruit, it could be due to a number of factors, including lack of pollination, improper pruning, or nutrient deficiencies. Make sure you’ve chosen a self-pollinating variety or have a compatible pollinator nearby. Avoid pruning too heavily, as this can remove fruiting buds. And make sure your tree is getting enough fertilizer.
* Cracked Fruit: Cracked fruit is often caused by inconsistent watering. When the soil dries out and then suddenly gets a lot of water, the fruit can swell too quickly and crack. To prevent this, water your tree regularly and consistently, especially during dry periods.
* Pest Infestations: As mentioned earlier, cherry trees can be susceptible to a variety of pests. Inspect your tree regularly for signs of infestation and take action promptly.
* Disease: Diseases like brown rot and leaf spot can also affect cherry trees. Proper pruning and good air circulation can help prevent these diseases. If you do notice signs of disease, treat your tree with an appropriate fungicide.
Harvesting Your Cherries
The moment you’ve been waiting for! Harvesting your cherries is the most rewarding part of the process.
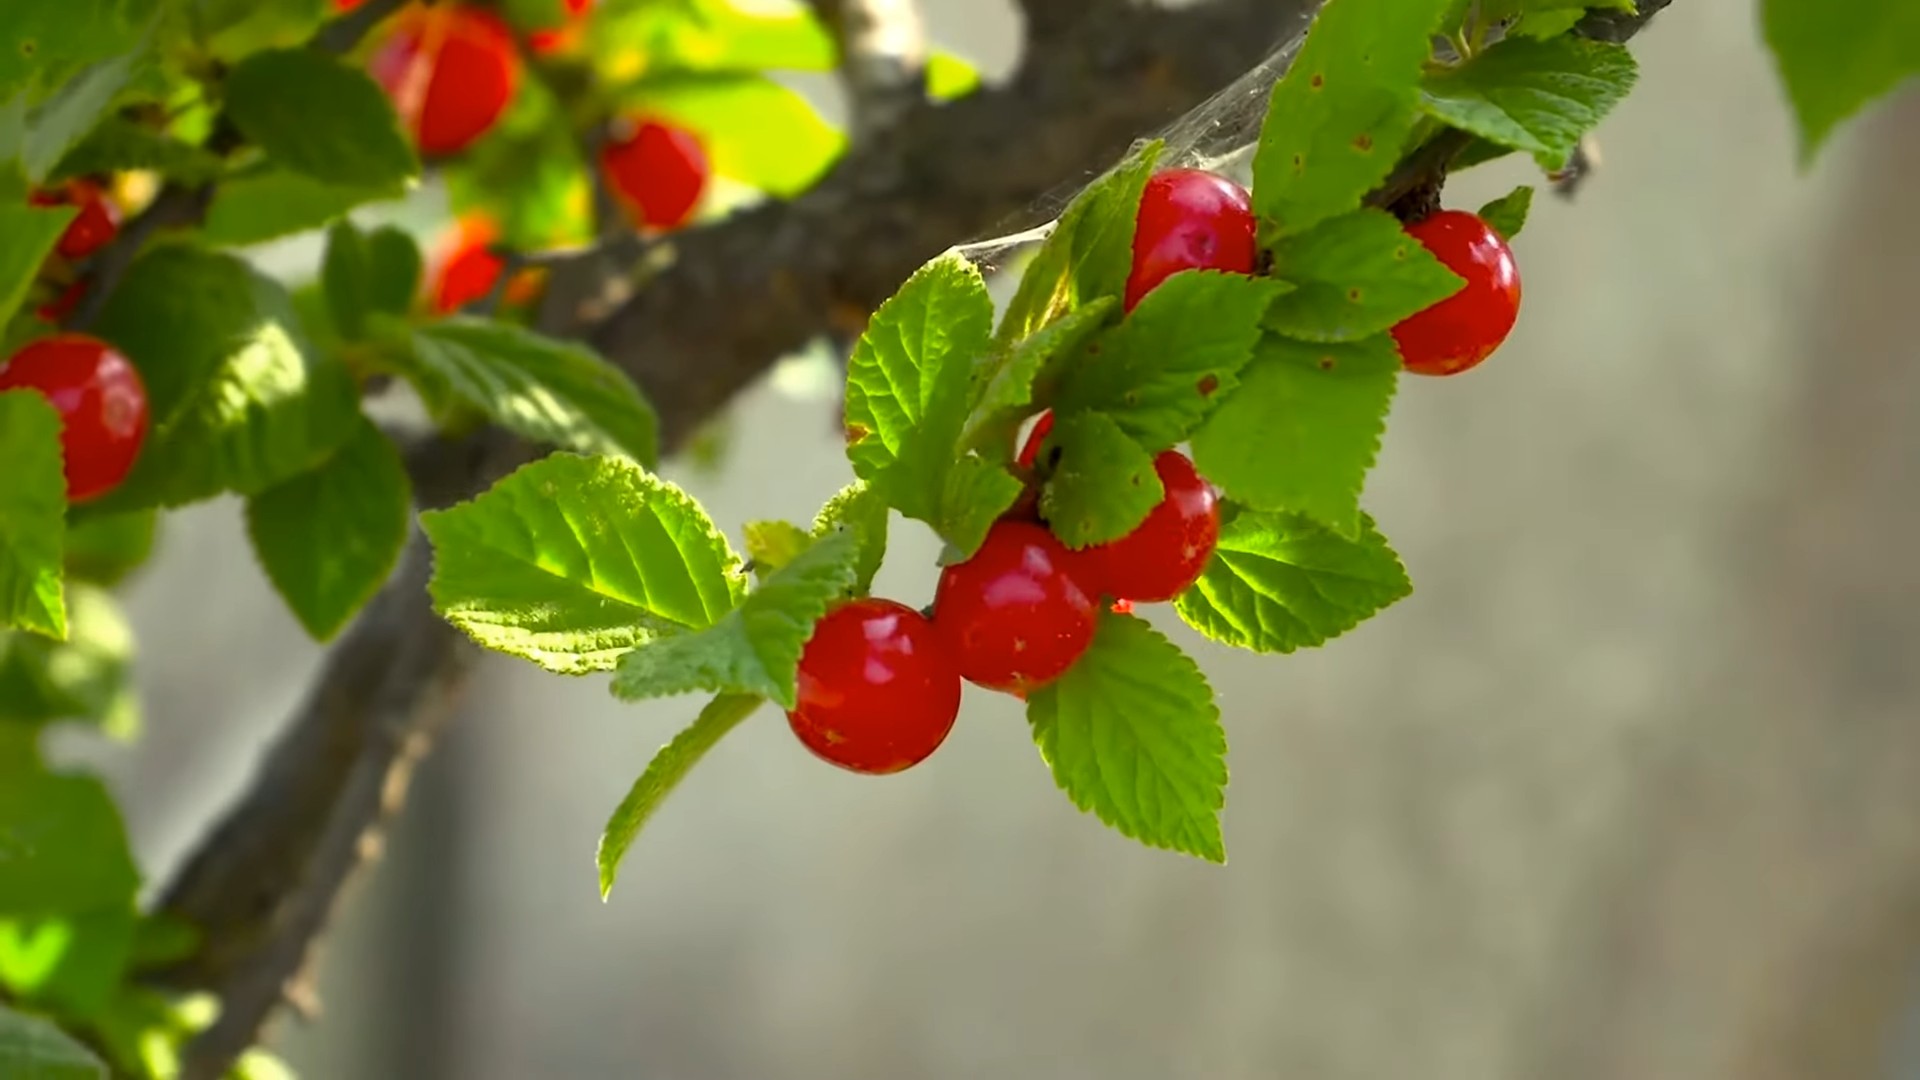
* When to Harvest: Cherries are typically ready to harvest in late spring or early summer, depending on the variety and your climate. The cherries should be fully colored and slightly soft to the touch.
* How to Harvest: Gently twist the cherries off the tree, being careful not to damage the branches.
* Enjoy! Eat your cherries fresh, or use them in pies, jams, and other delicious treats. You can also freeze them for later use.
Propagating Cherry Trees
If you’re feeling ambitious, you can even try propagating your own cherry trees. Here are a few methods:
* Grafting: Grafting is the most common method of propagating cherry trees. It involves joining a scion (a piece of a desired cherry variety) to a rootstock (the root system of another cherry tree). This is a more advanced technique, but it allows you to control the characteristics of the tree, such as its size and disease resistance.
* Budding: Budding is similar to grafting, but it involves using a single bud instead of a whole scion. This is a simpler technique than grafting, but it’s still a bit challenging.
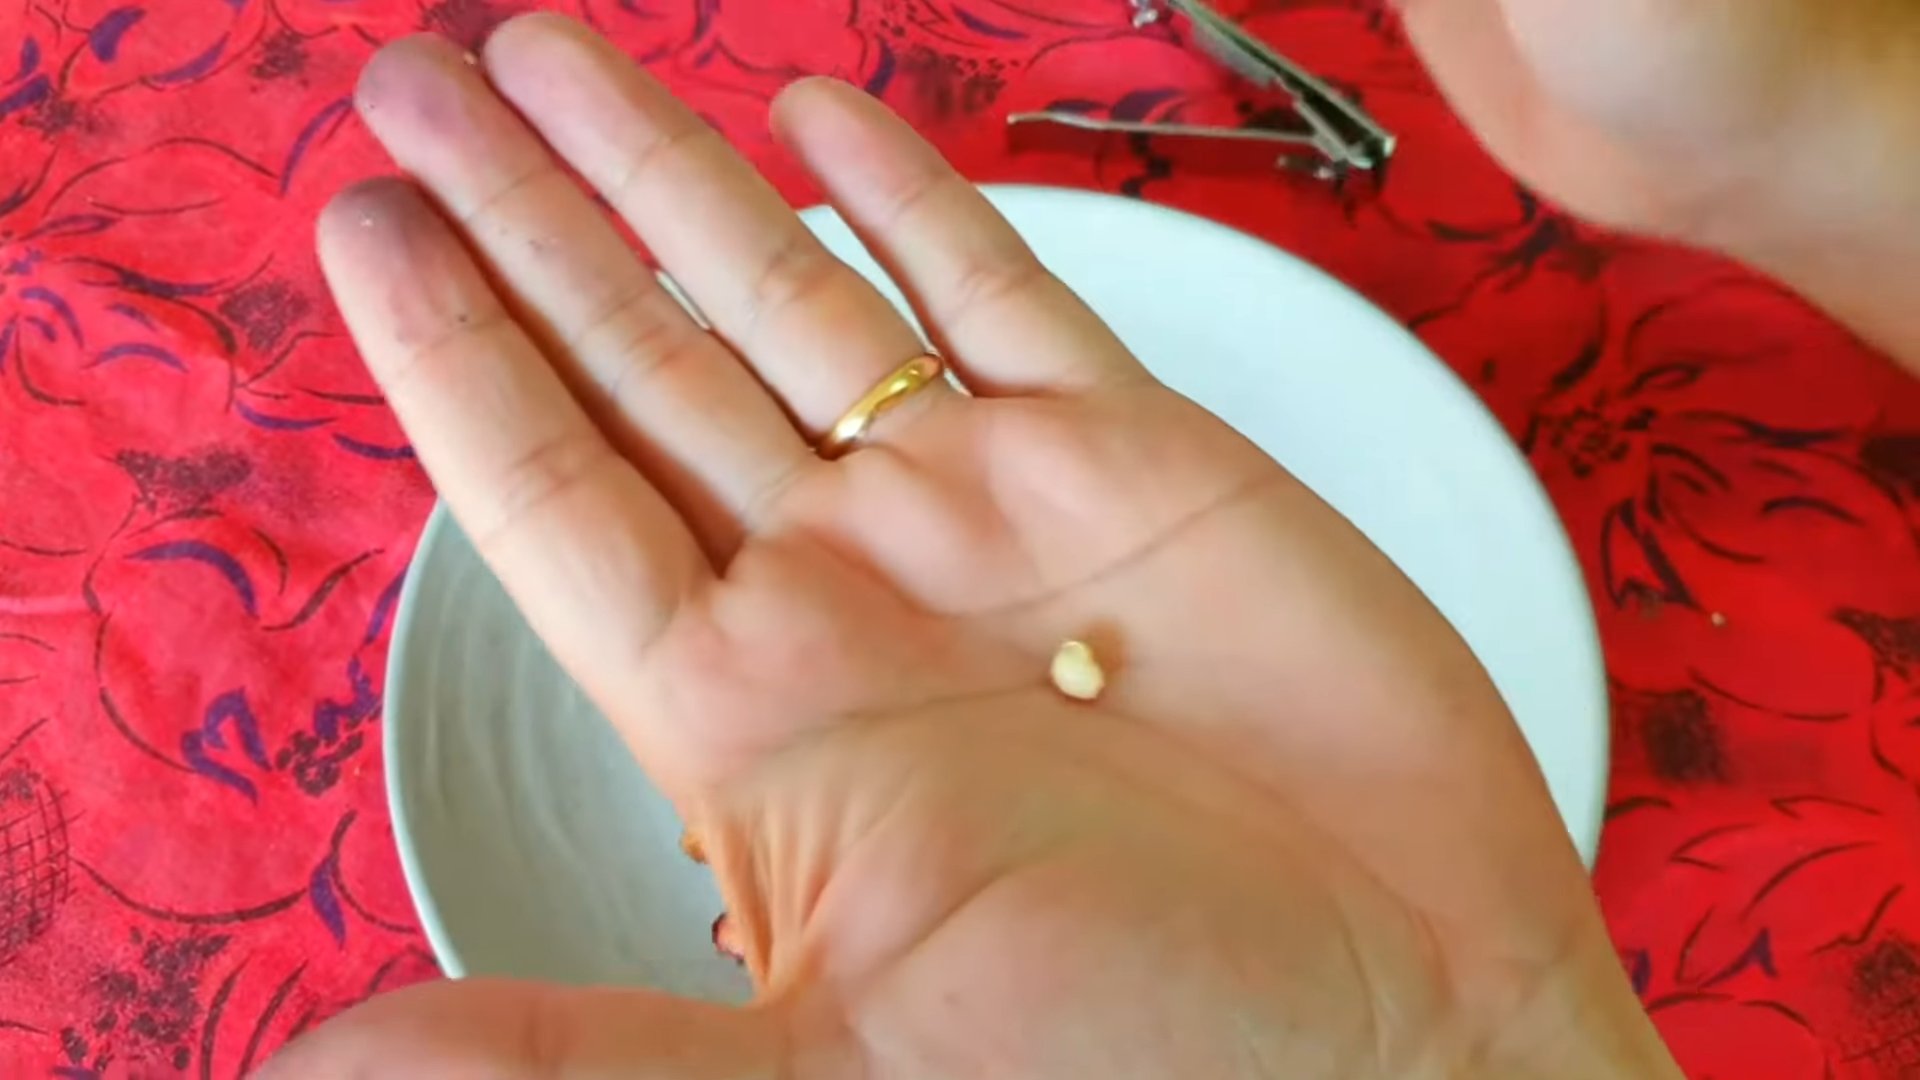
* Rooting Cuttings: While more difficult with cherry trees than some other plants, you can try rooting softwood cuttings taken in the spring. Dip the cut end in rooting hormone and plant in a well-draining potting mix. Keep the cuttings moist and humid until they root.
Extra Tips for Cherry Growing Success
* Choose a reputable nursery: Start with healthy, high-quality trees from a trusted nursery.
* Protect from deer: Deer love to browse on young cherry trees. Protect your trees with fencing or tree guards.
* Be patient: It can take several years for a cherry tree to start producing fruit. Don’t get discouraged if you don’t see results right away.
* Enjoy the process: Growing your own cherries is a rewarding experience. Take the time to enjoy the process and learn from your mistakes.
Growing cherries at home is a fantastic project that brings delicious rewards. With a little planning and care, you can enjoy the taste of homegrown cherries for years to come. Good luck, and happy gardening!
Conclusion
So, there you have it! Growing cherries at home might seem like a daunting task reserved for seasoned gardeners, but with this simple DIY trick, you can significantly increase your chances of a bountiful harvest, even in less-than-ideal conditions. We’ve demystified the process, breaking down the steps into manageable actions that anyone can follow. The beauty of this method lies in its adaptability. Whether you’re working with a dwarf cherry tree in a container on your balcony or a more established variety in your backyard, this technique can be tailored to suit your specific needs and environment.
Why is this DIY trick a must-try? Because it addresses some of the most common challenges faced by home cherry growers: pollination issues, protection from pests and diseases, and optimizing growing conditions. By creating a more controlled environment, you’re giving your cherry tree the best possible start, leading to healthier growth, more abundant blossoms, and ultimately, a sweeter, juicier yield. Imagine biting into a perfectly ripe, homegrown cherry, knowing that you nurtured it from blossom to fruit. That’s the reward waiting for you!
Don’t be afraid to experiment with variations. Consider using different types of netting to protect your trees, depending on the specific pests prevalent in your area. You could also explore companion planting to naturally deter pests and attract beneficial insects. For example, planting marigolds around your cherry tree can help repel nematodes and other harmful insects. Another variation is to adjust the soil composition based on the specific needs of your cherry variety. Some varieties prefer slightly acidic soil, while others thrive in more alkaline conditions. A simple soil test can help you determine the ideal pH level for your tree.
We wholeheartedly encourage you to try this DIY trick for growing cherries at home. It’s a rewarding experience that connects you with nature and provides you with delicious, homegrown fruit. The satisfaction of harvesting your own cherries is unparalleled.
But don’t just take our word for it! We want to hear about your experiences. Share your successes, your challenges, and any modifications you make to the technique. Your feedback will not only help other aspiring cherry growers but also contribute to a collective knowledge base that benefits the entire community. Post your photos, videos, and stories on social media using #HomegrownCherries and #DIYGardening. Let’s inspire others to embark on this fruitful journey! Remember, even if you don’t have a green thumb, this DIY approach can make growing cherries at home a reality. So, grab your gardening gloves, gather your supplies, and get ready to enjoy the sweet taste of success!
Frequently Asked Questions (FAQ)
Q: What type of cherry tree is best for growing at home using this DIY trick?
A: The best type of cherry tree for home growing depends on your climate, space, and desired fruit. Dwarf or semi-dwarf varieties are generally recommended for smaller gardens or container growing. Sweet cherry varieties like ‘Bing,’ ‘Stella,’ and ‘Lapins’ are popular choices, but they often require cross-pollination. Self-pollinating varieties like ‘Stella’ and ‘Lapins’ are easier to grow if you only have space for one tree. Sour cherry varieties like ‘Montmorency’ are also a good option, especially if you plan to use the cherries for baking or making preserves. Consider your local climate and choose a variety that is well-suited to your region’s growing conditions. Also, research the specific pollination requirements of the variety you choose to ensure successful fruit production.
Q: How do I know if my cherry tree needs cross-pollination?
A: Most sweet cherry varieties require cross-pollination, meaning they need pollen from a different cherry variety to produce fruit. Self-pollinating varieties, on the other hand, can produce fruit with their own pollen. To determine if your cherry tree needs cross-pollination, research the specific variety you have. Many nurseries and online resources provide information on pollination requirements. If your tree requires cross-pollination, you’ll need to plant a compatible pollinator variety nearby. Ensure that the two varieties bloom at the same time for successful pollination.
Q: What kind of netting should I use to protect my cherry tree from pests?
A: The type of netting you use depends on the pests you’re trying to protect against. For birds, a fine mesh netting is sufficient. For larger pests like squirrels or deer, you may need a sturdier netting with larger holes. Insect netting can protect against smaller insects like cherry fruit flies. Ensure the netting is durable and UV-resistant to withstand the elements. Secure the netting tightly around the tree to prevent pests from getting underneath. Consider using a frame or support structure to keep the netting from resting directly on the branches, which can damage the fruit.
Q: How often should I water my cherry tree?
A: Watering frequency depends on the climate, soil type, and age of the tree. Young trees need more frequent watering than established trees. Water deeply and regularly, especially during dry periods. Check the soil moisture before watering. The top inch of soil should be slightly dry to the touch. Avoid overwatering, which can lead to root rot. Mulching around the base of the tree can help retain moisture and reduce the need for frequent watering. During the dormant season, watering can be reduced significantly.
Q: What kind of fertilizer should I use for my cherry tree?
A: Use a balanced fertilizer specifically formulated for fruit trees. A fertilizer with a ratio of 10-10-10 or 12-12-12 is a good starting point. Apply fertilizer in the spring, before the tree begins to actively grow. Follow the instructions on the fertilizer package for application rates. Avoid over-fertilizing, which can damage the tree. You can also amend the soil with compost or other organic matter to improve its fertility. A soil test can help you determine the specific nutrient needs of your tree.
Q: How do I prune my cherry tree?
A: Pruning is essential for maintaining the health and productivity of your cherry tree. Prune in late winter or early spring, before the tree begins to actively grow. Remove any dead, damaged, or diseased branches. Thin out crowded branches to improve air circulation and sunlight penetration. Prune to maintain a strong central leader and a well-balanced shape. Avoid pruning too heavily, as this can reduce fruit production. Research the specific pruning requirements of your cherry variety for best results.
Q: My cherry tree is not producing fruit. What could be the problem?
A: There are several reasons why your cherry tree might not be producing fruit. Possible causes include:
* **Lack of pollination:** Ensure your tree is properly pollinated, either by planting a compatible pollinator variety or by hand-pollinating the flowers.
* **Poor growing conditions:** Ensure your tree is planted in well-draining soil and receives adequate sunlight.
* **Nutrient deficiencies:** Fertilize your tree with a balanced fertilizer to provide the necessary nutrients.
* **Pest or disease problems:** Inspect your tree for signs of pests or diseases and take appropriate action.
* **Improper pruning:** Avoid pruning too heavily, as this can reduce fruit production.
* **Young age:** Cherry trees typically take several years to begin producing fruit. Be patient and continue to provide proper care.
* **Late Frost:** A late frost can kill the blossoms and prevent fruit from forming.
Q: Can I grow a cherry tree in a container?
A: Yes, you can grow a cherry tree in a container, but you’ll need to choose a dwarf or semi-dwarf variety that is well-suited to container growing. Use a large container with good drainage. Fill the container with a high-quality potting mix. Water regularly and fertilize as needed. Container-grown cherry trees may need to be protected from extreme temperatures during the winter.
Q: How do I deal with common cherry tree pests and diseases?
A: Common cherry tree pests include aphids, cherry fruit flies, and spider mites. Common diseases include cherry leaf spot, brown rot, and powdery mildew. Inspect your tree regularly for signs of pests or diseases. Use appropriate insecticides or fungicides to control infestations. Prune away any infected branches. Encourage beneficial insects to help control pests naturally. Proper watering and fertilization can also help prevent diseases.
Q: What is the best time to harvest cherries?
A: The best time to harvest cherries depends on the variety and the weather conditions. Cherries are typically ready to harvest in late spring or early summer. The cherries should be fully colored and slightly soft to the touch. Taste a few cherries to determine if they are ripe. Harvest the cherries gently to avoid bruising them. Store the cherries in the refrigerator for up to a week.

Leave a Comment