
Grow Microgreens at Home – ever dreamt of having a tiny, vibrant garden bursting with flavor right on your kitchen counter? I know I have! For centuries, cultures around the world have cherished sprouts and young greens for their concentrated nutrients and delicious taste. Think of the ancient Egyptians who sprouted grains, or the Chinese who cultivated bean sprouts – a tradition that continues to this day.
But you don’t need to be an ancient civilization to enjoy these nutritional powerhouses. In today’s fast-paced world, we’re all looking for ways to eat healthier and more sustainably. That’s where microgreens come in! They’re incredibly easy to grow microgreens at home, even if you have limited space or a brown thumb. Imagine adding a peppery radish microgreen to your salad, or a delicate sunflower shoot to your sandwich – all grown by you, in your own home!
This DIY guide will walk you through everything you need to know to start your own microgreen garden. We’ll cover the best seeds to use, simple growing techniques, and even some creative ways to incorporate these little greens into your meals. Get ready to unleash your inner gardener and enjoy the fresh, vibrant flavors of homegrown microgreens!
Grow Your Own Delicious Microgreens: A Beginner’s Guide
Hey there, fellow foodies and green thumbs! Ever wanted to add a burst of fresh flavor and nutrients to your meals without even leaving your kitchen? Well, you’re in the right place! I’m going to walk you through the super simple process of growing your own microgreens at home. Trust me, it’s easier than you think, and the rewards are totally worth it.
What are Microgreens, Anyway?
Microgreens are basically baby versions of vegetables and herbs, harvested just after the cotyledon leaves (the first leaves to emerge from the seed) have developed. They’re packed with flavor and nutrients, often containing higher concentrations of vitamins and minerals than their mature counterparts. Plus, they look absolutely gorgeous sprinkled on salads, sandwiches, soups, or just about anything!
Why Grow Your Own?
* Freshness: You can’t beat the freshness of harvesting your microgreens just minutes before you eat them.
* Cost-Effective: Buying microgreens at the store can be pricey. Growing your own is much more budget-friendly.
* Convenience: Having a constant supply of fresh greens right in your kitchen is incredibly convenient.
* Nutrient-Rich: Microgreens are nutritional powerhouses.
* Fun and Rewarding: It’s a fun and satisfying project to watch your little greens grow.
* Variety: You can grow a wide variety of microgreens, experimenting with different flavors and textures.
What You’ll Need
Before we dive in, let’s gather our supplies. Don’t worry, you probably already have most of these things lying around!
* Seeds: This is the most important part! Choose seeds specifically intended for microgreens. Some popular options include:
* Radish
* Broccoli
* Sunflower
* Pea shoots
* Arugula
* Mustard
* Kale
* Cress
* Beet
* Swiss Chard
Important Note: Make sure you are using seeds that are untreated and safe for consumption. Avoid seeds that have been treated with fungicides or other chemicals.
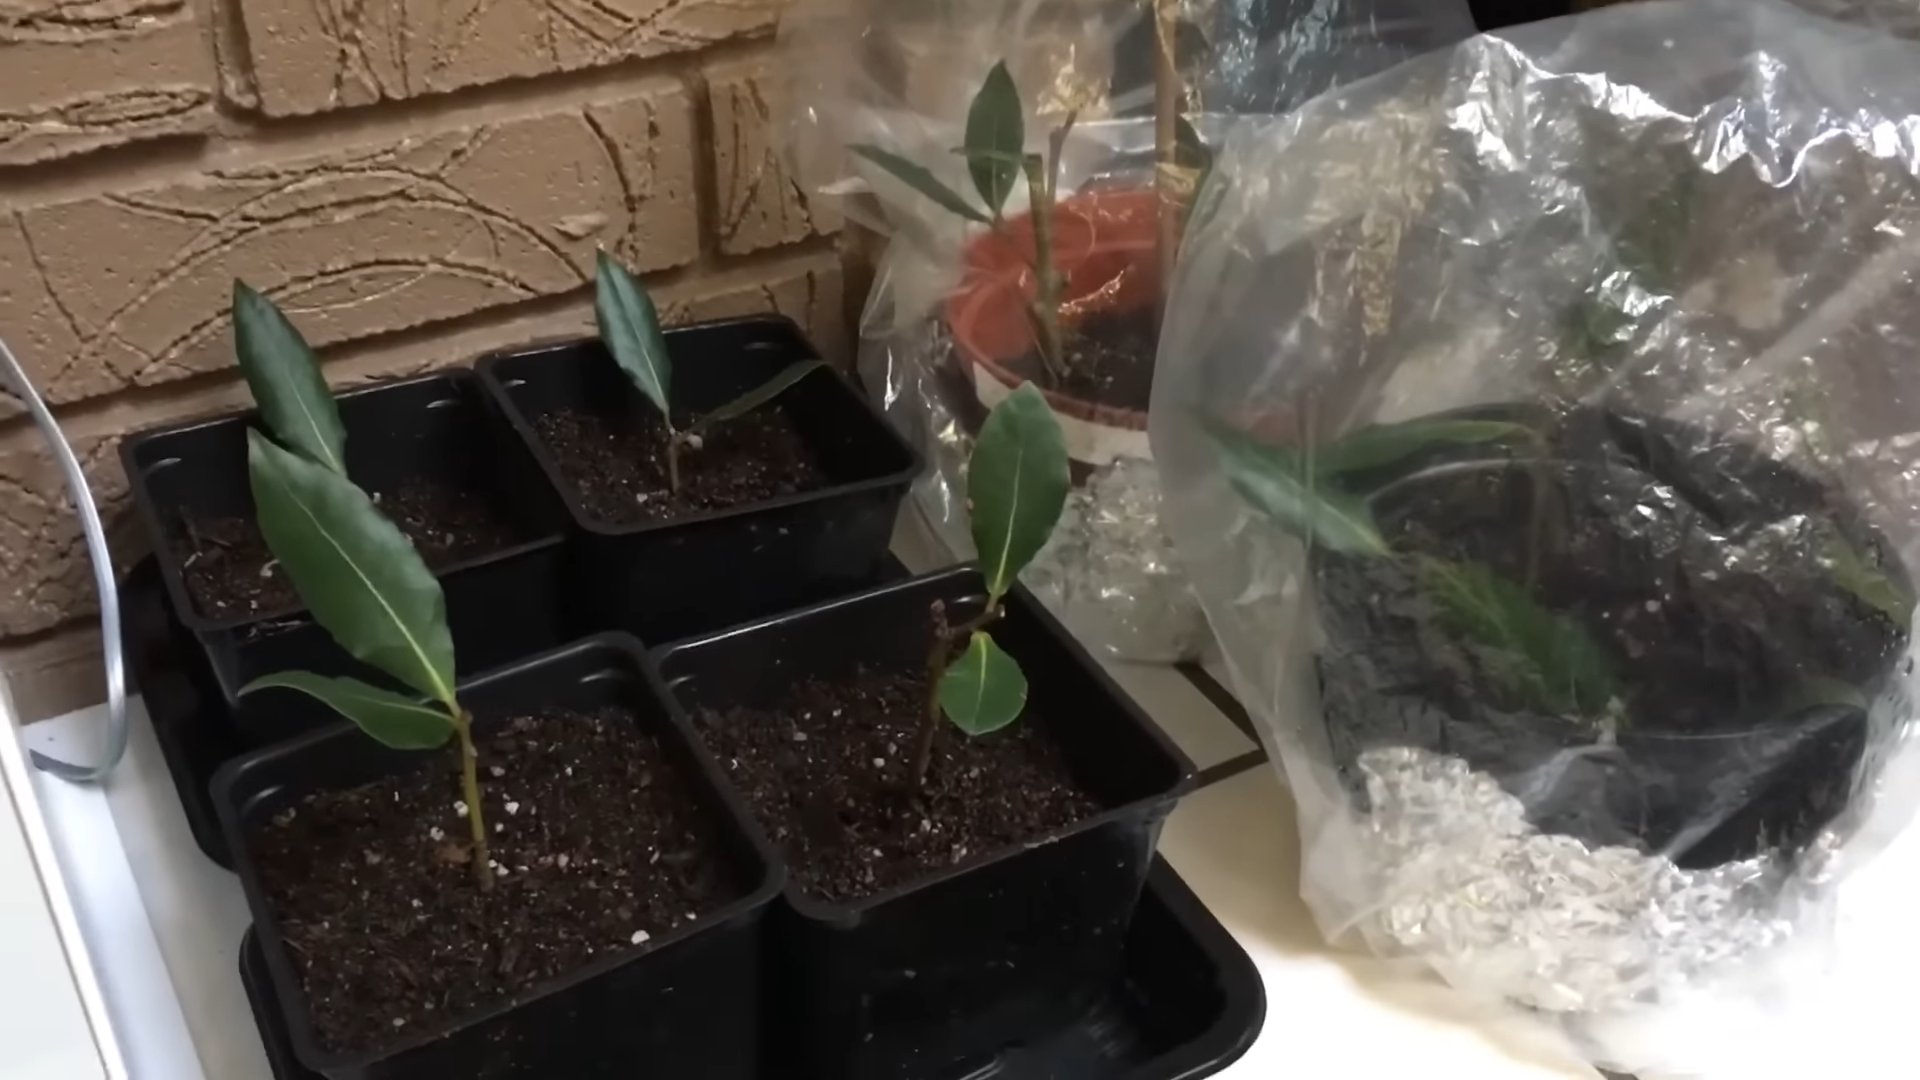
* Growing Trays: You’ll need two trays: one with drainage holes and one without. The tray without holes will act as a reservoir for watering. You can find these at most garden centers or online. I often reuse plastic takeout containers with a few holes poked in the bottom.
* Growing Medium: You can use a variety of growing mediums, such as:
* Seed starting mix
* Coco coir
* Peat moss
I personally prefer coco coir because it’s sustainable and holds moisture well.
* Spray Bottle: For misting your microgreens.
* Water: Filtered water is best.
* Weight (Optional): A small weight, like a book or a brick wrapped in plastic, can help with germination.
* Light Source: A sunny windowsill or a grow light.
Step-by-Step Instructions: Let’s Get Growing!
Okay, let’s get our hands dirty (well, not too dirty!). Here’s a step-by-step guide to growing your own microgreens:
1. Prepare Your Trays
1. Sanitize: Wash your trays thoroughly with soap and water to prevent mold and bacteria growth. Rinse well.
2. Add Growing Medium: Fill the tray with drainage holes with your chosen growing medium. Aim for a depth of about 1-2 inches.
3. Moisten the Medium: Thoroughly moisten the growing medium with water. It should be damp but not soggy. You can use your spray bottle or gently pour water over the medium. Make sure the water is evenly distributed.
4. Level the Surface: Gently flatten the surface of the growing medium to create a smooth and even bed for your seeds.
2. Sow Your Seeds
1. Scatter Seeds: Sprinkle your seeds evenly over the surface of the moistened growing medium. Don’t overcrowd them! You want them close enough together to form a dense mat, but not so close that they’re competing for space and nutrients. A good rule of thumb is to aim for about 1/4 inch between seeds.
2. Press Gently: Gently press the seeds into the growing medium with your hand or a flat object. This will ensure good contact between the seeds and the moisture.
3. Mist Again: Lightly mist the seeds with water to keep them moist.
3. Germination Phase: Darkness is Key
1. Cover the Seeds: Cover the tray with the second tray (the one without drainage holes). This will create a dark and humid environment that’s ideal for germination.
2. Add Weight (Optional): Place a light weight on top of the covered tray. This will help the seeds make good contact with the growing medium and promote even germination.
3. Keep in a Dark Place: Place the covered tray in a dark, cool place for 2-3 days, or until the seeds have germinated. Check on them daily to make sure the growing medium is still moist. Mist with water if needed.
4. The Light Phase: Time to Shine!
1. Uncover the Tray: Once the seeds have germinated and you see small sprouts emerging, remove the top tray and weight.
2. Introduce Light: Place the tray in a sunny windowsill or under a grow light. If using a windowsill, rotate the tray regularly to ensure even growth. If using a grow light, position it a few inches above the microgreens and keep it on for 12-16 hours per day.
3. Water Regularly: Continue to water your microgreens regularly, keeping the growing medium moist but not soggy. You can water from the top with a spray bottle or from the bottom by pouring water into the bottom tray (the one without drainage holes) and allowing the growing medium to absorb the water. Be careful not to overwater, as this can lead to mold growth.
5. Harvesting Your Microgreens: The Best Part!
1. Harvest Time: Your microgreens are ready to harvest when they have developed their cotyledon leaves (the first leaves) and possibly their first set of true leaves (the second set of leaves). This usually takes about 7-14 days, depending on the variety.
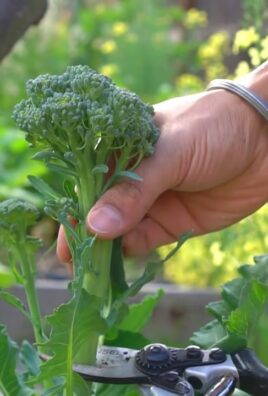
2. Harvesting Technique: Use sharp scissors or a knife to cut the microgreens just above the growing medium.
3. Rinse and Enjoy: Rinse your harvested microgreens with water and enjoy them immediately! You can store them in the refrigerator for a few days, but they’re best when fresh.
Troubleshooting Tips
* Mold Growth: If you see mold growing on your microgreens, it’s usually a sign of overwatering or poor air circulation. Remove the affected areas and improve ventilation. You can also try spraying the microgreens with a diluted hydrogen peroxide solution (1 part hydrogen peroxide to 10 parts water).
* Uneven Germination: Uneven germination can be caused by uneven watering, poor seed quality, or temperature fluctuations. Make sure to water evenly and use high-quality seeds.
* Leggy Growth: Leggy growth (tall, spindly microgreens) is usually a sign of insufficient light. Move your microgreens to a brighter location or use a grow light.
* Damping Off: Damping off is a fungal disease that can kill young seedlings. It’s usually caused by overwatering and poor air circulation. To prevent damping off, use a well-draining growing medium, avoid overwatering, and provide good ventilation.
Choosing the Right Seeds
Not all seeds are created equal when it comes to growing microgreens. Here’s what to keep in mind:
* Seed Source: Purchase your seeds from a reputable source that specializes in microgreen seeds. This will ensure that you’re getting high-quality seeds that are free from contaminants.
* Untreated Seeds: Make sure the seeds are untreated and safe for consumption. Avoid seeds that have been treated with fungicides or other chemicals.
* Seed Size: Consider the size of the seeds when choosing your varieties. Smaller seeds, like radish and broccoli, can be sown more densely than larger seeds, like sunflower and pea shoots.
* Flavor Profile: Experiment with different varieties to find your favorite flavor profiles. Some microgreens are spicy, while others are mild and sweet.
Experimenting with Different Growing Mediums
While I prefer coco coir, there are several other growing mediums you can use for growing microgreens. Here’s a quick overview:
* Seed Starting Mix: Seed starting mix is a lightweight and well-draining mix that’s specifically designed for starting seeds. It’s a good option for beginners.
* Peat Moss: Peat moss is a natural material that holds moisture well. However, it’s not a sustainable option,
Conclusion
So, there you have it! Growing microgreens at home is not only incredibly easy and cost-effective, but it also unlocks a world of fresh, flavorful, and nutrient-packed additions to your meals. Forget those expensive, pre-packaged containers from the grocery store. With just a few simple supplies and a little bit of patience, you can cultivate your own vibrant microgreen garden right on your windowsill.
Why is this DIY trick a must-try? Because it empowers you to take control of your food source, ensuring you’re consuming the freshest, most nutritious ingredients possible. Plus, it’s a fantastic way to reduce your environmental impact by minimizing packaging waste and transportation emissions. Imagine the satisfaction of snipping off a handful of peppery radish microgreens to top your salad, or adding a burst of sunflower microgreens to your morning smoothie – all grown with your own two hands.
But the fun doesn’t stop there! Experiment with different varieties of seeds to discover your favorite flavor profiles. Try a spicy mix of mustard and arugula, a mild blend of broccoli and kale, or a vibrant combination of beets and Swiss chard. You can even tailor your microgreen selection to complement specific dishes. For example, pea shoots pair perfectly with Asian-inspired cuisine, while cilantro microgreens add a zesty touch to Mexican dishes.
Consider using different growing mediums as well. While soil is a classic choice, you can also explore soilless options like coconut coir or hydroponic mats. Each medium offers its own unique benefits and can impact the growth rate and flavor of your microgreens.
Don’t be afraid to get creative with your containers, too. While standard seed trays work perfectly well, you can also repurpose items like plastic takeout containers, yogurt cups, or even egg cartons. Just be sure to provide adequate drainage to prevent waterlogging.
We wholeheartedly encourage you to embark on this microgreen adventure. It’s a rewarding and fulfilling experience that will transform the way you think about fresh produce. And most importantly, it’s a delicious way to boost your health and well-being.
Once you’ve harvested your first batch of homegrown goodness, we want to hear all about it! Share your experiences, tips, and tricks in the comments below. Let us know what varieties you’ve tried, what challenges you’ve encountered, and what delicious dishes you’ve created. Together, we can build a thriving community of microgreen enthusiasts and inspire others to discover the joys of growing their own food. So, grab your seeds, gather your supplies, and get ready to experience the magic of growing microgreens at home! This is the perfect way to ensure you always have fresh, healthy greens on hand.
Frequently Asked Questions (FAQ)
What exactly are microgreens?
Microgreens are young vegetable greens that are harvested just after the cotyledon leaves (the first leaves that emerge from the seed) have developed, and sometimes after the first true leaves have appeared. They are typically harvested within 7-21 days of germination, depending on the variety. They are smaller than baby greens but larger than sprouts. Microgreens are packed with nutrients and offer intense flavors, making them a popular addition to salads, sandwiches, soups, and other dishes.
What types of seeds can I use to grow microgreens?
A wide variety of seeds can be used to grow microgreens, including:
* **Vegetables:** Broccoli, kale, radish, mustard, arugula, spinach, beets, Swiss chard, peas, carrots, cilantro, basil.
* **Herbs:** Parsley, dill, chives.
* **Grains:** Wheatgrass, barley, oats.
* **Flowers:** Sunflower, amaranth.
It’s important to use seeds that are specifically labeled for sprouting or microgreen production. Avoid using seeds that have been treated with fungicides or other chemicals.
What kind of soil should I use?
A good quality potting mix is ideal for growing microgreens. Look for a mix that is well-draining and contains a blend of peat moss, perlite, and vermiculite. You can also use soilless mediums like coconut coir or hydroponic mats. Avoid using garden soil, as it may contain pests or diseases.
How much light do microgreens need?
Microgreens need plenty of light to thrive. A sunny windowsill that receives at least 4-6 hours of direct sunlight per day is ideal. If you don’t have access to enough natural light, you can supplement with artificial lighting, such as fluorescent grow lights or LED grow lights. Position the lights a few inches above the microgreens and keep them on for 12-16 hours per day.
How often should I water my microgreens?
Microgreens need to be kept consistently moist, but not waterlogged. Water them gently using a spray bottle or watering can, being careful not to disturb the seeds or seedlings. Water when the top layer of soil feels dry to the touch. Avoid overwatering, as this can lead to mold or fungal growth.
How long does it take for microgreens to grow?
The growth time for microgreens varies depending on the variety. Some microgreens, like radish and mustard, can be harvested in as little as 7-10 days. Others, like sunflower and beets, may take 14-21 days. Check the seed packet for specific instructions.
How do I harvest microgreens?
Microgreens are ready to harvest when the cotyledon leaves are fully developed and the first true leaves have appeared. Use a pair of scissors or a sharp knife to snip the microgreens just above the soil line. Harvest only what you need, and store the remaining microgreens in the refrigerator in an airtight container.
How do I prevent mold growth?
Mold growth is a common problem when growing microgreens. To prevent mold, ensure good air circulation, avoid overwatering, and use a clean growing medium. You can also add a small amount of hydrogen peroxide to the water to help prevent fungal growth. If you do notice mold, remove the affected area immediately.
Can I reuse the soil after harvesting microgreens?
It’s generally not recommended to reuse the soil after harvesting microgreens, as it may contain pathogens or depleted nutrients. It’s best to start with fresh soil for each batch of microgreens.
Are microgreens more nutritious than mature vegetables?
Yes, microgreens are often more nutrient-dense than mature vegetables. Studies have shown that microgreens can contain significantly higher levels of vitamins, minerals, and antioxidants than their mature counterparts. This is because microgreens are harvested at a young stage of development when their nutrient content is at its peak.
What are some creative ways to use microgreens?
Microgreens are incredibly versatile and can be used in a variety of dishes. Here are a few ideas:
* **Salads:** Add microgreens to your favorite salad for a boost of flavor and nutrients.
* **Sandwiches and wraps:** Use microgreens as a topping for sandwiches, wraps, and tacos.
* **Soups and stews:** Garnish soups and stews with microgreens for a fresh, vibrant touch.
* **Smoothies:** Blend microgreens into your morning smoothie for an extra dose of vitamins and minerals.
* **Omelets and frittatas:** Sprinkle microgreens over omelets and frittatas for a flavorful and nutritious breakfast.
* **Pizza:** Top your pizza with microgreens after baking for a fresh and colorful garnish.
* **Garnishes:** Use microgreens as a garnish for any dish to add visual appeal and a burst of flavor.
Can I grow microgreens indoors year-round?
Yes, you can grow microgreens indoors year-round, regardless of the weather outside. With proper lighting and watering, you can enjoy a continuous supply of fresh microgreens throughout the year.
Is growing microgreens at home organic?
Yes, growing microgreens at home can be organic if you use organic seeds and organic growing medium. Make sure to avoid using any synthetic fertilizers or pesticides.
What if my microgreens are leggy (tall and thin)?
Leggy microgreens are usually a sign that they are not getting enough light. Move them to a brighter location or supplement with artificial lighting.
How do I store harvested microgreens?
To store harvested microgreens, gently rinse them with cold water and pat them dry with a paper towel. Store them in an airtight container in the refrigerator for up to a week. Avoid storing them in a plastic bag, as this can cause them to wilt and spoil more quickly.
Leave a Comment