
Grow vegetables family, right in your own backyard? Imagine stepping outside and harvesting fresh, flavorful ingredients for your next meal. It’s not just a dream; it’s an achievable reality with a little know-how and some clever DIY tricks! For centuries, cultivating our own food has been a cornerstone of human civilization, from ancient Roman kitchen gardens to the vibrant community gardens of today. There’s something deeply satisfying about nurturing a plant from seed to table, and sharing that bounty with your loved ones.
But let’s be honest, the thought of starting a garden can be daunting. Where do you even begin? That’s where this article comes in! I’m here to share some of my favorite home gardening hacks and DIY projects that will make grow vegetables family easier and more rewarding than you ever thought possible. Whether you’re a seasoned gardener or a complete beginner, you’ll find tips and tricks to help you maximize your space, save money, and enjoy a delicious harvest.
In today’s world, where we’re increasingly conscious of where our food comes from, growing your own vegetables is more important than ever. Not only does it provide you with fresh, healthy produce, but it also reduces your carbon footprint and connects you with nature. So, let’s get our hands dirty and discover the joy of growing your own food!

Creating Your Own Thriving Family Vegetable Garden
Okay, so you want to grow your own vegetables? Awesome! It’s seriously rewarding, and nothing beats the taste of a homegrown tomato. I’m going to walk you through everything you need to know to get started, from planning your garden to harvesting your delicious bounty. Let’s get our hands dirty!
Phase 1: Planning and Preparation
Before you even think about planting, a little planning goes a long way. Trust me, I’ve learned this the hard way!
* **Choosing the Right Location:** Sunlight is key! Most vegetables need at least 6-8 hours of direct sunlight per day. Observe your yard throughout the day to see where the sun shines the longest. Also, consider proximity to a water source. Lugging watering cans across the yard gets old fast!
* **Soil Testing:** Don’t skip this step! Knowing your soil’s pH and nutrient levels is crucial. You can buy a soil testing kit at most garden centers or send a sample to your local agricultural extension office. They’ll give you detailed recommendations for amendments.
* **Garden Size:** Start small! It’s better to have a manageable, successful small garden than an overwhelming, neglected large one. A 4×8 foot raised bed is a great starting point. You can always expand later.
* **Choosing Your Vegetables:** Grow what you love to eat! Consider your climate and growing season. Cool-season crops like lettuce, spinach, and peas thrive in spring and fall. Warm-season crops like tomatoes, peppers, and cucumbers need warmer temperatures.
* **Planning Your Layout:** Think about how tall your plants will get. Taller plants like tomatoes and corn should be placed on the north side of the garden so they don’t shade smaller plants. Consider companion planting – some plants help each other grow! For example, basil repels pests that bother tomatoes.
Phase 2: Building Your Garden (If Using Raised Beds)
Raised beds are fantastic for drainage, soil control, and accessibility. Plus, they look nice!
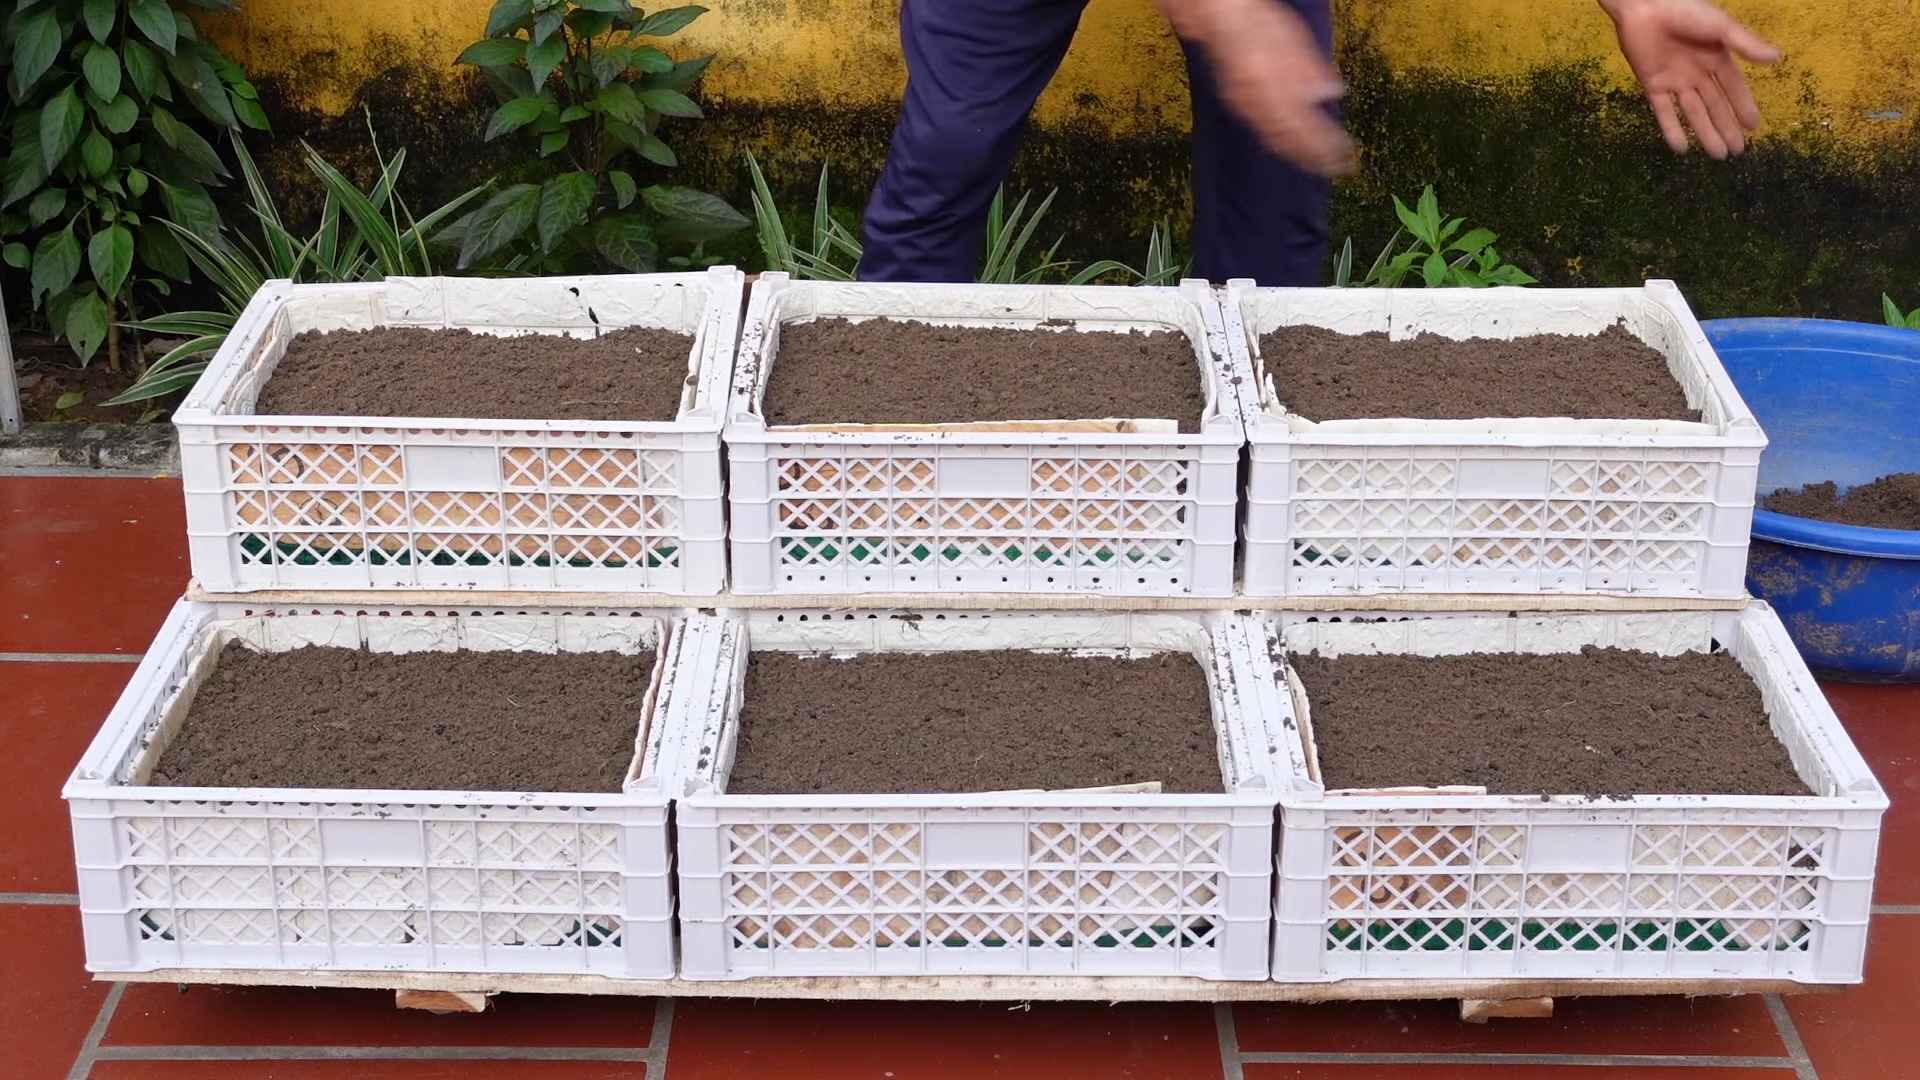
* **Choosing Your Materials:** You can use wood (untreated cedar or redwood is best), concrete blocks, or even repurposed materials like old pallets (make sure they’re safe and untreated!).
* **Building the Frame:** Decide on the size and shape of your raised bed. Cut your materials to the appropriate lengths and assemble the frame. Use screws or nails to secure the corners.
* **Lining the Bed (Optional):** You can line the bottom of the bed with landscape fabric to prevent weeds from growing up from below.
* **Filling the Bed:** This is the fun part! Use a mix of topsoil, compost, and other amendments as recommended by your soil test. I like to use a blend of equal parts topsoil, compost, and peat moss.
Phase 3: Preparing the Soil (In-Ground Gardens)
If you’re planting directly in the ground, soil preparation is even more important.
* **Clearing the Area:** Remove any grass, weeds, rocks, and debris from the area.
* **Tilling or Digging:** Loosen the soil to a depth of at least 12 inches. This will improve drainage and aeration. You can use a tiller or a shovel and garden fork.
* **Amending the Soil:** Incorporate compost, aged manure, or other organic matter into the soil. This will improve its fertility and structure. Again, follow the recommendations from your soil test.
* **Leveling the Soil:** Rake the soil smooth and level.
Phase 4: Planting Your Vegetables
Now for the exciting part – getting those plants in the ground!
* **Starting Seeds Indoors (Optional):** If you want to get a head start on the growing season, you can start seeds indoors 6-8 weeks before the last expected frost. Use seed-starting trays and a good seed-starting mix. Provide plenty of light and water.
* **Direct Sowing:** Some vegetables, like carrots, radishes, and beans, are best sown directly into the garden. Follow the instructions on the seed packet for spacing and depth.
* **Transplanting Seedlings:** Gently remove the seedlings from their containers and plant them in the garden at the appropriate spacing. Dig a hole slightly larger than the root ball and carefully place the seedling in the hole. Backfill with soil and water thoroughly.
* **Watering:** Water your plants immediately after planting.
Phase 5: Caring for Your Garden
Gardening is an ongoing process. Regular care is essential for a healthy and productive garden.
* **Watering:** Water deeply and regularly, especially during dry spells. Water in the morning to allow the foliage to dry before nightfall, which can help prevent fungal diseases.
* **Weeding:** Weeds compete with your vegetables for water, nutrients, and sunlight. Remove them regularly by hand or with a hoe.
* **Fertilizing:** Fertilize your plants as needed with a balanced fertilizer or a fertilizer specifically formulated for vegetables. Follow the instructions on the fertilizer label.
* **Mulching:** Apply a layer of mulch around your plants to help retain moisture, suppress weeds, and regulate soil temperature. Straw, wood chips, or shredded leaves are good options.
* **Pest and Disease Control:** Keep an eye out for pests and diseases. Handpick pests when possible. Use organic pest control methods like insecticidal soap or neem oil if necessary. Prevent diseases by providing good air circulation and avoiding overhead watering.
* **Staking or Caging:** Provide support for tall or sprawling plants like tomatoes, peppers, and cucumbers. Use stakes, cages, or trellises.
Step-by-Step Instructions: Planting Tomato Seedlings
Let’s get specific and walk through planting tomato seedlings, since they’re a garden staple!
1. **Harden Off Seedlings:** If you started your seedlings indoors, you need to “harden them off” before planting them in the garden. This means gradually exposing them to outdoor conditions over a period of 7-10 days. Start by placing them in a sheltered spot for a few hours each day, gradually increasing the amount of time they spend outdoors.
2. **Prepare the Planting Hole:** Dig a hole that is slightly larger than the root ball of the tomato seedling.
3. **Amend the Soil (Optional):** Add a handful of compost or a tablespoon of bone meal to the planting hole. This will provide the tomato plant with extra nutrients.
4. **Remove the Seedling from the Container:** Gently squeeze the sides of the container to loosen the root ball. Carefully remove the seedling from the container.
5. **Plant the Seedling:** Place the seedling in the hole, making sure that the top of the root ball is level with the surrounding soil. You can plant tomato seedlings deeper than other plants – even burying the lower part of the stem. This encourages more root growth.
6. **Backfill with Soil:** Fill the hole with soil and gently firm it around the base of the plant.
7. **Water Thoroughly:** Water the tomato seedling thoroughly after planting.
8. **Stake or Cage:** Immediately stake or cage the tomato plant to provide support.
9. **Mulch:** Apply a layer of mulch around the base of the plant to help retain moisture and suppress weeds.
Step-by-Step Instructions: Direct Sowing Radish Seeds
Radishes are super easy and quick to grow, making them perfect for beginners!
1. **Prepare the Soil:** Rake the soil smooth and remove any rocks or debris. Radishes prefer loose, well-drained soil.
2. **Create Furrows:** Use your finger or a garden tool to create shallow furrows in the soil, about 1/2 inch deep and 1 inch apart.
3. **Sow the Seeds:** Sprinkle the radish seeds evenly along the furrows.
4. **Cover the Seeds:** Gently cover the seeds with soil.
5. **Water Gently:** Water the area gently to avoid washing away the seeds.
6. **Keep the Soil Moist:** Keep the soil consistently moist until the seeds germinate. Radishes germinate quickly, usually within a few days.
7. **Thin Seedlings:** Once the seedlings emerge, thin them to about 1-2 inches apart. This will give them enough room to grow.
8. **Harvest:** Radishes are ready to harvest in as little as 3-4 weeks. Harvest them when they are about 1 inch in diameter.
Phase 6: Harvesting and Enjoying Your Bounty
This is what it’s all about!
* **Harvesting at the Right Time:** Each vegetable has its own ideal harvesting time. Do some research to learn when your vegetables are ready to be picked.
* **Proper Harvesting Techniques:** Use the appropriate tools and techniques to harvest your vegetables without damaging the plants.
* **Enjoying Your Harvest:** Eat your vegetables fresh, preserve them by canning, freezing, or drying, or share them with friends and neighbors.
Troubleshooting Common Garden Problems
Even with the best planning, problems can arise. Here are a few common issues and how to address them:
* **Pests:** Identify the pest and use appropriate control methods. Organic options include insecticidal soap, neem
Conclusion
So, there you have it! This simple yet effective DIY trick for starting your own vegetable garden is more than just a project; it’s an investment in your health, your family’s well-being, and a more sustainable lifestyle. We’ve shown you how easy it is to bypass expensive starter kits and complicated gardening methods, allowing you to grow vegetables with minimal effort and maximum reward.
Why is this a must-try? Because it empowers you to take control of your food source. Imagine stepping into your backyard and harvesting fresh, organic vegetables for your family’s dinner. No more worrying about pesticides, long transportation distances, or inflated grocery store prices. This DIY approach makes fresh, healthy produce accessible to everyone, regardless of their gardening experience or budget.
But the benefits extend beyond just cost savings and convenience. Gardening is a therapeutic activity that can reduce stress, improve your mood, and connect you with nature. Involving your family, especially children, in the process of growing their own food can teach them valuable lessons about nutrition, responsibility, and the environment. It’s a hands-on learning experience that they’ll cherish for years to come.
Feeling adventurous? Consider these variations to personalize your DIY vegetable garden. Experiment with different types of containers, from repurposed plastic bottles to old tires. Try companion planting, where you strategically pair vegetables that benefit each other, such as basil and tomatoes. You can also explore vertical gardening techniques to maximize space in smaller areas. The possibilities are endless!
We are confident that this DIY trick will transform the way you think about growing your own food. It’s a simple, affordable, and rewarding way to grow vegetables and create a healthier, more sustainable lifestyle for yourself and your loved ones.
Now, it’s your turn! We encourage you to try this DIY trick and experience the joy of harvesting your own fresh vegetables. Don’t be afraid to experiment, adapt, and make it your own. And most importantly, share your experience with us! We’d love to hear about your successes, challenges, and creative variations. Post photos of your garden, share your tips, and inspire others to embark on their own vegetable-growing journey. Let’s build a community of passionate gardeners who are committed to growing healthy food and creating a more sustainable future. Happy gardening!
Frequently Asked Questions (FAQ)
What kind of vegetables are easiest to grow using this DIY method?
Great question! For beginners, we recommend starting with vegetables that are relatively low-maintenance and forgiving. Some excellent choices include:
* Leafy Greens: Lettuce, spinach, kale, and arugula are quick to germinate and grow, making them ideal for early success. They also tolerate a range of conditions.
* Radishes: These little root vegetables are incredibly fast-growing, often ready to harvest in just a few weeks.
* Bush Beans: Bush beans are compact and productive, requiring minimal support.
* Zucchini: Zucchini plants are prolific producers, so be prepared for a bountiful harvest.
* Cherry Tomatoes: Cherry tomatoes are relatively easy to grow and offer a sweet, flavorful reward.
* Peppers: Bell peppers and other varieties are generally easy to grow in containers.
As you gain experience, you can gradually expand your repertoire to include more challenging vegetables.
How much sunlight do my vegetables need?
Most vegetables require at least 6-8 hours of direct sunlight per day to thrive. However, some leafy greens can tolerate partial shade, especially in hot climates. Observe your plants closely and adjust their location as needed to ensure they receive adequate sunlight. If you don’t have enough natural sunlight, you can supplement with grow lights.
What kind of soil should I use?
Using the right soil is crucial for successful vegetable gardening. We recommend using a high-quality potting mix specifically formulated for containers. Avoid using garden soil, as it can be too heavy and compacted for container gardening. Look for a potting mix that contains a blend of peat moss, perlite, and vermiculite, which provides good drainage and aeration. You can also amend your potting mix with compost to add nutrients and improve soil structure.
How often should I water my vegetables?
Watering frequency depends on several factors, including the type of vegetable, the size of the container, the weather conditions, and the type of soil. As a general rule, water your vegetables when the top inch of soil feels dry to the touch. Avoid overwatering, as this can lead to root rot. When watering, water deeply and thoroughly, ensuring that the entire root ball is moistened.
Do I need to fertilize my vegetables?
Yes, vegetables require regular fertilization to provide them with the nutrients they need to grow and produce. Use a balanced fertilizer specifically formulated for vegetables. Follow the instructions on the fertilizer package for application rates and frequency. You can also use organic fertilizers, such as compost tea or fish emulsion.
How do I protect my vegetables from pests and diseases?
Prevention is key when it comes to pests and diseases. Start by choosing disease-resistant varieties of vegetables. Inspect your plants regularly for signs of pests or diseases. If you spot any problems, take action immediately. You can use organic pest control methods, such as insecticidal soap or neem oil. For diseases, ensure good air circulation and avoid overwatering.
Can I grow vegetables indoors using this DIY method?
Yes, you can grow vegetables indoors using this DIY method, but you’ll need to provide them with adequate light. Place your containers near a sunny window or use grow lights. Choose vegetables that are well-suited for indoor growing, such as lettuce, spinach, herbs, and cherry tomatoes.
What if I don’t have a backyard?
No problem! This DIY method is perfect for small spaces, such as balconies, patios, or even windowsills. You can grow vegetables in containers of all sizes, from small pots to large tubs. Get creative and utilize vertical gardening techniques to maximize space.
How do I know when my vegetables are ready to harvest?
Harvesting times vary depending on the type of vegetable. Refer to seed packets or online resources for specific harvesting instructions. As a general rule, harvest vegetables when they are fully ripe and have reached their optimal size and color.
What if I have more questions?
We’re here to help! Feel free to leave a comment below with your questions, and we’ll do our best to answer them. You can also find a wealth of information online and in gardening books. Remember, gardening is a learning process, so don’t be afraid to experiment and learn from your mistakes. The most important thing is to have fun and enjoy the fruits (and vegetables!) of your labor.

Leave a Comment