
Growing Borage at Home has never been easier! Imagine strolling through your garden, the gentle hum of bees filling the air as you pluck a vibrant blue borage flower to garnish your summer cocktail. Sounds idyllic, right? Well, it’s totally achievable, even if you think you don’t have a green thumb. For centuries, borage has been more than just a pretty face; it’s been a culinary and medicinal staple, gracing gardens from the Mediterranean to the rolling hills of England.
But let’s be honest, sometimes gardening feels like a daunting task. That’s where these simple DIY tricks come in! I’m going to share my tried-and-true methods for successfully growing borage at home, even in small spaces or less-than-perfect conditions. Forget complicated gardening jargon and expensive equipment. These hacks are designed to save you time, money, and frustration, ensuring you can enjoy the beauty and benefits of this amazing herb without the hassle. Whether you’re a seasoned gardener or just starting out, these tips will have you harvesting borage in no time!
Growing Borage at Home: A Beginner’s Guide
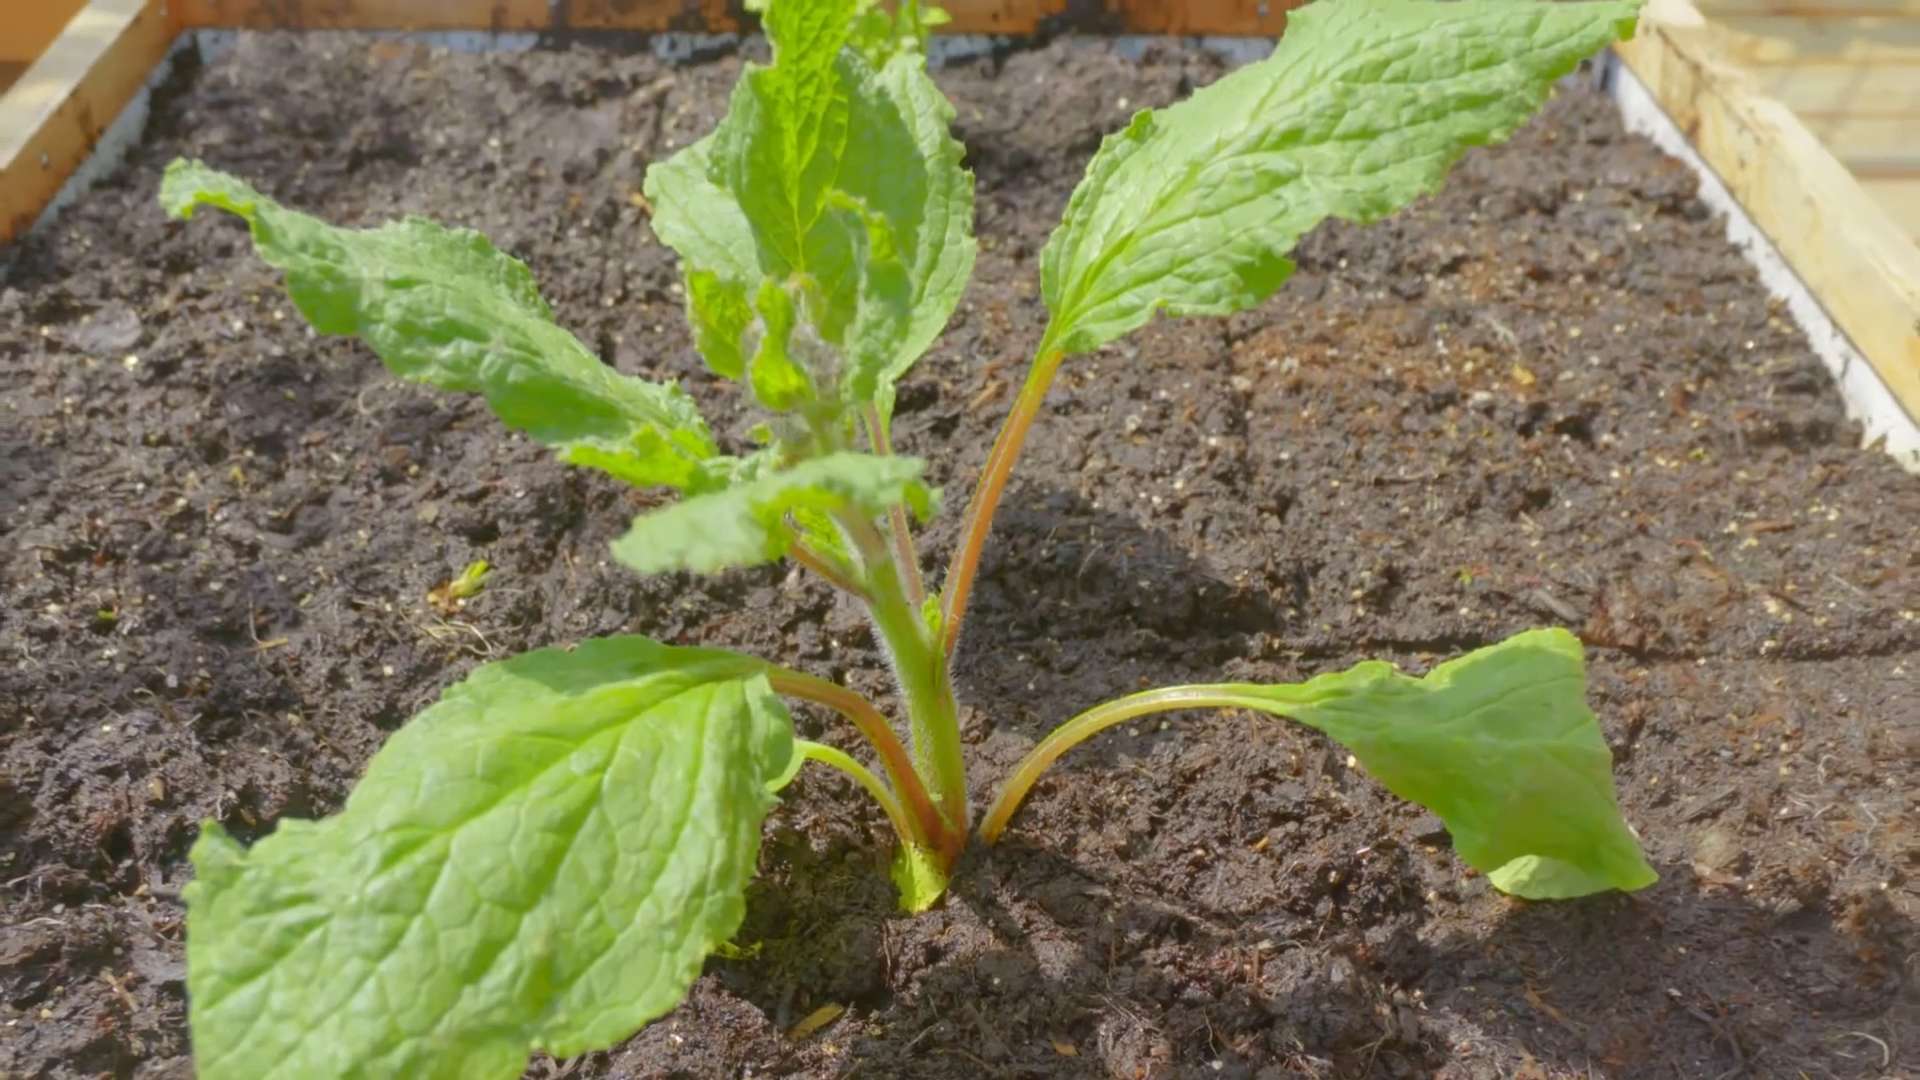
Hey there, fellow garden enthusiasts! I’m so excited to share my experience with growing borage, also known as starflower, right in my own backyard. It’s a fantastic herb that’s not only beautiful with its vibrant blue flowers, but also incredibly useful in the kitchen and garden. Trust me, once you start growing borage, you’ll wonder how you ever lived without it!
Why Grow Borage?
Before we dive into the how-to, let’s talk about why you should consider adding borage to your garden.
* Edible Flowers and Leaves: The flowers have a mild cucumber-like flavor and are perfect for adding a touch of elegance to salads, drinks, and desserts. The young leaves can also be used in salads or cooked like spinach.
* Attracts Pollinators: Borage is a magnet for bees and other beneficial insects, making it a great addition to any garden that needs a pollination boost.
* Soil Improvement: Borage is a dynamic accumulator, meaning it draws nutrients from deep in the soil and stores them in its leaves. When the plant dies back or is composted, these nutrients are released back into the soil, enriching it for other plants.
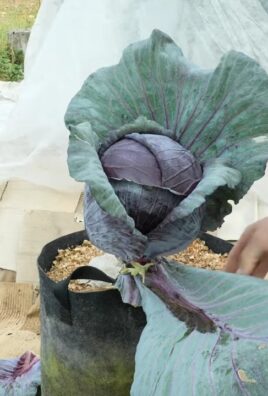
* Pest Deterrent: Some gardeners believe that borage can deter certain pests, such as tomato hornworms and cabbage moths.
* Easy to Grow: Borage is a relatively low-maintenance plant that’s easy to grow from seed, even for beginners.
Getting Started: What You’ll Need
Okay, let’s gather our supplies. Here’s what you’ll need to get started growing borage:
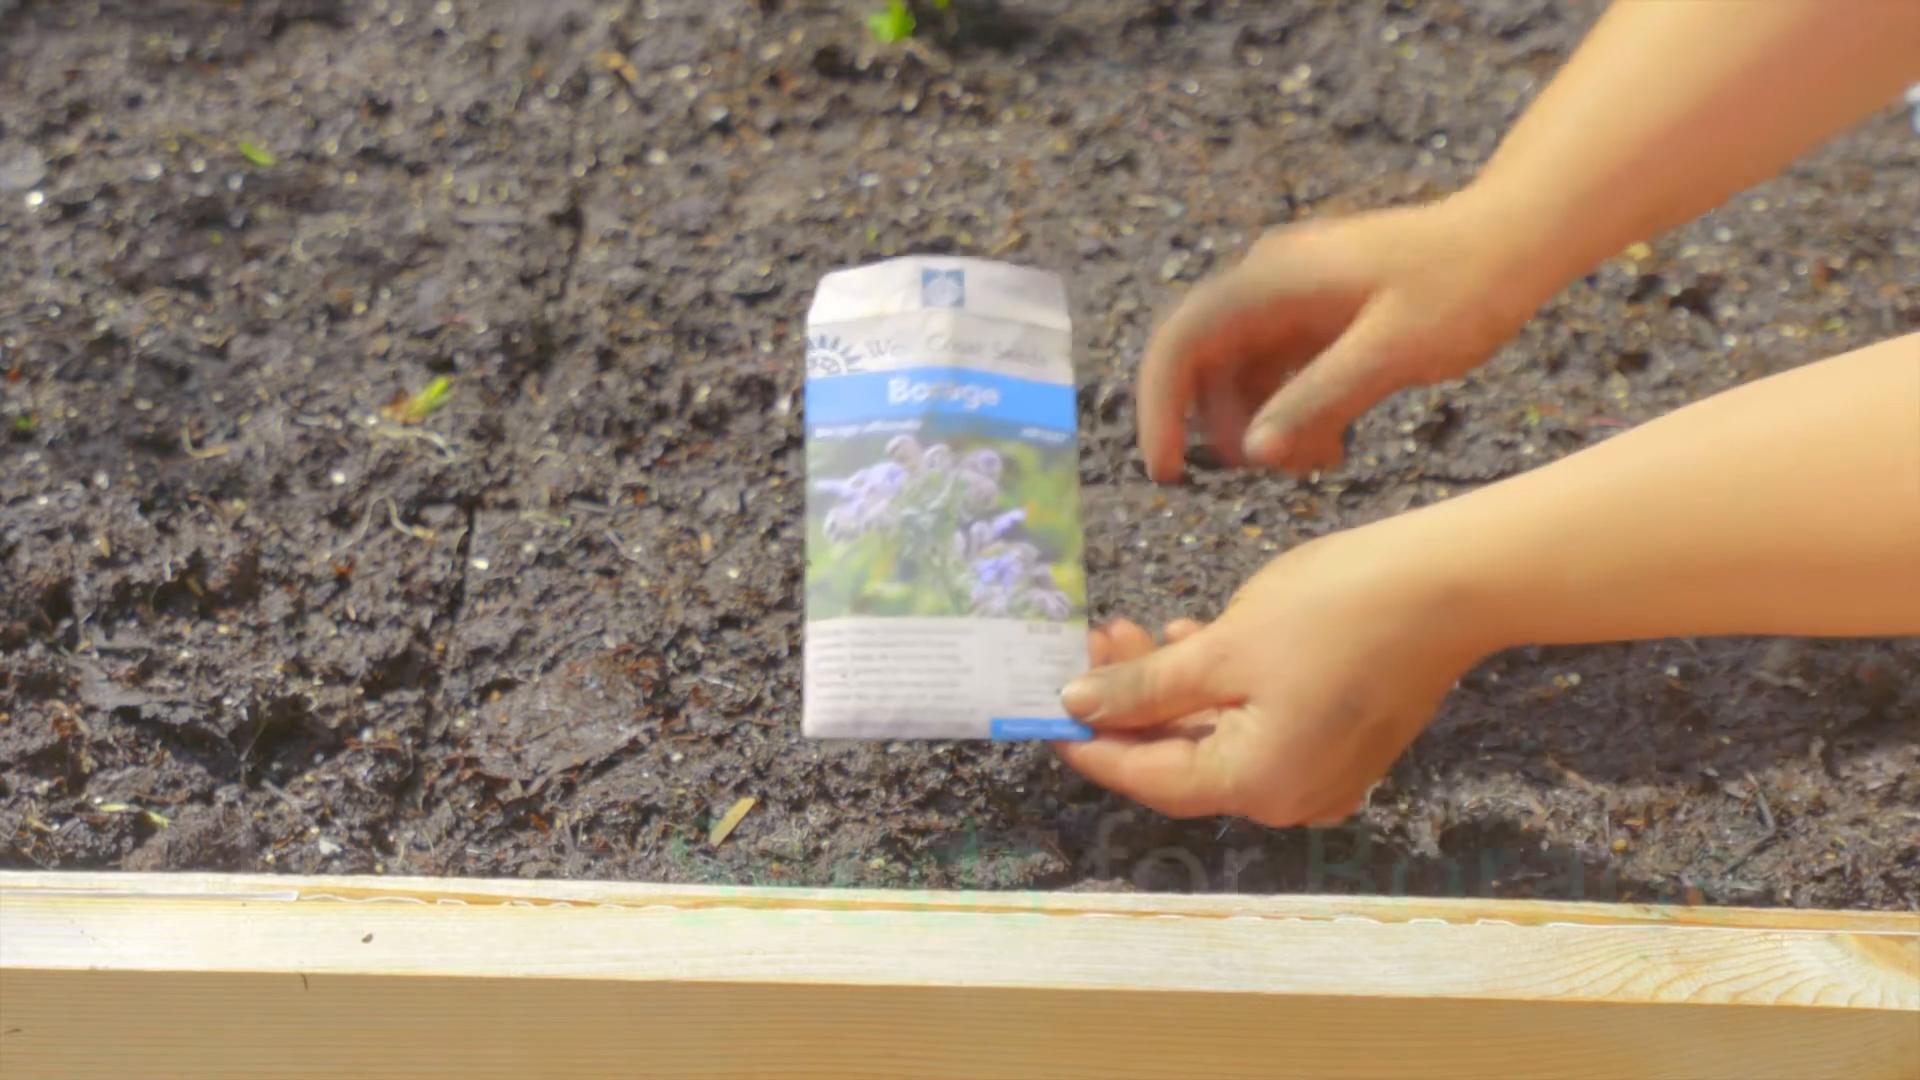
* Borage Seeds: You can find these at most garden centers or online.
* Potting Soil (if starting indoors): A good quality potting mix will provide the necessary nutrients for your seedlings.
* Seed Trays or Small Pots (if starting indoors): These will give your seedlings a head start.
* Garden Soil: Well-draining soil is essential for borage to thrive.
* Watering Can or Hose: For keeping your plants hydrated.
* Gardening Gloves: To protect your hands.
* Trowel or Shovel: For planting seedlings or direct sowing seeds.
* Optional: Compost or other organic matter: To enrich your soil.
Starting Borage from Seed: Two Options
You have two main options for starting borage: starting seeds indoors or direct sowing them in your garden. I’ll walk you through both methods.
Starting Seeds Indoors (Recommended for Early Start)
Starting seeds indoors gives you a head start on the growing season, especially if you live in a cooler climate.
1. Prepare Your Seed Trays or Pots: Fill your seed trays or small pots with potting soil. Gently press down the soil to create a firm surface.
2. Sow the Seeds: Sow 2-3 borage seeds per cell or pot, about 1/4 inch deep.
3. Water Gently: Water the soil gently to moisten it, being careful not to dislodge the seeds.
4. Provide Light and Warmth: Place the seed trays or pots in a warm, sunny location or under grow lights. Borage seeds need light to germinate. A temperature of around 60-70°F (15-21°C) is ideal.
5. Keep the Soil Moist: Keep the soil consistently moist, but not waterlogged. Check the soil daily and water as needed.
6. Thin Seedlings (if necessary): Once the seedlings emerge and have a few true leaves, thin them to one plant per cell or pot. Choose the strongest seedling and gently snip off the others at the soil line.
7. Harden Off Seedlings: Before transplanting your seedlings outdoors, you’ll need to harden them off. This process gradually acclimates them to outdoor conditions. Start by placing the seedlings outdoors in a sheltered location for a few hours each day, gradually increasing the amount of time they spend outside over the course of a week or two.
Direct Sowing Seeds Outdoors (Easy and Convenient)
Direct sowing is a simpler method, but it’s best suited for warmer climates or after the last frost.
1. Prepare the Soil: Choose a sunny location in your garden with well-draining soil. Amend the soil with compost or other organic matter to improve its fertility and drainage.
2. Sow the Seeds: Sow the borage seeds directly into the soil, about 1/2 inch deep and 6-12 inches apart.
3. Water Gently: Water the soil gently to moisten it.
4. Keep the Soil Moist: Keep the soil consistently moist until the seeds germinate.
5. Thin Seedlings (if necessary): Once the seedlings emerge, thin them to 6-12 inches apart.
Transplanting Borage Seedlings (If Starting Indoors)
Once your seedlings have been hardened off, it’s time to transplant them into your garden.
1. Choose a Sunny Location: Borage thrives in full sun, so choose a location that receives at least 6 hours of sunlight per day.
2. Prepare the Planting Hole: Dig a hole that’s slightly larger than the root ball of the seedling.
3. Gently Remove the Seedling: Gently remove the seedling from its pot or cell, being careful not to damage the roots.
4. Place the Seedling in the Hole: Place the seedling in the hole and backfill with soil, gently firming the soil around the base of the plant.
5. Water Thoroughly: Water the seedling thoroughly after planting.
Caring for Your Borage Plants
Once your borage plants are established, they’re relatively low-maintenance. Here are a few tips to keep them happy and healthy:
* Watering: Water your borage plants regularly, especially during dry periods. Aim to keep the soil consistently moist, but not waterlogged.
* Fertilizing: Borage doesn’t require a lot of fertilizer, but you can give it a boost with a light feeding of compost tea or a balanced organic fertilizer every few weeks.
* Deadheading: To encourage more blooms, deadhead spent flowers regularly. Simply snip off the faded flowers just below the flower head.
* Pest and Disease Control: Borage is generally pest and disease resistant, but keep an eye out for common garden pests like aphids or spider mites. If you notice any problems, treat them with an appropriate organic insecticide or fungicide.
* Support: Borage plants can get quite tall and leggy, especially in windy areas. You may need to provide support with stakes or a trellis to prevent them from flopping over.
Harvesting Borage
Harvesting borage is easy and rewarding!
* Flowers: Harvest the flowers when they are fully open and brightly colored. Simply snip them off at the base of the flower head.
* Leaves: Harvest the young leaves when they are tender and flavorful. Avoid harvesting older leaves, as they can be prickly and bitter.
Using Borage in the Kitchen
Now for the fun part: using your homegrown borage in the kitchen!
* Flowers: Add the flowers to salads, drinks, and desserts for a touch of cucumber-like flavor and a beautiful garnish. You can also freeze them in ice cubes for a refreshing summer drink.
* Leaves: Use the young leaves in salads or cook them like spinach. They can also be added to soups, stews, and sauces.
Troubleshooting
Even with the best care, you might encounter a few challenges when growing borage. Here are some common problems and how to address them:
* Leggy Plants: If your borage plants are getting too tall and leggy, it could be due to insufficient sunlight. Make sure they are getting at least 6 hours of sunlight per day. You can also prune them back to encourage bushier growth.
* Yellowing Leaves: Yellowing leaves can be a sign of overwatering or nutrient deficiency. Make sure the soil is well-draining and consider adding some compost or fertilizer.
* Pest Infestations: Keep an eye out for common garden pests like aphids or spider mites. Treat them with an appropriate organic insecticide.
Saving Borage Seeds
If you want to save seeds from your borage plants to grow again next year, here’s how:
1. Allow Flowers to Mature: Let some of the flowers mature and dry on the plant.
2. Collect the Seeds: Once the seed pods are dry and brown, collect them and gently crush them to release the seeds.
3. Dry the Seeds: Spread the seeds out on a paper towel and let them dry completely.
4. Store the Seeds: Store the dried seeds in an airtight container in a cool
Conclusion
So, there you have it! Growing borage at home is not only achievable, but it’s also incredibly rewarding. From the vibrant blue flowers that attract beneficial pollinators to the edible leaves and blossoms that add a unique cucumber-like flavor to your culinary creations, borage offers a multitude of benefits. This DIY project is a must-try for any gardener, whether you’re a seasoned pro or just starting out.
Why is it a must-try? Because unlike some finicky herbs, borage is remarkably resilient and easy to care for. It thrives in a variety of conditions and practically takes care of itself once established. Plus, you’ll be reducing your reliance on store-bought herbs, saving money, and enjoying the freshest possible ingredients right from your backyard. Imagine the satisfaction of garnishing your summer salads with borage flowers you grew yourself!
But the benefits don’t stop there. Borage is a fantastic companion plant, attracting pollinators like bees and deterring pests from other vegetables in your garden. It’s a natural and effective way to promote a healthy and thriving ecosystem.
Looking for variations? Consider these ideas:
* **Container Gardening:** If you have limited space, borage grows beautifully in containers. Choose a large pot with good drainage and use a high-quality potting mix.
* **Succession Planting:** To ensure a continuous supply of borage throughout the growing season, sow seeds every few weeks.
* **Borage Oil:** While this article focuses on growing the plant for culinary and ecological benefits, you can also harvest the seeds to extract borage oil, known for its medicinal properties. However, this requires specialized equipment and knowledge.
* **Companion Planting Combinations:** Plant borage near tomatoes, strawberries, and squash to improve their growth and deter pests.
We’re confident that you’ll find growing borage at home to be a delightful and enriching experience. Don’t be intimidated – it’s truly one of the easiest herbs to cultivate. So, grab some seeds, find a sunny spot, and get ready to enjoy the beauty and benefits of this amazing plant.
We encourage you to try this DIY trick and share your experiences with us! Let us know in the comments how your borage is growing, what culinary creations you’ve made with it, and any tips or tricks you’ve discovered along the way. We can’t wait to hear your borage-growing success stories!
Frequently Asked Questions (FAQ)
What is borage and why should I grow it?
Borage (Borago officinalis) is an annual herb known for its vibrant blue, star-shaped flowers and edible leaves. It’s a must-grow because it’s incredibly easy to cultivate, attracts beneficial pollinators like bees, and deters pests. The leaves have a mild cucumber-like flavor, perfect for salads and drinks, while the flowers make beautiful and edible garnishes. Plus, it’s a fantastic companion plant for many vegetables.
Where is the best place to plant borage?
Borage thrives in a sunny location with well-drained soil. It can tolerate partial shade, but it will produce more flowers and leaves in full sun. Choose a spot where it has plenty of room to grow, as it can get quite large (up to 2-3 feet tall and wide).
When is the best time to plant borage?
The best time to plant borage is in the spring, after the last frost. You can also start seeds indoors 4-6 weeks before the last frost and transplant them outdoors once the weather warms up. In warmer climates, you can sow seeds directly into the ground in the fall for a winter or early spring harvest.
How do I plant borage seeds?
Sow borage seeds directly into the ground about 1/2 inch deep and 6-12 inches apart. Keep the soil moist until the seeds germinate, which usually takes about 7-14 days. If starting seeds indoors, use a seed-starting mix and transplant the seedlings outdoors once they have a few sets of true leaves.
What kind of soil does borage need?
Borage is not particularly picky about soil, but it prefers well-drained soil that is rich in organic matter. Amend heavy clay soil with compost or other organic material to improve drainage. A slightly acidic to neutral pH (6.0-7.0) is ideal.
How often should I water borage?
Water borage regularly, especially during dry periods. Keep the soil consistently moist, but avoid overwatering, which can lead to root rot. Once established, borage is relatively drought-tolerant.
Does borage need fertilizer?
Borage is not a heavy feeder and generally does not require fertilizer. However, if your soil is poor, you can amend it with compost or a balanced organic fertilizer at planting time. Avoid over-fertilizing, as this can lead to excessive foliage growth at the expense of flowers.
How do I harvest borage?
You can harvest borage leaves and flowers throughout the growing season. Pick the young, tender leaves for the best flavor. The flowers are best harvested in the morning, after the dew has dried. Simply snip off the leaves or flowers with scissors or your fingers.
How do I use borage in cooking?
Borage leaves and flowers can be used in a variety of culinary applications. The leaves can be added to salads, soups, and stews. The flowers can be used as a garnish for salads, drinks, and desserts. They can also be candied or frozen in ice cubes.
Is borage safe to eat?
Yes, borage is generally safe to eat in moderation. However, it contains small amounts of pyrrolizidine alkaloids (PAs), which can be toxic to the liver if consumed in large quantities over a long period of time. Therefore, it’s best to enjoy borage as an occasional treat rather than a staple food. Pregnant and breastfeeding women should avoid consuming borage.
Does borage attract bees?
Yes, borage is an excellent plant for attracting bees and other pollinators. Its vibrant blue flowers are highly attractive to bees, making it a valuable addition to any pollinator garden.
Is borage invasive?
Borage can self-seed readily, so it can become somewhat invasive in some areas. To prevent it from spreading too much, deadhead the flowers before they go to seed. You can also collect the seeds and sow them where you want them to grow.
What are some common problems with growing borage?
Borage is generally a low-maintenance plant, but it can be susceptible to a few problems, such as powdery mildew and aphids. Powdery mildew can be prevented by providing good air circulation and avoiding overhead watering. Aphids can be controlled with insecticidal soap or neem oil.
Can I grow borage indoors?
While borage prefers to be grown outdoors, it can be grown indoors if you provide it with enough light. Place it in a sunny window or under grow lights. Make sure the pot has good drainage and water regularly.
How long does borage take to grow?
Borage typically takes about 6-8 weeks to mature from seed to harvest. You can start harvesting leaves and flowers as soon as the plant is large enough.


Leave a Comment