
Growing Chives at Home is easier than you might think, and I’m here to show you how! Forget those sad, wilted bunches at the grocery store – imagine snipping fresh, flavorful chives right from your own kitchen garden.
For centuries, chives have been a culinary staple, adding a delicate oniony zest to dishes across the globe. From ancient Roman gardens to modern-day kitchens, these versatile herbs have been cherished for their flavor and ease of cultivation. But why settle for store-bought when you can have a constant supply of fresh chives right at your fingertips?
Let’s face it, buying fresh herbs can be expensive, and they often go bad before you even get a chance to use them all. That’s where the magic of DIY comes in! Growing chives at home not only saves you money but also ensures you always have the freshest ingredients on hand to elevate your cooking. Plus, it’s incredibly rewarding to nurture your own little garden and watch it thrive. In this article, I’ll share my favorite tips and tricks for successfully growing chives indoors and outdoors, so you can enjoy a bountiful harvest all year round. Get ready to unleash your inner gardener and discover the joy of fresh, homegrown flavor!
Growing Chives at Home: A Beginner’s Guide
Hey there, fellow plant enthusiasts! I’m so excited to share my experience with growing chives at home. It’s surprisingly easy, incredibly rewarding, and adds a fresh, flavorful touch to so many dishes. Plus, having fresh herbs readily available is a total game-changer in the kitchen. Let’s dive in!
Why Grow Chives?
Before we get started, let’s talk about why chives are such a fantastic herb to grow at home:
* Easy to Grow: Seriously, chives are incredibly forgiving. They’re perfect for beginners.
* Low Maintenance: Once established, they practically take care of themselves.
* Perennial: They come back year after year, so you only need to plant them once.
* Versatile: Chives add a mild oniony flavor to soups, salads, dips, omelets, and so much more.
* Beautiful: Their delicate purple flowers are a lovely addition to any garden or windowsill.
* Pest Repellent: Chives can help deter certain pests from your other plants.
* Space-Saving: They can be grown in pots, making them ideal for small spaces.
What You’ll Need
Here’s a list of everything you’ll need to get started:
* Chive Seeds or a Chive Plant: You can start from seeds or purchase a small plant from a nursery. I’ve done both, and both work great!
* Potting Soil: Use a well-draining potting mix. Avoid using garden soil, as it can become compacted in pots.
* A Pot with Drainage Holes: Choose a pot that’s at least 6 inches in diameter. Drainage is crucial to prevent root rot.
* Watering Can or Hose: For watering your chives.
* Sunny Location: Chives need at least 6 hours of sunlight per day.
* Optional: Fertilizer (a balanced liquid fertilizer works well).
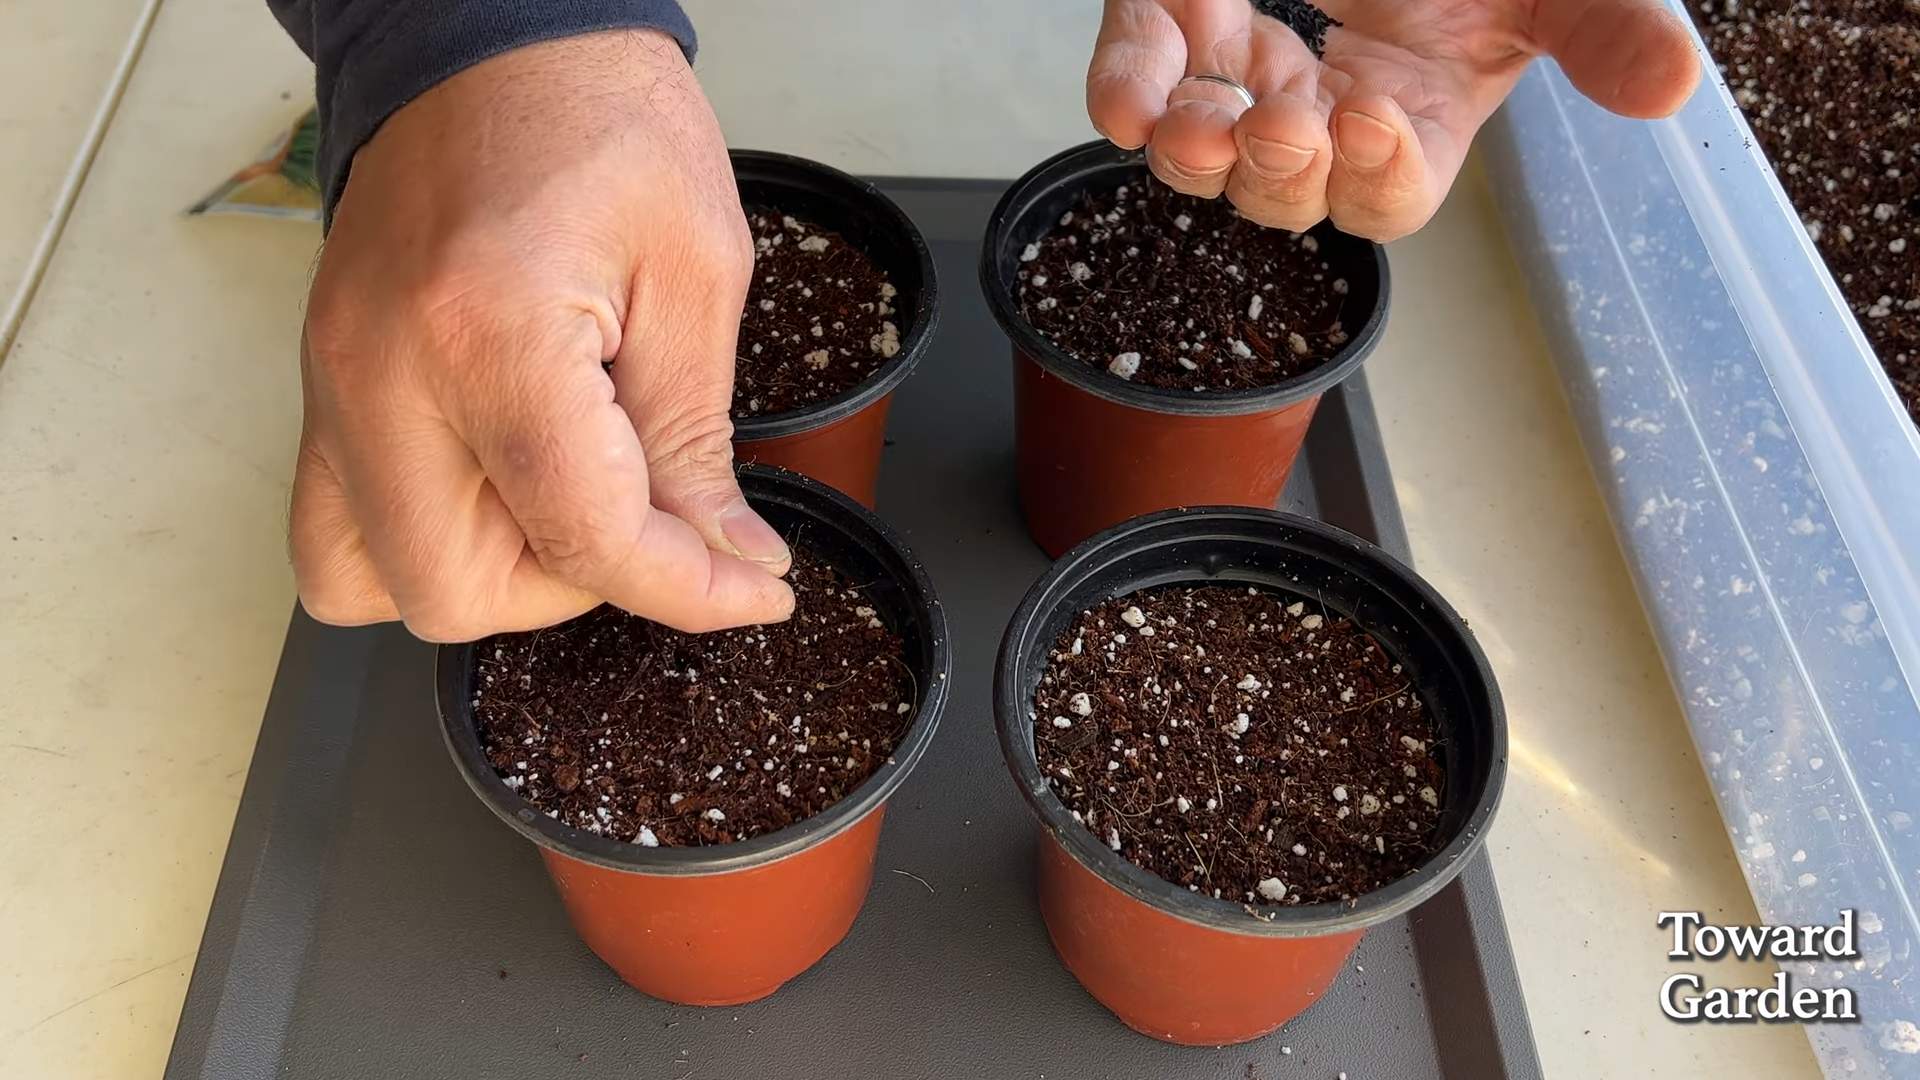
Starting from Seeds: A Step-by-Step Guide
If you’re starting from seeds, here’s how to do it:
1. Sow the Seeds: Fill your pot with potting soil, leaving about an inch of space at the top. Moisten the soil gently. Sprinkle the chive seeds evenly over the surface of the soil. You can sow them quite densely, as you can always thin them out later.
2. Cover the Seeds: Lightly cover the seeds with a thin layer of soil (about 1/4 inch).
3. Water Gently: Water the soil gently to avoid disturbing the seeds. A spray bottle works well for this.
4. Provide Light and Warmth: Place the pot in a warm, sunny location. If you don’t have a sunny windowsill, you can use a grow light.
5. Keep the Soil Moist: Keep the soil consistently moist, but not soggy. Water when the top inch of soil feels dry to the touch.
6. Germination: Chive seeds typically germinate in 7-14 days. Be patient!
7. Thinning (Optional): Once the seedlings are a few inches tall, you can thin them out if they’re too crowded. This will give them more room to grow. I usually wait until they are about 2 inches tall and then I carefully pull out the weaker looking ones.
Planting a Chive Plant: A Simple Process
If you’re starting with a chive plant, the process is even easier:
1. Prepare the Pot: Fill your pot with potting soil, leaving about an inch of space at the top.
2. Remove the Plant from its Container: Gently remove the chive plant from its original container. If the roots are tightly packed, gently loosen them with your fingers.
3. Plant the Chives: Place the chive plant in the center of the pot. Make sure the top of the root ball is level with the surface of the soil.
4. Fill with Soil: Fill in the space around the plant with potting soil.
5. Water Thoroughly: Water the plant thoroughly until water drains out of the drainage holes.
6. Place in a Sunny Location: Place the pot in a sunny location.
Caring for Your Chives: Essential Tips
Once your chives are planted, here’s how to keep them happy and healthy:
* Watering: Water your chives regularly, especially during hot, dry weather. The soil should be consistently moist, but not soggy. I usually check the soil every day or two and water when the top inch feels dry.
* Sunlight: Chives need at least 6 hours of sunlight per day. If you don’t have a sunny location, you can use a grow light.
* Fertilizing: Fertilize your chives every few weeks with a balanced liquid fertilizer. This will help them grow strong and healthy. I usually dilute the fertilizer to half strength to avoid burning the roots.
* Pruning: Regular pruning encourages new growth and prevents the chives from becoming leggy. Simply snip off the leaves with scissors or kitchen shears.
* Deadheading: Remove the flowers after they bloom to prevent the plant from going to seed. This will also encourage more leaf growth. However, if you like the flowers, you can leave them on the plant. They’re edible and attract pollinators!
* Dividing: Every few years, you may need to divide your chive plant to prevent it from becoming overcrowded. This is best done in the spring or fall. Simply dig up the plant and divide the clump into smaller sections. Replant the sections in separate pots or in the garden.
* Pest Control: Chives are generally pest-resistant, but they can occasionally be affected by aphids or spider mites. If you notice any pests, you can spray the plant with insecticidal soap.
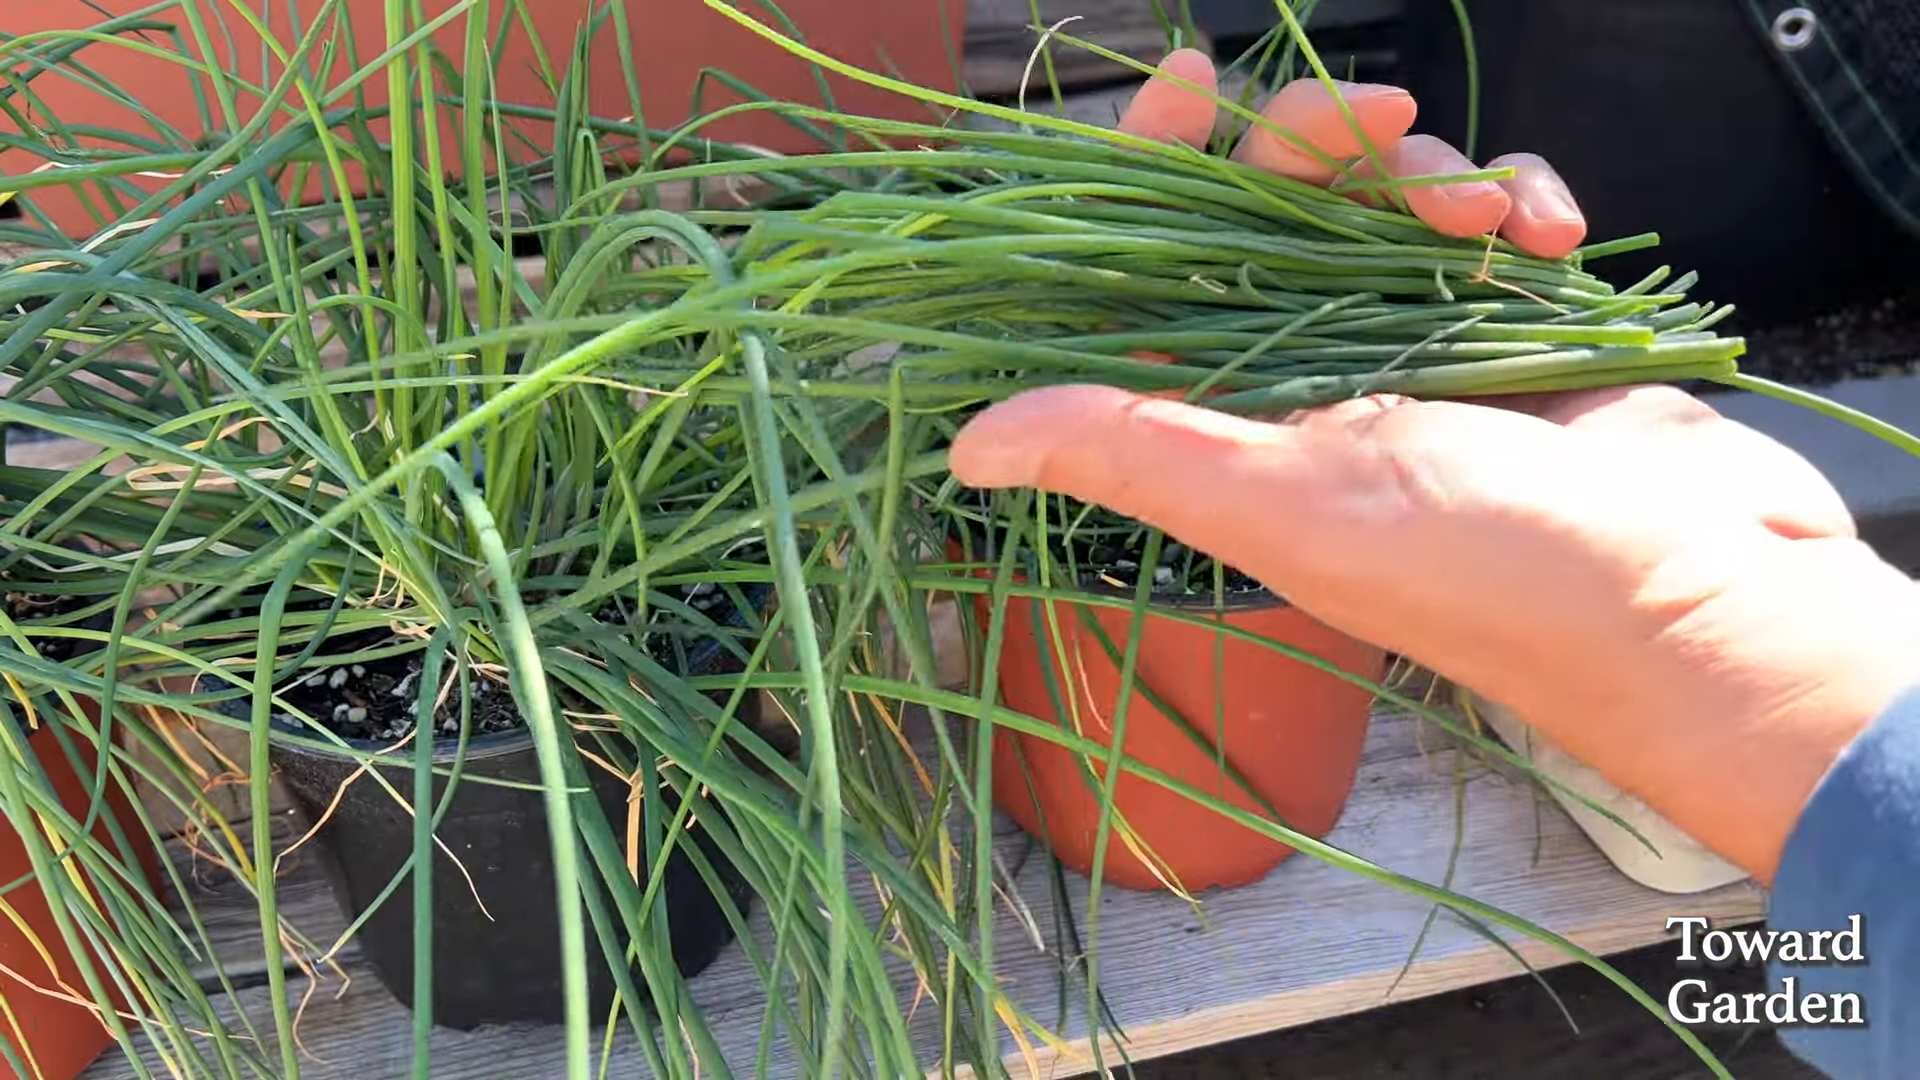
Harvesting Your Chives: Enjoying the Fruits (or Herbs!) of Your Labor
Harvesting chives is easy and rewarding!
1. When to Harvest: You can start harvesting chives once they’re about 6 inches tall.
2. How to Harvest: Use scissors or kitchen shears to snip off the leaves near the base of the plant.
3. Harvest Regularly: Regular harvesting encourages new growth. Don’t be afraid to cut them back quite a bit – they’ll grow back quickly!
4. Using Your Chives: Freshly harvested chives are best, but you can also store them in the refrigerator for a few days. To store them, wrap them in a damp paper towel and place them in a plastic bag. You can also freeze chives for longer storage. To freeze them, chop them up and place them in an ice cube tray with water or olive oil. Once frozen, transfer the cubes to a freezer bag.
Troubleshooting: Common Chive Problems and Solutions
Even with the easiest plants, sometimes things can go wrong. Here are some common problems you might encounter with your chives and how to fix them:
* Yellowing Leaves: This can be caused by overwatering, underwatering, or nutrient deficiencies. Make sure you’re watering your chives properly and fertilizing them regularly.
* Leggy Growth: This is usually caused by insufficient sunlight. Move your chives to a sunnier location or use a grow light.
* Slow Growth: This can be caused by poor soil, insufficient sunlight, or lack of fertilizer. Make sure you’re using a well-draining potting mix, providing enough sunlight, and fertilizing your chives regularly.
* Pests: As mentioned earlier, chives can occasionally be affected by aphids or spider mites. Spray the plant with insecticidal soap to get rid of them.
Enjoying Your Homegrown Chives: Recipe Ideas
Now for the best part – using your homegrown chives! Here are a few of my favorite ways to enjoy them:
* Garnish: Sprinkle chopped chives over soups, salads, baked potatoes, and omelets.
* Dips: Add chopped chives to sour cream, cream cheese, or yogurt to make a delicious dip.
* Omelets and Scrambled Eggs: Mix chopped chives into omelets or scrambled eggs for a burst of flavor.
* Salads: Add chopped chives to salads for a mild oniony flavor.
* Compound Butter: Mix chopped chives with softened butter and other herbs to make a flavorful compound butter.
* Chive Blossom Vinegar: Infuse vinegar with chive blossoms for a beautiful and flavorful condiment.
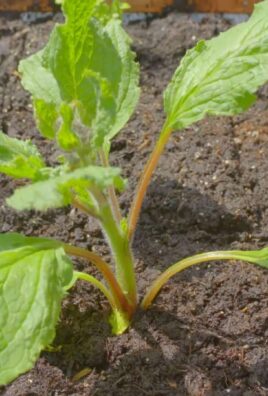
Propagating Chives: Expanding Your Herb Garden
Once you have a thriving chive plant, you can easily propagate it to create more plants. The easiest way to propagate chives is by division, as mentioned earlier. Simply dig up the plant and divide the clump into smaller sections. Replant the sections
Conclusion
So, there you have it! Growing chives at home isn’t just a simple gardening task; it’s a gateway to fresher, more flavorful meals and a more sustainable lifestyle. We’ve walked through the easy steps, from choosing the right container and soil to harvesting your bountiful crop. But why is this DIY trick a must-try?
Firstly, the flavor. Store-bought chives simply can’t compare to the vibrant, oniony punch of freshly snipped chives from your own garden. Imagine adding a sprinkle of these homegrown gems to your morning eggs, a dollop of sour cream on your baked potato, or even as a garnish on a sophisticated soup. The difference is remarkable.
Secondly, it’s incredibly cost-effective. A single packet of chive seeds or a small starter plant can provide you with a continuous supply of chives for months, even years, significantly reducing your grocery bill. Think of all the money you’ll save by not having to constantly repurchase those wilted bunches from the supermarket!
Thirdly, it’s therapeutic. Gardening, even on a small scale, has been proven to reduce stress and improve mental well-being. The simple act of nurturing a plant and watching it thrive can be incredibly rewarding. Plus, it connects you to nature in a tangible way, even if you live in an urban environment.
But the benefits don’t stop there. Growing chives at home is also a sustainable choice. You’re reducing your carbon footprint by eliminating the need for transportation and packaging associated with store-bought herbs. You’re also controlling the growing environment, ensuring that your chives are free from harmful pesticides and herbicides.
Now, let’s talk about variations. While we’ve focused on growing chives in containers, you can also plant them directly in your garden bed if you have the space. Just make sure the soil is well-draining and the location receives plenty of sunlight.
Another variation is to experiment with different types of chives. Garlic chives, for example, offer a milder garlic flavor that’s perfect for Asian-inspired dishes. You can also try growing Siberian chives, which are known for their larger, more robust leaves.
Consider companion planting. Chives are excellent companions for many vegetables, including tomatoes, carrots, and strawberries. They help to deter pests and improve the overall health of your garden.
Finally, don’t be afraid to get creative with your chive harvest. Beyond using them as a garnish, you can incorporate them into dips, sauces, and even homemade herb butter. You can also dry or freeze your chives to preserve them for later use.
So, what are you waiting for? Grab a pot, some soil, and a packet of chive seeds, and get started on your own chive-growing adventure. It’s easier than you think, and the rewards are well worth the effort. We are confident that you will enjoy the process of growing chives at home.
We encourage you to try this DIY trick and share your experience with us in the comments below. Let us know what challenges you faced, what successes you celebrated, and any tips you have for fellow chive growers. We can’t wait to hear from you! Happy gardening!
Frequently Asked Questions (FAQ)
Q: What kind of soil is best for growing chives?
A: Chives thrive in well-draining soil that is rich in organic matter. A good potting mix specifically formulated for herbs is ideal. You can also amend regular potting soil with compost or aged manure to improve its fertility and drainage. Avoid heavy clay soils, as they can become waterlogged and lead to root rot. The ideal pH range for chives is between 6.0 and 7.0.
Q: How much sunlight do chives need?
A: Chives need at least 6 hours of direct sunlight per day to thrive. If you’re growing them indoors, place them near a sunny window or supplement with a grow light. Insufficient sunlight can result in leggy growth and reduced flavor. If you live in a particularly hot climate, some afternoon shade can be beneficial to prevent the leaves from scorching.
Q: How often should I water my chives?
A: Water your chives regularly, especially during hot, dry weather. The soil should be kept consistently moist but not waterlogged. Check the soil moisture by sticking your finger about an inch deep. If the soil feels dry, it’s time to water. Avoid overhead watering, as this can promote fungal diseases. Instead, water at the base of the plant.
Q: How do I harvest chives?
A: You can start harvesting chives once they reach about 6 inches in height. Use sharp scissors or kitchen shears to snip the leaves about an inch above the soil level. Avoid cutting the entire plant down at once, as this can weaken it. Instead, harvest from the outer leaves first, allowing the inner leaves to continue growing. Regular harvesting encourages new growth and prevents the chives from flowering.
Q: Why are my chives flowering?
A: Chives naturally flower in the spring and summer. While the flowers are edible and have a mild onion flavor, flowering can sometimes reduce the plant’s overall productivity. To encourage more leaf growth, you can remove the flower buds as soon as they appear. However, some gardeners enjoy leaving the flowers on for their ornamental value and to attract pollinators.
Q: How do I fertilize my chives?
A: Chives are not heavy feeders, but they will benefit from occasional fertilization. You can use a balanced liquid fertilizer diluted to half strength every few weeks during the growing season. Alternatively, you can amend the soil with compost or aged manure in the spring. Avoid over-fertilizing, as this can lead to excessive leaf growth at the expense of flavor.
Q: Can I grow chives indoors year-round?
A: Yes, you can grow chives indoors year-round, provided you give them enough light and water. Place them near a sunny window or use a grow light to supplement natural light. Keep the soil consistently moist and fertilize occasionally. You may need to repot your chives into a larger container as they grow.
Q: How do I deal with pests and diseases?
A: Chives are generally resistant to pests and diseases. However, they can occasionally be affected by aphids, spider mites, or fungal diseases. To prevent these problems, keep the plants well-ventilated and avoid overwatering. If you notice any pests or diseases, treat them promptly with an appropriate organic insecticide or fungicide.
Q: Can I propagate chives from seed or division?
A: Yes, you can propagate chives from seed or division. To propagate from seed, sow the seeds indoors 6-8 weeks before the last frost or directly outdoors in the spring. To propagate from division, carefully dig up a mature clump of chives and divide it into smaller clumps. Replant the clumps in separate containers or in the garden.
Q: How do I store harvested chives?
A: Freshly harvested chives are best used immediately. However, you can store them in the refrigerator for up to a week. Wrap them loosely in a damp paper towel and place them in a plastic bag. You can also freeze chives for longer storage. Chop them into small pieces and freeze them in ice cube trays filled with water or olive oil. Once frozen, transfer the cubes to a freezer bag. Dried chives can also be stored in an airtight container in a cool, dark place.


Leave a Comment