
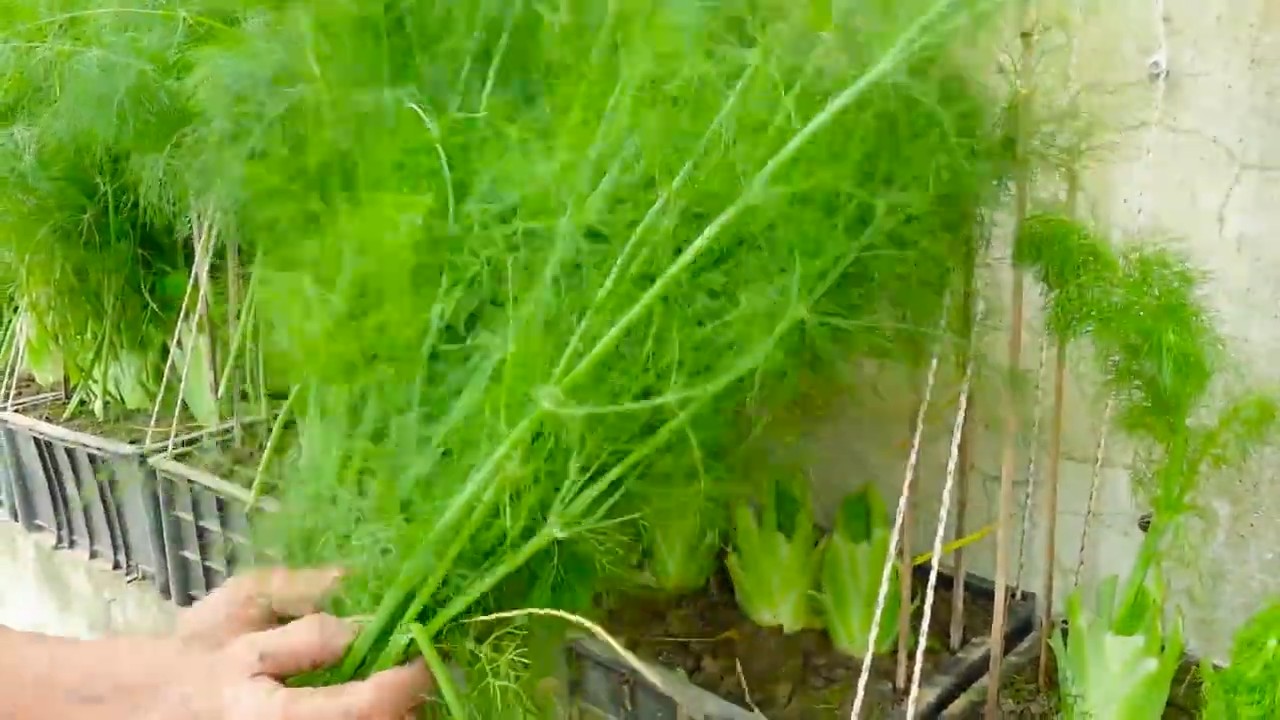
Growing Dill Indoors can feel like a secret superpower for any home cook! Imagine having fresh, fragrant dill readily available, even when the snow is falling outside. No more sad, wilted bunches from the grocery store – just vibrant, flavorful dill at your fingertips.
Dill, with its feathery leaves and distinctive anise-like aroma, has been cherished for centuries. Ancient Egyptians used it for medicinal purposes, while the Romans believed it brought good fortune. Today, dill remains a staple in cuisines worldwide, adding a bright, herbaceous note to everything from pickles and salads to creamy sauces and seafood dishes. But let’s face it, buying fresh dill can be a gamble. It often spoils quickly, leaving you with a disappointing, limp mess.
That’s where the magic of DIY comes in! This article is your ultimate guide to successfully growing dill indoors. I’ll share my tried-and-true tricks and hacks, so you can enjoy a continuous supply of this culinary herb without ever leaving your home. Whether you’re a seasoned gardener or a complete beginner, I’ll walk you through every step, from choosing the right container and soil to providing the perfect light and watering conditions. Get ready to transform your windowsill into a thriving dill garden and elevate your cooking to a whole new level!
Growing Dill: Your Guide for Fresh Dill from Your Own Home
I love fresh dill! The scent, the taste – simply unbeatable. And the best part? I no longer have to wait for summer to enjoy it. I’ve learned how to successfully grow dill indoors, and I’m happy to share my knowledge with you. It’s easier than you think!
What you need to grow dill indoors
Before we get started, let’s make sure you have everything you need. Here is a list of the most important things:
- Dill seeds: Choose high-quality seeds from a trusted source. Look for varieties that are well-suited for growing in pots.
- Pots: Use pots with a diameter of at least 15 cm and good drainage. Dill has deep roots, so the deeper, the better.
- High-quality potting soil: Use a well-draining potting mix that is rich in nutrients. I like to mix in some compost to make the soil even more fertile.
- Planters with drainage holes: Absolutely necessary to prevent waterlogging.
- Saucers: To catch excess water.
- Grow light (optional): If you don’t have enough sunlight, a grow light is a good investment.
- Spray bottle: To moisten the soil.
- Watering can: For watering the plants.
- Scissors or pruning shears: For harvesting the dill.
- Labels: To identify your plants.
The Right Environment for Your Dill
Dill needs a lot of light and a constant temperature to grow well. Here are a few tips on how to create the ideal environment:
- Light: Dill needs at least 6 hours of sunlight per day. A south-facing window is ideal. If you don’t have enough sunlight, use a grow light.
- Temperature: Dill prefers temperatures between 18 and 24 degrees Celsius (64-75°F). Avoid extreme temperature fluctuations.
- Humidity: Dill does not like high humidity. Ensure good ventilation to prevent mold growth.
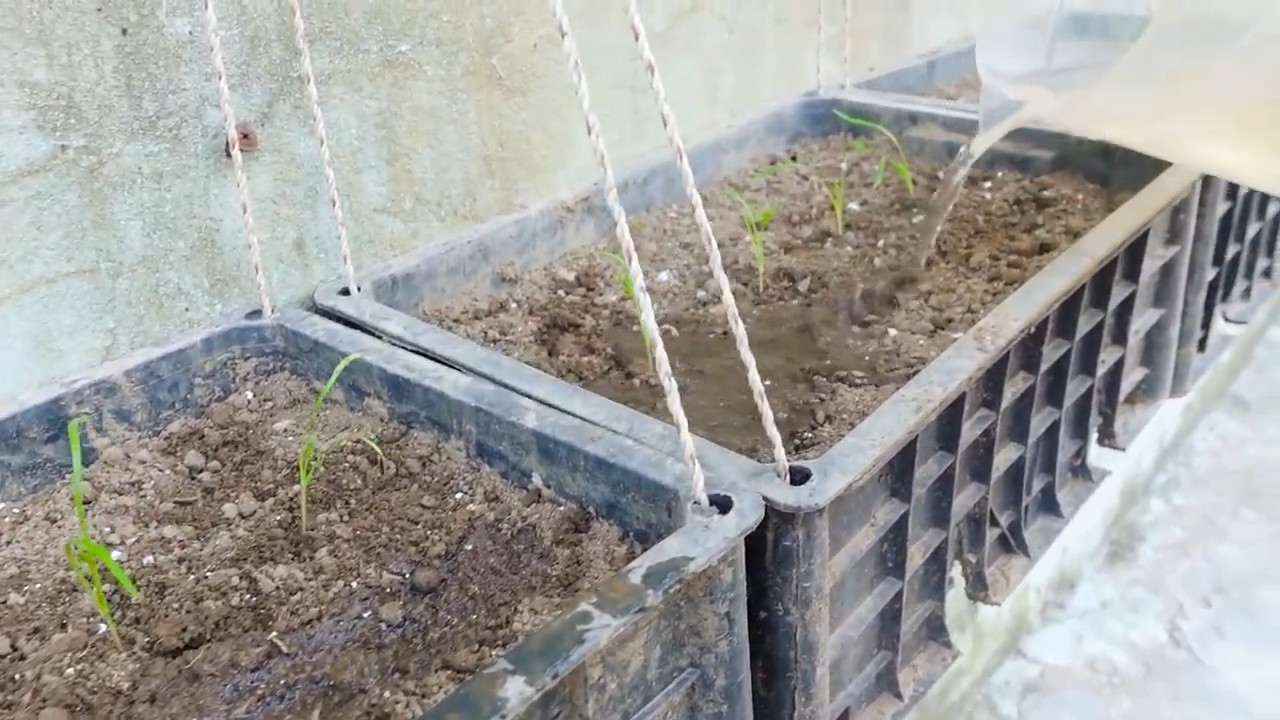
Sowing Dill: Step by Step
Now let’s get down to business! Here is a detailed guide on how to successfully sow dill:
- Prepare the pots: Fill the pots with potting soil, but leave about 2-3 cm of space to the rim.
- Sow the seeds: Distribute the dill seeds evenly on the soil. Press them down lightly, but don’t cover them too deeply. Dill is a light germinator, which means it needs light to germinate.
- Water: Gently moisten the soil with a spray bottle. Make sure the soil is moist, but not wet.
- Choose a location: Place the pots in a bright, warm place.
- Be patient: The seeds usually germinate within 7-14 days. Keep the soil moist during this time.
Caring for Dill: How to Keep Your Dill Healthy and Happy
Once the seeds have germinated, it’s important to care for the dill properly. Here are a few tips:
- Watering: Water the dill regularly, but avoid waterlogging. The soil should always be slightly moist. I always check the soil with my finger before watering. If the top layer feels dry, it’s time to water.
- Fertilizing: Dill doesn’t need much fertilizer. Fertilizing once a month with a diluted liquid fertilizer is sufficient. I like to use an organic fertilizer.
- Thinning: If too many plants are growing in one pot, you should thin them out. Remove the weakest plants to give the stronger ones more space to grow.
- Rotating: Rotate the pots regularly so the plants get even light.
- Pests and Diseases: Watch out for pests like aphids or spider mites. If you discover pests, treat them with a natural insecticide. Also, look for signs of diseases like powdery mildew. Ensure good ventilation to prevent diseases.
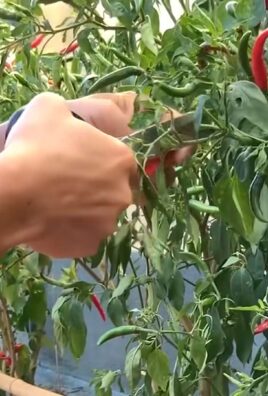
Harvesting Dill: The Reward for Your Work
After about 6-8 weeks, you can harvest your dill for the first time. Here are a few tips:
- When to harvest: Harvest the dill when it is about 15-20 cm high.
- How to harvest: Cut the stems with scissors or pruning shears. Cut the stems just above the ground so the plant can continue to grow.
- Harvest regularly: Harvest the dill regularly to encourage the growth of new leaves.
- Remove flowers: Remove the flowers to prevent the plant from producing seeds. If the plant produces seeds, it will produce fewer leaves.
Preserving Dill: How to Always Have Dill on Hand
If you have more dill than you can use, you can preserve it. Here are a few options:
- Freezing: Chop the dill finely and freeze it in ice cube trays with water or oil.
- Drying: Dry the dill in the air or in the oven. Store the dried dill in an airtight container.
- Pickling: Pickle the dill in vinegar or oil.
Common Problems and Solutions
Problems can also occur when growing dill indoors. Here are a few common problems and solutions:
- Yellow leaves: Yellow leaves can be a sign of overwatering, underwatering, or a nutrient deficiency. Check the soil and adjust watering accordingly. Fertilize the plant if necessary.
- Wilted leaves: Wilted leaves can be a sign of lack of water or too little light. Water the plant and move it to a brighter location.
- Pests: Watch out for pests like aphids or spider mites. Treat them with a natural insecticide.
- Diseases: Look for signs of diseases like powdery mildew. Ensure good ventilation to prevent diseases.
Variety Recommendations for Indoor Growing
Not all dill varieties are equally suitable for indoor growing. Here are a few varieties I can recommend:
- ‘Fernleaf’: This variety is compact and well-suited for growing in pots.
- ‘Dukat’: This variety has an intense flavor and is very aromatic.
- ‘Bouquet’: This variety is very productive and produces many leaves.
Additional Tips and Tricks
Here are a few more tips and tricks that can help you successfully grow dill indoors:
- Use a pot with good drainage: Good drainage is important to prevent waterlogging.
- Water the dill in the morning: Water the dill in the morning so the leaves have time to dry before the sun sets.
- Remove the flowers: Remove the flowers to encourage the growth of new leaves.
- Use a grow light: If you don’t have enough sunlight, use a grow light.
- Be patient: Dill takes time to grow. Be patient and don’t give up!
I hope this guide helps you to successfully grow dill indoors. With a little patience and care, you can enjoy fresh dill all year round. Happy gardening
Conclusion
So, there you have it! Mastering the art of growing dill indoors is not only achievable but also incredibly rewarding. Imagine having fresh, fragrant dill readily available, regardless of the season, to elevate your culinary creations. No more trips to the grocery store for wilted, overpriced herbs! This DIY trick empowers you to cultivate your own little patch of sunshine right on your windowsill.
But why is this a must-try? Beyond the convenience and cost savings, growing your own dill offers a superior flavor profile. Store-bought dill often lacks the vibrant, aromatic punch of freshly harvested leaves. When you grow it yourself, you control the growing conditions, ensuring optimal flavor development. Plus, there’s an undeniable satisfaction in nurturing a plant from seed to harvest. It’s a small connection to nature that can brighten your day and enhance your meals.
Don’t be afraid to experiment with variations! Try different dill varieties, such as ‘Bouquet’ for its compact size and abundant foliage, or ‘Long Island Mammoth’ for its impressive height and robust flavor. You can also explore companion planting by placing your dill near other herbs like basil or parsley, which can help deter pests and promote healthy growth. Consider using different types of containers, from terracotta pots to self-watering planters, to find what works best for your space and watering habits.
And the best part? Growing dill indoors is a relatively low-maintenance endeavor. With the right amount of light, water, and a little bit of care, you’ll be enjoying a continuous supply of fresh dill in no time. Think of all the delicious possibilities: dill-infused sauces, creamy dill dips, flavorful dill pickles, and so much more!
We wholeheartedly encourage you to give this DIY trick a try. It’s a simple, satisfying, and delicious way to bring a touch of freshness into your home. Once you’ve experienced the joy of harvesting your own homegrown dill, you’ll never want to go back to store-bought again.
Don’t forget to share your experiences with us! We’d love to hear about your successes, challenges, and creative ways you’re using your homegrown dill. Share your photos and tips in the comments below, and let’s build a community of indoor dill enthusiasts! Let us know what growing medium you used, what kind of lighting you found most effective, and any other tips and tricks you’ve discovered along the way. Your insights could help other aspiring indoor gardeners achieve dill-growing success. Happy growing!
Frequently Asked Questions (FAQ)
1. What is the best time of year to start growing dill indoors?
The beauty of growing dill indoors is that you can start it any time of year! Unlike outdoor gardening, you’re not limited by seasonal weather conditions. As long as you can provide adequate light and warmth, you can successfully grow dill indoors year-round. However, many gardeners find that starting dill seeds in early spring or late winter allows them to have a thriving plant ready for harvest by the time summer rolls around. This also gives the plant a head start before the hottest months, which can sometimes be challenging for indoor growing.
2. How much sunlight does indoor dill need?
Dill thrives in bright, direct sunlight. Ideally, it needs at least 6-8 hours of sunlight per day. If you don’t have a south-facing window that provides sufficient sunlight, you’ll need to supplement with artificial lighting. Grow lights, particularly LED grow lights, are an excellent option for providing the necessary light spectrum for healthy dill growth. Position the grow light a few inches above the dill seedlings and adjust as they grow taller. Insufficient light can lead to leggy, weak plants with poor flavor.
3. What type of soil is best for growing dill indoors?
Dill prefers well-draining soil that is rich in organic matter. A good potting mix specifically formulated for herbs or vegetables is ideal. You can also create your own potting mix by combining equal parts of potting soil, perlite, and compost. Perlite helps improve drainage, while compost provides essential nutrients. Avoid using garden soil, as it can be too heavy and may contain pests or diseases. Ensure your container has drainage holes to prevent waterlogging, which can lead to root rot.
4. How often should I water my indoor dill plant?
Water dill regularly, keeping the soil consistently moist but not soggy. Check the soil moisture by sticking your finger about an inch deep into the soil. If it feels dry, it’s time to water. Water thoroughly until excess water drains out of the drainage holes. Avoid overwatering, as this can lead to root rot. During the warmer months, you may need to water more frequently than during the cooler months. Adjust your watering schedule based on the specific needs of your plant and the environmental conditions in your home.
5. How do I harvest dill from my indoor plant?
You can start harvesting dill leaves once the plant is about 6-8 inches tall. To harvest, simply snip off the leaves with scissors or pruning shears. Start by harvesting the outer leaves, leaving the inner leaves to continue growing. You can harvest dill leaves continuously throughout the growing season. For the strongest flavor, harvest dill in the morning after the dew has dried. You can also harvest the dill seeds once the plant has flowered and the seeds have dried.
6. What are some common problems when growing dill indoors and how can I fix them?
Some common problems include:
* **Leggy growth:** This is usually caused by insufficient light. Provide more sunlight or supplement with grow lights.
* **Yellowing leaves:** This can be caused by overwatering, underwatering, or nutrient deficiencies. Adjust your watering schedule and fertilize with a balanced liquid fertilizer.
* **Pests:** Aphids and spider mites can sometimes infest indoor dill plants. Inspect your plants regularly and treat any infestations with insecticidal soap or neem oil.
* **Root rot:** This is caused by overwatering and poor drainage. Ensure your container has drainage holes and avoid overwatering.
7. Can I grow dill from seed indoors?
Yes, growing dill from seed indoors is a great way to start. Sow the seeds directly into your chosen container, about ¼ inch deep. Keep the soil moist and warm (around 70°F) until germination, which usually takes 7-14 days. Once the seedlings emerge, provide them with plenty of light. You can also start dill seeds in seed trays and transplant them into larger containers once they have developed a few sets of true leaves.
8. How do I encourage bushy growth in my indoor dill plant?
Pinching back the growing tips of your dill plant can encourage it to branch out and become bushier. Simply snip off the top inch or two of the main stem. This will stimulate the growth of side shoots, resulting in a fuller, more productive plant. You can also pinch back the flower buds to encourage more leaf production.
9. Can I dry or freeze my homegrown dill?
Yes, drying or freezing dill is a great way to preserve its flavor for later use. To dry dill, hang bunches of stems upside down in a cool, dark, and well-ventilated place until the leaves are completely dry. You can also use a dehydrator. To freeze dill, chop the leaves and place them in ice cube trays with water or olive oil. Once frozen, transfer the cubes to a freezer bag.
10. Is growing dill indoors worth it?
Absolutely! Growing dill indoors provides fresh, flavorful herbs year-round, saves money, and offers a rewarding gardening experience. With a little care and attention, you can enjoy a continuous supply of homegrown dill to enhance your culinary creations. The superior flavor compared to store-bought dill alone makes it a worthwhile endeavor.
Leave a Comment