
Growing dill indoors can feel like a distant dream, especially if you’re staring out at a snow-covered landscape or simply lack outdoor space. But what if I told you that fresh, fragrant dill is within your reach, no matter the season or your garden size? Imagine snipping off sprigs of homegrown dill to brighten your soups, salads, and dips, all from the comfort of your kitchen!
Dill, with its feathery foliage and distinctive flavor, has been cherished for centuries. Ancient Egyptians used it for medicinal purposes, while the Romans believed it brought good fortune. Today, dill remains a culinary staple in many cultures, adding a vibrant touch to dishes around the world. But relying solely on store-bought dill can be expensive and often lacks the intense flavor of freshly grown herbs.
That’s where the magic of DIY comes in! Growing dill indoors offers a simple, cost-effective solution. This article will guide you through easy-to-follow tricks and hacks, ensuring you can enjoy a continuous supply of this delightful herb. Whether you’re a seasoned gardener or a complete beginner, I’m here to show you how to cultivate a thriving indoor dill garden. Say goodbye to bland meals and hello to the fresh, aromatic taste of homegrown dill, right at your fingertips!
Growing Dill Indoors: A Beginner’s Guide to Fresh Herbs Year-Round
Hey there, fellow herb enthusiasts! Ever dreamt of having fresh, fragrant dill readily available, even when the snow’s piling up outside? Well, dream no more! Growing dill indoors is totally achievable, and I’m here to walk you through every step of the process. Trust me, there’s nothing quite like snipping off a few sprigs of homegrown dill to elevate your favorite dishes. Let’s get started!
Choosing the Right Dill Variety
Not all dill varieties are created equal, especially when it comes to indoor growing. Some get incredibly tall and leggy, which isn’t ideal for a confined space. I’ve found that these varieties tend to thrive indoors:
* Dwarf Dill: As the name suggests, this variety stays compact, making it perfect for pots. It’s also known for its robust flavor.
* Fernleaf Dill: Another excellent choice for containers, Fernleaf dill is slow to bolt (go to seed), meaning you’ll have a longer harvest period.
* Bouquet Dill: While it can grow a bit taller than the others, Bouquet dill is still manageable indoors and offers a generous yield of flavorful leaves.
Gathering Your Supplies
Before we dive into planting, let’s make sure you have everything you need. Here’s a checklist:
* Dill Seeds: Choose a variety suitable for indoor growing, as mentioned above.
* Pot: Select a pot that’s at least 6-8 inches in diameter and has drainage holes. Dill needs room for its roots to grow.
* Potting Mix: Use a high-quality, well-draining potting mix. Avoid garden soil, as it can become compacted and hinder drainage. I personally prefer a mix that includes perlite or vermiculite for added aeration.
* Grow Lights (Optional but Recommended): While dill can grow near a sunny window, grow lights will ensure consistent growth, especially during the darker months.
* Watering Can or Spray Bottle: For gentle watering.
* Small Shovel or Trowel: For planting the seeds.
* Plant Labels: To keep track of what you’ve planted (especially if you’re growing multiple herbs).
Planting Your Dill Seeds
Now for the fun part! Let’s get those seeds in the soil.
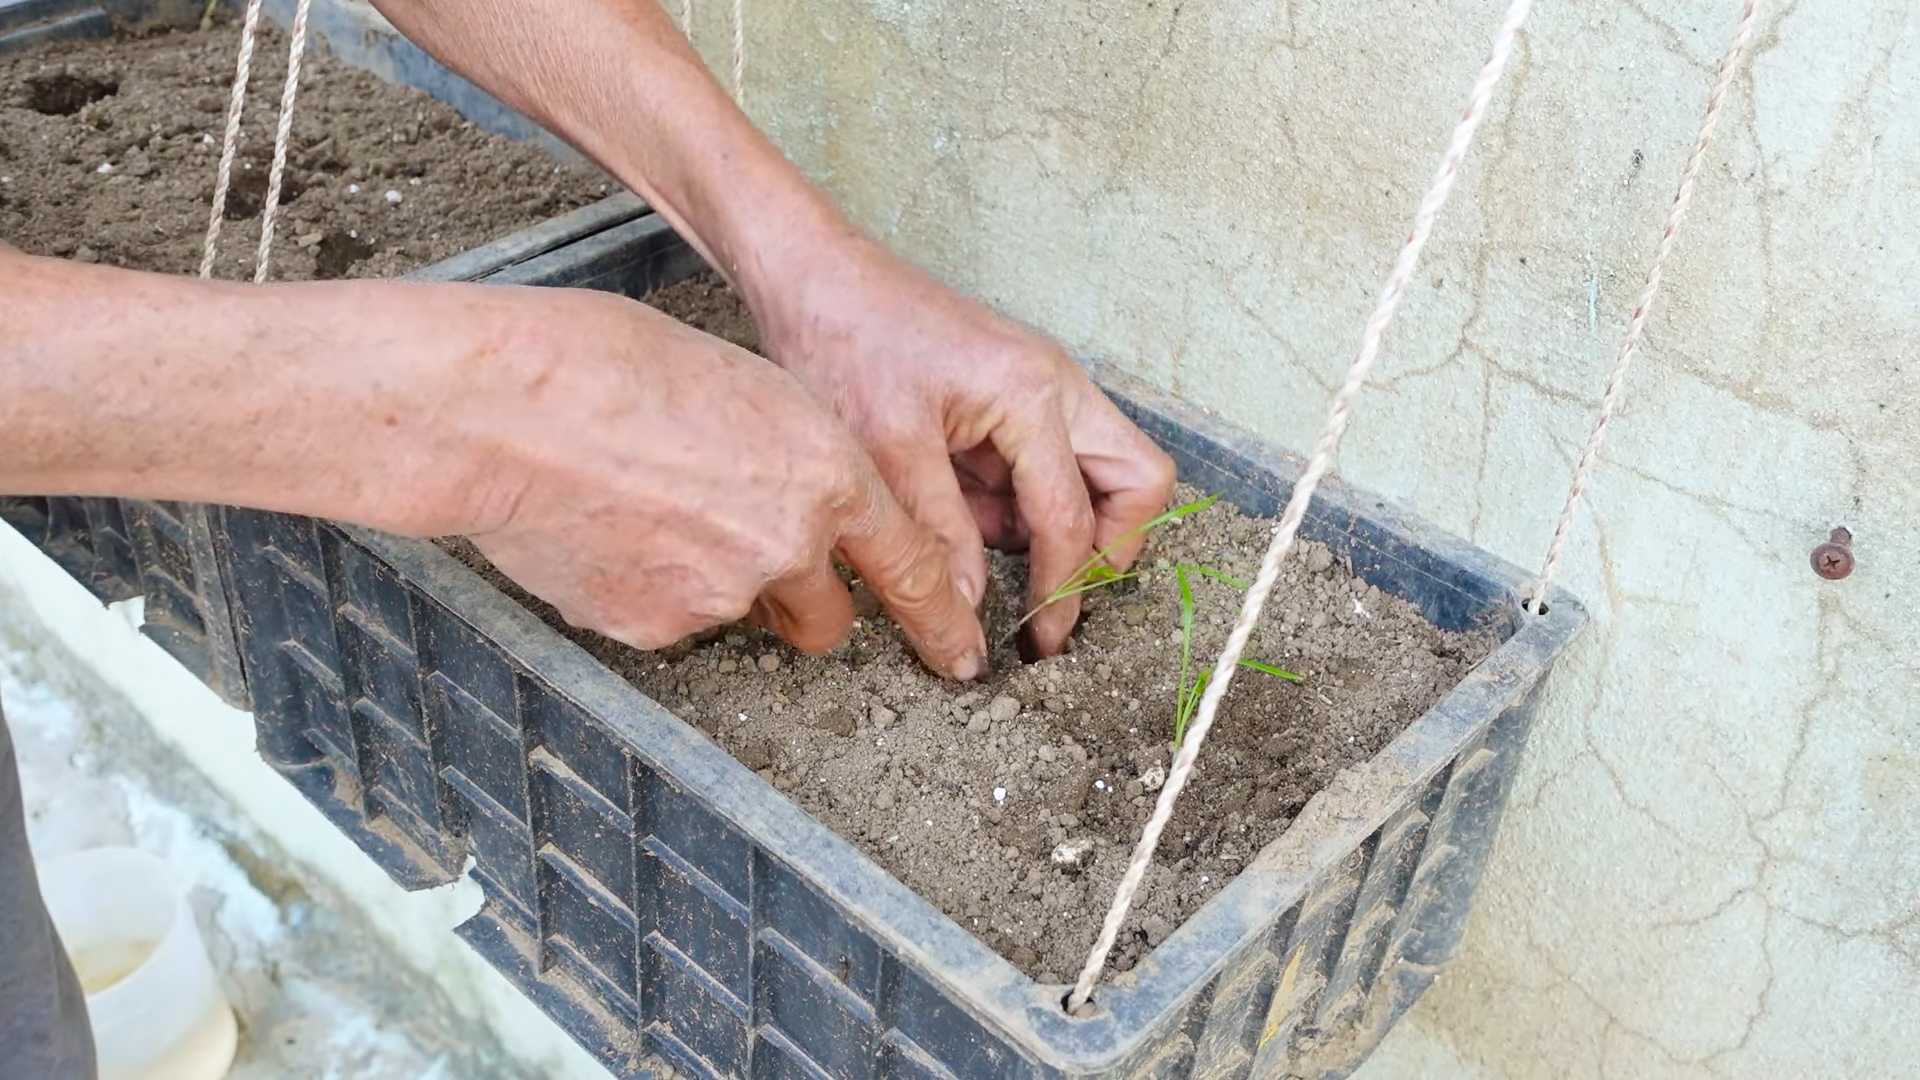
1. Prepare the Pot: Fill your pot with potting mix, leaving about an inch of space at the top. Gently tap the pot to settle the soil.
2. Sow the Seeds: Sprinkle the dill seeds evenly over the surface of the soil. You can sow them quite densely, as you can always thin them out later.
3. Cover the Seeds: Lightly cover the seeds with a thin layer of potting mix (about 1/4 inch).
4. Water Gently: Use a watering can or spray bottle to gently moisten the soil. Be careful not to dislodge the seeds.
5. Provide Light: Place the pot in a location that receives at least 6 hours of direct sunlight per day. If you’re using grow lights, position them a few inches above the pot and keep them on for 12-14 hours a day.
6. Maintain Moisture: Keep the soil consistently moist but not soggy. Check the soil moisture daily and water when the top inch feels dry to the touch.
Caring for Your Indoor Dill
Once your dill seedlings emerge (usually within 7-14 days), it’s time to provide them with the care they need to thrive.
1. Thinning Seedlings: Once the seedlings are a few inches tall, thin them out so that they are spaced about 2-3 inches apart. This will give them enough room to grow and prevent overcrowding. I know it feels harsh to pull out the little guys, but it’s necessary for the health of the remaining plants!
2. Watering: Water your dill regularly, allowing the top inch of soil to dry out between waterings. Avoid overwatering, as this can lead to root rot. I usually water deeply until I see water draining from the bottom of the pot.
3. Fertilizing: Dill doesn’t need a lot of fertilizer, but a light feeding every few weeks can help promote healthy growth. Use a balanced liquid fertilizer diluted to half strength. I like to use an organic fertilizer for my herbs.
4. Providing Support (Optional): If your dill starts to get tall and leggy, you may need to provide some support. You can use small stakes or a tomato cage to keep the plants upright.
5. Pest Control: Keep an eye out for pests like aphids or spider mites. If you spot any, you can try spraying them with insecticidal soap or neem oil. I prefer to use natural pest control methods whenever possible.
6. Preventing Bolting: Bolting is when the plant prematurely goes to seed, which can make the leaves taste bitter. To prevent bolting, keep your dill well-watered and avoid exposing it to excessive heat. Regularly harvesting the leaves can also help delay bolting.
Harvesting Your Dill
The best part of growing dill indoors is, of course, harvesting your fresh herbs!
1. When to Harvest: You can start harvesting dill leaves once the plants are about 6-8 inches tall.
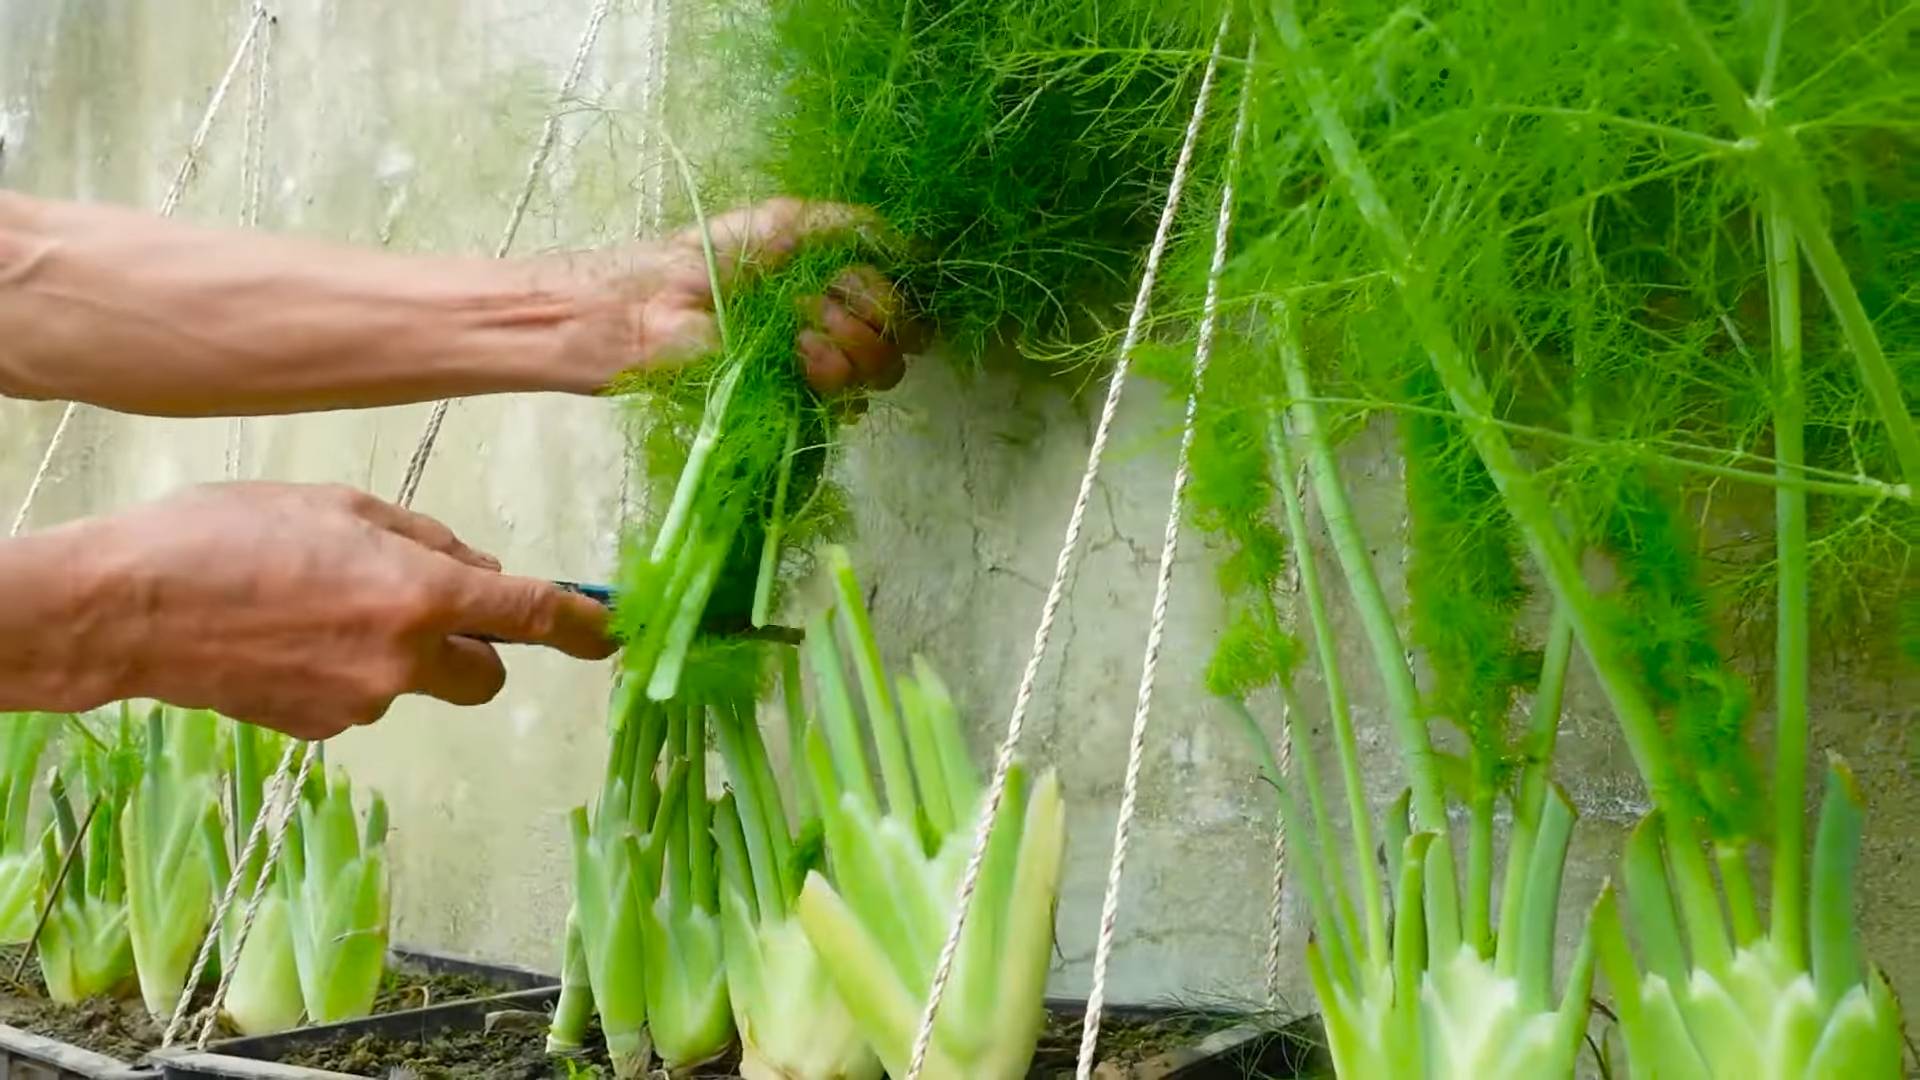
2. How to Harvest: Use scissors or pruning shears to snip off the leaves. You can harvest individual leaves or cut entire stems.
3. Harvesting for Seeds: If you want to harvest dill seeds, allow some of the plants to flower and go to seed. Once the seed heads turn brown and dry, you can cut them off and store them in a paper bag.
4. Regular Harvesting: Regular harvesting encourages the plant to produce more leaves, so don’t be afraid to snip off a few sprigs whenever you need them.
Troubleshooting Common Dill Problems
Even with the best care, you might encounter a few challenges when growing dill indoors. Here are some common problems and how to address them:
* Yellowing Leaves: This could be a sign of overwatering, underwatering, or nutrient deficiency. Check the soil moisture and adjust your watering accordingly. If the problem persists, try fertilizing with a balanced liquid fertilizer.
* Leggy Growth: Leggy growth is often caused by insufficient light. Make sure your dill is getting enough sunlight or supplement with grow lights.
* Bolting: As mentioned earlier, bolting can be caused by heat stress or lack of water. Keep your dill well-watered and avoid exposing it to excessive heat.
* Pests: Keep an eye out for pests like aphids or spider mites. Treat infestations promptly with insecticidal soap or neem oil.
* Root Rot: Root rot is caused by overwatering and poor drainage. Make sure your pot has drainage holes and avoid overwatering. If you suspect root rot, you may need to repot the plant in fresh potting mix.
Extending Your Dill Harvest
Want to keep your dill harvest going strong? Here are a few tips:
* Succession Planting: Sow new dill seeds every few weeks to ensure a continuous supply of fresh herbs.
* Pinching Back: Pinching back the tips of the stems can encourage bushier growth and delay bolting.
* Overwintering: Dill is an annual plant, meaning it completes its life cycle in one year. However, you can try to overwinter your dill indoors by providing it with plenty of light and keeping it in a cool location.
* Seed Saving: Save seeds from your best-performing plants to ensure you have a supply of seeds for future plantings.
Using Your Fresh Dill
Now that you have a bountiful supply of fresh dill, it’s time to put it to good use! Here are a few ideas:
* Add it to dips and sauces: Dill is a classic addition to creamy dips, yogurt sauces, and vinaigrettes.
* Sprinkle it on fish and vegetables: Dill pairs perfectly with salmon, cucumbers, potatoes, and other vegetables.
* Use it in soups and stews: Dill adds a fresh, herbaceous flavor to soups and stews.
* Make dill pickles: Of course, you can’t forget about dill pickles! Use your fresh dill to make homemade pickles that are bursting with flavor.
* Garnish your dishes: A sprig of fresh dill makes a beautiful and flavorful garnish for any dish.
Growing dill indoors is a rewarding experience that allows you to enjoy fresh herbs year-round. With a little bit of care and attention, you can have a thriving dill plant that provides you with a continuous supply of flavorful leaves. So, grab your seeds, get your hands dirty, and start growing! Happy gardening!
Conclusion
So, there you have it! Growing dill indoors is not only achievable, but it’s a rewarding experience that brings the fresh, vibrant flavor of this beloved herb right to your fingertips, regardless of the season. Forget those sad, wilted bunches from the grocery store; imagine snipping fresh, fragrant dill whenever you need it, adding a burst of summery goodness to your soups, salads, dips, and more.
This DIY trick is a must-try for several compelling reasons. First and foremost, it grants you unparalleled control over the quality of your dill. You know exactly what’s going into your plants – no pesticides, no questionable fertilizers, just pure, organic goodness. Secondly, it’s incredibly convenient. No more last-minute trips to the store when you realize you’re out of dill. Your supply is always readily available, just a snip away. Thirdly, it’s surprisingly easy and cost-effective. With a few basic supplies and a little bit of patience, you can have a thriving dill garden indoors.
But the benefits don’t stop there. Growing dill indoors can also be a therapeutic and enjoyable hobby. Tending to your plants, watching them grow, and harvesting your own herbs can be incredibly satisfying and stress-relieving. Plus, the fresh, herbaceous scent of dill can fill your home with a delightful aroma.
Looking for variations? Consider experimenting with different varieties of dill. ‘Bouquet’ dill is a popular choice for its compact size and abundant foliage, making it ideal for indoor growing. ‘Fernleaf’ dill is another excellent option, known for its feathery leaves and slow bolting. You can also try growing dill in different types of containers, from traditional pots to self-watering planters. Just make sure your chosen container has adequate drainage.
Another fun variation is companion planting. Dill is known to attract beneficial insects, such as ladybugs and lacewings, which can help control pests in your indoor garden. Consider planting dill alongside other herbs like basil or parsley, or even vegetables like tomatoes or peppers.
Don’t be intimidated! Growing dill indoors is a forgiving process. Even if you’re a beginner gardener, you can achieve success with a little bit of attention and care. Remember to provide your dill plants with plenty of sunlight, well-draining soil, and regular watering. And don’t be afraid to experiment and learn as you go.
We wholeheartedly encourage you to try this DIY trick and experience the joy of growing your own dill indoors. It’s a simple, rewarding, and delicious way to bring a touch of nature into your home.
Once you’ve given it a try, we’d love to hear about your experience! Share your tips, tricks, and photos in the comments below. Let’s create a community of indoor dill growers and inspire others to embrace the joys of homegrown herbs. What are you waiting for? Get planting!
Frequently Asked Questions (FAQ)
What kind of soil is best for growing dill indoors?
Dill thrives in well-draining soil that is rich in organic matter. A good potting mix specifically formulated for herbs is an excellent choice. You can also create your own mix by combining equal parts of potting soil, perlite, and compost. The perlite helps to improve drainage, while the compost provides essential nutrients. Avoid using garden soil, as it can be too heavy and may contain pests or diseases.
How much sunlight does indoor dill need?
Dill requires at least 6 hours of direct sunlight per day to thrive. A south-facing window is ideal, but if you don’t have one, you can supplement with grow lights. Position the grow lights about 6-12 inches above the plants and keep them on for 12-16 hours per day. Insufficient sunlight can lead to leggy growth and reduced flavor.
How often should I water my indoor dill?
Water your dill plants when the top inch of soil feels dry to the touch. Avoid overwatering, as this can lead to root rot. Ensure that your pot has drainage holes to allow excess water to escape. During the warmer months, you may need to water more frequently than in the cooler months. Check the soil moisture regularly and adjust your watering schedule accordingly.
How do I harvest dill from my indoor plants?
You can start harvesting dill leaves as soon as the plants are about 6 inches tall. Simply snip off the leaves with scissors or pruning shears. Avoid removing more than one-third of the plant at a time, as this can stunt its growth. For the strongest flavor, harvest dill in the morning after the dew has dried. You can use the fresh dill immediately or store it in the refrigerator for a few days.
How do I prevent dill from bolting indoors?
Bolting is when a plant prematurely flowers and goes to seed. This can happen when dill is exposed to high temperatures or stress. To prevent bolting indoors, keep your dill plants in a cool, well-ventilated area. Avoid letting the soil dry out completely, and provide adequate sunlight. You can also pinch off any flower buds that appear to encourage the plant to focus on leaf production.
Can I grow dill from seed indoors?
Yes, you can easily grow dill from seed indoors. Start by sowing the seeds in a pot filled with well-draining potting mix. Lightly cover the seeds with soil and water gently. Keep the soil moist but not soggy. The seeds should germinate in about 7-14 days. Once the seedlings have developed a few sets of true leaves, you can thin them out, leaving only the strongest plants.
What are some common pests and diseases that affect indoor dill?
Common pests that can affect indoor dill include aphids, spider mites, and whiteflies. These pests can be controlled with insecticidal soap or neem oil. Diseases that can affect dill include powdery mildew and root rot. Powdery mildew can be prevented by ensuring good air circulation and avoiding overhead watering. Root rot can be prevented by avoiding overwatering and using well-draining soil.
How long will my indoor dill plant last?
With proper care, your indoor dill plant can last for several months. However, dill is an annual herb, which means that it will eventually complete its life cycle and die. To ensure a continuous supply of fresh dill, you can sow new seeds every few weeks. This will allow you to have a succession of plants that are ready to harvest.
Can I dry my homegrown dill?
Yes, you can dry your homegrown dill to preserve it for later use. To dry dill, simply hang the stems upside down in a cool, dry, and well-ventilated area. You can also use a dehydrator or oven to dry the dill. Once the dill is completely dry, store it in an airtight container in a cool, dark place. Dried dill will have a slightly less intense flavor than fresh dill, but it is still a great way to add flavor to your dishes.
Is growing dill indoors worth the effort?
Absolutely! Growing dill indoors is a rewarding and convenient way to have fresh dill readily available whenever you need it. It’s also a great way to add a touch of greenery to your home and enjoy the therapeutic benefits of gardening. The fresh, vibrant flavor of homegrown dill is far superior to store-bought dill, making it well worth the effort. Plus, you’ll have the satisfaction of knowing that you grew it yourself!
Leave a Comment