
Growing Mint at Home can be incredibly rewarding, filling your garden and kitchen with its refreshing aroma and flavor. But let’s be honest, sometimes it feels like mint has a mind of its own, doesn’t it? It either takes over everything or mysteriously withers away! Don’t worry, I’m here to share some simple DIY tricks and hacks to help you cultivate a thriving mint patch, no matter your gardening experience.
Mint has a rich history, dating back to ancient civilizations. The Romans and Greeks prized it for its medicinal properties and culinary uses. They even believed it symbolized hospitality and used it to freshen their homes. Today, mint continues to be a beloved herb worldwide, adding a burst of freshness to everything from teas and cocktails to savory dishes and desserts.
But why bother with these DIY tricks? Well, because growing mint at home successfully means you’ll always have fresh, organic mint on hand for all your culinary creations. Plus, you’ll avoid the often-expensive and sometimes less-than-fresh mint found in grocery stores. More importantly, you’ll gain a sense of accomplishment and connect with nature in a meaningful way. So, let’s dive in and unlock the secrets to a flourishing mint garden!
Growing Mint at Home: A Comprehensive DIY Guide
Hello dear garden friends! I love the fresh scent and taste of mint, and I think everyone should have the opportunity to grow this versatile plant at home. Whether for mojitos, tea, or just to beautify the garden – mint is a true all-rounder. In this article, I’ll show you how to successfully grow mint at home, whether in the garden or in a pot. Let’s get started!
Why Grow Your Own Mint?
Before we begin, let me briefly explain why I’m so enthusiastic about growing my own mint:
- Freshness: Nothing beats the taste of freshly harvested mint.
- Cost Savings: Mint from the supermarket can be expensive. With your own mint garden, you’ll save money in the long run.
- Control: You know exactly what’s in your mint – no pesticides or unnecessary additives.
- Versatility: Mint is incredibly versatile in the kitchen and for DIY projects.
- Simplicity: Mint is relatively easy to grow, even for beginners.
Choosing the Right Mint Variety
There are countless varieties of mint, each with its own unique taste and scent. Here are some of my favorites:
- Peppermint: Classic and intense, perfect for tea and desserts.
- Spearmint: Mild and sweet, ideal for mojitos and salads.
- Chocolate Mint: With a hint of chocolate, delicious in desserts and cocktails.
- Strawberry Mint: Fruity and refreshing, great in drinks and fruit salads.
- Lemon Mint: With a citrusy aroma, perfect for tea and refreshing drinks.
Choose the variety that you like best and will use most often. Of course, you can also grow several varieties!
Growing Mint in a Pot: A Step-by-Step Guide
Growing mint in a pot is ideal if you don’t have a garden or want to control the spread of the mint (mint is quite an aggressive grower!).
Materials Needed:
- A pot with drainage holes (at least 20 cm / 8 inches in diameter)
- High-quality potting soil
- Mint seeds or a mint plant
- Water
- Optional: Fertilizer
Step-by-Step Instructions:
- Prepare the pot: Fill the pot with potting soil, but leave about 2-3 cm (1 inch) of space to the rim.
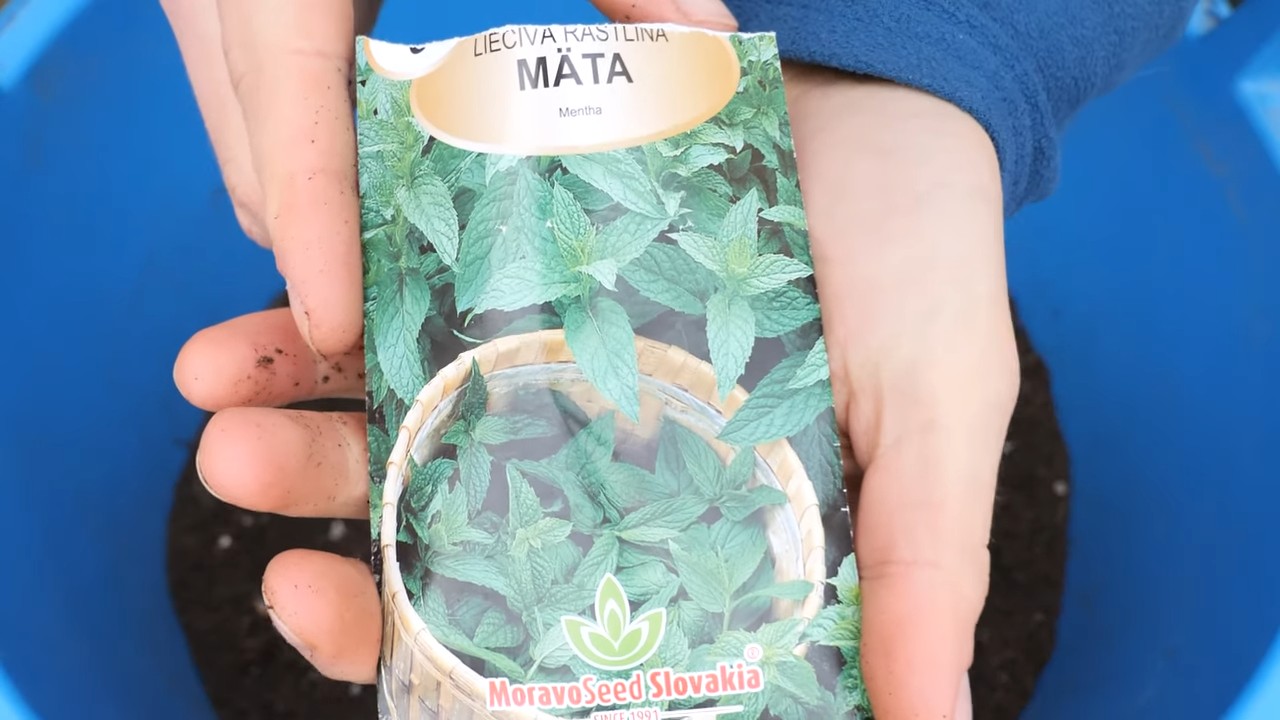
- Sowing (for seeds): Distribute the mint seeds evenly on the soil. Lightly cover them with a thin layer of soil. Water the soil gently.
- Planting (for a plant): Make a small hole in the soil large enough to accommodate the mint plant’s root ball. Place the plant in the hole and fill it with soil. Lightly press the soil down.
- Watering: Water the mint thoroughly until water runs out of the drainage holes.
- Location: Place the pot in a sunny or partially shaded spot. Mint prefers at least 4-6 hours of sunlight per day.
- Care: Water the mint regularly, especially on hot days. The soil should always be slightly moist, but not wet. Fertilize the mint every few weeks with a liquid fertilizer.
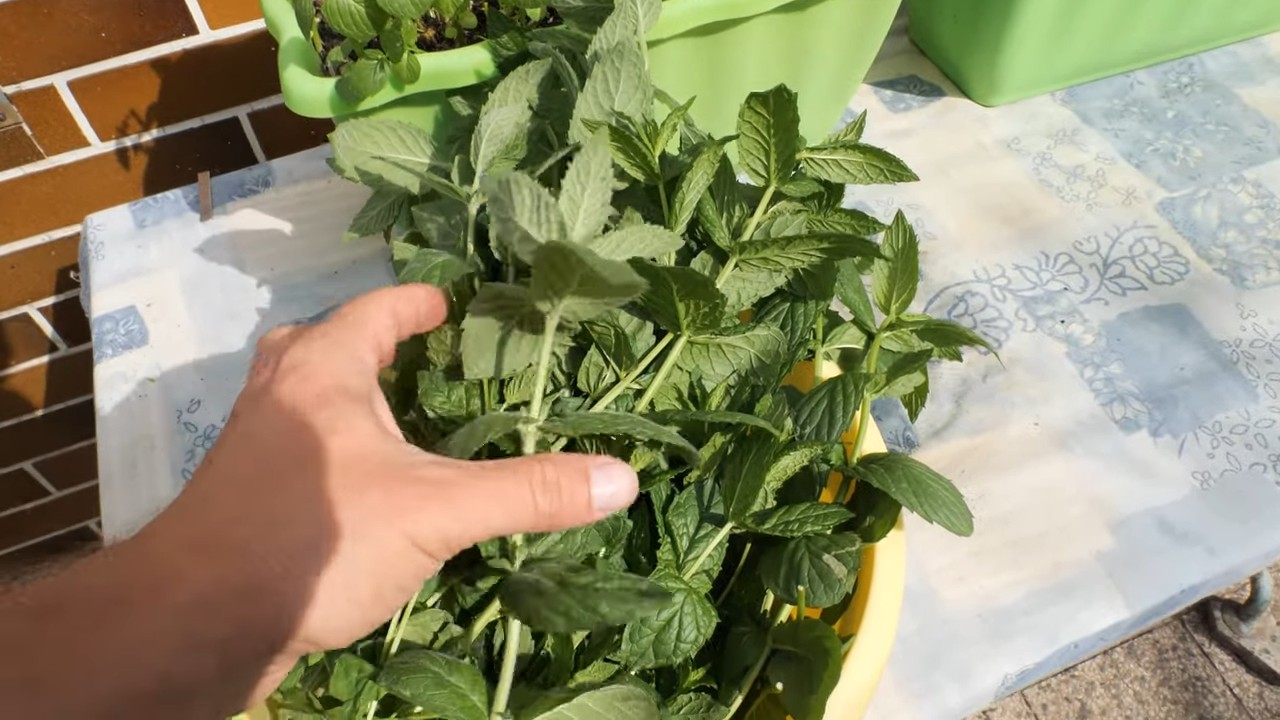
- Harvesting: Harvest the mint by cutting off the leaves or stems. The more you harvest, the bushier the plant will become.
Growing Mint in the Garden: A Step-by-Step Guide
Growing mint in the garden is a bit more challenging because it can spread quickly. But with a few tricks, you can keep it under control.
Materials Needed:
- A sunny or partially shaded location
- Garden tools (spade, rake)
- Mint seeds or a mint plant
- Water
- Optional: Fertilizer, root barrier
Step-by-Step Instructions:
- Prepare the location: Choose a sunny or partially shaded spot with well-draining soil. Loosen the soil with a spade and remove weeds.
- Sowing (for seeds): Distribute the mint seeds evenly on the soil. Lightly cover them with a thin layer of soil. Water the soil gently.
- Planting (for a plant): Make a small hole in the soil large enough to accommodate the mint plant’s root ball. Place the plant in the hole and fill it with soil. Lightly press the soil down.
- Root barrier (optional): To control the spread of mint, you can install a root barrier. Dig a trench around the planting area and insert a plastic sheet or a bottomless bucket.
- Watering: Water the mint thoroughly, especially in the first few weeks after planting.
- Care: Water the mint regularly, especially on hot days. The soil should always be slightly moist, but not wet. Fertilize the mint every few weeks with an organic fertilizer.
- Harvesting: Harvest the mint by cutting off the leaves or stems. The more you harvest, the bushier the plant will become.
Common Problems and Solutions
Problems can also arise when growing mint. Here are some of the most common ones and how to solve them:
- Yellow leaves: Can indicate overwatering or a nutrient deficiency. Reduce watering or fertilize the plant.
- Brown leaves: Can indicate drought or sunburn. Water the plant more frequently or move it to a shadier location.
- Pests: Mint can be infested by aphids or spider mites. Spray the plant with a solution of water and dish soap or use an organic pesticide.
- Fungal diseases: Fungal diseases can occur in high humidity. Ensure good ventilation and remove affected leaves.
How to Properly Harvest and Store Mint
Harvesting mint is very simple. Just cut the leaves or stems with scissors or a knife. It’s best to harvest mint in the morning when the essential oils are most concentrated.
There are several ways to store mint:
- Fresh: Wrap the mint in a damp paper towel and store it in the refrigerator. It will last for a few days.
- Drying: Hang the mint upside down in a dry, dark place. Once it’s dry, you can strip the leaves and store them in an airtight container.
- Freezing: Finely chop the mint and freeze it in ice cube trays with water or oil. This way, you always have fresh mint on hand.
Using Mint in the Kitchen
Mint is incredibly versatile in the kitchen. Here are some of my favorite uses:
Sauces: Mint sauce is a classic with lamb dishes.
Tea: Fresh mint tea is calming and refreshing.
Cocktails: Mint is a must for mojitos, mint juleps, and other cocktails.
Salads: Mint adds a fresh note to salads.
Desserts: Mint pairs wonderfully with chocolate, ice cream, and other desserts.
Conclusion
So, there you have it! Growing mint at home isn’t just a gardening project; it’s an investment in fresh flavors, aromatic delights, and a touch of green therapy. We’ve walked through the simple steps, debunked common myths, and armed you with the knowledge to cultivate your own thriving mint patch, whether you have a sprawling garden or just a sunny windowsill.
Why is this DIY trick a must-try? Because store-bought mint, while convenient, simply can’t compare to the vibrant, intense flavor of freshly picked leaves. Imagine the difference in your mojitos, your teas, your salads, and even your desserts when you’re using mint that was harvested just moments before. Plus, think of the satisfaction of knowing you nurtured that flavor from a tiny sprig to a bountiful bush. It’s a small act of self-sufficiency that yields surprisingly large rewards.
But the benefits extend beyond just taste. Growing your own mint is also a sustainable choice. You’re reducing your reliance on commercially grown herbs, which often travel long distances and contribute to carbon emissions. You’re also avoiding the plastic packaging that often accompanies store-bought herbs. And let’s not forget the sheer joy of having a living, breathing plant in your home, adding a touch of nature to your indoor environment.
Ready to take your mint game to the next level? Consider these variations and suggestions:
* Experiment with different varieties: Peppermint, spearmint, chocolate mint, orange mint – the possibilities are endless! Each variety offers a unique flavor profile, allowing you to tailor your mint garden to your specific culinary preferences.
* Get creative with containers: Don’t limit yourself to traditional pots. Upcycle old teacups, mason jars, or even tin cans to create a charming and eco-friendly mint garden.
* Companion planting: Mint is a great companion plant for many vegetables, helping to deter pests and attract beneficial insects. Plant it near your tomatoes, cabbage, or broccoli to give them a boost.
* Mint-infused creations: Once your mint is thriving, explore the world of mint-infused recipes. Make mint syrup for cocktails, mint jelly for toast, or even mint-infused oil for cooking.
We wholeheartedly encourage you to give this DIY trick a try. It’s easier than you think, and the rewards are well worth the effort. Start small, be patient, and don’t be afraid to experiment. And most importantly, share your experience with us! We’d love to hear about your successes, your challenges, and your favorite ways to use your homegrown mint. Post pictures of your mint gardens, share your favorite recipes, and let’s create a community of mint-loving gardeners.
So, grab a sprig of mint, find a sunny spot, and get ready to embark on a flavorful adventure. Your taste buds (and your garden) will thank you! Remember, mastering the art of growing mint at home is not just about having fresh herbs; it’s about connecting with nature, embracing sustainability, and adding a touch of homemade goodness to your life.
Frequently Asked Questions (FAQ)
Why is my mint plant turning yellow?
Yellowing leaves on your mint plant can be caused by several factors. Overwatering is a common culprit, as mint prefers well-drained soil. Allow the soil to dry out slightly between waterings. Nutrient deficiencies can also cause yellowing, so consider fertilizing your mint with a balanced liquid fertilizer every few weeks. Insufficient sunlight can also lead to yellowing, so make sure your mint plant is getting at least 4-6 hours of direct sunlight per day. Finally, check for pests like spider mites or aphids, which can suck the sap from the leaves and cause them to yellow.
How often should I water my mint plant?
The frequency of watering depends on several factors, including the size of the pot, the type of soil, and the climate. As a general rule, water your mint plant when the top inch of soil feels dry to the touch. Avoid overwatering, as this can lead to root rot. In hot, dry weather, you may need to water your mint plant more frequently. In cooler weather, you can water it less often. A good way to check is to stick your finger into the soil to feel the moisture level.
My mint plant is spreading everywhere! How can I control it?
Mint is notorious for its aggressive growth habit. To prevent it from taking over your garden, it’s best to grow it in a container. If you’re planting it in the ground, consider burying a barrier around the planting area to contain the roots. You can use plastic edging, metal sheeting, or even an old bucket with the bottom cut out. Regularly prune your mint plant to keep it in check and prevent it from flowering, as this will encourage it to spread even more.
What kind of soil is best for growing mint?
Mint prefers well-drained, fertile soil with a slightly acidic to neutral pH (6.0-7.0). A good potting mix for containers is a blend of peat moss, perlite, and vermiculite. If you’re planting mint in the ground, amend the soil with compost or other organic matter to improve drainage and fertility. Avoid heavy clay soils, as they can become waterlogged and lead to root rot.
How do I harvest mint leaves?
The best time to harvest mint leaves is in the morning, after the dew has dried. Simply pinch or cut off the stems just above a leaf node. This will encourage the plant to branch out and produce more leaves. You can harvest mint leaves throughout the growing season. For the best flavor, harvest before the plant flowers.
Can I grow mint indoors?
Yes, mint can be grown successfully indoors, as long as you provide it with enough light and water. Place your mint plant in a sunny windowsill that receives at least 4-6 hours of direct sunlight per day. If you don’t have enough natural light, you can supplement with a grow light. Water your mint plant when the top inch of soil feels dry to the touch.
How do I propagate mint?
Mint is very easy to propagate from cuttings. Simply take a 4-6 inch cutting from a healthy stem, remove the lower leaves, and place the cutting in a glass of water. Roots should start to form within a week or two. Once the roots are about an inch long, you can plant the cutting in a pot filled with potting mix. You can also propagate mint by dividing the roots of an established plant.
What are some common pests and diseases that affect mint?
Mint is generally a hardy plant, but it can be susceptible to certain pests and diseases. Common pests include spider mites, aphids, and whiteflies. These pests can be controlled with insecticidal soap or neem oil. Common diseases include powdery mildew and rust. These diseases can be prevented by providing good air circulation and avoiding overwatering.
How do I dry mint leaves?
There are several ways to dry mint leaves. You can hang them upside down in a cool, dry place, or you can dry them in a dehydrator or oven. To dry mint leaves in the oven, spread them out on a baking sheet and bake at a low temperature (170°F or 77°C) for several hours, or until they are completely dry. Once the leaves are dry, store them in an airtight container in a cool, dark place.
Can I freeze mint leaves?
Yes, you can freeze mint leaves. Wash and dry the leaves thoroughly, then spread them out on a baking sheet and freeze for a few hours. Once the leaves are frozen, transfer them to a freezer bag or container. Frozen mint leaves can be used in smoothies, teas, or other recipes. They may not be as flavorful as fresh mint leaves, but they will still add a touch of minty goodness.
Leave a Comment