
Hidden Melon Ripening Trick: Ever bite into a melon, eagerly anticipating that sweet, juicy flavor, only to be met with a bland, disappointing taste? I know I have! It’s a frustrating experience, especially after patiently waiting for what feels like forever. But what if I told you there’s a simple, almost magical, trick to ensure your homegrown melons reach peak ripeness, bursting with flavor?
Melons have been cultivated for thousands of years, with evidence suggesting their presence in ancient Egypt and beyond. They’ve always been prized for their refreshing taste and nutritional value. But getting that perfect ripeness has always been a bit of a gamble. That’s where this DIY trick comes in.
Let’s face it, gardening can be unpredictable. We pour our hearts and souls into nurturing our plants, but sometimes nature needs a little nudge. This hidden melon ripening trick isn’t about cheating nature; it’s about understanding it and giving your melons the best possible chance to develop their full potential. It’s a game-changer for home gardeners like us who want to enjoy the fruits (or should I say, melons!) of our labor. I’m going to show you how to unlock the secret to consistently sweet and delicious melons, right from your own backyard. Get ready to say goodbye to bland melons forever!
The Secret to Sweet Success: My Foolproof Hidden Melon Ripening Trick
Okay, melon lovers, gather ’round! I’m about to let you in on a little secret that has completely changed my melon game. We’ve all been there, right? You buy a beautiful melon, picturing juicy, sweet slices, only to cut into it and find… disappointment. It’s hard, bland, and just not what you were hoping for. Well, say goodbye to melon misery! This DIY trick will help you ripen your melons faster and more evenly, resulting in the sweetest, most flavorful fruit you’ve ever tasted.
What You’ll Need
Before we dive in, let’s gather our supplies. This is a super simple hack, so you probably already have everything you need:
* A slightly underripe melon (cantaloupe, honeydew, watermelon – this works for them all!)
* A brown paper bag (grocery store size is perfect)
* A ripe apple or banana
* Patience (but not too much, I promise!)
Why This Works: The Science Behind the Sweetness
This trick relies on the power of ethylene gas. Ethylene is a natural plant hormone that fruits produce as they ripen. By trapping the melon in a paper bag with a ripe apple or banana, we’re concentrating the ethylene gas around the melon, speeding up the ripening process. The paper bag allows for some airflow, preventing mold growth while still containing the gas. It’s like creating a mini ripening chamber!
Step-by-Step Guide to Ripening Your Melon
Alright, let’s get down to business! Here’s how to use this simple trick to transform your underripe melon into a sweet, juicy masterpiece:
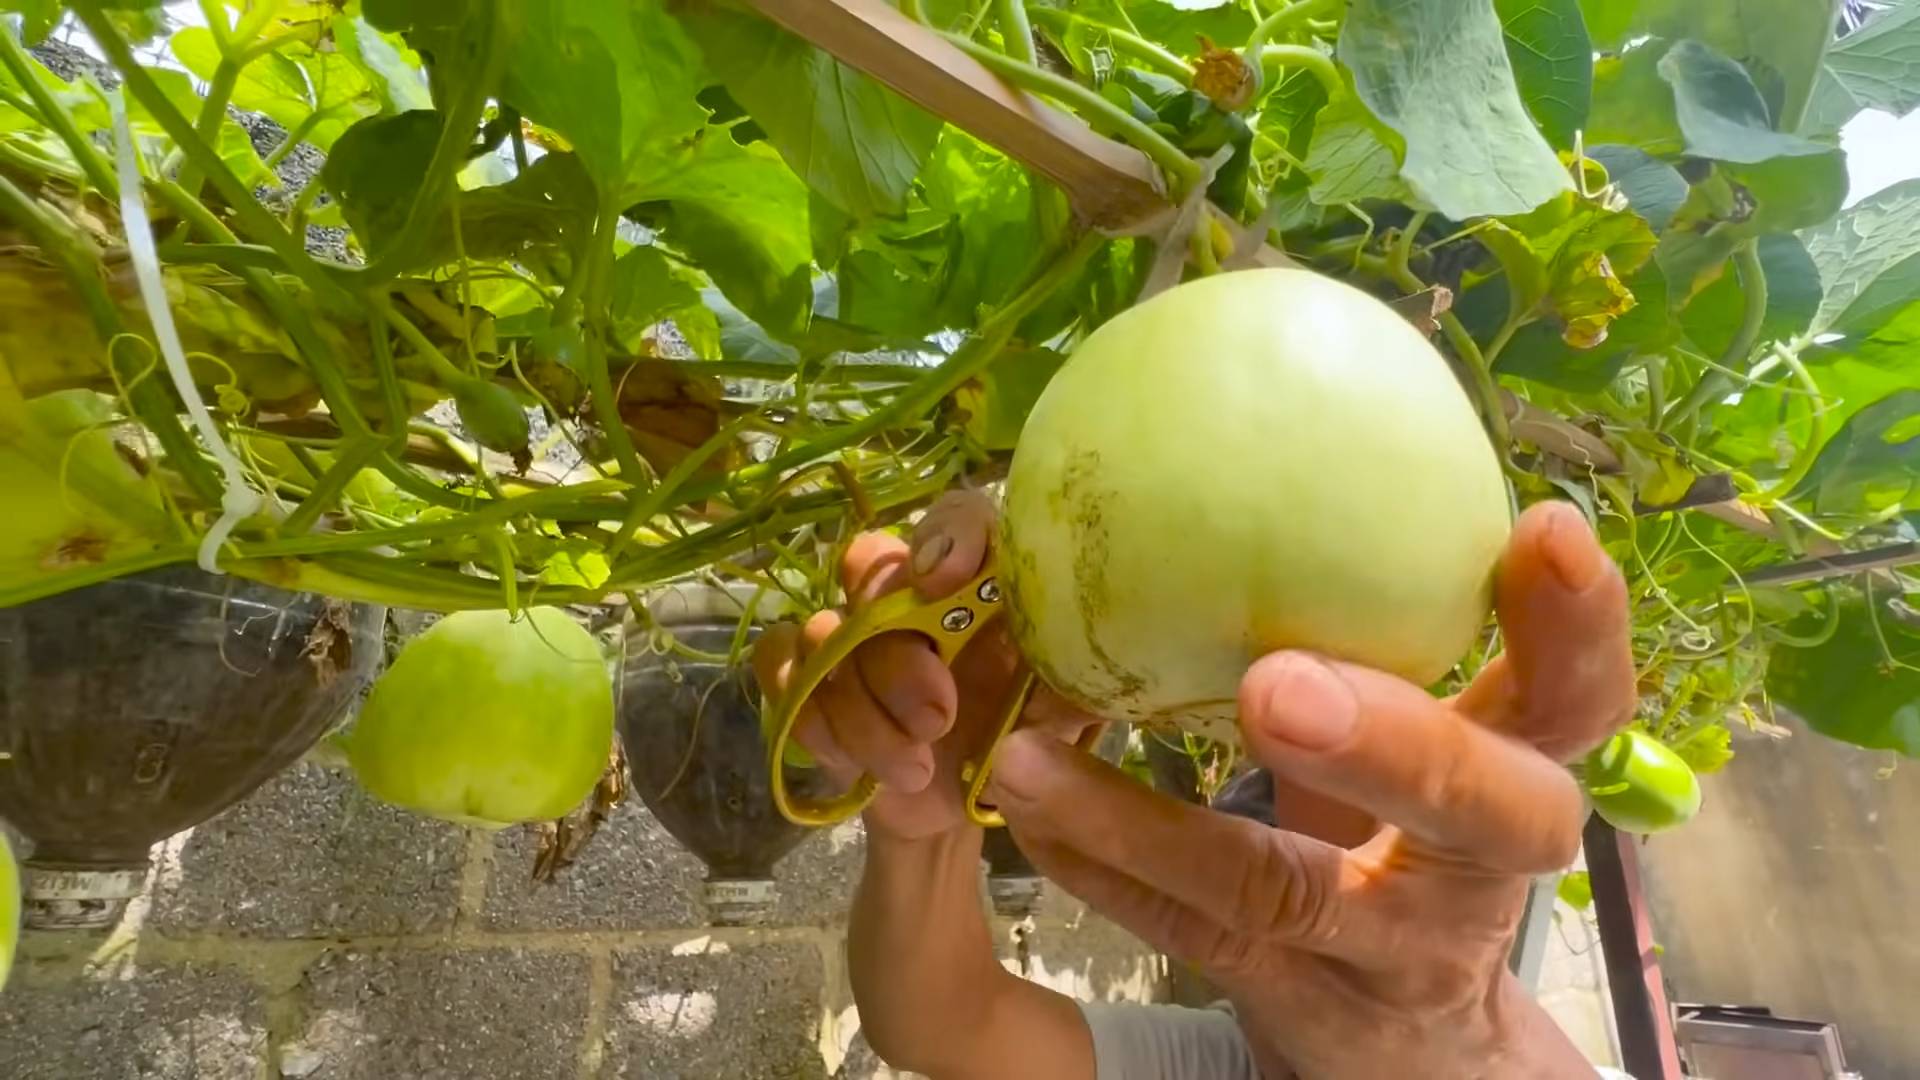
1. Choose Your Melon Wisely: This trick works best on melons that are *almost* ripe. Look for a melon that feels heavy for its size. For cantaloupe and honeydew, check the stem end. It should be slightly soft and have a sweet aroma. For watermelon, look for a dull, not shiny, rind and a yellow spot where it rested on the ground. Avoid melons with bruises, soft spots, or cracks.
2. Prepare the Paper Bag: Grab your brown paper bag and make sure it’s clean and dry. You don’t want any lingering odors or moisture affecting your melon.
3. Add the Ripening Agent: Place your ripe apple or banana inside the paper bag. The riper the fruit, the more ethylene gas it will produce, and the faster your melon will ripen. I usually use a banana that’s starting to get brown spots – perfect for this purpose!
4. Nestle the Melon: Gently place your melon inside the paper bag, alongside the apple or banana. Make sure the melon isn’t squishing the other fruit.
5. Seal the Bag (Loosely): Fold the top of the paper bag over a couple of times to loosely seal it. You don’t want to completely airtight seal, as the melon needs some airflow to prevent mold.
6. Find a Cool, Dark Place: Store the bag in a cool, dark place, like a pantry or a cupboard. Avoid direct sunlight, as this can overheat the melon and cause it to spoil.
7. Check Daily: This is the crucial part! Check your melon daily to monitor its progress. Gently press on the stem end (for cantaloupe and honeydew) or the rind (for watermelon). You’re looking for a slight softening. Also, give it a sniff! The melon should have a noticeably sweeter aroma as it ripens.
8. Patience is Key (But Not Too Much!): Depending on how underripe your melon was to begin with, this process can take anywhere from 1 to 4 days. Don’t rush it! Checking daily will help you catch it at the perfect moment.
9. The Moment of Truth: Once your melon feels slightly soft and smells wonderfully sweet, it’s ready! Remove it from the paper bag and prepare for a taste sensation.
10. Chill and Enjoy: For the best flavor, chill your ripened melon in the refrigerator for at least an hour before slicing and serving. This will enhance its sweetness and make it even more refreshing.
Troubleshooting Tips and Tricks
Even with the best instructions, things don’t always go perfectly. Here are a few common issues you might encounter and how to solve them:
* Mold Growth: If you notice any mold growing on the melon or inside the bag, remove the melon immediately. It’s likely overripe or has been exposed to too much moisture. Unfortunately, it’s probably not salvageable. To prevent this, make sure the paper bag is dry and that you’re not sealing it too tightly.
* Melon Not Ripening: If your melon isn’t ripening after a few days, try replacing the apple or banana with a riper one. You can also try adding a second ripe fruit to the bag. Make sure the melon wasn’t already too far gone when you started.
* Uneven Ripening: Sometimes, one side of the melon might ripen faster than the other. To prevent this, rotate the melon in the bag daily.
Beyond the Basics: Advanced Melon Ripening Techniques
Want to take your melon ripening skills to the next level? Here are a few extra tips and tricks:
* Rice Trick: If you don’t have a paper bag, you can also try placing the melon in a large bowl of uncooked rice. The rice helps to absorb excess moisture and create a similar environment to the paper bag.
* Ethylene-Producing Fruits: While apples and bananas are the most common choices, other fruits like avocados, pears, and tomatoes also produce ethylene gas and can be used to ripen melons.
* Temperature Matters: Melons ripen best at room temperature (around 70-75°F). Avoid storing them in extremely hot or cold environments, as this can slow down the ripening process.
Frequently Asked Questions (FAQ)
I know you probably have some questions, so I’ve compiled a list of the most common ones I get asked about this trick:
* Can I use this trick on all types of melons? Yes! This trick works on cantaloupe, honeydew, watermelon, and other types of melons.
* How long does it take to ripen a melon using this method? It depends on how underripe the melon was to begin with, but typically it takes 1-4 days.
* Can I use a plastic bag instead of a paper bag? I don’t recommend it. Plastic bags don’t allow for proper airflow, which can lead to mold growth.
* What if I don’t have an apple or banana? You can use other ethylene-producing fruits like avocados, pears, or tomatoes.
* How do I know when the melon is perfectly ripe? The melon should feel slightly soft to the touch and have a sweet aroma. For cantaloupe and honeydew, check the stem end – it should be slightly soft and give slightly when pressed.
My Personal Melon Ripening Story
I remember the first time I tried this trick. I had bought a beautiful cantaloupe at the farmer’s market, but when I cut into it, it was hard and tasteless. I was so disappointed! I almost threw it away, but then I remembered reading about this ripening trick. I figured I had nothing to lose, so I gave it a try. A few days later, I cut into that same cantaloupe, and it was like a completely different fruit! It was juicy, sweet, and incredibly flavorful. I was hooked! Now, I use this trick all the time, and I never have to worry about buying an underripe melon again.
So there you have it! My foolproof hidden melon ripening trick. I hope you give it a try and enjoy the sweetest, most flavorful melons you’ve ever tasted. Happy ripening!
Conclusion
So, there you have it! This simple, yet surprisingly effective, hidden melon ripening trick is a game-changer for anyone who’s ever been disappointed by a bland, underripe melon. We’ve all been there, haven’t we? The anticipation of that sweet, juicy bite, only to be met with a hard, tasteless disappointment. But with this method, those days are over.
Why is this a must-try? Because it’s easy, it’s inexpensive, and most importantly, it works! You don’t need any fancy equipment or specialized knowledge. Just a little patience and a paper bag (or similar breathable container). The beauty of this technique lies in its simplicity. By concentrating the ethylene gas naturally produced by the melon, you’re essentially accelerating the ripening process in a controlled environment. This leads to a sweeter, softer, and more flavorful melon that’s ready to be enjoyed.
But don’t just take our word for it. The real magic happens when you try it yourself. And the best part is, there’s room for experimentation!
Here are a few suggestions and variations to consider:
* Add an apple or banana: Placing a ripe apple or banana in the bag along with the melon can further boost the ethylene gas concentration, potentially speeding up the ripening process even more. Just be sure to check the melon frequently to avoid over-ripening.
* Different containers: While a paper bag is ideal due to its breathability, you can also use a cardboard box or even a large plastic container with a few ventilation holes. The key is to allow some airflow to prevent mold growth.
* Ripening multiple melons: If you have several melons to ripen, you can use a larger container and space them out to ensure even ripening.
* Monitor the melon closely: The ripening time will vary depending on the initial ripeness of the melon and the ambient temperature. Check the melon daily for signs of ripeness, such as a softening of the blossom end and a fragrant aroma.
* Consider the type of melon: This trick works best on melons that are already close to being ripe. Very green, hard melons may not respond as well. Watermelons, for example, don’t ripen further after being picked, so this trick won’t work on them. This is more effective on cantaloupes, honeydews, and similar varieties.
We’re confident that this hidden melon ripening trick will become a staple in your kitchen. It’s a simple solution to a common problem, and it allows you to enjoy perfectly ripe melons every time.
So, go ahead and give it a try! We’re eager to hear about your experiences. Did it work for you? Did you try any variations? Share your results and tips in the comments below. Let’s create a community of melon-ripening experts! Happy ripening!
Frequently Asked Questions (FAQ)
Q: How does this hidden melon ripening trick actually work?
A: The secret lies in ethylene gas. Melons, like many fruits, naturally produce ethylene gas as they ripen. This gas acts as a ripening hormone, triggering changes in the fruit’s texture, color, and flavor. By placing the melon in a paper bag or similar container, you’re essentially trapping the ethylene gas around the melon, concentrating its effect and accelerating the ripening process. The bag allows for some airflow, preventing the buildup of moisture that could lead to mold.
Q: What types of melons does this trick work best on?
A: This trick is most effective on melons that continue to ripen after being picked, such as cantaloupes, honeydews, and crenshaws. Watermelons, on the other hand, do not ripen further after being harvested, so this method won’t work for them. The key is to start with a melon that’s already close to being ripe. If it’s rock-hard and completely green, it’s unlikely to ripen significantly using this method.
Q: How long does it take for a melon to ripen using this trick?
A: The ripening time can vary depending on several factors, including the initial ripeness of the melon, the ambient temperature, and the type of container used. Generally, you can expect to see results within 1 to 3 days. It’s important to check the melon daily for signs of ripeness, such as a softening of the blossom end (the end opposite the stem) and a fragrant aroma.
Q: Can I use a plastic bag instead of a paper bag?
A: While you can use a plastic bag, it’s not recommended. Plastic bags don’t breathe as well as paper bags, which can lead to a buildup of moisture and increase the risk of mold growth. If you do use a plastic bag, be sure to poke a few holes in it to allow for some airflow. A cardboard box with a lid slightly ajar is a better alternative to a plastic bag.
Q: What if my melon starts to smell fermented or moldy?
A: If you notice a fermented or moldy smell, it means the melon is over-ripening or has started to spoil. Remove it from the bag immediately and discard it. This is why it’s crucial to check the melon daily and not leave it in the bag for too long.
Q: Can I use this trick to ripen other fruits besides melons?
A: Yes, this trick can be used to ripen other fruits that produce ethylene gas, such as avocados, bananas, and tomatoes. The same principles apply: place the fruit in a paper bag or similar container to concentrate the ethylene gas and accelerate the ripening process.
Q: What are the signs of a ripe melon?
A: There are several signs to look for when determining if a melon is ripe:
* Fragrant aroma: A ripe melon will have a sweet, fragrant aroma, especially near the blossom end.
* Softening of the blossom end: The blossom end should be slightly soft to the touch.
* Weight: A ripe melon will feel heavy for its size.
* Sound: When you tap on a ripe cantaloupe, it should sound hollow.
* Color: The color of the melon’s rind should be vibrant and consistent.
Q: What if I don’t have a paper bag? What else can I use?
A: If you don’t have a paper bag, you can use a cardboard box with a lid slightly ajar. This will provide some enclosure while still allowing for adequate airflow. You can also use a large plastic container with a few ventilation holes. The key is to avoid creating a completely airtight environment.
Q: Is it safe to eat a melon that has been ripened using this trick?
A: Yes, it is perfectly safe to eat a melon that has been ripened using this trick. The process simply accelerates the natural ripening process. As long as the melon doesn’t show any signs of spoilage, such as mold or a fermented smell, it is safe to consume.
Q: I tried this trick, but my melon still isn’t ripe. What did I do wrong?
A: There are a few possible reasons why the trick might not have worked:
* The melon was too unripe to begin with: As mentioned earlier, this trick works best on melons that are already close to being ripe. If the melon was very green and hard, it may not respond as well.
* The temperature was too cold: Ethylene gas is more effective at warmer temperatures. If the melon was stored in a cold environment, the ripening process may have been slowed down.
* The container was not breathable enough: If the container was completely airtight, it could have led to a buildup of moisture and hindered the ripening process.
* Insufficient time: Sometimes, it simply takes more time for the melon to ripen. Be patient and continue to check it daily.
If you’ve tried all of these tips and your melon still isn’t ripening, it may be best to discard it and try again with a different melon. Remember, selecting a good melon to begin with is crucial for success.


Leave a Comment