
Homemade White Vinegar Recipe: Unlock the secrets to a cleaner home and a greener lifestyle with this incredibly simple and effective DIY project! Have you ever found yourself reaching for the white vinegar only to discover you’re completely out? Or perhaps you’re looking for ways to reduce your reliance on store-bought chemicals? Well, you’re in the right place!
For generations, resourceful homemakers have been crafting their own cleaning solutions, and white vinegar has always been a star player. Its history stretches back centuries, with evidence of vinegar production dating back to ancient civilizations. Think of it as a time-honored tradition, passed down through families, now readily available to you.
But why bother making your own homemade white vinegar recipe when you can just buy it? The answer is multifaceted. Firstly, it’s incredibly cost-effective. Secondly, you control the ingredients, ensuring a pure and natural product. And thirdly, it’s empowering! Knowing you can create something so useful from scratch is a fantastic feeling. In a world increasingly concerned with sustainability and reducing our environmental footprint, mastering this simple recipe is a small but significant step towards a more eco-conscious life. Plus, I’m going to show you how to make it with ingredients you likely already have in your pantry. Let’s get started!
Making Your Own White Vinegar: A Simple DIY Guide
Hey there, fellow DIY enthusiasts! Ever run out of white vinegar in the middle of a cleaning spree or pickling project? Or maybe you’re just looking for a more sustainable and budget-friendly option? Well, I’ve got you covered! Making your own white vinegar at home is surprisingly easy, and I’m going to walk you through the whole process. It takes a little patience, but the results are totally worth it.
What You’ll Need
Before we dive in, let’s gather our supplies. This is a fermentation project, so cleanliness is key!
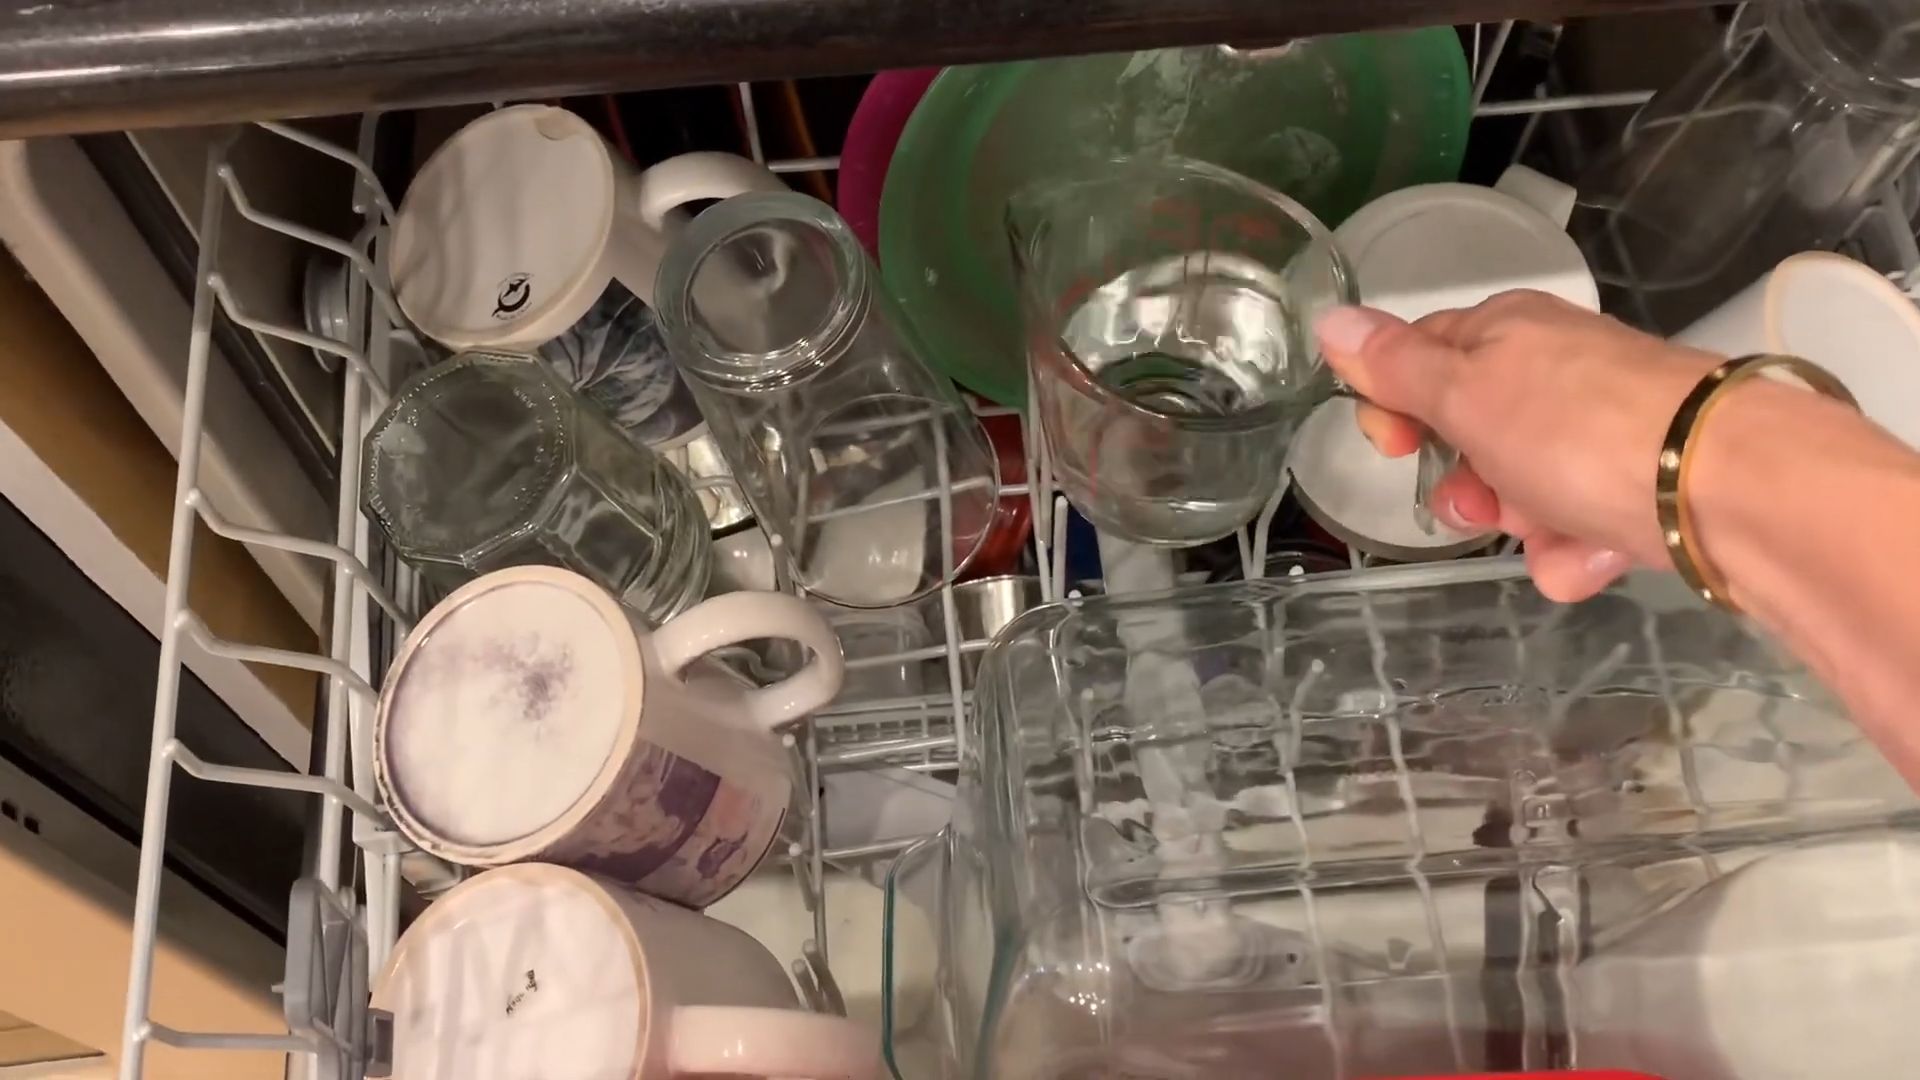
* A large glass jar or container (at least 1 gallon): Make sure it’s thoroughly cleaned and sterilized. I usually run mine through the dishwasher on the hottest setting.
* A breathable cover: Cheesecloth, muslin, or even a coffee filter secured with a rubber band works great. This allows air to circulate while keeping out fruit flies and other unwanted guests.
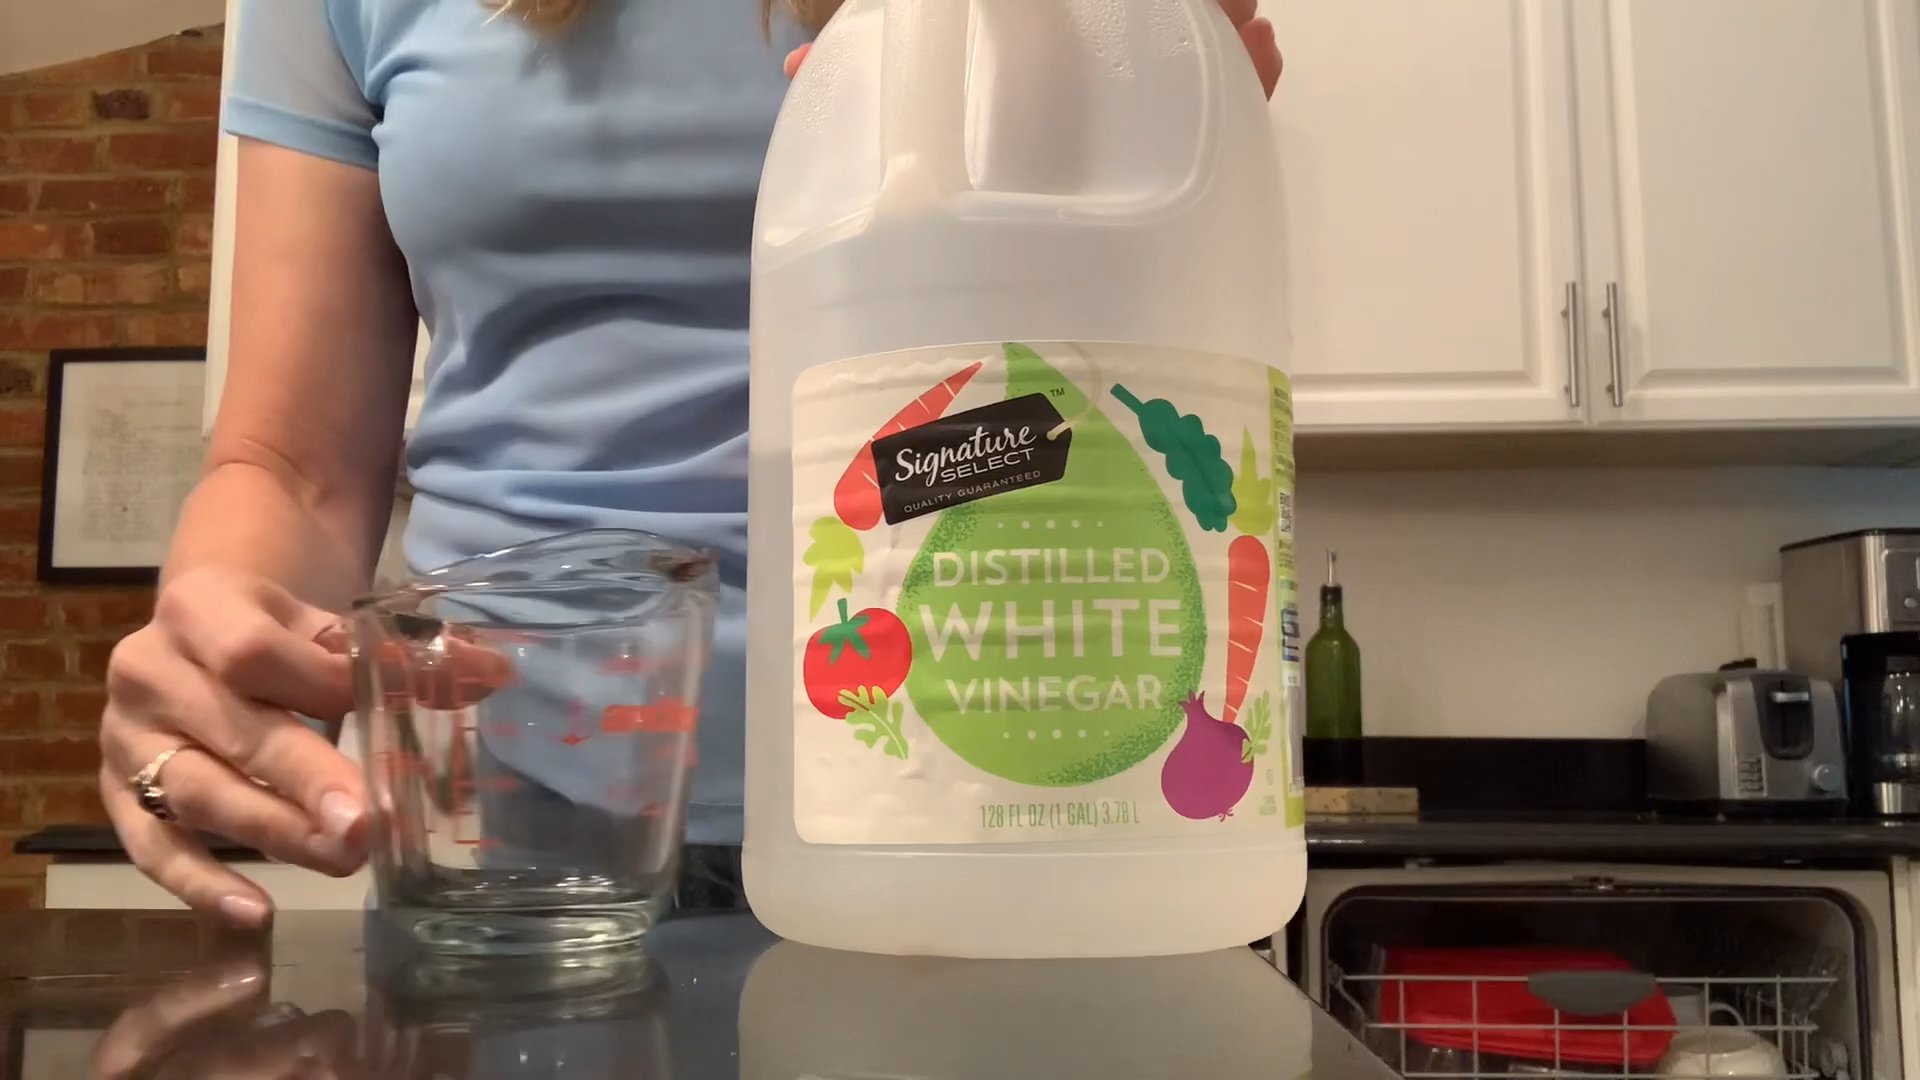
* Unpasteurized apple cider vinegar (ACV) with the “mother”: This is crucial! The “mother” is a colony of bacteria that will convert the alcohol into acetic acid (vinegar). You can usually find this at health food stores or online. Make sure it says “with the mother” on the label.
* Sugar: Plain white sugar is fine. We’re not going to be drinking this, so don’t worry about fancy sugars.
* Water: Filtered water is best to avoid any unwanted minerals or chemicals that could interfere with the fermentation process.
* A hydrometer (optional, but recommended): This will help you measure the alcohol content of your starting liquid and track the fermentation process.
* A thermometer: To monitor the temperature of your fermentation environment.
* Patience: This process takes time, so be prepared to wait a few weeks or even months.
Understanding the Science (Just a Little Bit!)
Okay, I promise I won’t bore you with a full-blown chemistry lesson, but understanding the basics of how vinegar is made will help you troubleshoot any issues that might arise.
Vinegar production is a two-step fermentation process:
1. Alcoholic Fermentation: Yeast converts sugar into alcohol (ethanol). This is the same process used to make beer and wine.
2. Acetic Acid Fermentation: Acetic acid bacteria (the “mother” in your ACV) converts the alcohol into acetic acid, which is what gives vinegar its characteristic sour taste and cleaning power.
Step-by-Step Instructions: Making Your Vinegar
Alright, let’s get started!
1. Prepare the Sugar Solution: In a clean saucepan, combine 1 cup of sugar with 4 cups of water. Heat the mixture over medium heat, stirring until the sugar is completely dissolved. Let the sugar solution cool completely to room temperature. This is important because hot liquid can kill the bacteria in the ACV.
2. Combine Ingredients in the Jar: Pour the cooled sugar solution into your sterilized glass jar. Add the unpasteurized apple cider vinegar with the “mother.” The amount of ACV you add will depend on the size of your jar, but a good rule of thumb is to use about 1 cup of ACV per gallon of sugar solution.
3. Cover the Jar: Secure the breathable cover (cheesecloth, muslin, or coffee filter) over the mouth of the jar with a rubber band. This will allow air to circulate while preventing fruit flies from getting in. Fruit flies are attracted to the sweet smell of the fermenting liquid and can contaminate your vinegar.
4. Find a Warm, Dark Place: Place the jar in a warm, dark place with a consistent temperature between 65掳F and 80掳F (18掳C and 27掳C). Avoid direct sunlight, as this can inhibit the fermentation process. A pantry, closet, or even a cupboard works well.
5. Wait Patiently: Now comes the hard part: waiting! The fermentation process can take anywhere from a few weeks to several months, depending on the temperature and the activity of the bacteria.
6. Monitor the Fermentation (Optional, but Recommended): If you have a hydrometer, you can use it to monitor the alcohol content of the liquid. Initially, the alcohol content will be low, but it will gradually increase as the yeast converts the sugar. As the acetic acid bacteria convert the alcohol into acetic acid, the alcohol content will decrease, and the acidity of the liquid will increase.
7. Check for the “Mother”: Over time, you should see a new “mother” forming on the surface of the liquid. This is a good sign that the fermentation is progressing. The “mother” will look like a cloudy, gelatinous film. Don’t worry if it sinks to the bottom of the jar; it’s still working!
8. Taste Test: After a few weeks, start tasting the vinegar. Use a clean spoon or pipette to extract a small sample. The vinegar is ready when it has a strong, sour taste and smells like vinegar. The acidity should be at least 4% to be considered true vinegar.
9. Pasteurize (Optional): If you want to stop the fermentation process and ensure that your vinegar is shelf-stable, you can pasteurize it. Heat the vinegar to 140掳F (60掳C) for 30 minutes. This will kill the bacteria and prevent further fermentation. However, pasteurization can also affect the flavor of the vinegar, so it’s not always necessary.
10. Filter and Bottle: Once the vinegar is ready, filter it through a coffee filter or cheesecloth to remove any sediment or particles. Then, pour the filtered vinegar into clean, sterilized bottles or jars.
11. Store Your Vinegar: Store your homemade white vinegar in a cool, dark place. It should last indefinitely.
Troubleshooting Tips
Sometimes, things don’t go exactly as planned. Here are a few common issues you might encounter and how to fix them:
* Mold Growth: If you see mold growing on the surface of the liquid, discard the entire batch. Mold can produce toxins that are harmful to your health. Prevention is key: make sure your jar and equipment are thoroughly sterilized, and use a breathable cover to prevent contamination.
* Fruit Flies: Fruit flies are attracted to the sweet smell of the fermenting liquid. Make sure your cover is securely fastened to prevent them from getting in. If fruit flies do get in, discard the batch.
* Slow Fermentation: If the fermentation is taking longer than expected, it could be due to a low temperature or a weak “mother.” Try moving the jar to a warmer location or adding a small amount of fresh ACV with the “mother.”
* Unpleasant Odor: If the vinegar has an unpleasant odor, it could be due to contamination or the growth of unwanted bacteria. Discard the batch.
Uses for Your Homemade White Vinegar
Now that you’ve made your own white vinegar, you can use it for all sorts of things! Here are just a few ideas:
* Cleaning: White vinegar is a natural and effective cleaner for a variety of surfaces. Use it to clean countertops, floors, windows, and appliances.
* Laundry: Add a cup of white vinegar to your laundry to brighten whites, remove odors, and soften fabrics.
* Weed Killer: Spray undiluted white vinegar on weeds to kill them naturally.
* Pickling: Use white vinegar to pickle vegetables, fruits, and even eggs.
* Cooking: White vinegar can be used in a variety of recipes, such as salad dressings, marinades, and sauces.
* Hair Rinse: Diluted white vinegar can be used as a hair rinse to remove buildup and add shine.
Important Considerations
* Acidity Levels: Commercially produced white vinegar typically has an acidity level of 5%. When making your own, it’s important to test the acidity to ensure it’s safe for its intended use, especially for pickling or canning. You can purchase acidity testing kits online or at home brewing supply stores. If the acidity is too low, the food may not be properly preserved.
* Safety First: While homemade vinegar is generally safe, it’s important to use common sense and good hygiene practices. Always sterilize your equipment, use clean water, and discard any batch that shows signs of mold or contamination.
* Experimentation: Don’t be afraid to experiment with different types of sugar or fruit juices to create your own unique flavored vinegars. You can also add herbs or spices to the vinegar during the fermentation process to infuse it with flavor.
Final Thoughts
Making your own white vinegar is a rewarding and sustainable project. It’s a great way to reduce your reliance on store-bought products and create a natural, versatile cleaner and ingredient. With a little patience and attention to detail, you can easily make your own high-quality white vinegar at home. Happy fermenting!
Conclusion
So, there you have it! Creating your own homemade white vinegar is not only surprisingly simple, but it’s also a game-changer for your household. Forget those trips to the store for yet another bottle of commercially produced vinegar. This DIY method empowers you to control the ingredients, reduce plastic waste, and save money 鈥?all while achieving the same fantastic results.
Why is this a must-try? Because it’s more than just a recipe; it’s a step towards a more sustainable and self-sufficient lifestyle. You’re taking control of what you use in your home, minimizing your environmental impact, and potentially even improving the quality of your cleaning and cooking. The subtle nuances in flavor, depending on the fruit scraps you use, can add a unique touch to your culinary creations.
Beyond the basic recipe, the possibilities are endless. Experiment with different fruit scraps to infuse your vinegar with unique aromas and flavors. Apple cores and peels will yield a classic, slightly sweet vinegar, while citrus peels can create a bright and zesty version. You can even add herbs like rosemary or thyme during the fermentation process for an extra layer of complexity. Consider using different types of sugar, like brown sugar or honey, for a richer, more complex flavor profile. Remember to always use organic fruit scraps when possible to avoid introducing pesticides into your vinegar.
Don’t be intimidated by the fermentation process. It’s a natural and fascinating transformation. Just follow the simple steps outlined, be patient, and you’ll be rewarded with a versatile and eco-friendly product. The slight variations in each batch are part of the charm of homemade vinegar.
We wholeheartedly encourage you to give this homemade white vinegar recipe a try. It’s a rewarding experience that will change the way you think about vinegar forever. Once you’ve made your first batch, we’d love to hear about your experience! Share your tips, variations, and successes in the comments below. Let’s build a community of DIY vinegar enthusiasts and inspire others to embrace this simple yet powerful technique. What fruits did you use? What did you use the vinegar for? Did you notice any differences compared to store-bought vinegar? Your insights will be invaluable to others embarking on this journey. So, get fermenting and let us know how it goes!
Frequently Asked Questions (FAQ)
What kind of fruit scraps work best for making homemade white vinegar?
Almost any fruit scraps can be used, but some yield better results than others. Apple cores and peels are a classic choice, producing a mild and slightly sweet vinegar. Citrus peels (orange, lemon, lime, grapefruit) create a bright and zesty vinegar. Pineapple cores and peels can also be used, but be mindful of the sugar content, as it can affect the fermentation process. Avoid using overly moldy or rotten fruit scraps, as they can introduce unwanted bacteria. Stone fruit pits (peaches, plums, cherries) should also be avoided due to potential cyanide precursors. Always use organic fruit scraps whenever possible to minimize pesticide exposure.
How long does it take to make homemade white vinegar?
The fermentation process typically takes between 3 to 6 weeks, depending on the temperature and the type of fruit scraps used. Warmer temperatures will speed up the process, while cooler temperatures will slow it down. It’s important to be patient and allow the vinegar to ferment fully. You’ll know it’s ready when it has a strong, vinegary smell and taste. Regularly check the pH level; it should be below 3 for safe use.
How do I know if my homemade white vinegar is safe to use?
The most important indicator of safety is the pH level. Use pH strips to test your vinegar. It should be below 3 to inhibit the growth of harmful bacteria. The vinegar should also have a strong, vinegary smell and taste. If you notice any signs of mold or unusual discoloration, discard the batch. Always err on the side of caution when it comes to food safety. If you are unsure, it is best to discard the batch.
Can I use homemade white vinegar for cleaning?
Yes, homemade white vinegar is an excellent natural cleaner. It can be used to clean countertops, floors, windows, and bathrooms. However, avoid using it on natural stone surfaces like marble or granite, as it can etch the surface. Dilute the vinegar with water (usually a 1:1 ratio) for most cleaning purposes. You can also add essential oils for a pleasant scent.
Can I use homemade white vinegar for cooking?
Yes, you can use homemade white vinegar for cooking, but be aware that the flavor may be slightly different from store-bought vinegar, depending on the fruit scraps used. It’s great for salad dressings, marinades, and pickling. Start with small amounts and adjust to taste. The flavor profile will be unique to each batch, adding a special touch to your dishes.
How should I store homemade white vinegar?
Store your homemade white vinegar in a clean, airtight glass jar in a cool, dark place. This will help to preserve its flavor and prevent spoilage. Properly stored vinegar can last for several years. Make sure the jar is properly sealed to prevent contamination.
What is the “mother” in homemade vinegar?
The “mother” is a cellulose-based substance that forms during the fermentation process. It’s a colony of beneficial bacteria that convert alcohol into acetic acid (vinegar). It’s perfectly safe and even beneficial. You can leave it in the vinegar or remove it. If you remove it, you can use it to start a new batch of vinegar.
My homemade vinegar is cloudy. Is that normal?
Yes, it’s perfectly normal for homemade white vinegar to be cloudy. This is due to the presence of sediment and the “mother.” You can filter the vinegar through a coffee filter or cheesecloth to remove the cloudiness, but it’s not necessary. The cloudiness does not affect the safety or quality of the vinegar.
Can I use sugar instead of fruit scraps?
While fruit scraps are the preferred method for adding flavor and nutrients to the fermentation process, you can use sugar as a base. However, the resulting vinegar will be less flavorful and may require additional nutrients to support the bacteria. Fruit scraps provide a more complex and nuanced flavor profile.
What if my homemade vinegar doesn’t smell like vinegar?
If your mixture doesn’t smell like vinegar after several weeks, it may not be fermenting properly. This could be due to a lack of nutrients, an unfavorable temperature, or contamination. Make sure the mixture is covered with a breathable cloth to allow air circulation. You can also add a small amount of unpasteurized vinegar (with the “mother”) to kickstart the fermentation process. Ensure the temperature is consistently warm (around 70-80掳F). If problems persist, it may be best to start a new batch with fresh ingredients.

Leave a Comment