
Laundry Secrets: Unveiling the Ultimate Guide to Sparkling Clean Clothes
Laundry Secrets – we all have them, those little tricks and hacks that transform a mundane chore into a satisfying experience. For years, I’ve been experimenting with different laundry methods, always searching for ways to get my clothes cleaner, brighter, and smelling fresher, all while being kind to my clothes and the environment. This article is the culmination of those years of experimentation, a treasure trove of DIY laundry solutions designed to make your laundry day a breeze.
The history of laundry is fascinating! From ancient civilizations using riverbeds and pounding stones to the invention of the washing machine, the quest for clean clothes has driven innovation for centuries. But even with modern technology, there’s always room for improvement. Knowing a few laundry secrets can save you time, money, and frustration.
Why do you need these DIY laundry tricks? Because they work! Whether you’re struggling with stubborn stains, battling hard water, or simply want to reduce your environmental impact, these Laundry Secrets will empower you to take control of your laundry routine. You’ll learn how to tackle common laundry problems with simple, affordable solutions, many using ingredients you probably already have in your kitchen pantry. From homemade stain removers to natural fabric softeners, this guide is your passport to sparkling clean clothes and a more sustainable lifestyle. I’ll share my personal favorite Laundry Secrets, proven techniques that have transformed my laundry day from a dreaded chore into something I actually enjoy.
So, let’s dive in and unlock the secrets to laundry perfection!
Unlocking Laundry Nirvana: My Top Laundry Secrets
I’ve spent years perfecting my laundry routine, and let me tell you, it’s a game-changer. Forget battling stubborn stains and wrestling with wrinkles – these tips and tricks will transform your laundry day from a chore into a satisfying accomplishment. Get ready to experience laundry nirvana!
Phase 1: Pre-Treatment and Sorting
- Sort your laundry meticulously. This is the foundation of success. Separate whites, lights, and darks. Pay close attention to fabric types – delicate items like lace or silk need their own separate wash. I even separate heavily soiled items from lightly soiled ones. Trust me, it makes a huge difference.
- Check pockets thoroughly. This seems obvious, but you’d be surprised how often I find tissues, pens, or even coins lurking in pockets. These can cause damage to your clothes and your washing machine.
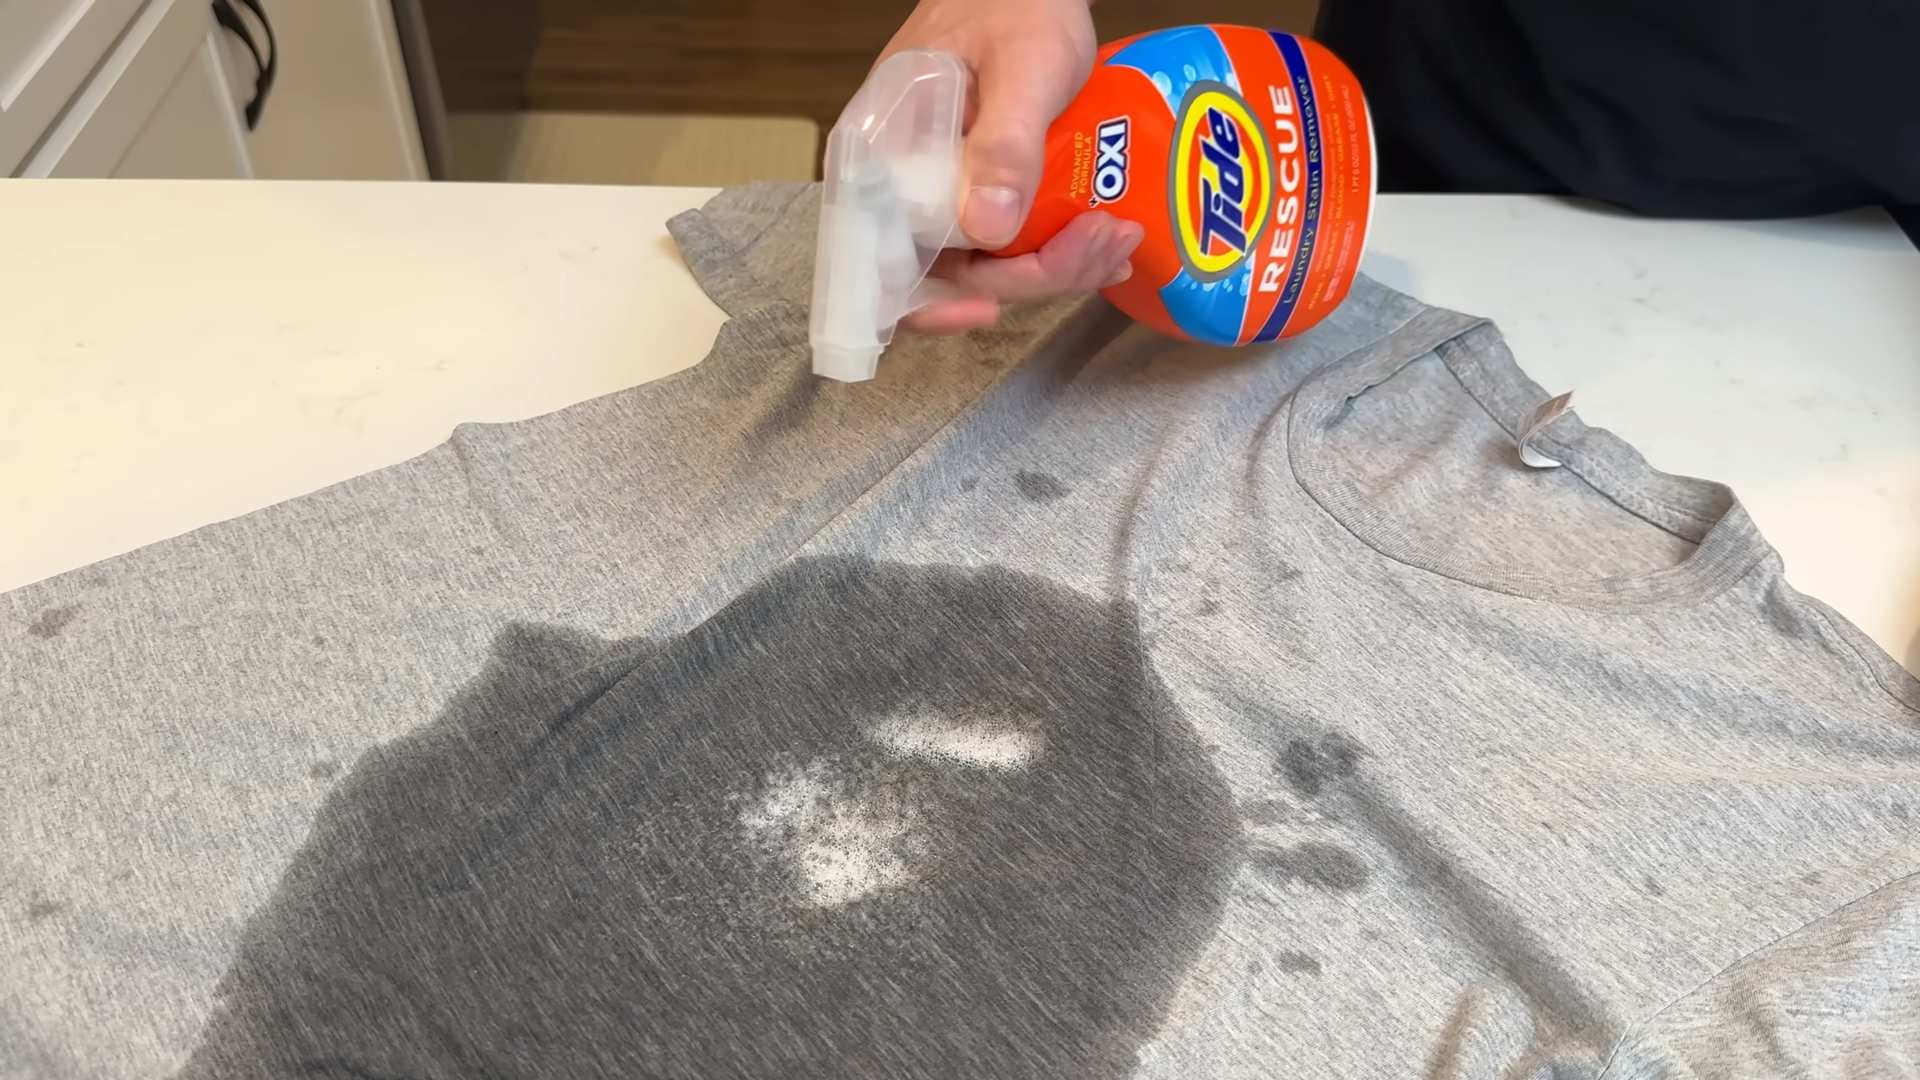
- Pre-treat stains immediately. The longer a stain sits, the harder it is to remove. I keep a stain remover pen handy for quick action. For tougher stains, I often make a paste of baking soda and water and let it sit for a few minutes before washing.
- Address specific stain types. Different stains require different treatments. For example, grease stains respond well to dish soap, while blood stains need cold water and a gentle rub. Researching specific stain removal techniques is a worthwhile investment.
- Zip up zippers and button buttons. This prevents snags and damage to your clothes and other items in the wash.
- Turn garments inside out. This protects the outer fabric from fading and wear, especially with darker colors.
Phase 2: Washing Machine Mastery
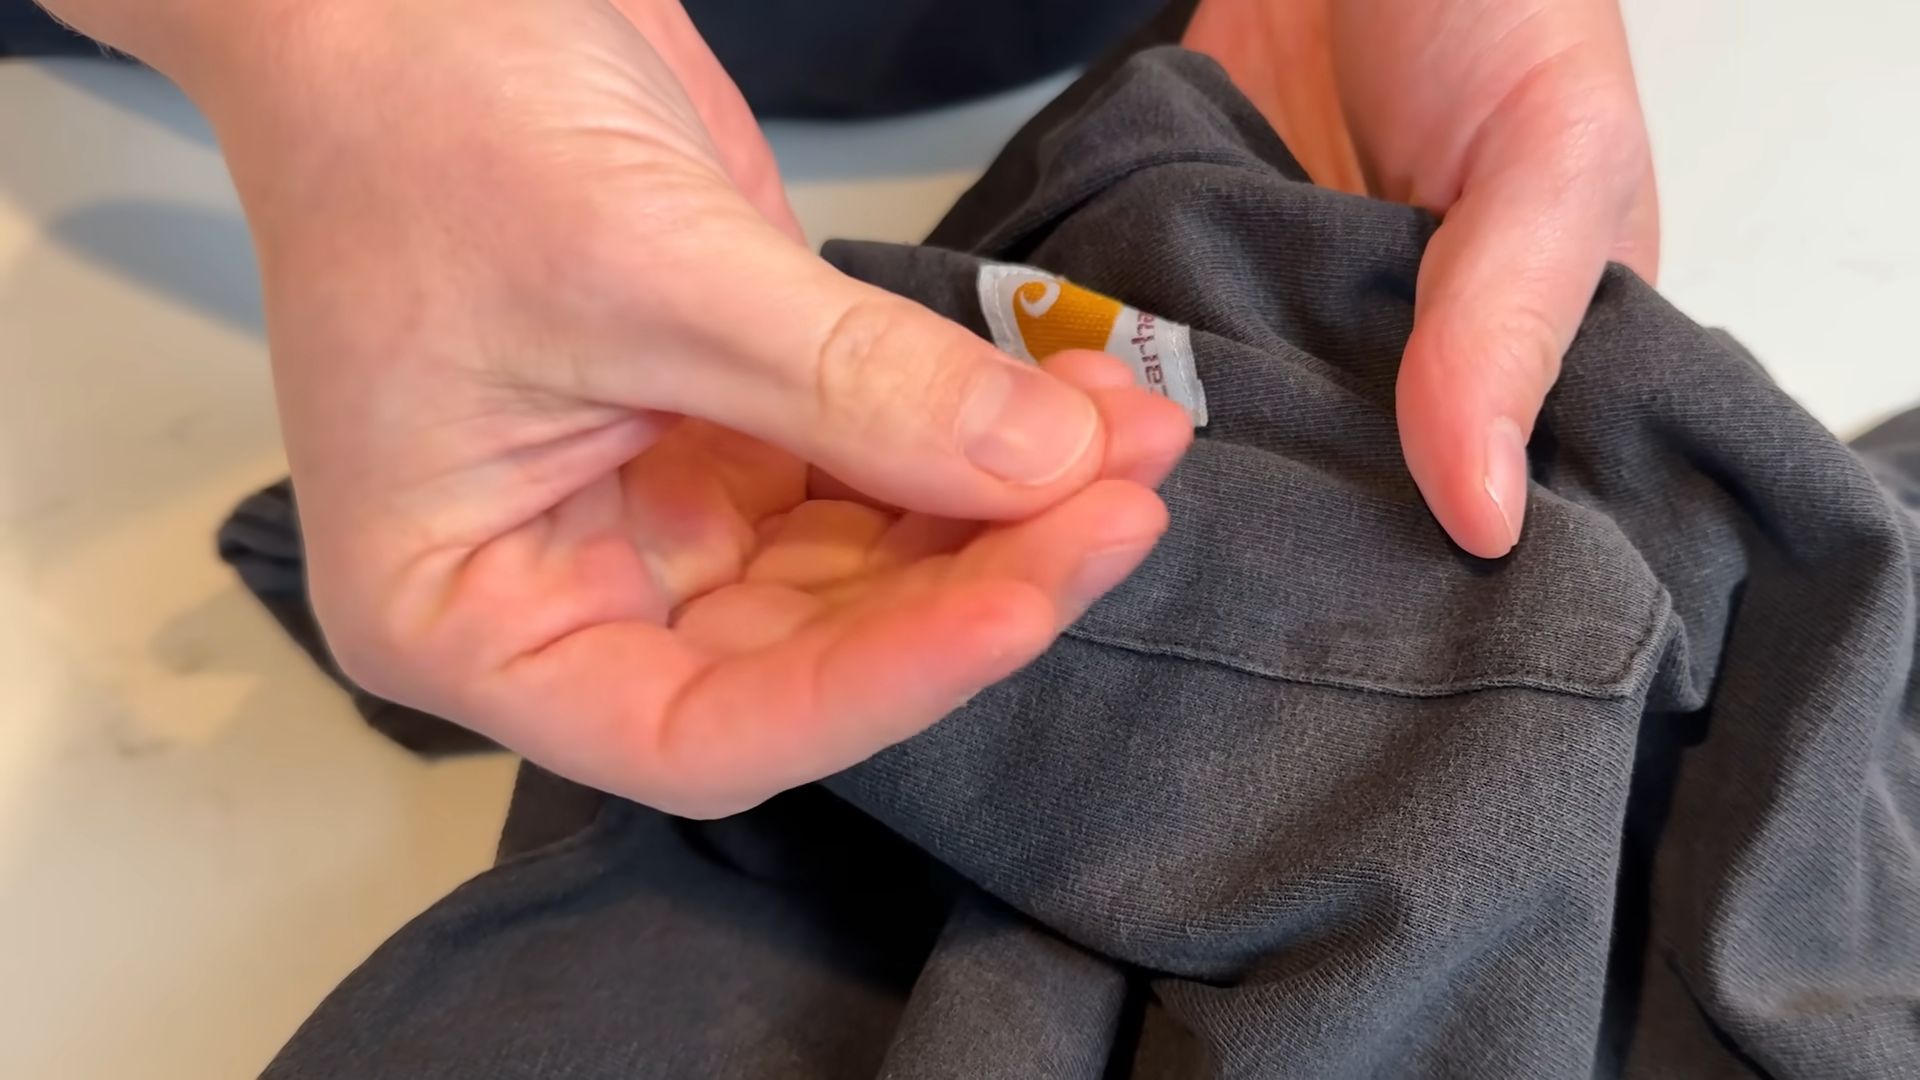
- Choose the right water temperature. Hot water is best for whites and heavily soiled items, while cold water is gentler on colors and delicate fabrics. Always check the care labels on your clothing for specific recommendations.
- Don’t overload the machine. Overloading can lead to poor cleaning and increased wear and tear on your clothes. Leave enough space for the clothes to move freely in the water.
- Use the correct amount of detergent. Too much detergent can leave residue on your clothes, while too little won’t clean them effectively. Follow the instructions on your detergent packaging, and consider using a measuring cup for accuracy. I’ve found that using less detergent than recommended often works just as well.
- Consider adding fabric softener. Fabric softener can make your clothes softer and reduce static cling. However, it can also build up over time, so use it sparingly. I prefer to use dryer sheets instead.
- Experiment with different wash cycles. Most washing machines offer a variety of wash cycles, such as delicate, permanent press, and heavy-duty. Experiment to find the best cycle for your different laundry needs. I often find the “quick wash” cycle perfectly adequate for lightly soiled items.
- Clean your washing machine regularly. This prevents the buildup of detergent residue, mold, and mildew. Run an empty cycle with hot water and a washing machine cleaner every few months.
Phase 3: Drying Delights
- Check the care labels. Some items, like delicate fabrics and woolens, should be air-dried to prevent shrinkage and damage. Always check the care label before putting anything in the dryer.
- Don’t overload the dryer. Overloading can lead to uneven drying and wrinkles. Leave enough space for air to circulate freely.
- Use dryer sheets wisely. Dryer sheets can reduce static cling and make clothes softer, but they can also leave residue and reduce the absorbency of towels. I use them sparingly and sometimes opt for wool dryer balls instead.
- Clean the lint trap before each load. A clogged lint trap reduces drying efficiency and is a fire hazard. This is probably the most important step in dryer maintenance.
- Consider air drying. Air drying is gentler on clothes and can help them last longer. It’s also a more energy-efficient option.
- Remove clothes promptly. Leaving clothes in the dryer for too long can lead to wrinkles and creases. I try to remove my clothes as soon as the cycle is complete.
- Fold or hang clothes immediately. This prevents wrinkles and makes putting away laundry much easier. I find that folding immediately saves me a lot of time and effort later.
Phase 4: Advanced Laundry Techniques
- Vinegar for brightness. Adding a cup of white vinegar to your wash cycle can help brighten whites and remove odors. It’s a natural fabric softener, too!
- Baking soda for odor control. Adding half a cup of baking soda to your wash can help neutralize odors and boost the cleaning power of your detergent.
- Borax for stain removal. Borax is a natural cleaning agent that can help remove tough stains. Add a half cup to your wash for extra cleaning power.
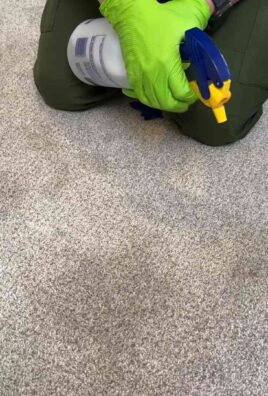
- Dealing with tough stains: For really stubborn stains, consider soaking the garment in a mixture of cold water and a specialized stain remover before washing. Sometimes, a little extra time and effort makes all the difference.
- Understanding fabric types: Learning about different fabric types and their care requirements will significantly improve your laundry results. This knowledge will help you choose the right wash cycle, water temperature, and drying method for each garment.
Pro Tip:
Always refer to the care labels on your clothing for specific washing and drying instructions. This is the best way to ensure that your clothes stay looking their best.
Conclusion
So there you have it! Our guide to unlocking the secrets of sparkling clean laundry. This DIY laundry trick isn’t just about saving money; it’s about achieving a level of cleanliness and freshness that surpasses even the most expensive commercial products. By harnessing the power of simple, natural ingredients, you’re not only cleaning your clothes effectively but also reducing your environmental impact and avoiding harsh chemicals that can irritate sensitive skin. This method truly elevates your laundry routine from a chore to a satisfying and eco-conscious process.
The versatility of this approach is truly remarkable. You can easily adapt it to suit your specific needs and preferences. For example, if you’re dealing with particularly stubborn stains, consider pre-treating the affected areas with a paste of baking soda and water before washing. For a brighter, more vibrant wash, add a cup of white vinegar to the rinse cycle. If you prefer a more fragrant laundry experience, experiment with adding a few drops of your favorite essential oils (lavender, lemon, or tea tree are all excellent choices) to the washing machine along with your DIY detergent. Feel free to adjust the ratios of ingredients to find the perfect balance for your water hardness and laundry load size. Remember, the beauty of this DIY laundry solution lies in its adaptability.
Beyond the practical benefits, there’s a real sense of accomplishment that comes with making your own laundry detergent. It’s a simple act of self-sufficiency that connects you more deeply to the process of caring for your clothes and your home. It’s a small change that can make a big difference, both in your wallet and in your commitment to a more sustainable lifestyle. We strongly encourage you to try this DIY laundry trick and experience the difference for yourself. Share your results with us – we’d love to hear about your successes and any variations you discover along the way! Join the conversation online and let’s build a community of laundry enthusiasts who are embracing natural, effective, and affordable cleaning solutions. Let’s make laundry day a little brighter, cleaner, and more sustainable, one load at a time.
Don’t hesitate to experiment and personalize this method to perfectly suit your needs and preferences. The possibilities are endless, and the rewards are well worth the effort. Embrace the power of DIY laundry and discover the secret to sparkling clean clothes, naturally!
Frequently Asked Questions
What if I have hard water?
Hard water can affect the effectiveness of homemade detergents. If you have hard water, you might need to increase the amount of washing soda in your recipe. Start by adding a quarter cup more than the recipe calls for and adjust as needed. You may also find that adding a cup of white vinegar to the rinse cycle helps to soften the water and prevent residue buildup.
Can I use this method for delicates?
While this recipe is generally safe for most fabrics, it’s always best to test a small, inconspicuous area of a delicate garment first. For extremely delicate items, you might want to consider a gentler, less abrasive cleaning method. Always check the care labels on your clothing before washing.
How long does this homemade detergent last?
Stored in an airtight container in a cool, dry place, your homemade laundry detergent should last for several months. However, it’s always a good idea to check for any signs of spoilage, such as mold or an unusual odor, before using it.
Is this detergent safe for all washing machine types?
Yes, this recipe is generally safe for all types of washing machines, including high-efficiency (HE) machines. However, always refer to your washing machine’s manual for specific instructions and recommendations regarding the use of homemade detergents.
What if I don’t have all the ingredients listed?
The beauty of this recipe is its flexibility. If you don’t have one ingredient, you can often substitute it with something similar. For example, if you don’t have washing soda, you can try using baking soda instead, although the cleaning power might be slightly less effective. Always check online for suitable substitutions before making changes to the recipe.
Can I use this detergent for colored clothes?
Yes, this detergent is generally safe for colored clothes. However, it’s always a good idea to test a small, inconspicuous area of a garment first to ensure that the detergent doesn’t cause any discoloration or fading. For particularly vibrant or delicate colors, you might want to consider using a smaller amount of detergent or opting for a cold water wash.
Are there any health concerns associated with using this detergent?
This recipe uses natural ingredients that are generally considered safe for use in laundry. However, always wear gloves when handling washing soda, as it can be irritating to the skin. If you have sensitive skin, you might want to perform a patch test before using the detergent on a large load of laundry. If you experience any irritation, discontinue use and consult a doctor.
Where can I find the ingredients for this DIY laundry detergent?
Most of the ingredients for this recipe are readily available at grocery stores, pharmacies, and online retailers. Washing soda, borax, and bar soap are commonly found in the laundry aisle or cleaning supplies section. You can also find these ingredients at many health food stores.
Why is this DIY laundry detergent better than commercial brands?
This DIY laundry detergent offers several advantages over commercial brands. It’s typically more affordable, environmentally friendly (using fewer harsh chemicals and less packaging), and customizable to your specific needs and preferences. It also allows you to avoid potentially irritating chemicals found in many commercial detergents.
How do I store the finished detergent?
Store your finished detergent in an airtight container, such as a glass jar or plastic container with a tight-fitting lid, in a cool, dry place. This will help to prevent clumping and maintain its effectiveness.


Leave a Comment