
Malabar Spinach Growing Tips are what you need to unlock a vibrant, delicious, and surprisingly easy-to-grow leafy green right in your own backyard! Forget those bland, store-bought spinach leaves. Imagine stepping outside and harvesting fresh, succulent Malabar spinach for your salads, stir-fries, or soups. It’s not just a dream; it’s an achievable reality with the right knowledge.
This climbing vine, also known as Ceylon spinach or vine spinach, has a rich history, particularly in Asian and African cuisines. For centuries, it’s been cherished not only for its nutritional value – packed with vitamins A and C, iron, and calcium – but also for its resilience and unique flavor. It offers a slightly peppery taste that’s both refreshing and satisfying.
Why do you need these Malabar Spinach Growing Tips? Well, while relatively easy to grow, understanding its specific needs can make the difference between a sparse harvest and a bountiful one. I’m going to share my tried-and-true methods for ensuring your Malabar spinach thrives, even if you’re a complete beginner. We’ll cover everything from choosing the right location and soil to providing the perfect support structure and tackling common pests. Get ready to transform your garden and your plate with this incredible leafy green!
Growing Malabar Spinach: A Beginner’s Guide to Lush, Edible Greens
Okay, so you want to grow Malabar spinach? Awesome! It’s a fantastic plant – heat-tolerant, delicious, and surprisingly easy to cultivate. I’ve had great success with it in my own garden, and I’m excited to share my tips and tricks with you. This guide will walk you through everything you need to know, from starting seeds to harvesting a bountiful crop. Let’s get started!
What is Malabar Spinach Anyway?
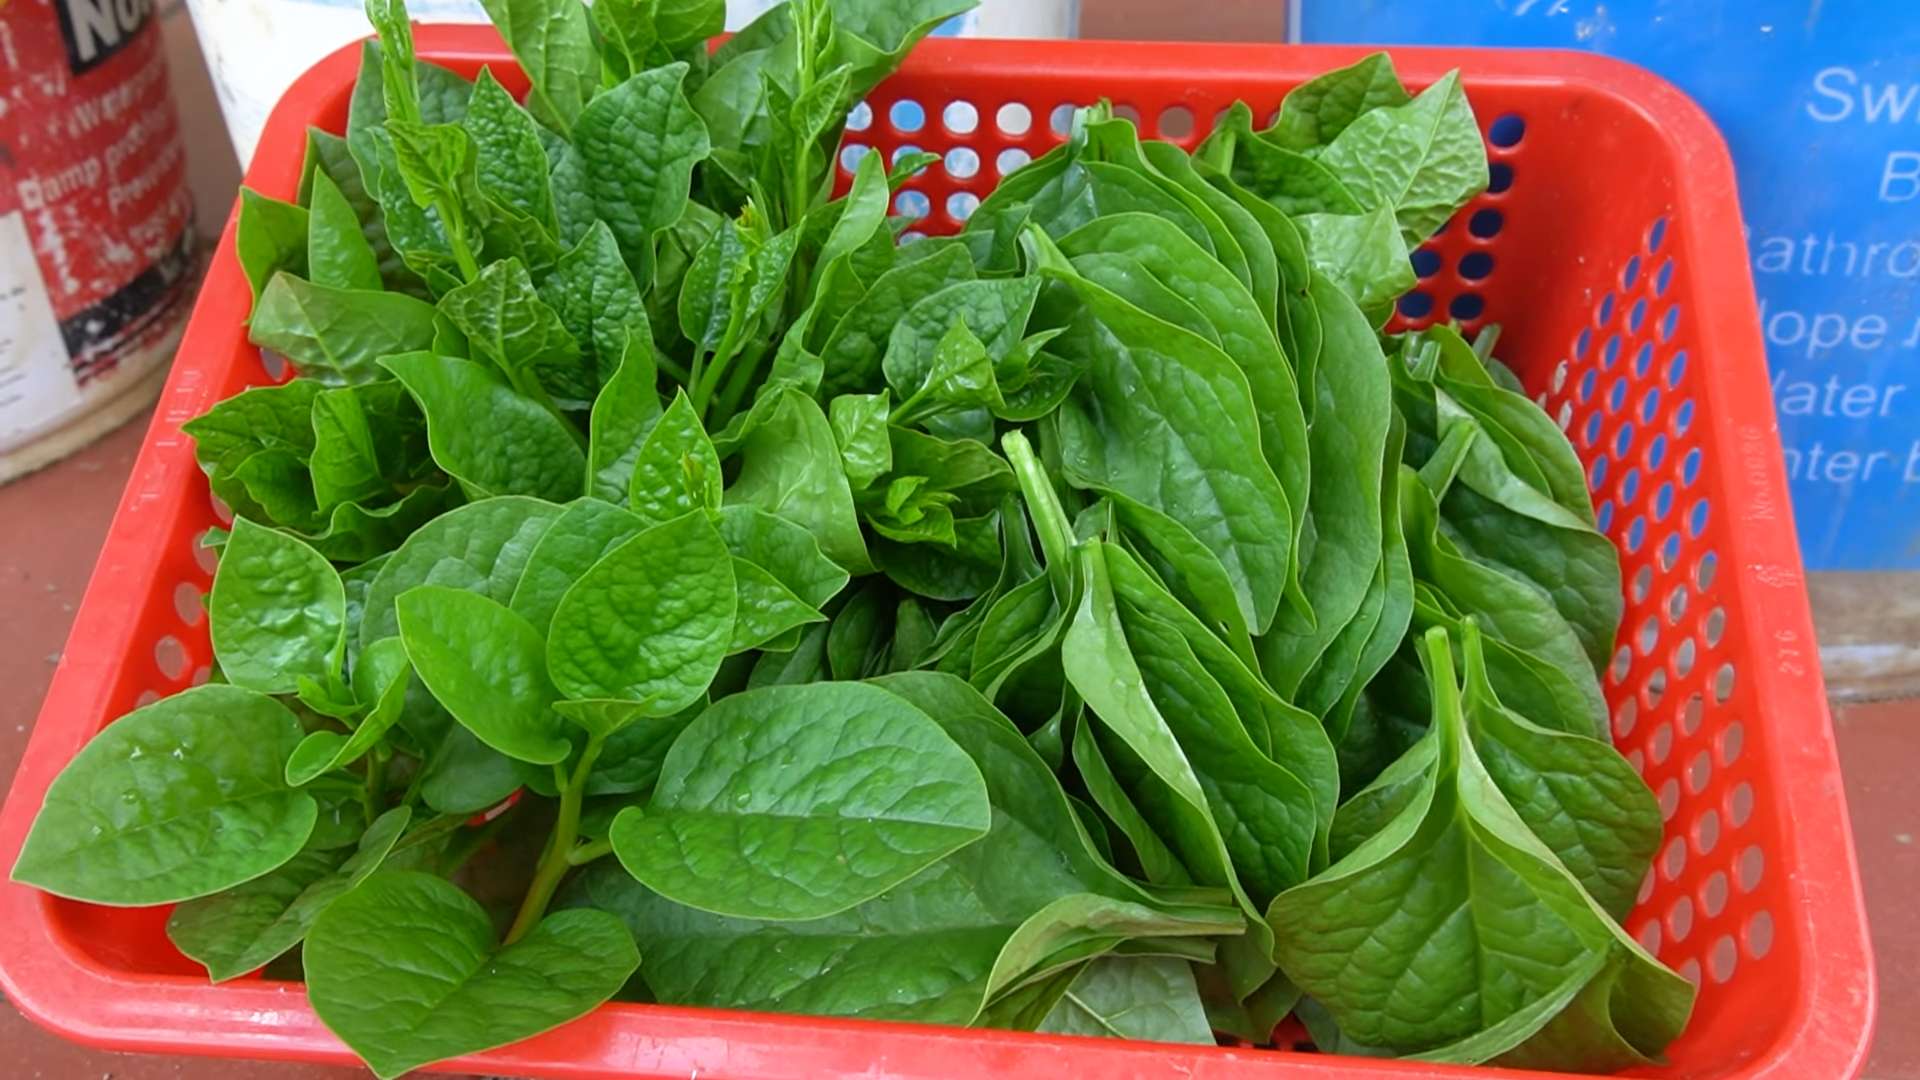
First things first, let’s clear up a common misconception: Malabar spinach ( *Basella alba* or *Basella rubra*) isn’t actually spinach! It’s a vining plant that thrives in warm weather, making it a perfect substitute for spinach during the hot summer months when regular spinach tends to bolt. It has a mild, slightly peppery flavor and a slightly mucilaginous texture when cooked, similar to okra. The leaves are thick and succulent, and the stems are edible too. Plus, it’s incredibly nutritious, packed with vitamins and minerals.
Getting Started: Seeds vs. Cuttings
You have two main options for starting your Malabar spinach: seeds or cuttings. I personally prefer starting from seeds, but cuttings are a faster way to get a harvest if you already have access to a plant.
Starting from Seeds:
* Pros: More readily available, allows you to select specific varieties.
* Cons: Requires a bit more patience, germination can be slow.
Starting from Cuttings:
* Pros: Faster growth, guarantees a clone of the parent plant.
* Cons: Requires access to an existing Malabar spinach plant.
Section 1: Starting Malabar Spinach from Seeds
This is my preferred method, and I’ll walk you through the process step-by-step.
1. Soaking the Seeds: Malabar spinach seeds have a tough outer coating, so soaking them beforehand significantly improves germination rates. I usually soak mine in warm water for 24-48 hours. You’ll notice they swell up a bit – that’s a good sign! Change the water every 12 hours to keep it fresh.
2. Choosing a Starting Method: You can either direct sow the seeds into the ground or start them indoors in seed trays or small pots. I recommend starting them indoors, especially if you live in an area with a shorter growing season. This gives them a head start.
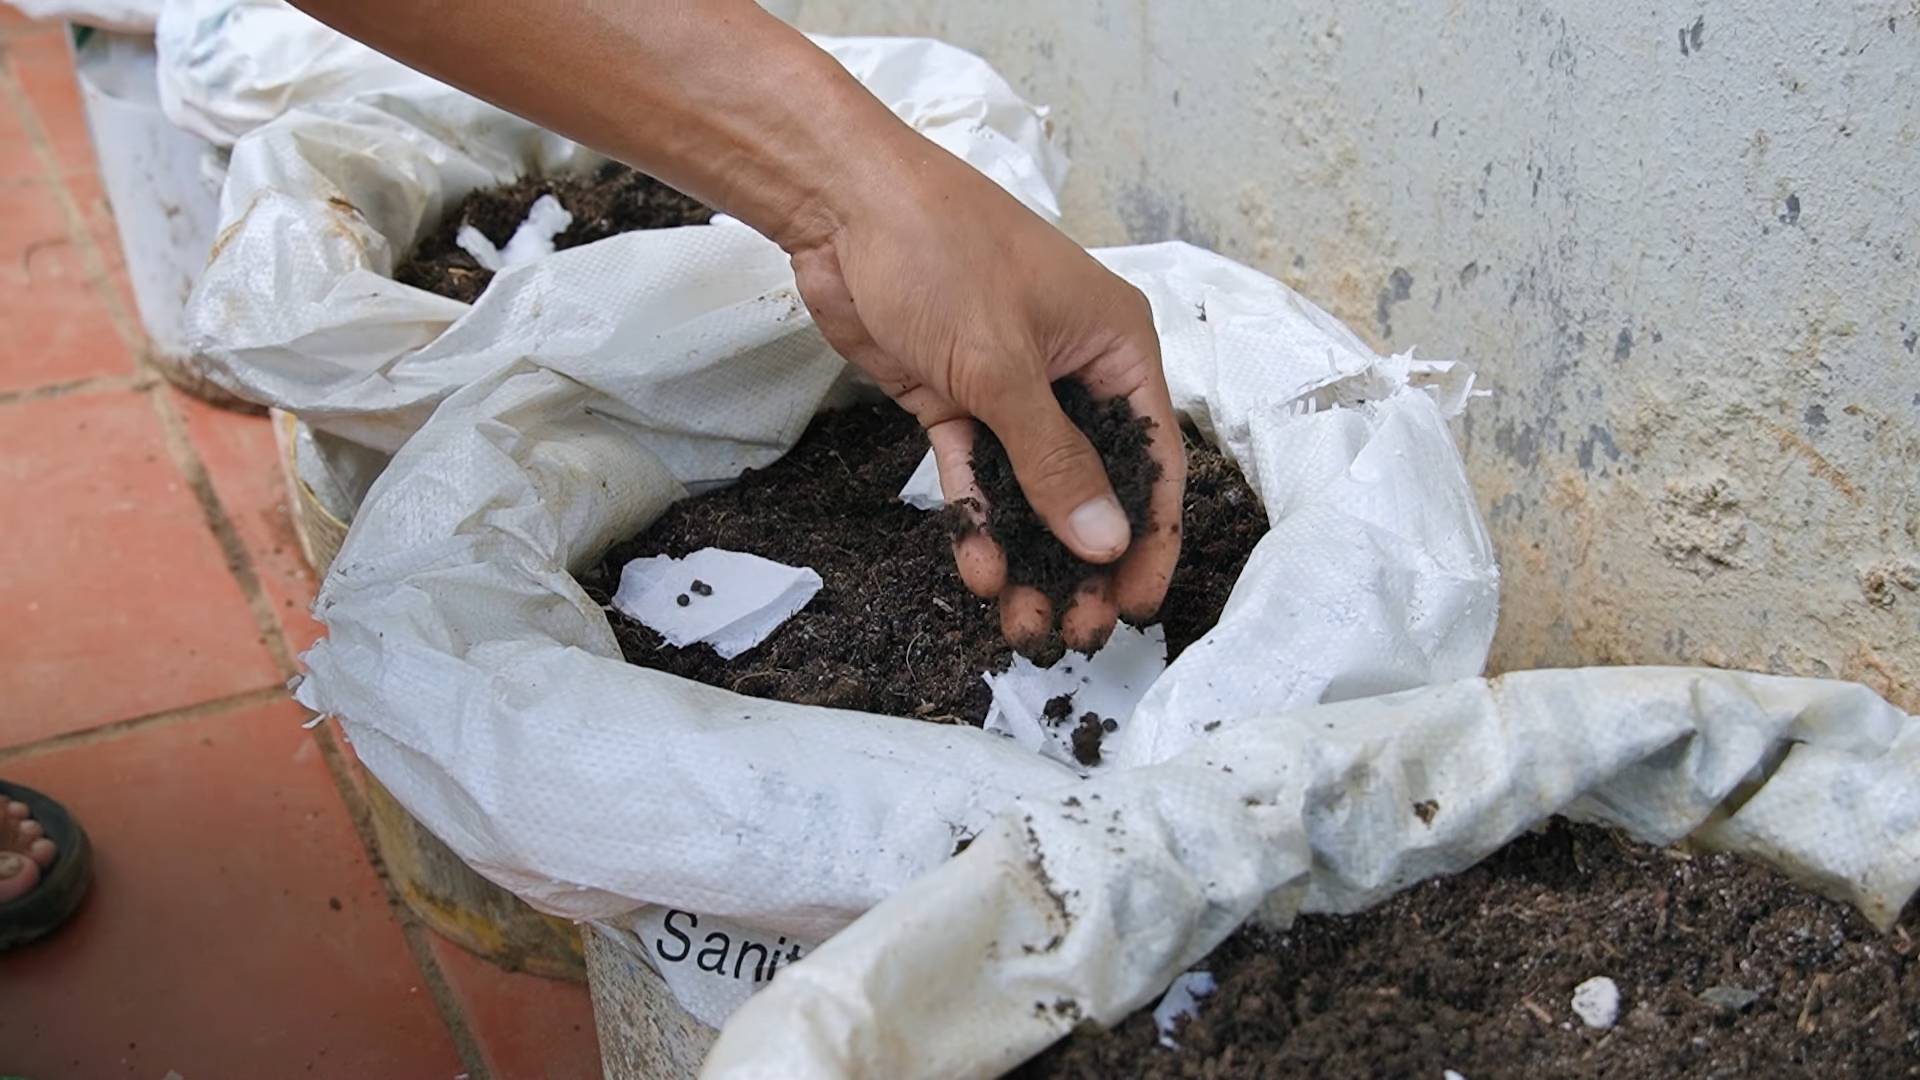
3. Preparing the Seed Starting Mix: Use a well-draining seed starting mix. You can buy a pre-made mix or make your own by combining equal parts peat moss (or coco coir), perlite, and vermiculite. Moisten the mix thoroughly before planting.
4. Sowing the Seeds: Fill your seed trays or pots with the moistened seed starting mix. Sow the seeds about ½ inch deep. I usually plant 2-3 seeds per cell or pot to increase the chances of germination.
5. Providing Warmth and Moisture: Malabar spinach seeds need warmth to germinate. Aim for a soil temperature of 70-80°F (21-27°C). You can use a heat mat to provide consistent warmth. Cover the seed trays or pots with a clear plastic dome or plastic wrap to create a humid environment.
6. Germination Time: Be patient! Malabar spinach seeds can take anywhere from 10 to 21 days to germinate. Keep the soil consistently moist but not waterlogged. Check daily and mist with water if the soil surface appears dry.
7. Providing Light: Once the seedlings emerge, remove the plastic dome or wrap and provide them with plenty of light. A sunny windowsill or a grow light will work well. If using a grow light, keep it a few inches above the seedlings.
8. Thinning Seedlings: If you planted multiple seeds per cell or pot, thin them out to one strong seedling per cell once they have a few sets of true leaves. Snip off the weaker seedlings at the soil line.
9. Hardening Off: Before transplanting your seedlings outdoors, you need to harden them off. This process gradually acclimates them to outdoor conditions. Start by placing them outdoors in a sheltered location for an hour or two each day, gradually increasing the amount of time they spend outdoors over the course of a week.
Section 2: Propagating Malabar Spinach from Cuttings
If you have access to a mature Malabar spinach plant, taking cuttings is a quick and easy way to propagate new plants.
1. Selecting a Cutting: Choose a healthy stem that is about 4-6 inches long. Look for stems with several leaves and nodes (the points where leaves emerge).
2. Preparing the Cutting: Remove the leaves from the bottom 2 inches of the stem. This will encourage root development.
3. Rooting Medium: You can root Malabar spinach cuttings in water or directly in soil. I’ve had success with both methods.
* Water Rooting: Place the cutting in a glass or jar of water, making sure that the bottom nodes are submerged. Change the water every few days. Roots should start to appear within a week or two.
* Soil Rooting: Dip the cut end of the stem in rooting hormone (optional, but it can speed up the rooting process). Plant the cutting in a small pot filled with well-draining potting mix. Keep the soil moist but not waterlogged.
4. Providing Humidity: To help the cuttings root, create a humid environment by covering them with a clear plastic bag or dome. This will help prevent them from drying out.
5. Rooting Time: It usually takes about 2-3 weeks for cuttings to develop roots. Once the roots are well-established, you can transplant them into larger pots or directly into the garden.
Section 3: Planting and Growing Malabar Spinach Outdoors
Now that you have your seedlings or rooted cuttings, it’s time to plant them outdoors.
1. Choosing a Location: Malabar spinach thrives in full sun to partial shade. It prefers well-drained soil that is rich in organic matter.
2. Preparing the Soil: Amend the soil with compost or well-rotted manure before planting. This will improve drainage and provide essential nutrients.
3. Planting Time: Wait until the danger of frost has passed before planting your Malabar spinach outdoors. The soil temperature should be at least 60°F (15°C).
4. Planting Distance: Space the plants about 12-18 inches apart. If you’re growing them on a trellis, you can plant them closer together.
5. Providing Support: Malabar spinach is a vining plant, so it needs support to climb. You can use a trellis, fence, or even a sturdy tomato cage. I’ve found that a simple trellis made from bamboo stakes works perfectly.
6. Watering: Water regularly, especially during hot, dry weather. Malabar spinach prefers consistently moist soil.
7. Fertilizing: Feed your Malabar spinach plants with a balanced fertilizer every few weeks. You can also use compost tea or fish emulsion.
8. Mulching: Apply a layer of mulch around the plants to help retain moisture, suppress weeds, and regulate soil temperature.
Section 4: Caring for Your Malabar Spinach
Once your Malabar spinach is established, it’s relatively low-maintenance. Here are a few tips to keep it thriving:
* Pest Control: Malabar spinach is generally pest-resistant, but it can occasionally be affected by aphids or spider mites. If you notice any pests, spray the plants with insecticidal soap or neem oil.
* Disease Prevention: Avoid overwatering, as this can lead to fungal diseases. Ensure good air circulation around the plants.
* Pruning: Prune the vines regularly to encourage bushier growth and prevent them from becoming too leggy. You can also prune off any yellowing or damaged leaves.
* Deadheading: While Malabar spinach produces small white or pink flowers, they’re not particularly showy. You can deadhead the flowers to encourage more leaf production.
Section 5: Harvesting Your Bountiful Crop
The best part about growing Malabar spinach is, of course, the harvest!
1. Harvesting Time: You can start harvesting leaves as soon as the plants are large enough, usually about 6-8 weeks after planting.
2. Harvesting Method: Simply snip off the leaves and stems as needed. You can harvest individual leaves or entire stems. The more you harvest, the more the plant will produce.
3. Continuous Harvest: Malabar spinach will continue to produce throughout the summer and into the fall, as long as the weather remains warm.
4. Seed Saving: If you want to save seeds for next year, allow some of the flowers to mature and form berries. The berries will turn dark purple or black when they
Conclusion
So, there you have it! Growing your own Malabar spinach isn’t just a gardening project; it’s an investment in fresh, nutritious greens right outside your door. We’ve covered everything from selecting the right location and preparing the soil to providing the necessary support and harvesting your bountiful crop. The beauty of this DIY trick lies in its simplicity and adaptability. You don’t need a sprawling garden to enjoy the benefits of this climbing spinach. A sunny balcony, a small patio, or even a well-lit indoor space can become a thriving Malabar spinach haven.
Why is this a must-try? Because store-bought spinach simply can’t compare to the vibrant flavor and nutritional punch of freshly harvested Malabar spinach. Plus, you’ll be reducing your carbon footprint by growing your own food and avoiding those plastic-wrapped supermarket greens. Think of the satisfaction of snipping off a handful of leaves just moments before adding them to your stir-fry, salad, or soup. It’s a culinary experience that elevates any dish.
But the fun doesn’t stop there! Feel free to experiment with different growing methods. Try growing your Malabar spinach in containers of varying sizes to see which works best for your space. Explore different trellising options, from simple bamboo stakes to elaborate DIY structures. You can even train your Malabar spinach to climb up a sunny wall or fence, creating a beautiful and edible green screen.
Consider these variations to personalize your Malabar spinach growing experience:
* **Vertical Gardening:** Utilize vertical space with stacked planters or hanging baskets for a visually appealing and space-saving garden.
* **Companion Planting:** Plant basil, marigolds, or nasturtiums nearby to deter pests and attract beneficial insects.
* **Seed Saving:** Allow a few plants to mature and produce seeds, ensuring a continuous supply for future seasons.
* **Microgreens:** Harvest young Malabar spinach seedlings as microgreens for a concentrated burst of flavor and nutrients.
Ultimately, the best way to discover the joys of growing Malabar spinach is to simply dive in and give it a try. Don’t be afraid to experiment, learn from your mistakes, and adapt your approach as needed. The rewards are well worth the effort.
We’re confident that with these tips, you’ll be well on your way to enjoying a continuous supply of fresh, delicious Malabar spinach. So, grab your seeds or cuttings, prepare your soil, and get ready to embark on a rewarding gardening adventure.
We’d love to hear about your experiences! Share your photos, tips, and challenges in the comments below. Let’s create a community of Malabar spinach enthusiasts and learn from each other. Happy growing!
Frequently Asked Questions (FAQ)
What exactly is Malabar spinach, and how is it different from regular spinach?
Malabar spinach (Basella alba or Basella rubra) isn’t actually a true spinach, although it shares a similar leafy green appearance and is used in many of the same culinary applications. It’s a heat-loving vine that thrives in warm climates, unlike true spinach which prefers cooler temperatures. Malabar spinach has thicker, more succulent leaves and a slightly citrusy, peppery flavor. It’s also more mucilaginous, meaning it has a slightly slimy texture when cooked, similar to okra. Nutritionally, it’s packed with vitamins A and C, iron, and calcium.
How much sunlight does Malabar spinach need?
Malabar spinach thrives in full sun, requiring at least 6-8 hours of direct sunlight per day. While it can tolerate partial shade, especially in extremely hot climates, insufficient sunlight will result in slower growth and reduced leaf production. If you’re growing it indoors, place it near a south-facing window or supplement with grow lights.
What kind of soil is best for growing Malabar spinach?
Well-draining, fertile soil is crucial for successful Malabar spinach cultivation. The ideal soil pH is between 6.5 and 7.0. Amend your soil with compost or well-rotted manure before planting to improve drainage, fertility, and water retention. Avoid heavy clay soils that can become waterlogged. A good potting mix for container gardening should contain a blend of peat moss, perlite, and vermiculite.
How often should I water my Malabar spinach?
Malabar spinach needs consistent moisture, especially during hot weather. Water deeply whenever the top inch of soil feels dry to the touch. Avoid overwatering, which can lead to root rot. Mulching around the base of the plant can help retain moisture and suppress weeds. During cooler periods, you can reduce the frequency of watering.
Does Malabar spinach need a trellis or support?
Yes, Malabar spinach is a climbing vine and requires a trellis, fence, or other support structure to grow properly. Without support, it will sprawl along the ground, making it more susceptible to pests and diseases. A trellis also allows for better air circulation and sunlight penetration, leading to healthier growth and higher yields.
How do I harvest Malabar spinach?
You can begin harvesting Malabar spinach leaves as soon as the plant is established and has reached a reasonable size. Simply snip off the leaves or stems as needed, leaving at least a few inches of stem on the plant to encourage new growth. Regular harvesting will promote bushier growth and prevent the plant from becoming too leggy. The younger leaves are generally more tender and flavorful.
What are some common pests and diseases that affect Malabar spinach?
Malabar spinach is relatively pest-resistant, but it can be susceptible to aphids, spider mites, and snails. Regularly inspect your plants for signs of infestation and take appropriate action, such as spraying with insecticidal soap or hand-picking pests. Good air circulation and proper watering can help prevent fungal diseases.
Can I grow Malabar spinach from seeds or cuttings?
Yes, you can grow Malabar spinach from both seeds and cuttings. To start from seeds, soak them in water for 24 hours before planting to improve germination rates. Sow the seeds directly into the soil or start them indoors 4-6 weeks before the last frost. To propagate from cuttings, take 4-6 inch stem cuttings and remove the lower leaves. Place the cuttings in water or directly into moist soil until roots develop.
Is Malabar spinach safe to eat raw?
While Malabar spinach is generally safe to eat raw, some people may find the texture slightly slimy. Cooking the leaves briefly can reduce the mucilaginous texture. It’s always a good idea to wash the leaves thoroughly before eating them raw to remove any dirt or debris.
How do I store harvested Malabar spinach?
Store harvested Malabar spinach leaves in the refrigerator in a plastic bag or container. They will typically last for several days. For longer storage, you can blanch the leaves and freeze them.
Can Malabar spinach be grown indoors?
Yes, Malabar spinach can be grown indoors, provided it receives sufficient sunlight or supplemental lighting. Choose a large container with good drainage and use a well-draining potting mix. Provide a trellis or other support for the vine to climb.
Is Malabar spinach a perennial or an annual?
In tropical and subtropical climates, Malabar spinach is a perennial, meaning it can live for multiple years. In colder climates, it is typically grown as an annual, as it cannot tolerate frost.
How can I encourage more leaf production from my Malabar spinach plant?
Regular harvesting is key to encouraging more leaf production. Also, fertilize your plant regularly with a balanced fertilizer or compost tea. Ensure that it receives adequate sunlight and water. Pruning the tips of the vines can also promote bushier growth.
What are some culinary uses for Malabar spinach?
Malabar spinach can be used in a variety of dishes, including stir-fries, soups, salads, and stews. It can be cooked similarly to regular spinach. It’s also a popular ingredient in Indian and Asian cuisine. The leaves can be used as a thickening agent in soups and stews due to their mucilaginous texture.
How do I save seeds from my Malabar spinach plant?
Allow a few plants to mature and produce flowers and then berries. Once the berries turn dark purple or black, they are ready to harvest. Remove the seeds from the berries and allow them to dry completely before storing them in an airtight container in a cool, dark place.


Leave a Comment